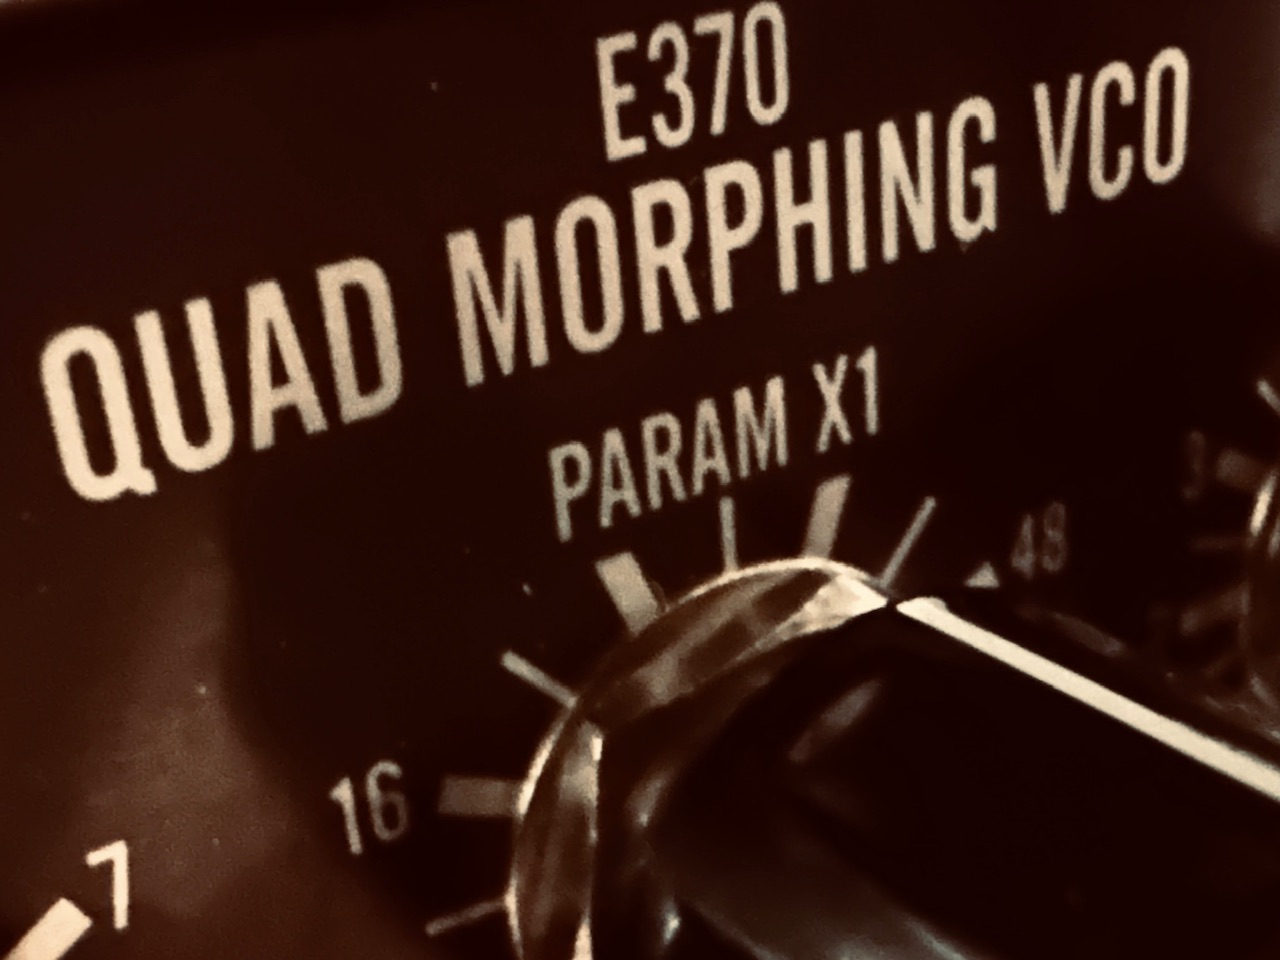
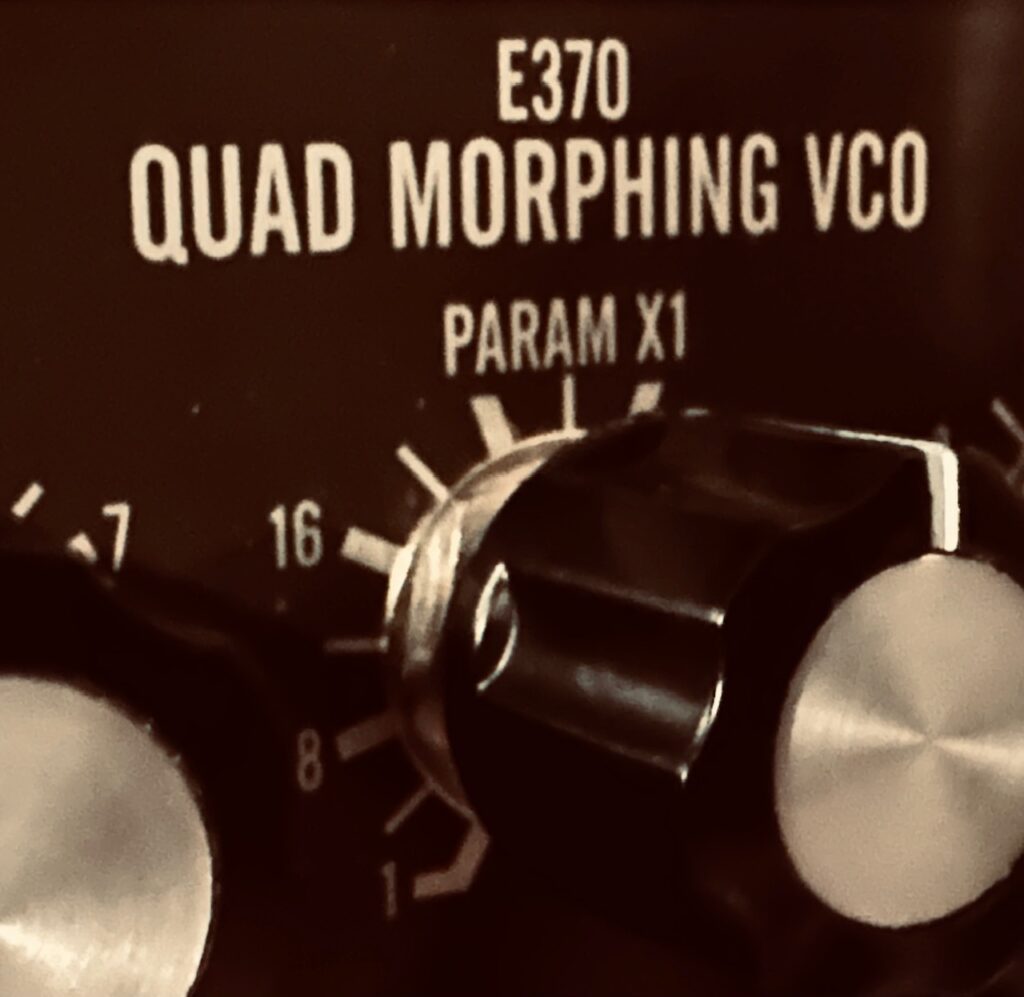
Although I’m not fully clear on what might make a module beastly, what I am clear on is that the Synthesis Technology E370 Quad Morphing VCO is a beast. One might call a module beastly because of the sound it makes. Others might be termed a beast because of its sheer size. But then sometimes there are a few Eurorack modules that strive for something grandiose; so technically complex that to have it function at all is a major coup in engineering. It’s these sorts of tools that have the capacity to change the dynamic of one’s rack. To change how we go about playing our synthesizers. Not many modules fall into this category, and those that do tend to be bulky and expensive. I’ve only had this experience with a small handful of modules. The Synthesis Technology E370 is one of those modules.
I tend mostly to live in ambient-world when patching my synthesizer. In some ways it’s an extension of the mental state patching places me in. When I patch, I get lost; completely immersed in the algorithm. Not the shitty-type algorithm like those on social media, but that state of constantly thinking my way through the patch step-by-step. Sometimes that thought is speculative (I wonder what will happen if….), while other times I’m thinking through a problem (or set of problems) that are keeping me from achieving some goal within the patch (How the fuck do I do X?). Modular synthesis is a puzzle. It’s a technical exercise far exceeding putting the right notes in place, and one that rewards deep thought about how to approach the next step. The puzzle is what initially attracted me to modular. It’s like playing Myst, only with the real life reward of beautiful music for solving the puzzle correctly.
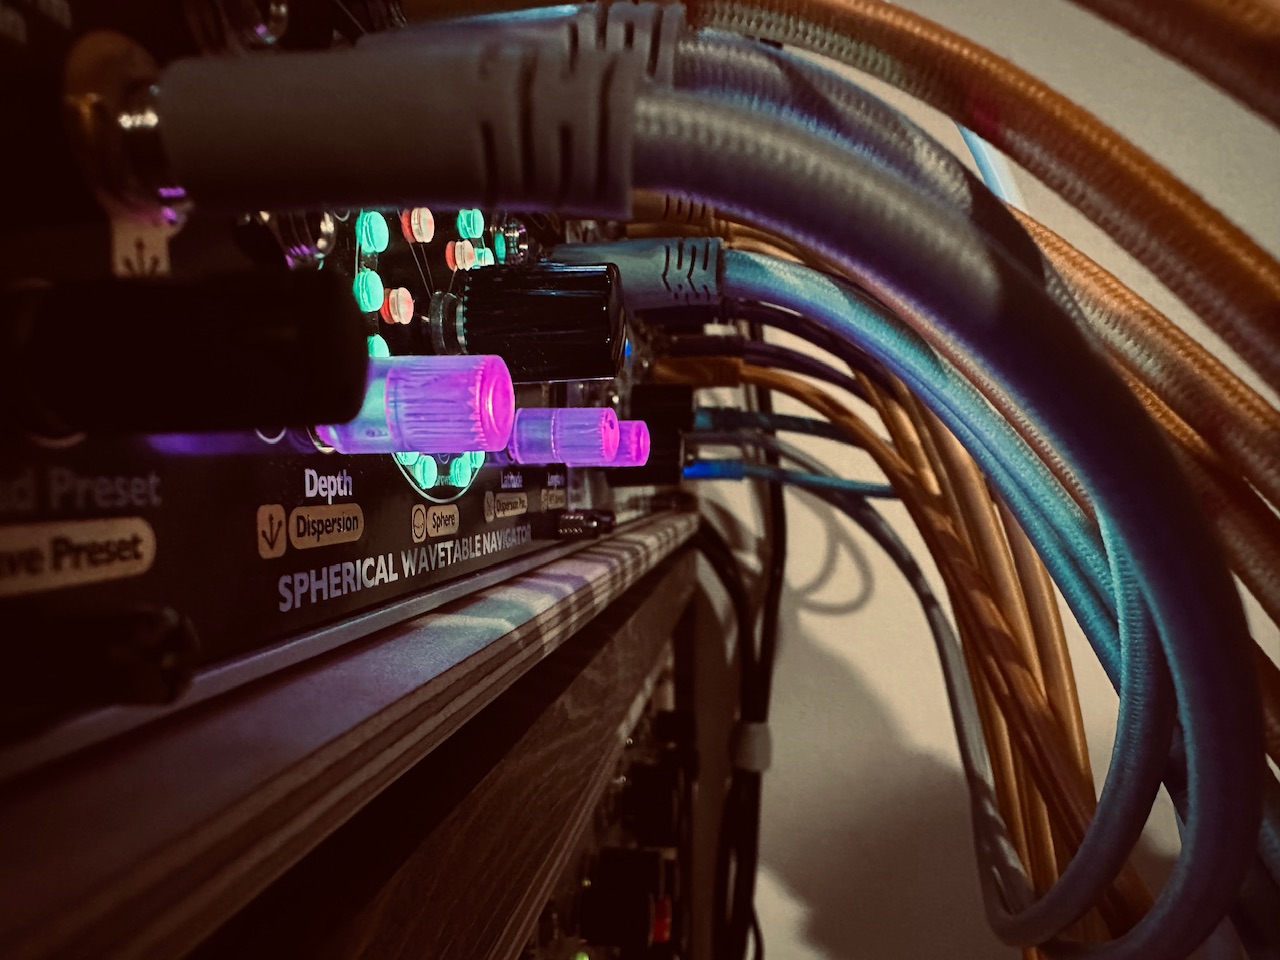
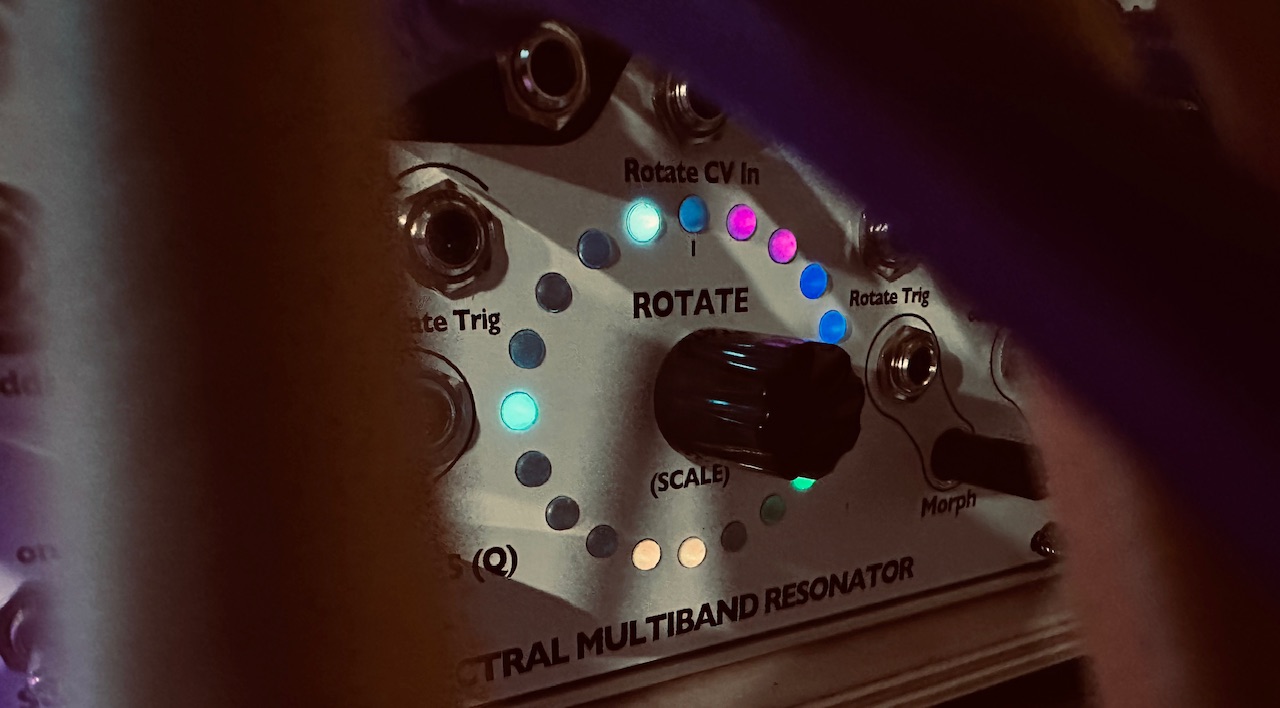
This quest for ambient has landed me with several oscillator banks in a search for the perfect cloud of notes. A few minutes that might have a chance to reflect the state I’m in while making the patch. I’ve used several of these in my practice. The Humble Audio Quad Operator, RYK Algo, Frap Tools CUNSA, dual Frap Tools Falistris, 4ms Spherical Wavetable Navigator, and 4ms Spectral Multimode Resonator can all be used as oscillator banks, and I’ve used them all in that capacity. But as nice as those tools are, none come to level the E370 strives to achieve. A full 4 oscillator wavetable oscillator with just about every bell and whistle one could desire to customize your sound. Oh, and each oscillator can be eight oscillators, either stacked and detuned, or with chords. That’s a total of 32 oscillators swarming around. That’s quite the tool.
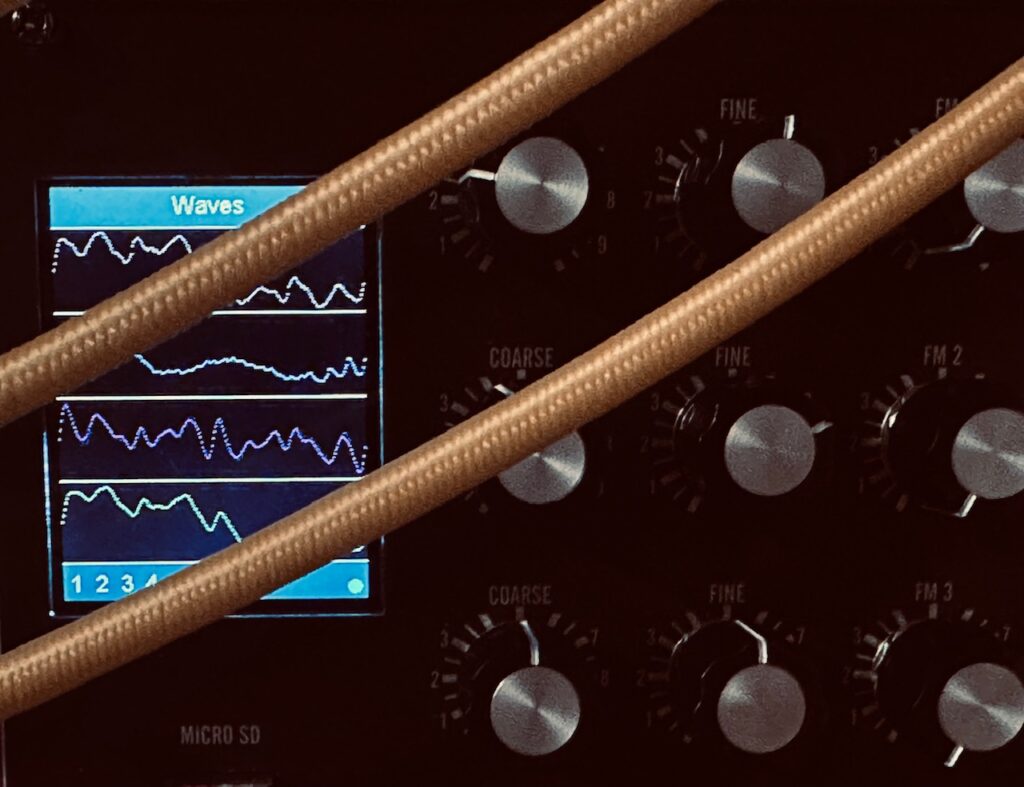
Although this post is not an attempt to write a comprehensive review of the E370, it’s only my first patch with it, and after only a couple of not-terribly-thorough glances at the manual,1 I do want to note that it’s immediately apparent that the E370 is one of those transformative modules. The kind that will affect how I patch the modular in the future. Despite experiencing a couple of frustrations during this first patch,2 it’s clear that the E370 is ultra-powerful, able to deliver a wide assortment of sounds and timbres. The interface is beautiful, well laid out, and at 54hp definitely large enough to easily use it. Despite having a deep menu system, navigating is relatively simple and changing parameters is no problem. Where the issue lies is in understanding what each parameter within the menu system is and what it does, and that will come with practice. What’s the difference between MorphXY and MorphZ? What is Phase Interpolation? But those are different problems to be understood and solved with practice, not obstacles that need a workaround or compromise. This module is deep, yet despite not being quite as easy to navigate as something like the Doboz T12, it’s not difficult by any definition of the word. It’s quite easy to get going in a hurry.
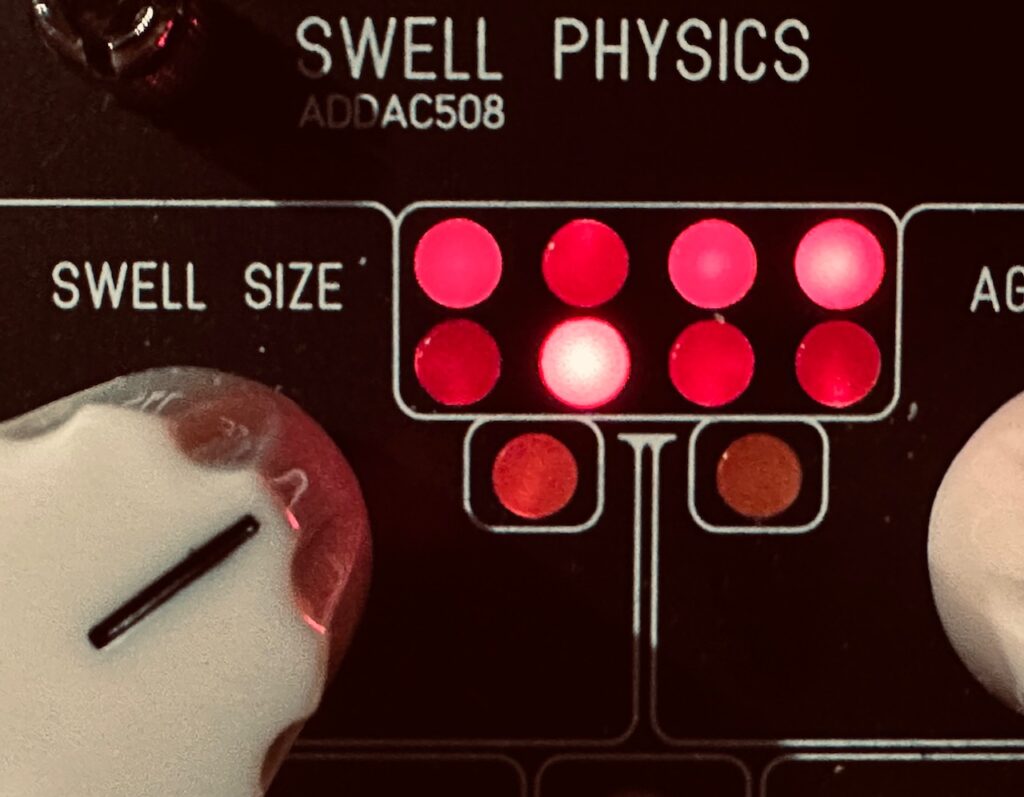
This patch is a combination of several patches I’ve done recently. The Addac508 Swell Physics is the heart of the patch that controls almost everything, from the levels of each oscillator, to panning, to wavetable modulation, and more, even if not directly. Oscillator levels are controlled by Swell Physics indirectly via the Nonlinearcircuits Let’s Splosh, using the very excellent Jolin Labs Agogo LPG/mixer extraordinaire. Each oscillator output is patched to inputs 1, 3, 5, and 7 of the Agogo, with white noise patched to inputs 2, 4, 6, and 8. Four CV outputs from Let’s Splosh modulate the levels of each oscillator and its noise pairing in CV inputs 1, 3, 5, and 7, with the mixed signals being taken from outputs 2, 4, 6, and 8. This sort of usage really highlights the Agogo’s proverbial girth. With all inputs and outputs cascading, it’s a mixing powerhouse, with the ability to create all manner of different submixes to suit any patch. This patch made four separate outputs, each with one oscillator mixed with white noise that then went to the ST Modular Sum Mix & Pan for a mix down to stereo. Each of those signals was individually panned in the stereo field by outputs 1-4 of Swell Physics, with the L/R output of Mix & Pan patched to the matrix mixer. Swell physics also modulates each oscillator’s wavetable.
Another part of the patch I’ve used recently, and repeated here, is panning between delays in order to get contrasting patterns or textures and keep the sound progressing. I first learned this patch while watching a DivKid video about the stereo strip, even if I’ve adapted it to be able to pan a fully stereo signal between delays using chained Intellijel Amps, rather than sending them a mono signal to be stereo-ized by the delays. Although I don’t use the Stereo Strip for that specific purpose in this patch, I do use it to EQ the audio before going to the delays.
The first delay I used is the Venus Instruments Veno-Echo. It’s a staple in my synth, and might be the most versatile delay in Eurorack. I often use it in patches like this because it has reverse delay that can be triggered, and that leads to interesting textures that are able to contrast with whatever other delay I decide to use. It’s fully controllable per side, and highly modulate-able. I added some sample reduction (it does that too) for some slight crunch which really brings out the wavetable nature of the E370. Add in probability gated triggers to turn reverse on and off per side, and the first delay is set.
The second delay I used was a pair of Echofix EF-X2 tape delays. With this delay I added some drive using the preamp(s), and for the first time with the tape delays, used CV to control the Speed, creating a beautiful tremolo that sang almost like a voice in the feedback, particularly once run through the octave up reverb in the Walrus Audio Slöer. I hadn’t set out to CV control the tape delays, but I was reminded by the CV input sitting on the control panel and decided to give it a go.3 I’m glad I did. For me one of the highlights of the patch is this vibrato and how it interacts with the feedback of the delays. I spent a good chunk of time while playing the patch riding the feedback knobs, never allowing it to gather too much accumulated sound and run away, but at times enough so that it doesn’t really go away, even when the tape delays aren’t receiving any input. It’s a halo of entropy sitting atop everything, singing. It’s a time when a delay is more than just an echo, but an instrument unto itself, becoming its own voice.
These delays generally take the lead in the full mix. There is certainly dry signal present in the mix, but it ended up taking a supporting role in the patch, being about a 80/20 mix in favor of the wet delays, and that dry signal was to keep some kind of coherent shape to the patch. Without that wee bit of dry, it felt like it was falling apart. A loose blob.
Another highlight in this patch is The Dradds. I’ve had a Dradd since not too long after its release. I’ve long been a fan of Pladask Elektrisk. I’ve had all, or almost all, of his pedals at one point or another. Although all of them were unique, none were stereo, and I’m a guy who (irrationally) believes all of his time effects, like delay and reverb, should be in stereo. Despite also being mono, as soon as I learned of Dradd I knew I would give it a chance. After several plays, I was frustratingly underwhelmed. Not that it didn’t sound great (it sounded awesome), but that it too wasn’t stereo. I know There Are Ways, but I’d rather just have stereo effects and not worry about it. They can always be patched in mono if need be. As I was on the verge of selling it I saw a video by Matt Lowery featuring dual Dradds. Gratuitous as it may be, I was quickly convinced on the merits of two Dradds and rushed to the Pladask Elektrisk website, elated to see that they had them in stock, and purchased a second one, the first’s evil twin.
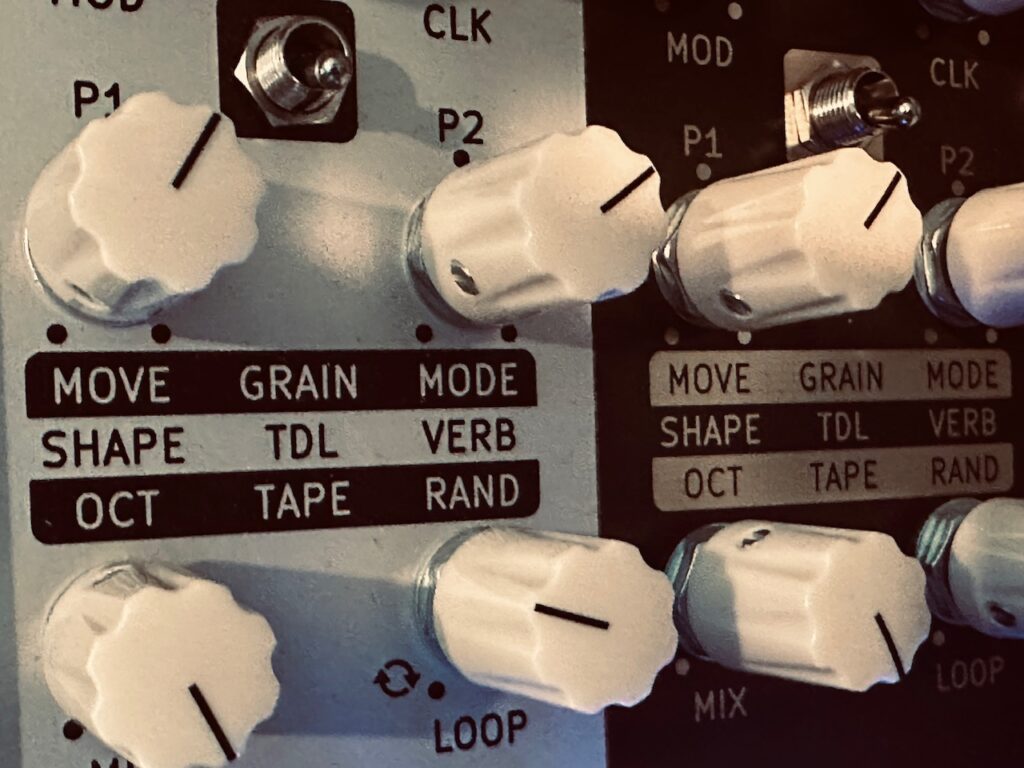
The Dradd, despite its innate ability to stumble into happy accidents with virtually every knob twist, is a module that confused me. I’d kept it for so long because of how easy it is to find sweet spots. Flick a switch, turn a couple of knobs, maybe add in some modulation (or not), throw in some delay and/or reverb, and something beautiful happens. But I never used it with an intention that requires understanding. It’s one thing to turn a couple knobs until something pretty comes out. It’s another thing entirely to understand the controls, and intentionally use them to create the sound you want, or meaningfully transition into something different. Having used Dradd several times I was becoming frustrated that I couldn’t play it. It was an exercise in happy accidents. I hadn’t run into any sort of problems that kept me from decent enough results so there’d been no rush to the manual, but I was at a point where I wanted more than luck determining the output. Having run into this realization, I finally decided to really dig into the manual to finally understand what the module is doing with all these these knob twists. And the outcome is the first time I’ve been truly happy with the results. Dradd had certainly put a smile on my face before, but the sense of creating a sound with intention rather than happing upon it is far more satisfying. I’m a long way from Dradd mastery, but the first step is often the most intimidating, and that’s now done. From here it’s about ingraining my understanding of the instrument by practice, which will surely lead to an even greater understanding.
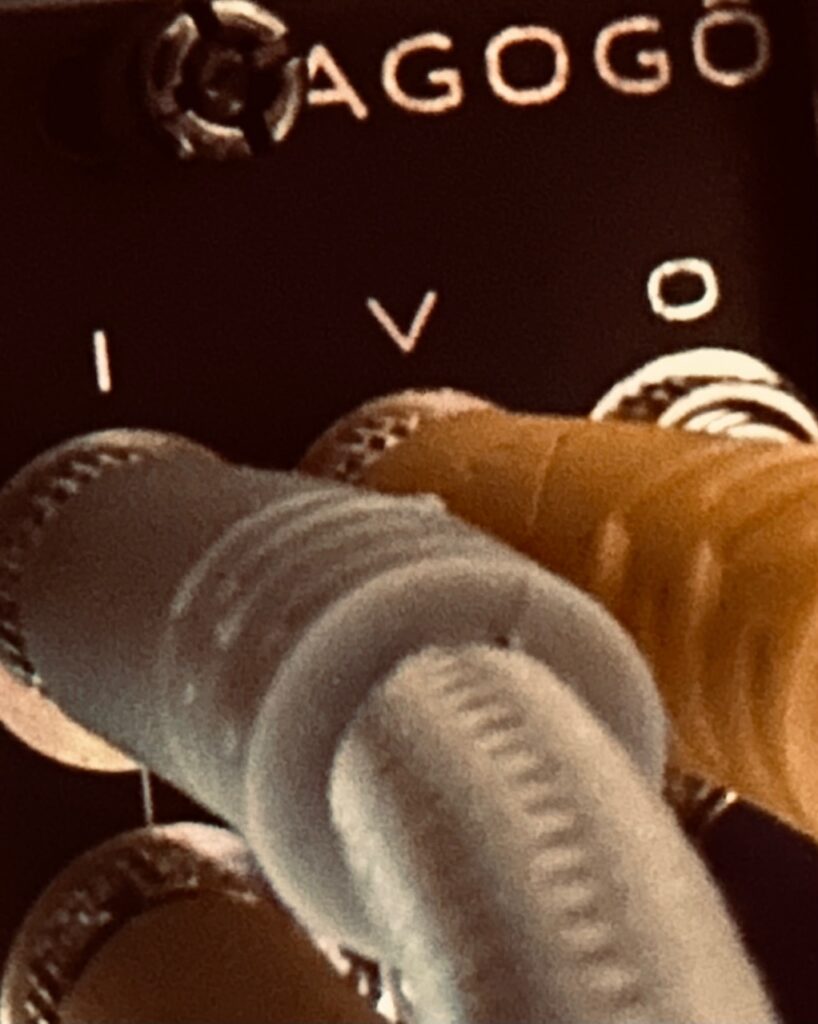
This patch also put the Jolin Agogo to use in a capacity far more involved than as a simple LPG, instead using it as a complex mixer for eight signals (four oscillators and four sources of white noise). The Agogo is my favorite kind of mixing VCA/LPG. It does a special trick that most don’t: every input, both audio and CV, as well as every output cascades to the next channel if unplugged, making the creation of complex submixes, both mono and stereo, a simple task. If you’re not using all eight channels, you can add saturation simply by moving down a couple of outputs. The Agogo is also chainable, making a 16, 24, etc. channel LPG/mixer with almost endless possibilities. The mixing flexibility it offers is truly incredible. It’s possible to mix entire patches with the Agogo, and the slight filtering it does in the odd channels brings just the right amount of vactrol-controlled goodness to any mix. It does have a drawback, however. Being that it’s vactrol-based, any slow moving CV like LFOs (or simulated ocean waves) must reach a minimum voltage level before the vactrol can start to open. Like all vactrols, and sometimes me, it’s a little slow. You are, however, treated with beautiful decays when there are sudden voltage drops (or indeed pings), provided by eight vactrols on the PBC.
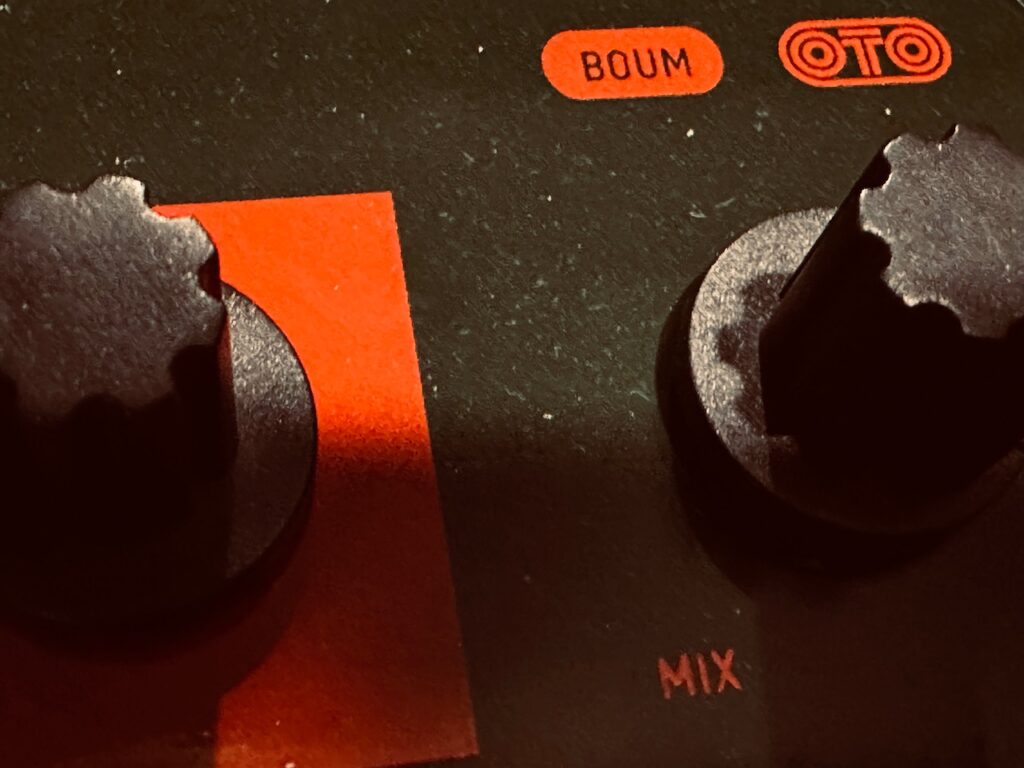
The Oto Boum also made a first appearance in this recording. I’ve never really been a huge fan of using compression. Not because I didn’t think it was good for producing music, but mostly because I don’t really understand it all that well, and most compressors are decidedly not happy accident machines like Dradd. I never had the patience to mess with it, especially when the differences and improvements you’re listening to are often very subtle. But, as with Dradd, I became frustrated at not using the heralded Boum much at all, much less in the capacity for which it was designed: an end of chain compressor.
In this exercise, the manual was no help, even if it is quite good. I needed real guidance. Basically, something that could be a crutch and tell me exactly what to do. Compression is a debated topic in ambient music. You want everything to be heard, but since dynamics play such a pivotal role in ambient music it’s paramount that you maintain a high dynamic range. Having turned to YouTube for some direction, I found a video with the perfect title: “INCREDIBLE OTO Boum – Dawless Mastering Chain part #3.” Although the video is dedicated to mastering live club music, virtually the entire video is on compression and how to apply it using the Boum as an end of chain effect. Using the approximate knob positions and general guidelines in the video as a starting point I finally decided it was time. After some careful (read: very conservative) knob turns and A/B listening, the Boum worked a treat. Although the differences are admittedly small, there is more obvious clarity and sharpness across the soundstage with compression than without.

Although the Oto Boum is also a distortion, I decided to use the ever-beautiful Bizarre Jezabel Mimosa so that I could isolate it to the main voice and not the entire mix. Plus, although I’m sure the Boum is a wonderful distortion, the Mimosa is the most beautiful I’ve heard outside of high dollar tube amps.
This patch was a lot of fun to make, but it’s not perfect. The Dradds are a bit forward in the mix, and get a little busy in spots. Some more care with the settings and in the mixer ought to clean that up. I’m also not convinced that using Let’s Splosh as an intermediary for Swell Physics was executed as well as it could have been. I tried using different outputs, but to call those efforts half-assed would be a disservice to genuine half-assed efforts. I’m also not sure about the result of panning the individual signals in the Sum Mix & Pan with Swell Physics. Although the waves are spread, they’re still close enough to each other to keep too much of the audio to one side of the stereo field or the other at a given time. Inverting one of more of those signals would probably help balance out the soundstage.
Modules Used:
Addac Systems Addac508 Swell Physics
Nonlinearcircuits Let’s Splosh
Synthesis Tecnology E370
Jolin Labs Agogo
Intellijel Amps
Vostok Instruments Ceres
Xaoc Devices Zadar
Xaoc Devices Warna II
AI Synthesis 018 Stereo Matrix Mixer
Befaco/DivKid Stereo Strip
Venus Instruments Veno-Echo
Bizarre Jezabel Mimosa
ST Modular Sum Mix & Pan
Pladask Elektrisk Dradd
Knob Farm Ferry
Frap Tools Sapel
Frap Tools 333
Outboard Gear Used:
Echofix EF-X2
Walrus Audio Slöer
Oto Boum
Performed and recorded in 1 take in AUM on iPad via the Expert Sleepers ES-9.
- I do tend to read manuals thoroughly, but genenerally not until after I encounter an issue and look to the manual for advice. ↩︎
- After some troubleshooting, I discovered that my primary problems were less about the E370, and more about the CV I was using to modulate it. ↩︎
- Ironically, my entry into Eurorack was initially as a way to CV control my tape delays, and yet I hadn’t yet tried it until this patch. ↩︎
