Using chaos and chaotic signals is the most compelling technique in Eurorack. I’d say it again for those in the back, but I don’t think I need to belabor the message up front. Let me back up briefly. I’m a huge fan of chaos. This isn’t a secret. No matter how often one might use chaos it always surprises in the best kinds of ways. Its unpredictable predictability can sometimes seem like magic. More regular than random, and more interesting than oscillating signals, chaos rides a line between the knowable and unknowable simultaneously. I’ve argued before that chaos is the lone signal in all of Eurorack that can truly surprise a listener. Regularly timed signals like LFOs and envelopes are, well, regular. There is no surprise when one knows exactly what should happen, and when it should do that thing. Random can’t surprise a listener because there can be no expectation. In order to be surprised you have to have some form of expectation that’s somehow subverted. Because random is truly random, there can be no expectations about what might be coming next, and so true surprise isn’t really possible. But chaos, because it’s mostly regular, although subject to the ephemera of everything surrounding it, has a habit of setting up expectations. It’ll be, or at least appear, regular until something happens. Maybe a different note plays than you were expecting, or perhaps it happened in a different place than it played previously; some change happens. And it’s in those changes, when expectation turns into surprise, that the potential for true magic awaits.
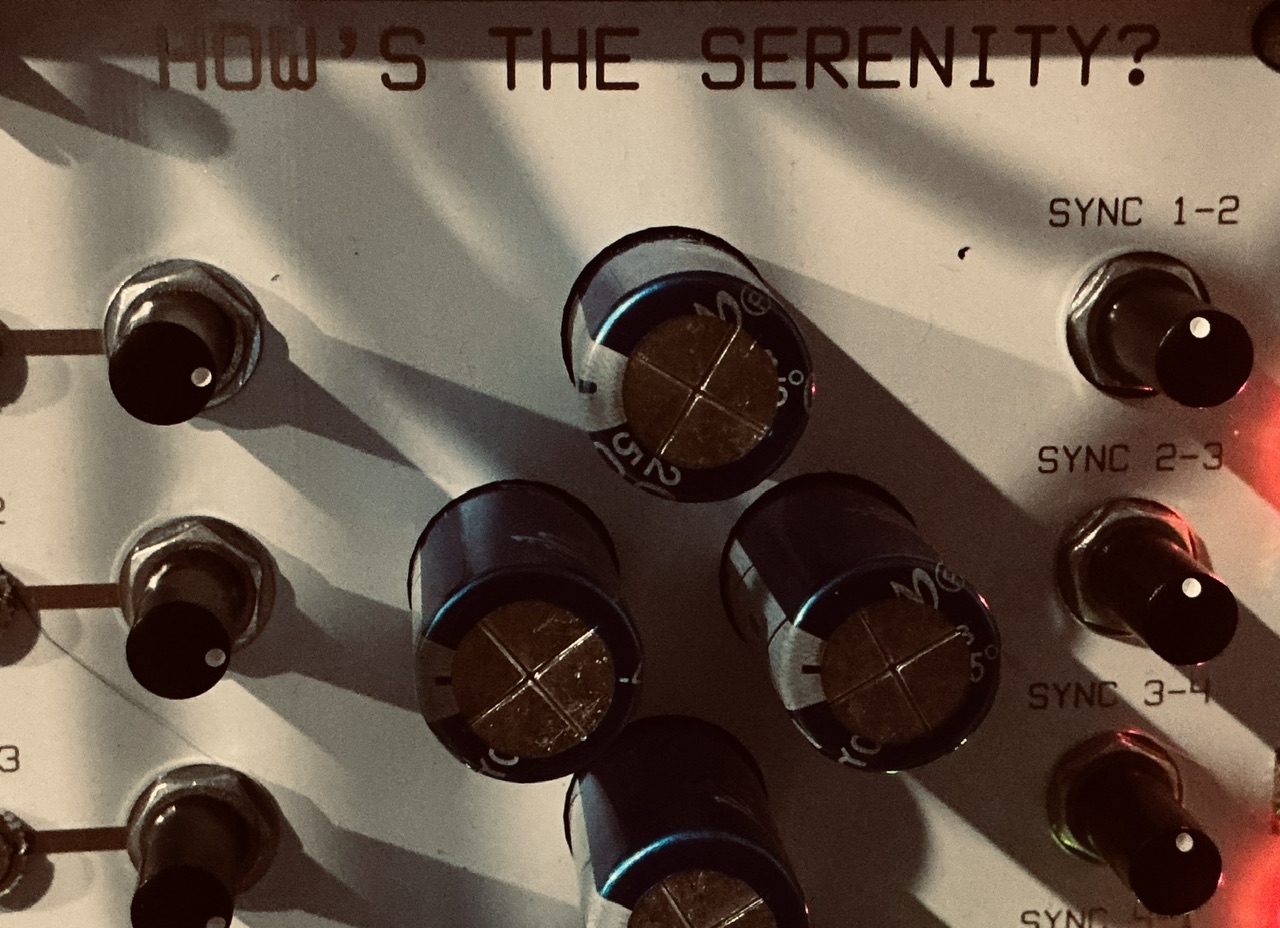
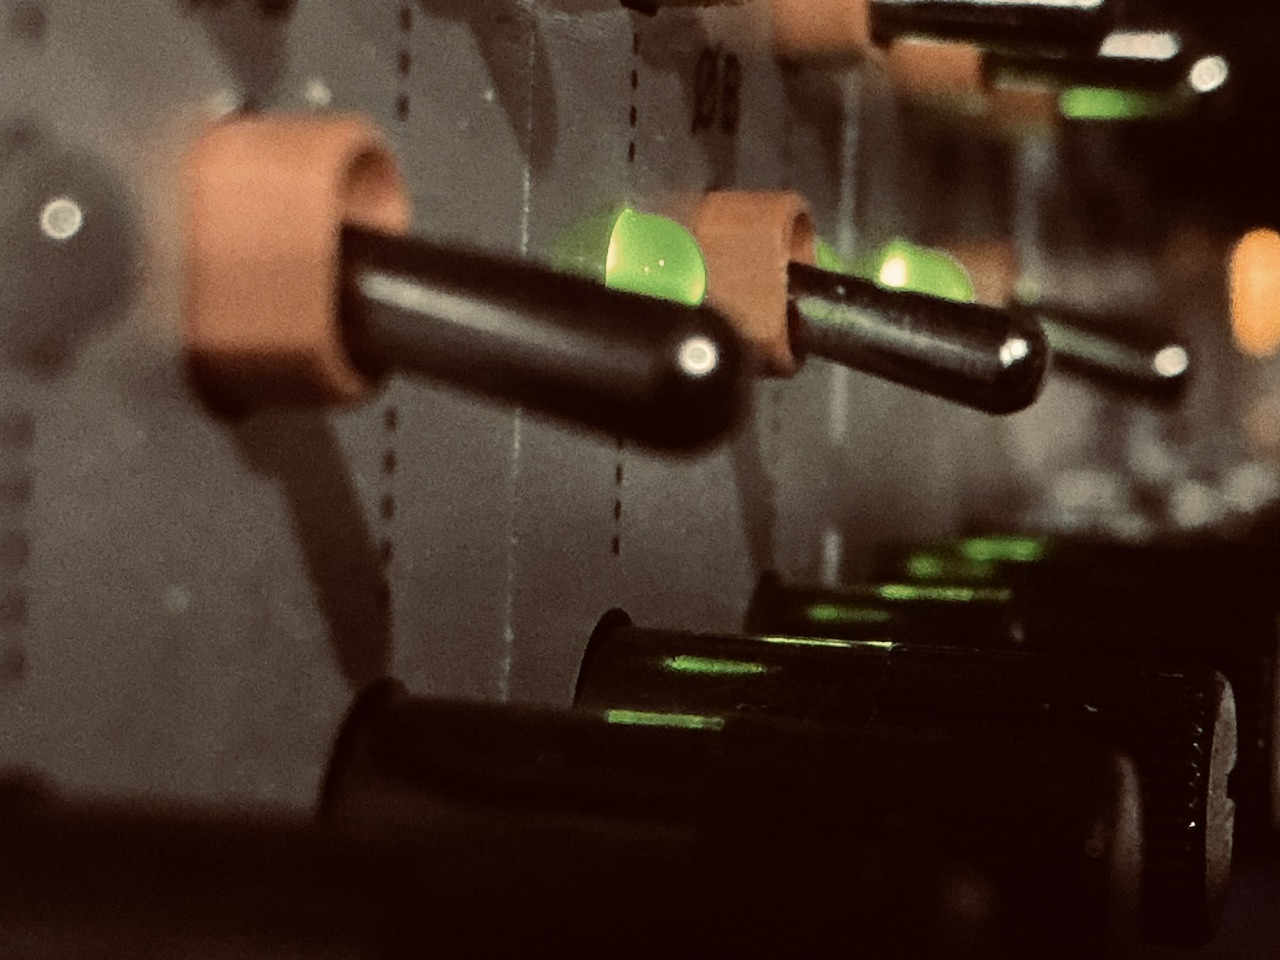
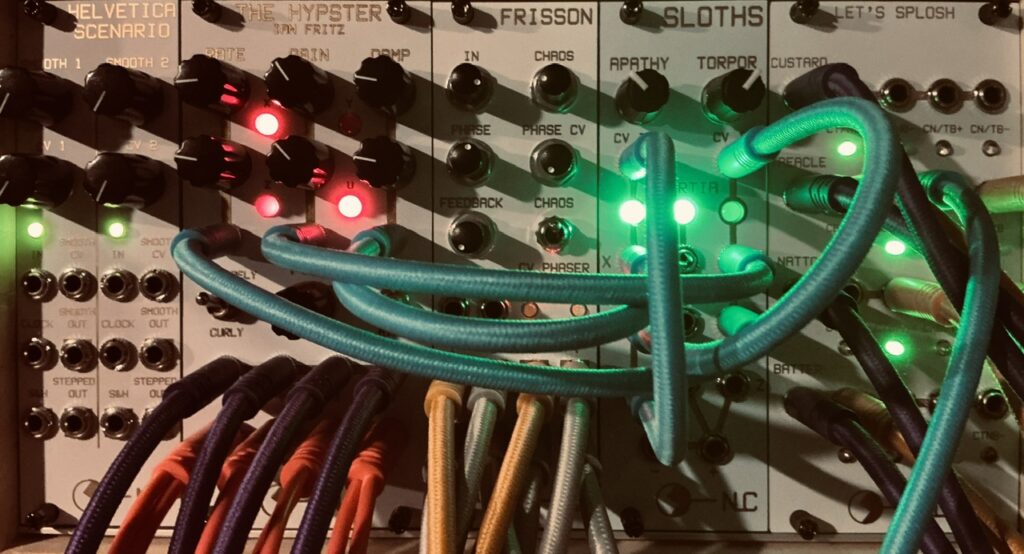
In my last patch I primarily used chaos from a new module I’ve recently purchased, the Nonlinearcircuits How’s The Serenity?. It’s a mega-sized chaos generator with some chonky blue capacitors. Each channel and group is somehow affected by the one before it, and it creates 12 separate streams of wonderfully irregular chaos at various speeds. It really is my kind of module. The sort that enables me to use various related signals, but that are also discrete. I’ve used various chaos sources to control whole patches. The Hypster, Frisson, the Addac508 Swell Physics, and more have all seen action as the conductor of the proverbial electronic orchestra. I’ve used them as direct sources, as well as indirectly through modules like the Nonlinearcircuits Let’s Splosh or the Atomosynth Transmon. Chaos is at the heart of almost every patch I create on the main synth (and increasingly on the Make Noise synth via chaos mode in the ever-wonderful Spectraphon). Using chaos is built into my composition ethos. But one source of chaos that I’ve had for a pretty long while, and a module that has its origins in VCV Rack, yet that I haven’t used very much, is the Vult Caudal.
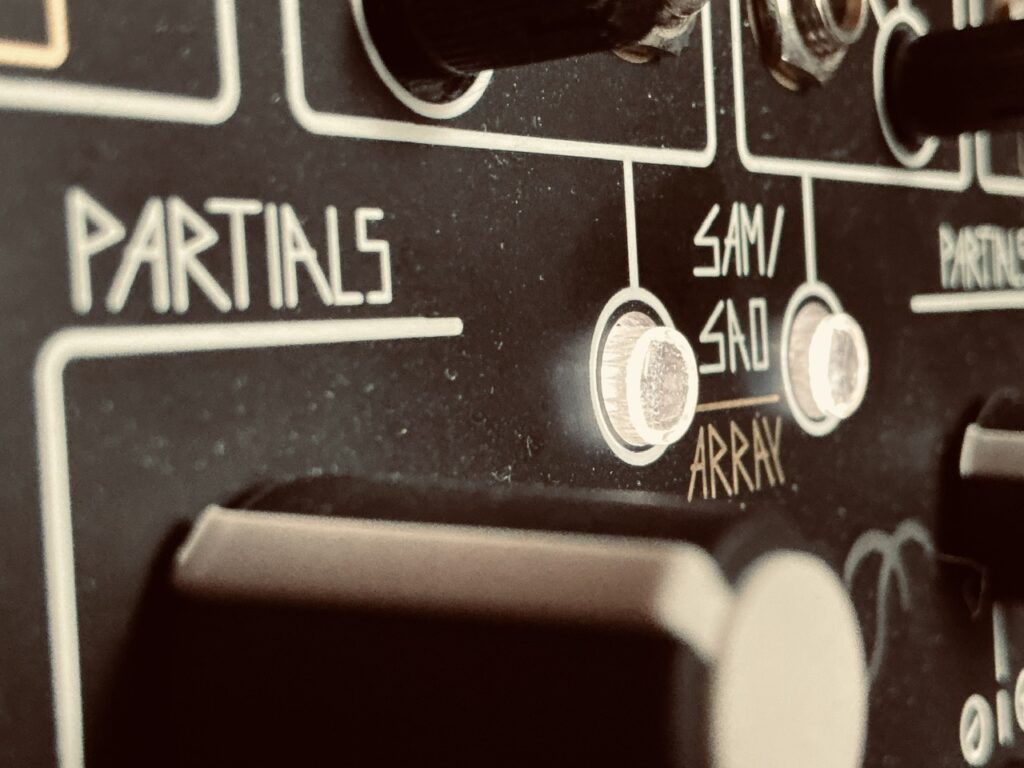
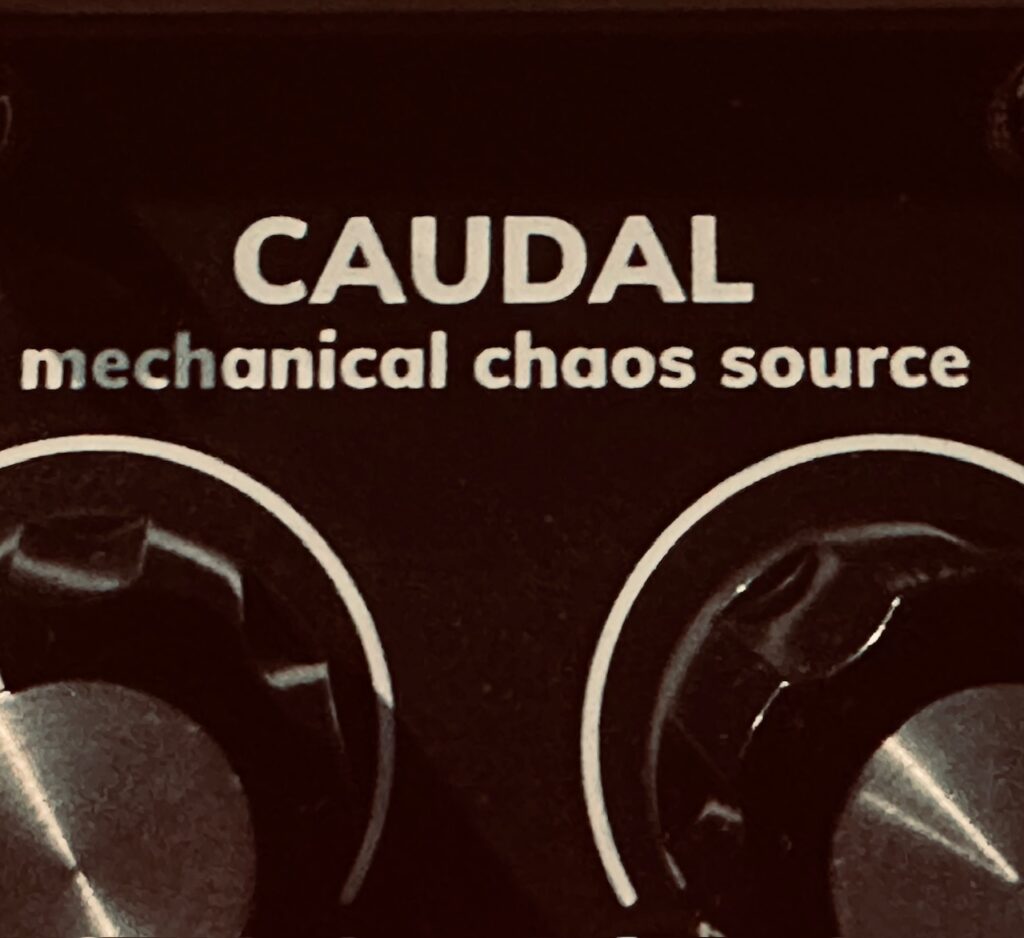
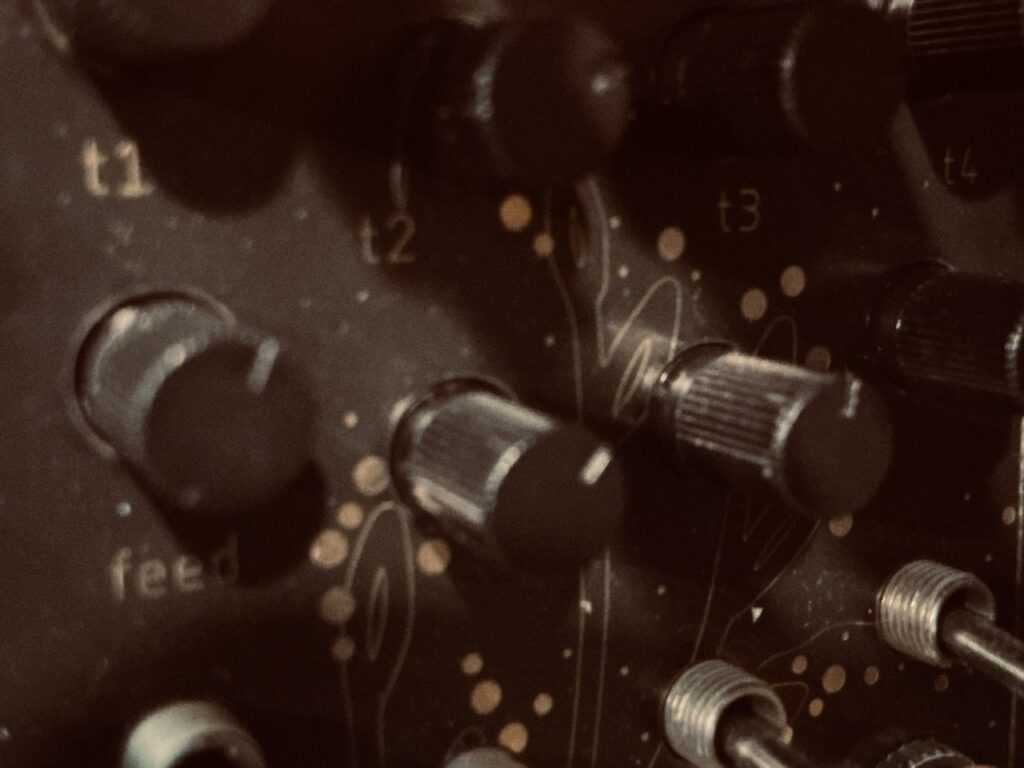
Caudal is a chaos simulator that has several modes which model various nonlinear processes in the real world. Now sporting eight different models (though mine still has only the original four), Caudal was a module that I’d long been after. With infrequent, low number production runs, however, I found it more difficult to source than most modules I’ve hunted. They’re only intermittently available as new products, and it seems that few people ever sell it once they get one. Having been signed up for their email list for over a year, I finally received an “In Stock” email several months ago, and immediately pounced on one. But when I received Caudal a few days later, it kind of just sat there in the case for a while doing nothing. When I needed chaos, I opted for something from NLC, and, for whatever reason, just kind of ignored Caudal. After a while I finally decided to give it a shot, but quickly gave up, using it for no more than simple modulation of a single parameter. “I’ll just use The Hypster/Frisson/Triple Sloth” is what I’d say to myself. When I approached Subsystems today I knew that would change. In fact, by plan, it changed in a big way. By my count, Caudal controlled no fewer than 11 other modules comprising of even more different processes, affecting nearly every facet of the patch in some way.
Wholly dedicated to taming the Caudal, I immediately started with trying to find what mode I wanted to work with. Though I’m betting there was more than a bit of confirmation bias happening, I finally settled in on Fish Tank mode; one of the primary chaotic models that first caught my interest with Caudal. In the manual, Vult describes Fish Tank as,
The Fish Tank mode simulates four fish navigating within their tank in search of food. The movement patterns of the fish produce organic, meandering signals that are well suited for modulating parameters where natural-sounding variation is desired.
The model simulates the dynamics of the fish bodies navigating the water. Each fish has a small brain that makes simple decisions, like choosing a direction to search for food or avoiding other fish.
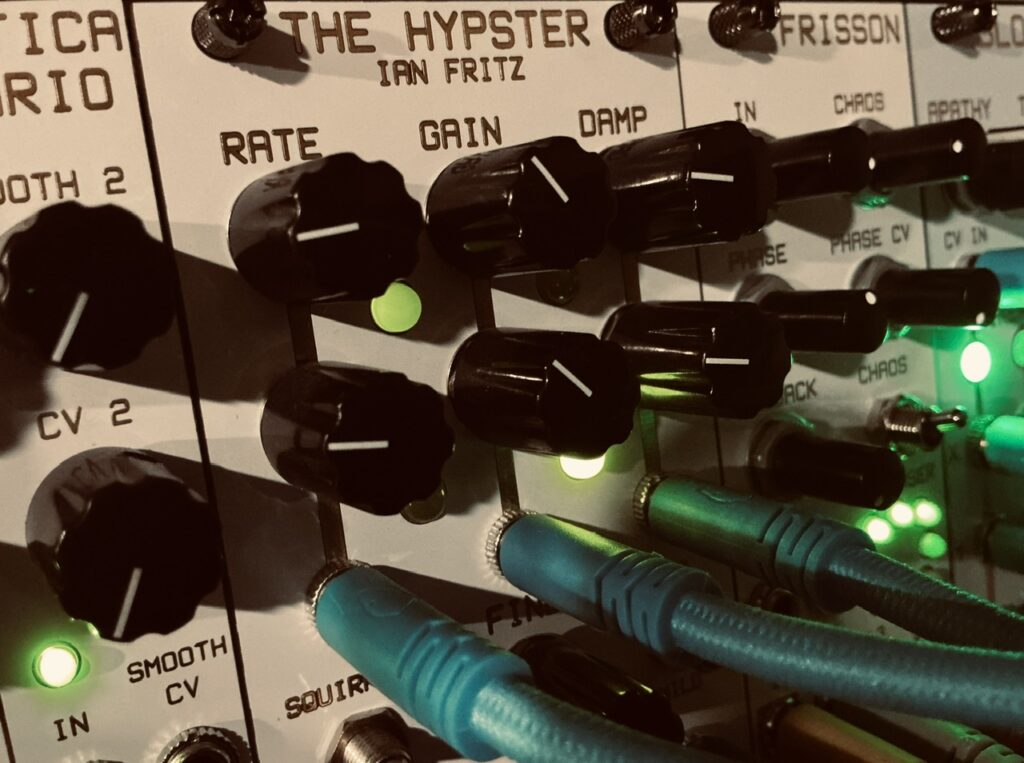
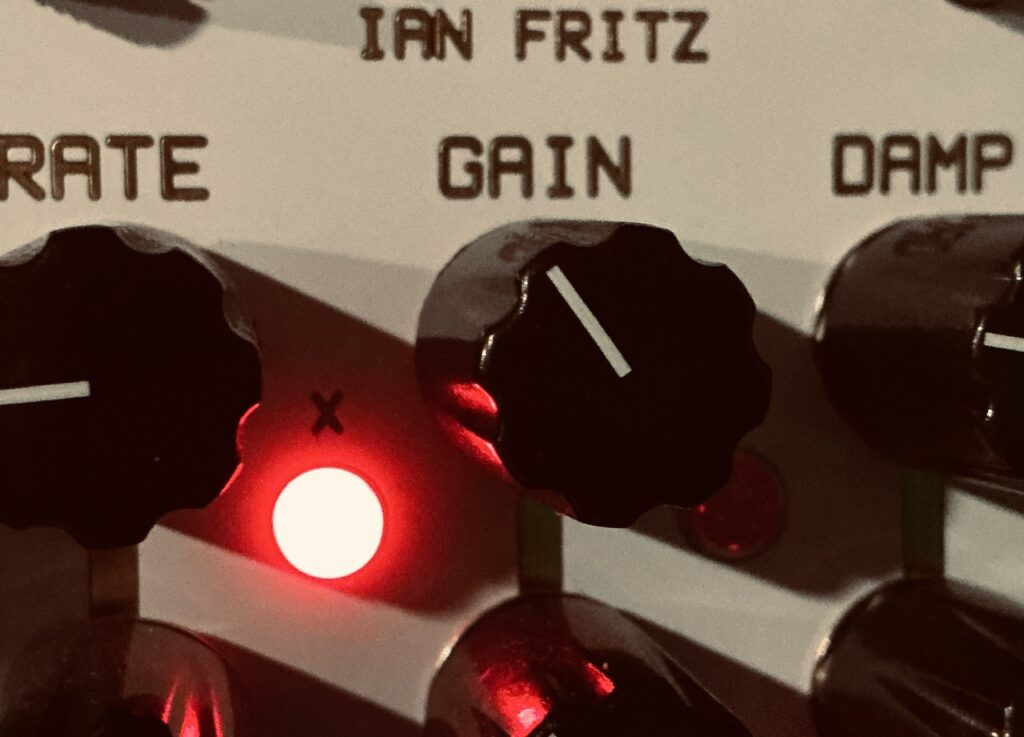
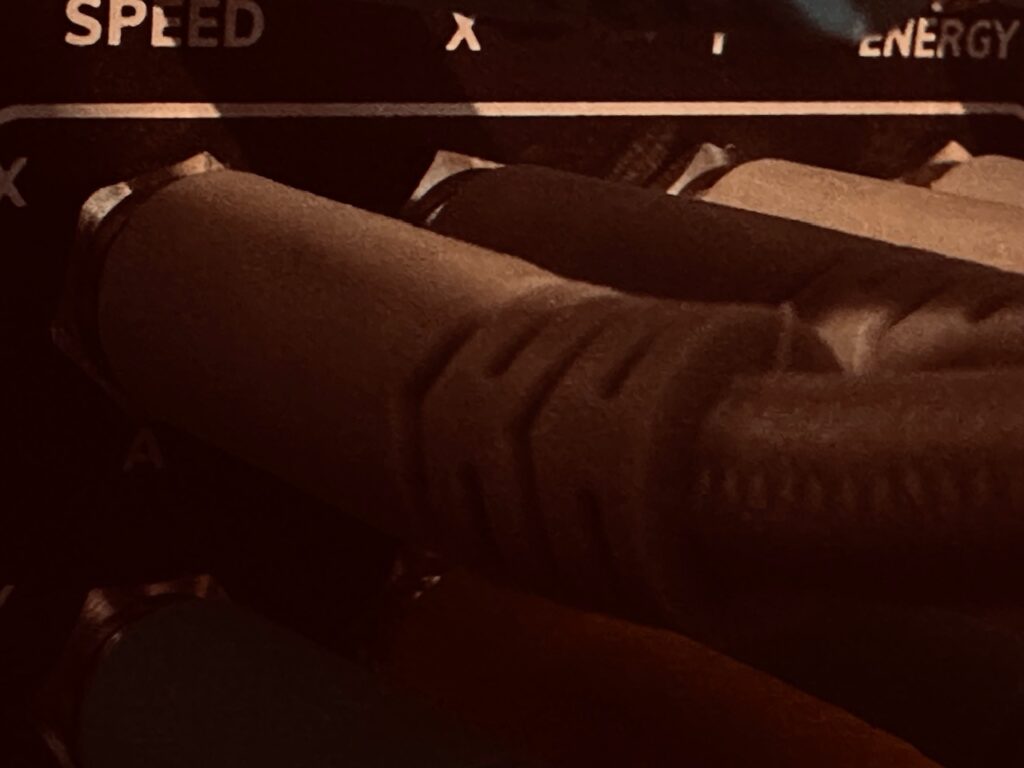
This sort of model is a microcosm of the beauty of chaos. Discrete signals all affecting and being affected by the others in real time. It took a goodly amount of time to hone in on some good settings for Speed and Energy. I wanted predominantly slow(er) movements with few abrupt changes, particularly in polarity. Speed is reasonably self explanatory, but Energy is, er, not. Without going into much detail, the manual describes Energy in Fish Tank mode simply as, “The energy parameter affects the fish’s decisions and makes them more eager. This makes their movement more chaotic.” That’s not much to go on, but it’s something. Though I may be wildly off, in my head I likened Energy to using Gain on NLC’s The Hypster. MOAR gain = MOAR chaos. Even if the process is different, that intuition proved fruitful. The further clockwise I’d go with the Energy knob, the more chaotic (read: irregular) the signal tended to be. Planets was also reasonably compelling as a source, but in this particular patch there were just too many abrupt changes for my liking.
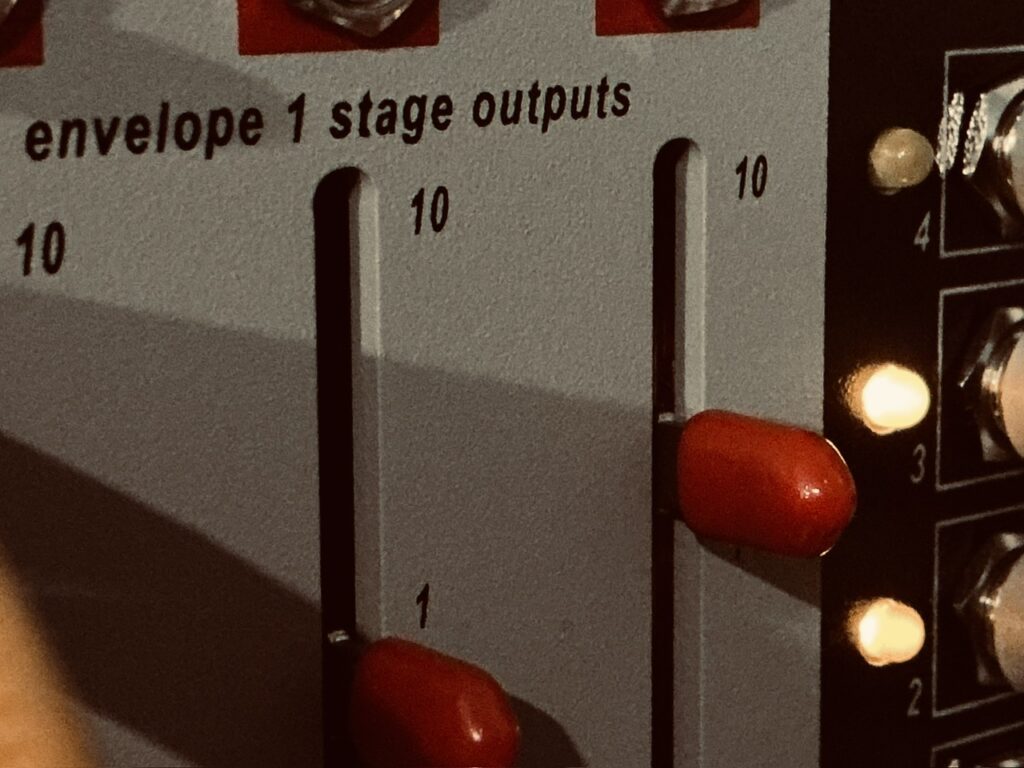
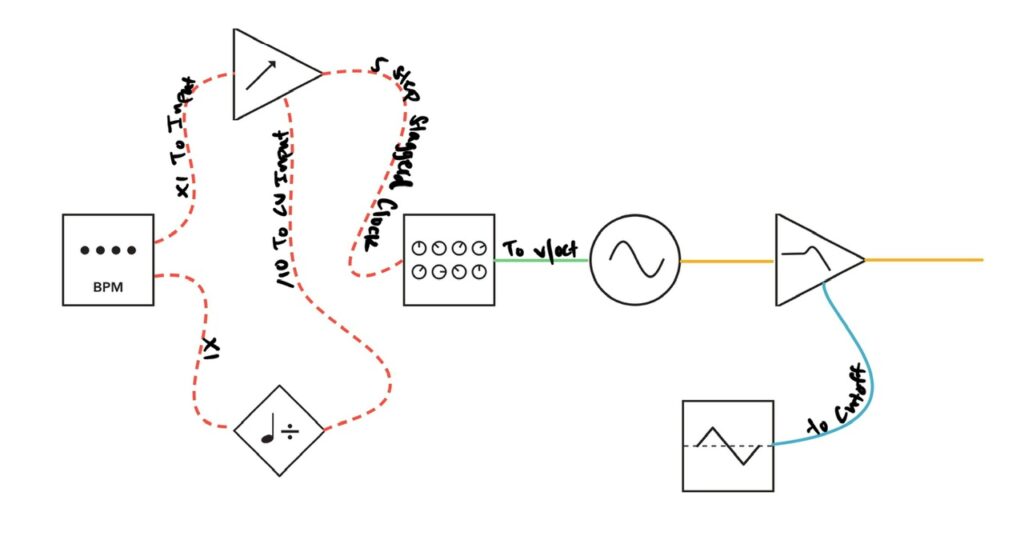
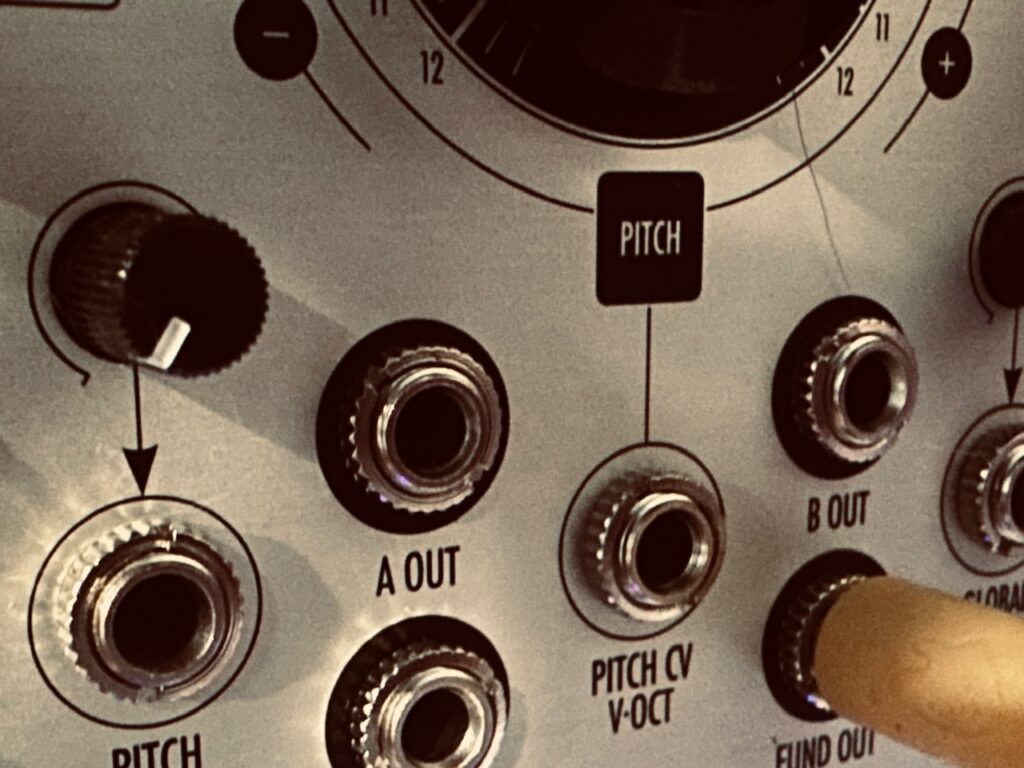
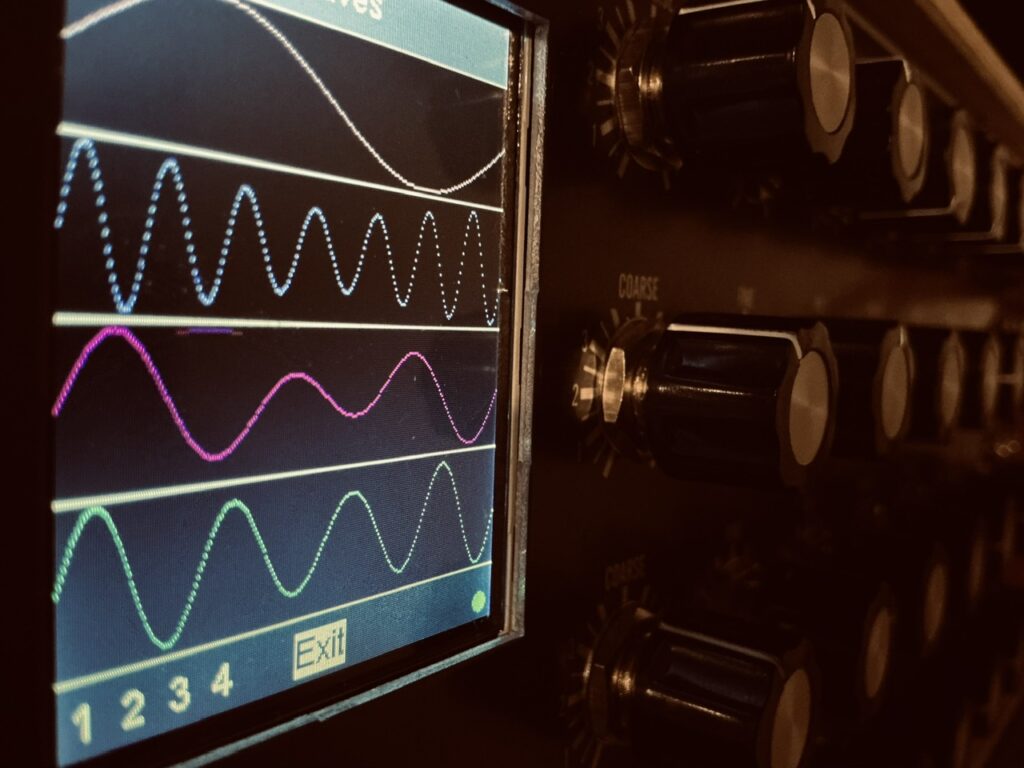
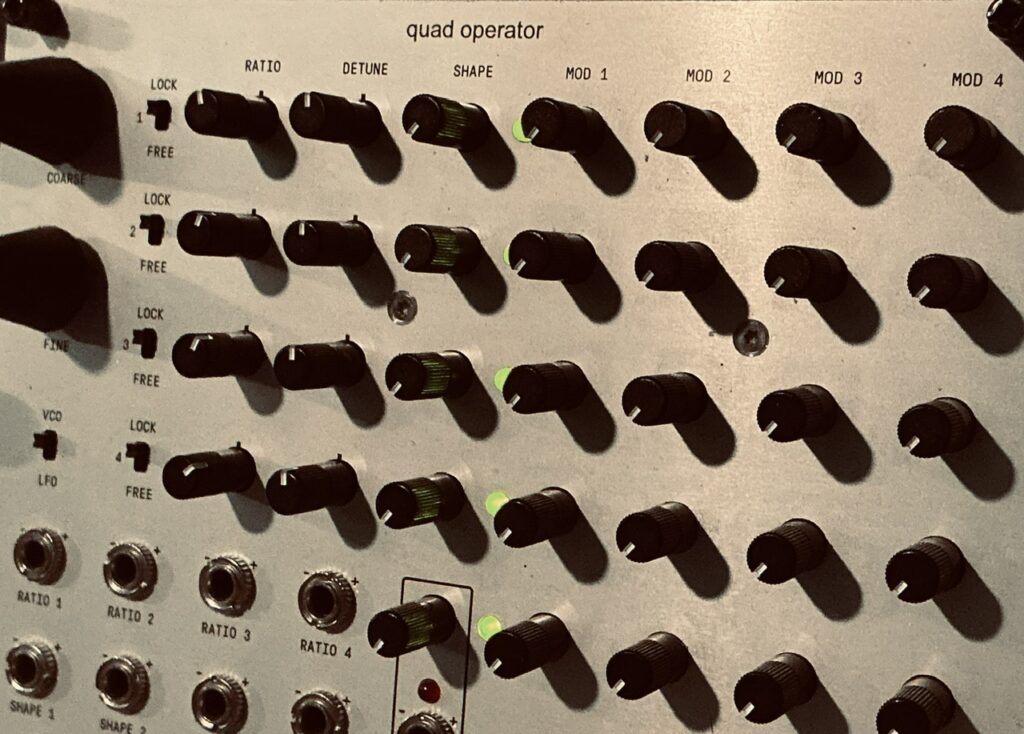
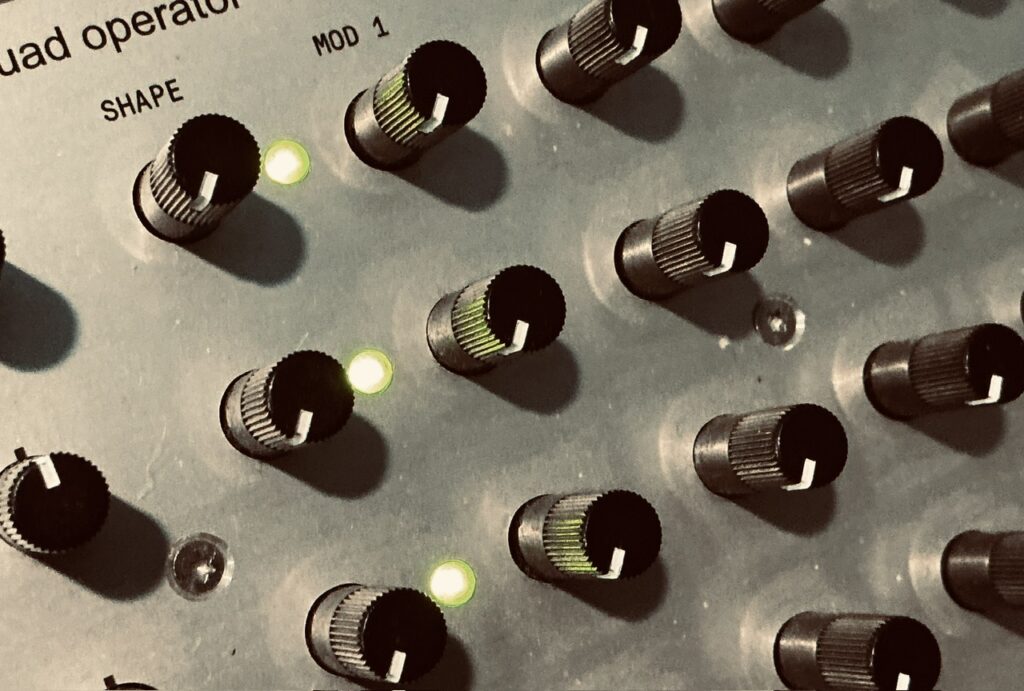
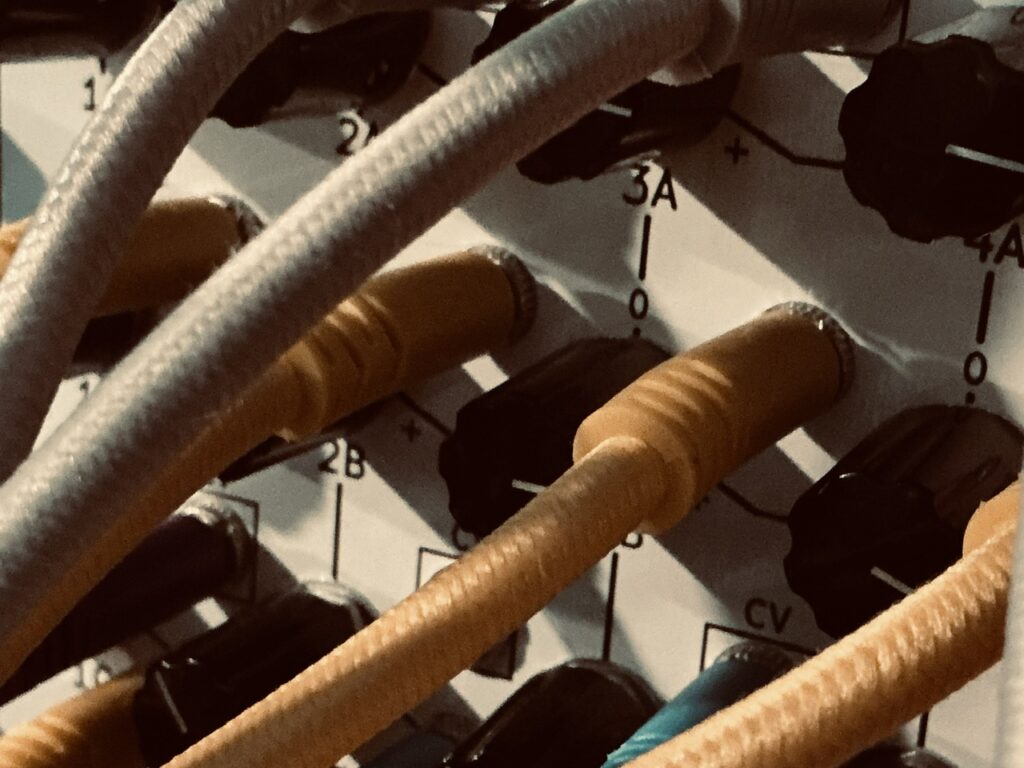
Using slow waves to control the levels of various tones is a meat and potatoes patch for me, and it’s how this patch got off the ground. No matter how I approach these sorts of patches I’m nearly always dumbfounded at its beauty. Having made patches like this many times before with various sorts of CV sources from regular LFOs to stochastic functions, and indeed chaos, I quickly went to work. My first move in a patch like this is to get a whole lot of copies of the signals I want to use, so I patched the four X outputs of the Caudal to the Rides In The Storm QAM before patching each of the four signals to the CV inputs on channels 1, 3, 5, and 7 of my Intellijel Amps bank of eight mixing VCAs. These signals controlled the audio levels of four outputs from the Humble Audio Quad Operator, all being sine waves of different (sub)harmonics of F, as well as a noise signal that accompanied each of the four audio inputs. Although Quad Operator’s level can be controlled via its onboard VCAs, I opted to use external VCAs so that I could more efficiently use the same CV source with noise for both while mixing them together. I could have done that using any of several different techniques, but this seemed at the time to make for the most efficient patch; fewer cables and intermediary modules. This combination of noise and simple sine waves sounds at times like a choir, and at others like a French horn. Though this subpatch would generally be a fairly simple affair, it took a lot more fiddling than I imagined it should. Between getting the noise and audio balanced and mixed correctly for each individual channel, and then balancing each of the four audio/noise mixes together, it took a very long time to finally get a mix I was happy with, but with diligence and an ear eager to find the beauty in these sounds (along with some reverb to smooth out the edges), I found satisfaction. Sort of. Wanting some different sort of movement, I patched a mix of all four of Caudal’s X outputs, with a fair amount of both offset and attenuation via the very excellent Klavis Tweakers, which slowly moved the second highest harmonic up and down the harmonic series in a way that sounded almost like improvised flute. This shifting of harmonics doesn’t happen all of the time. In fact, for much of the patch the cable wasn’t even plugged in. But it also didn’t need to be continuous.

Though happy with the base sound of the patch, I wanted this bed to have a grit to it. The sounds should be beautiful, but beautiful doesn’t always equate with pristine. Despite being mixed with noise (courtesy of the Instruō Tagh, high pass filtered in the I-ō47), there was still a sense of clarity that was, to my mind, distracting. It needed an edge to it. Something to give the sound texture and depth. Often I would reach for a distortion module of one sort or another. The brilliant Malgorithm Mk2 or Bizarre Jezabel Mimosa would generally be first on the list of modules to try. But before patching those up I remembered a close friend reacting to one of my patches with one simple phrase. “Oooh! Crunchy.” Though Jamuary 2527 might have more audible repeats than I would otherwise like, it is the sort of sound I was after, and I knew just the module to provide it. Enter the Bizarre Jezabel Quarté Mk2.
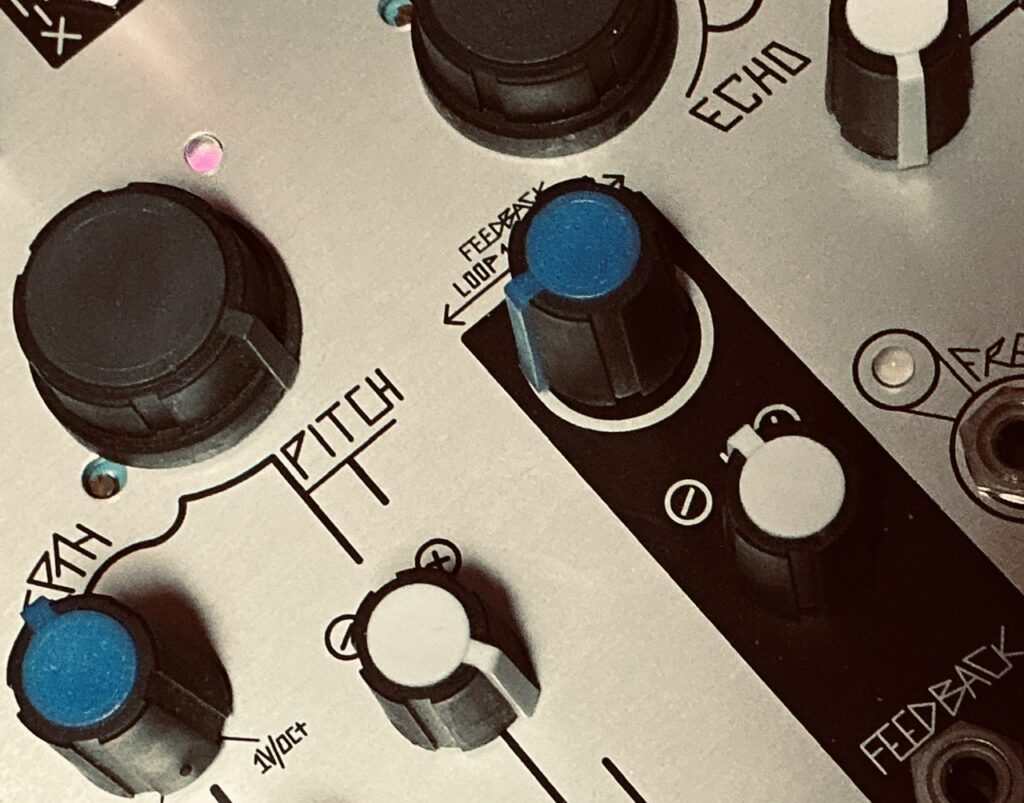
Quarté isn’t what I’d call a regular part of my module rotation. It’s a very unique LPG/delay combination with a quad of PT2399 delays with a few tricks up its sleeves. Inputs can normal for getting multiple taps from a single source. It’s delay time and feedback can be pushed with an emphasis on its production of noisy repeats. In short, it can seemingly sound as if the edges of the audio have been singed, particularly as you get more and more repeats that progressively decay further and further. Rather than trying to be an everyday delay, Quarté unabashedly embraces its noisy inclinations. It has a voice of its own.
Although the input level going to Quarté was generally very low, due to each of the harmonics needing attenuated level control lest they break up in a manner I thought displeasurable, leading to a lower level of crunchiness than what I had originally hoped for, it did add some much needed texture. A grittiness that seemed as if one could reach out and touch the sound. The repeats also greatly lengthened out each of the individual harmonics gloriously so that they faded out more naturally. The sound was fattened by Quarté’s repeats, allowing it to fill up the space between and become full while simultaneously giving the sound a sense of vulnerability. These harmonics are the warm bed on which everything else laid, no matter how unstable it might seem.
With Quarté, Caudal also made an impact. Not content with simply repeating the bed of notes, I wanted to give at least the higher harmonics a sense of movement; an unsteadiness to add to the fragility of it all. Though it took a while to narrow in on the amount of attenuation, which turned out to be very heavy, I used two of the Y outputs from Caudal, via the Vostok Instruments Asset, in order to modulate the time of the two Quarté channels used on the two highest harmonics. This added a wobbliness to the sound in a somewhat similar way that using very light frequency modulation might. It doesn’t stick out as noticeable, but it is one of those facets of modular synthesis (and indeed music – art? – in general) where though one might not pick out a particular facet of a piece as obvious, it does tend to be noticed when it isn’t there.
All of the delayed and crunchified harmonics were then patched to the always useful ST Modular Sum Mix & Pan where they were mixed down to stereo. The bass note, an F2, was panned in the center, while each of the other three harmonics were moved around the stereo field by three triangle functions from the Addac506 Stochastic Function Generator. All three of those envelopes were stochastically created with each cycle. None of them were ever the same, which created a slow drift of sound back and forth across the soundstage. Though I’ve certainly used chaos to pan signals in stereo, I tend not to like the result nearly as much as using standard cycling triangle functions or LFOs. The movement is smoother, and encompasses the entire stereo field more evenly. Using chaos or random can be interesting, and can work better with more disjointed or rhythmic material, but most of the time, in my own practice, irregularly distributed signals are just not as good for panning.
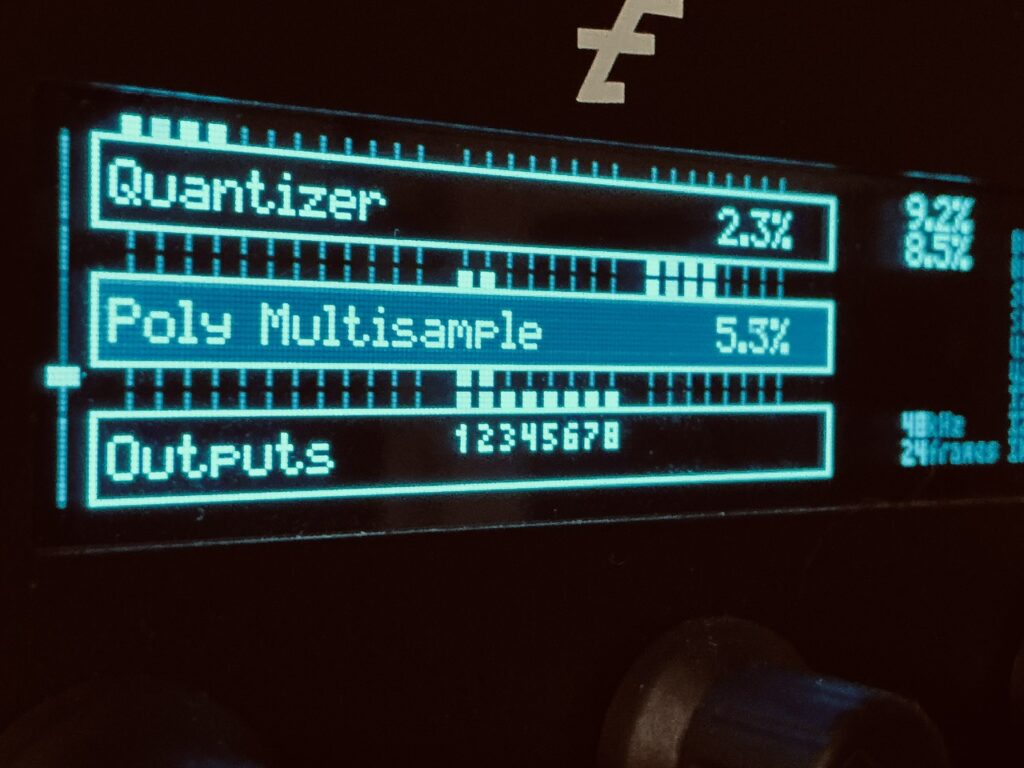
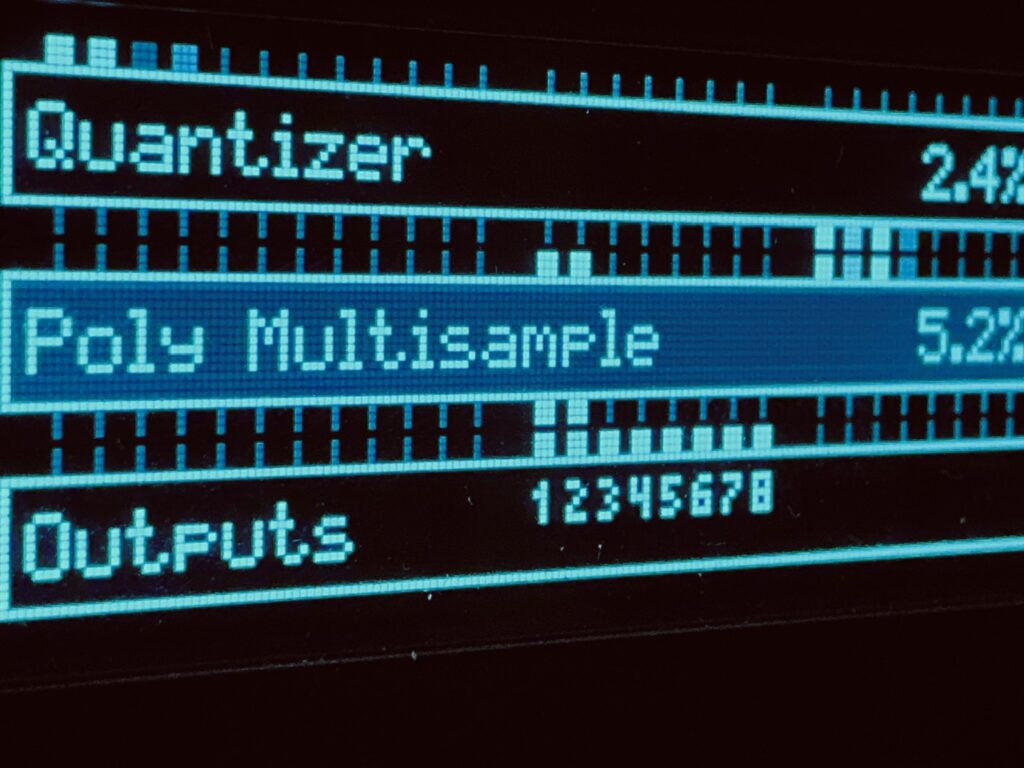
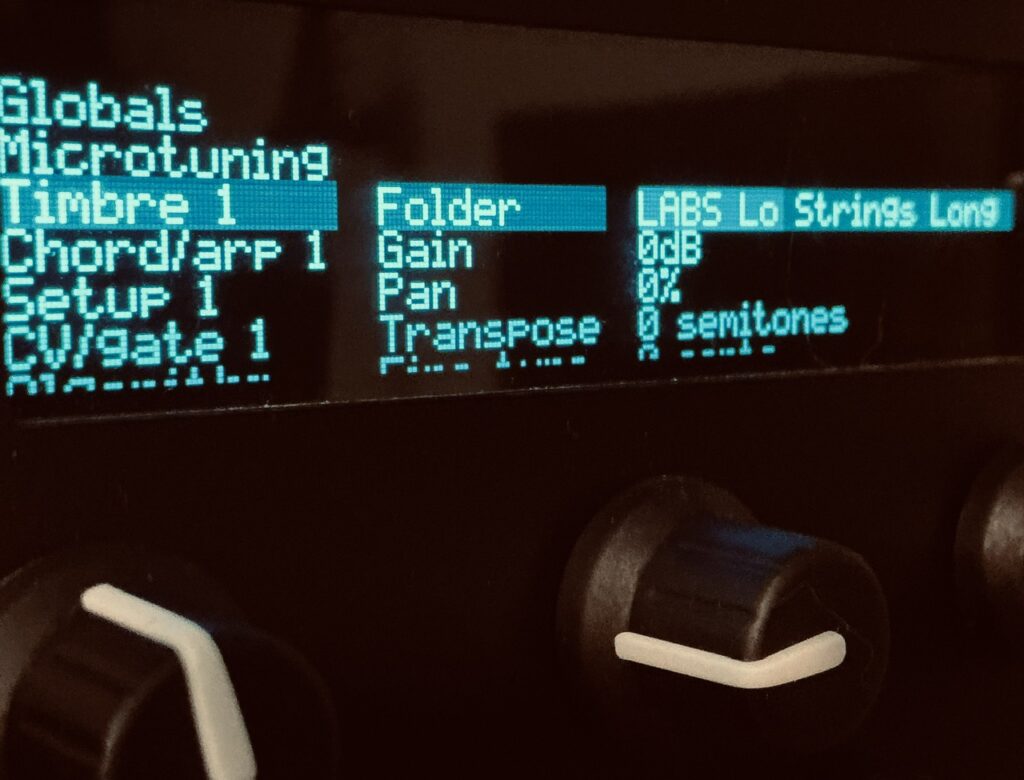
Having settled in on a bed of sound to,anchor the piece, I wanted to figure out a way to add to its depth without distracting from it. In most patches I would add in something like piano or a music box samples, but those are a sort of melody, and what I wanted was a buttressing of the existing bed in a way that was complimentary. As I thought about it for a while, I was suddenly smacked by the thought of using low strings. Not only would they establish the key (F Lydian) once a trigger hit the Disting NT’s Quantizer with just the right voltage coming in, but strings would also add a more organic texture to the overall presentation. I don’t use string samples nearly as often as I’d like, but today was a perfect time to explore the Spitfire Audio Labs Lo Strings set of samples.
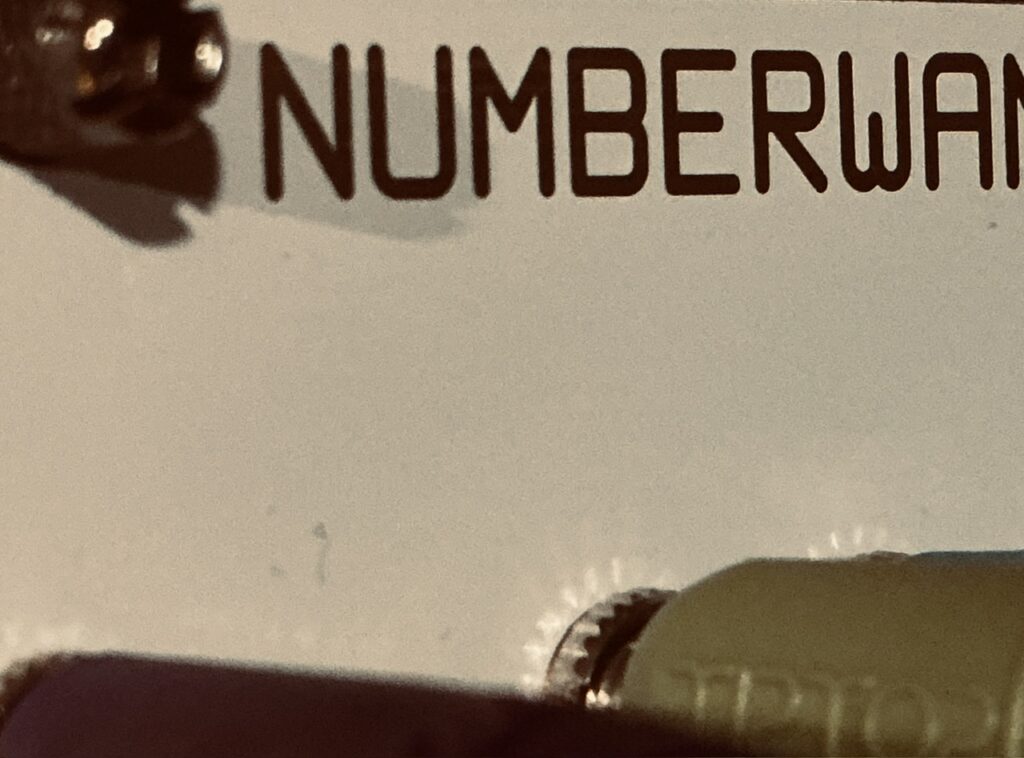
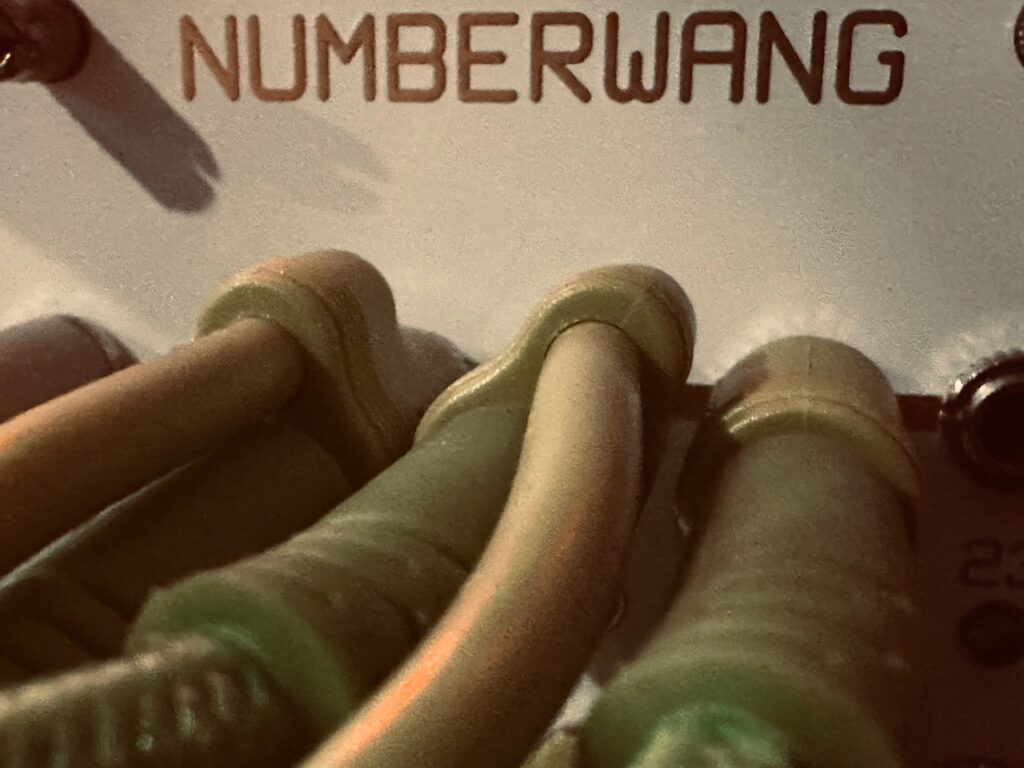
Again Caudal’s X outputs took the lead in directing the Disting NT’s Poly Multisample algorithm by supplying four gates, via the Nonlinearcircuits Numberwang, as well as the voltage streams which determined what pitch to play when those gates hit. The four X outputs were patched both to the Numberwang as well as to the Disting NT’s (programmed) CV inputs. As Caudal’s signals moved about, Numberwang generated gates at its 16 outputs. With the help of a few Stackcables to combine two gates for each gate input on the Disting NT, eight of Numberwang’s gate outputs served to trigger the Quantizer that would quantize whatever was present at its CV inputs, and play that note as a discrete string sample. Because of the timbre differences between the highly processed sine waves that formed the initial bed of sound and the Lo Strings samples, the impact was both immediate and compelling. I initially thought that the two voices combined together might become muddy. They play in the same basic frequency range, and are enveloped in fairly similar ways, but this wasn’t the case at all. They complemented each other brilliantly, and the strings added a weight of seriousness to the piece.
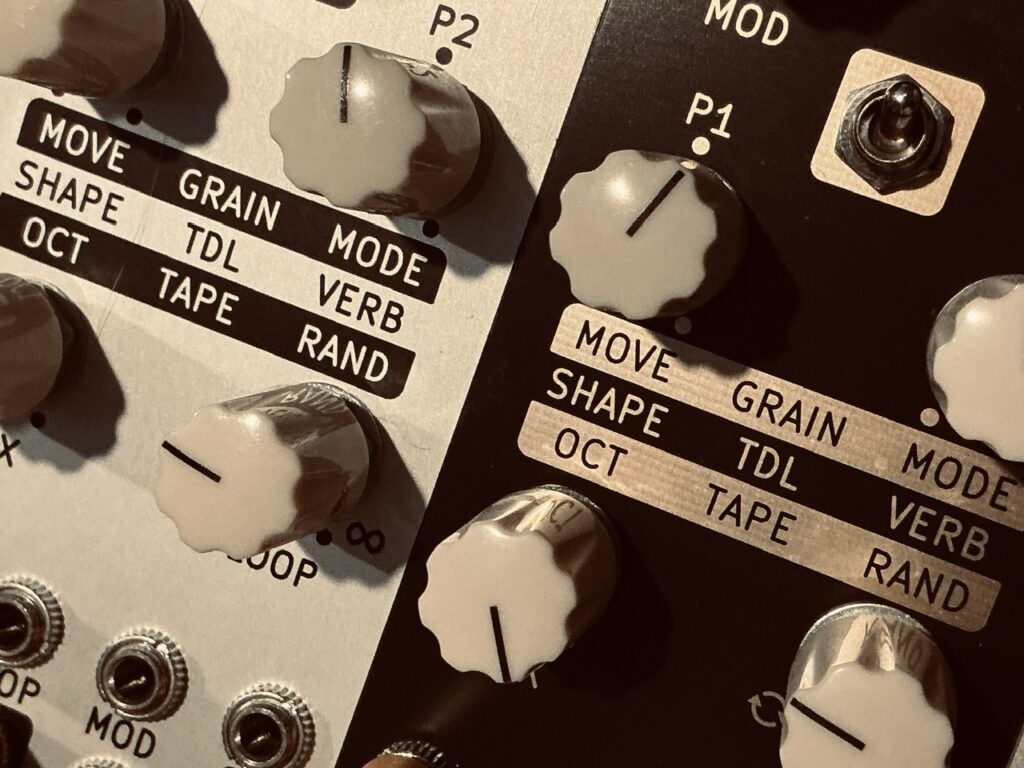
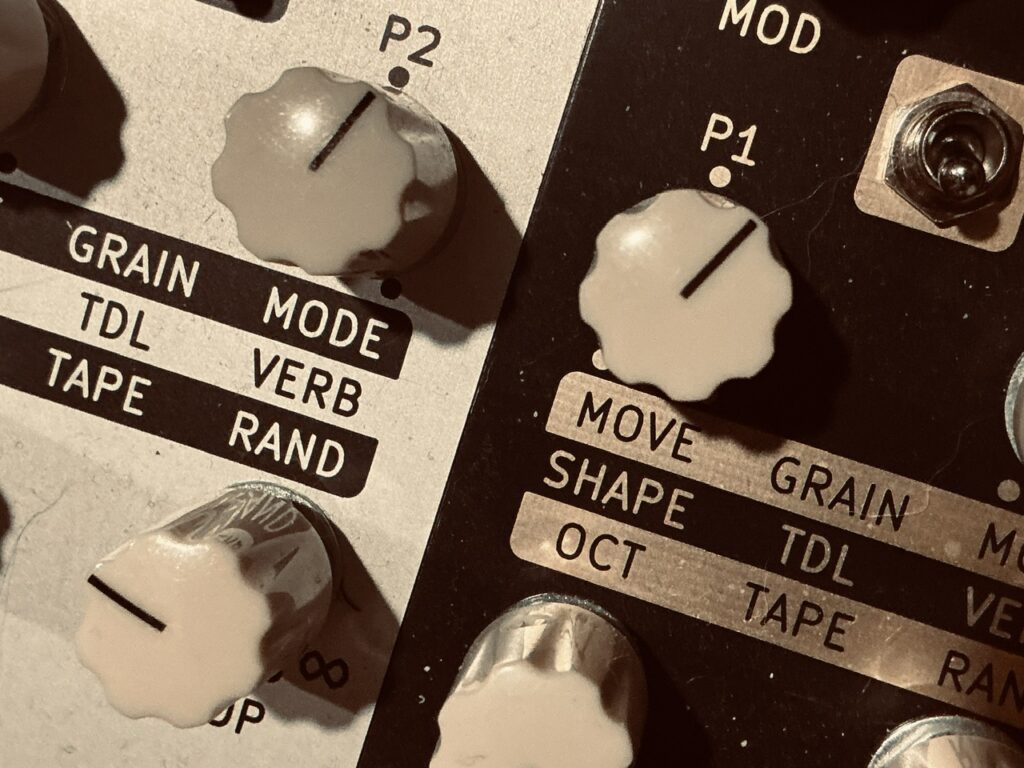
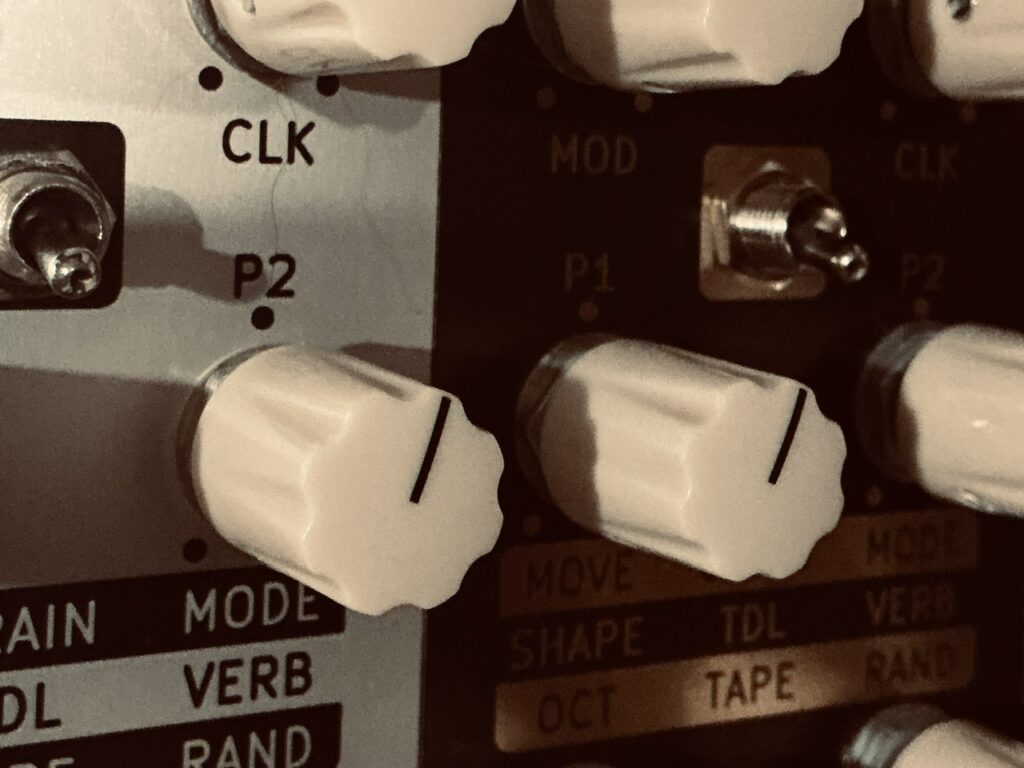
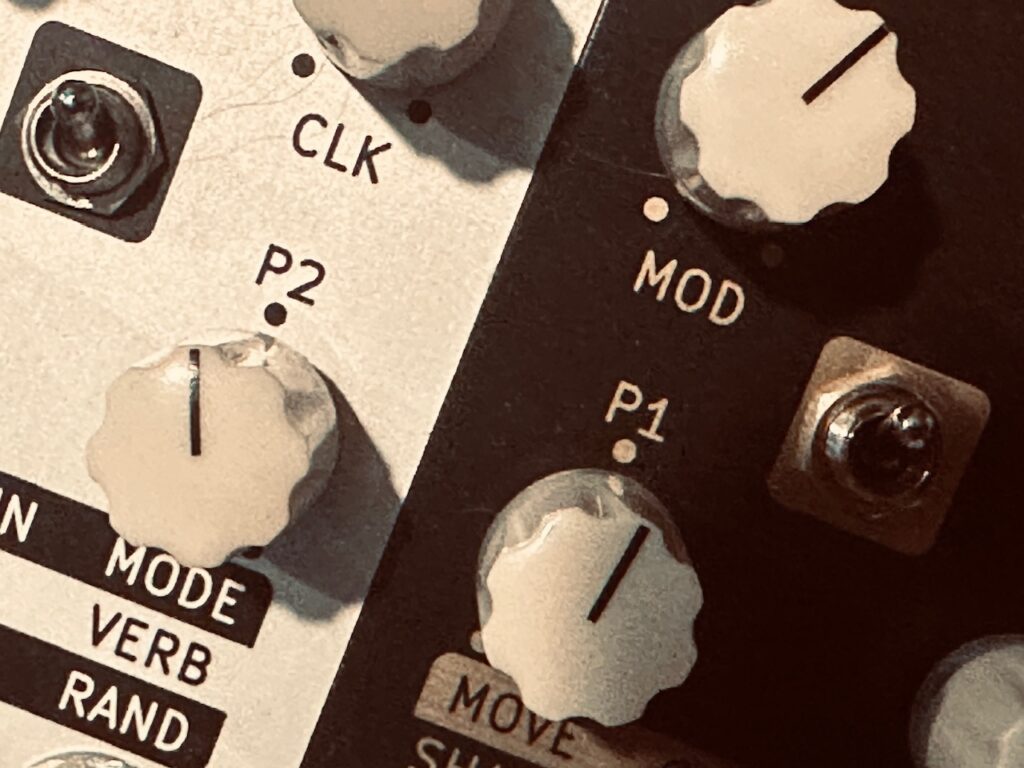
Looking to texturize the sound, I patched the Lo Strings through the venerable Dradd(s) in Grain mode. This sub-patch has become a staple in a goodly chunk of my recordings. Because the Dradd(s) are a (set of) live processor(s), rather than audio needing to be pre-recorded to a buffer, they act as a almost granular delay in a way that I find intoxicating. Sound goes in whole, and comes out with granulated trails. I often liken the result to the wake of a boat, or the smoke of a fire streaming about as the solid material burns. It’s a greatly unstable sound, promoting images of decay and fragility in the most beautiful ways. I’ve often thought about getting a stereo Dradd, but, like Caudal, it too is only seldomly produced, and they sell out near instantly. Caudal also acted as the only modulator for the Dradd(s) as well, controlling P(arameter)1, causing the Dradd(s) to subtly change the the level of grain shuffling and randomization.
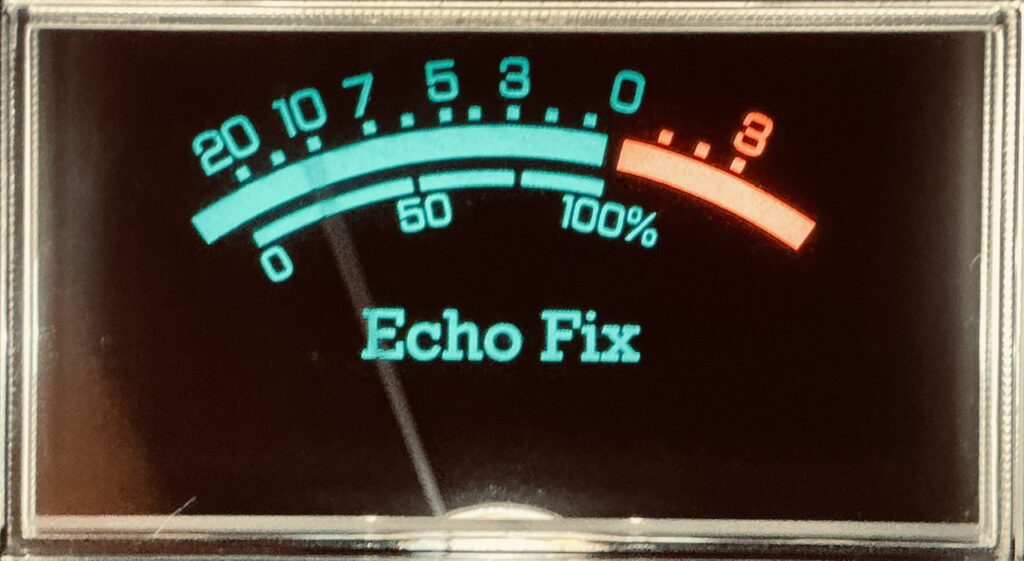
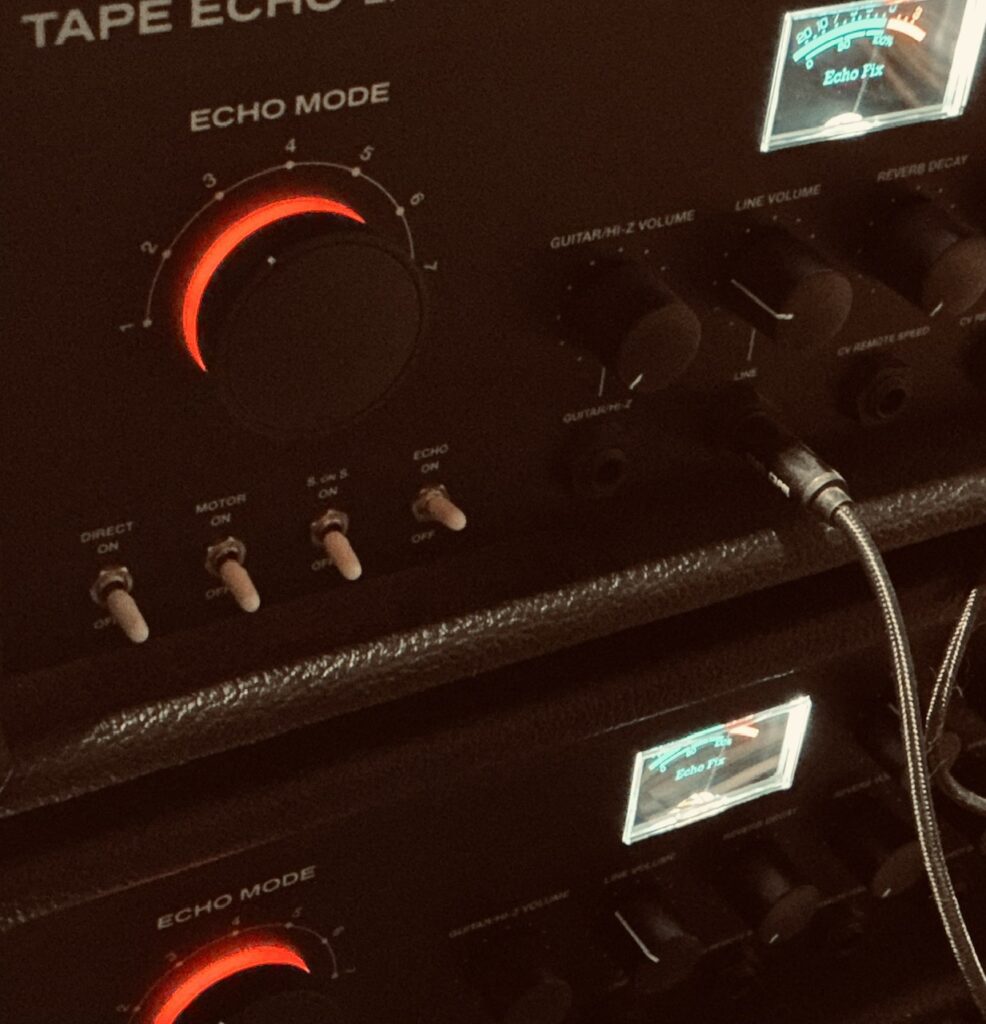
Once through the Dradd(s) the Lo Strings and their granulated trails were patched to a pair of Echofix EF-X2 tape delays, both for its wonderful tape magic, and also because of its superior preamp. Together they add the perfect amount of mojo to any sound. In this particular patch the tape echoes are used primarily to add length to the sounds going through them, along with a hefty dose of entropy to sweeten the pot and sense of fragility.
Once I had a proverbial orchestra laying an ever-shifting foundation built on frail bedrock I knew it was time for ornamentation. This piece didn’t really require a melody, but it did call out for a bit of playful flourish. Rather than resorting to samples, I decided to synthesize the sounds. My initial thought was to use primarily my Instruō Subsystem, but putting these short plucks through a standard VCA wasn’t satisfactory to me. I’ve long enjoyed Instruō, but I do not care for their solution for a LPG, Aradh. Being a button combo heavy affair, along with other aspects I consider shortcomings (like shared CV inputs) it’s just not at all the kind of module I find enjoyable to use. Had I the foresight to install my latest case rearrange, I would definitely have used my new set of Tokyo Tape Music Center Tokyo Gate 2 LPGs, but since I didn’t, and didn’t feel like cycling the power to switch out cases in the middle of patching, I went with the world class Natural Gate.
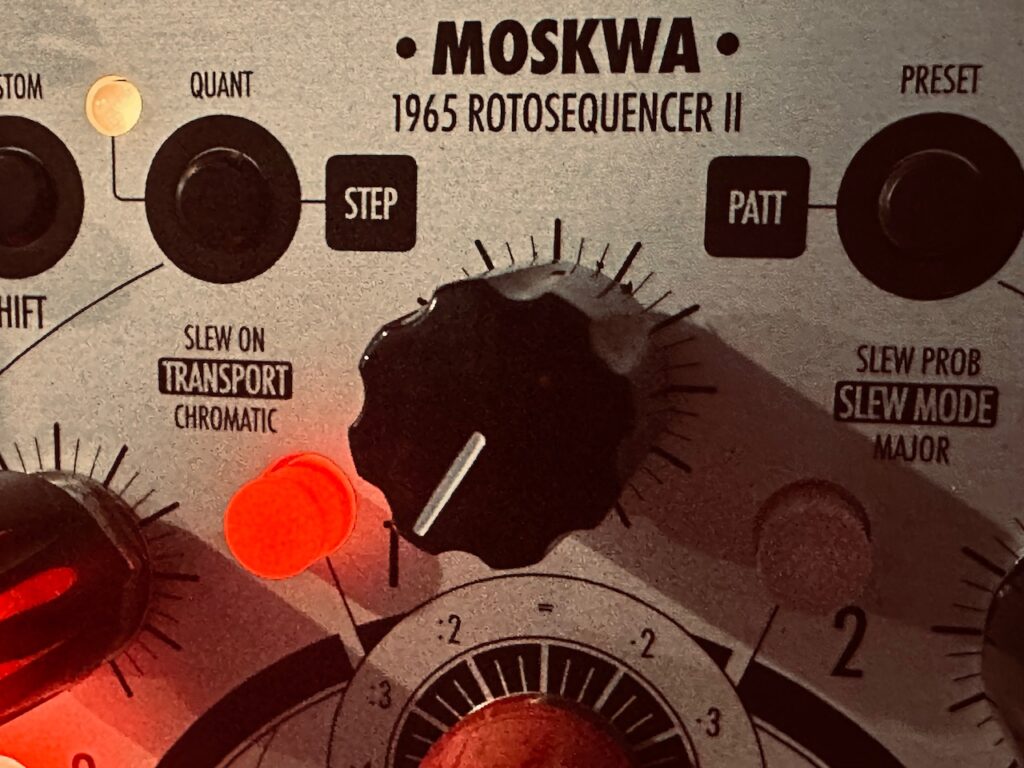
This part of the patch is much less straightforward than any of the other parts. It begins with one of the chaos signals from Caudal modulating the clock of the Xaoc Devices Moskwa/Ostankino II. Being a chaos signal predictability is minimal. The signal goes up and it goes down, but not in a uniform way, which resulted in a clock that both sped up and slowed down with a sense of very loose regularity. I wanted to use the Glasgow Synth Guild Oct-Tōne as a sequencer, but since its clock is not modulate-able I pivoted to the Moskwa/Ostankino pairing as solely a gate source, triggering, via the CuteLab Missed Opportunities, Ornament & Crime’s Quantermain, the AD envelope that opened the gate on Natural Gate, as well as the Hit input on Natural Gate itself. The signal used as the source for the pitch was, not coincidentally, yet another chaos output from Caudal. As this part was introduced, the Density on Missed Opportunities was set quite low. Perhaps only one in three or one in four gates were let through. But as the piece progressed, I manually opened up the Density to 100%, which allowed virtually every gate through, resulting in a beautiful spinning kaleidoscope of sound. Though I’m not at all unhappy with the result, I probably would have served the piece better had I used Missed Opportunities mostly or fully open the entire time. I just subjectively feel like it’s better. The oscillator used was the pulse wave output from the high value powerhouse Instruō Ts-L, with the pulse width lightly modulated by the fourth stochastic function from the Addac506. I initially tried a chaos signal, but felt the result was much better using a more regular function.

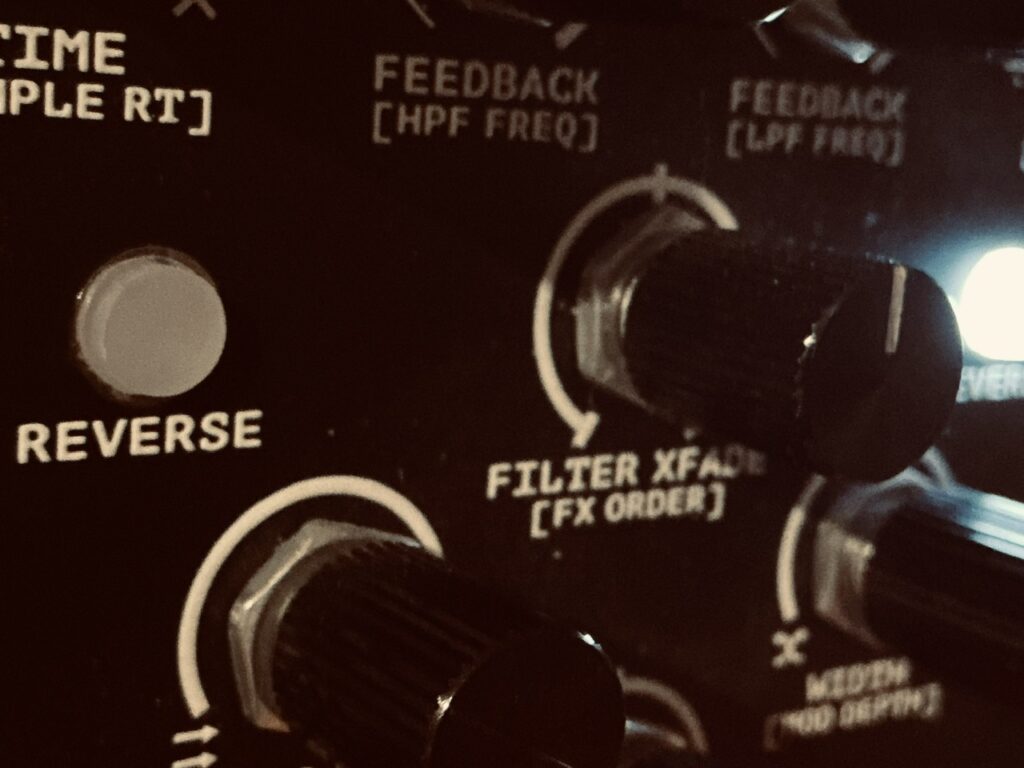
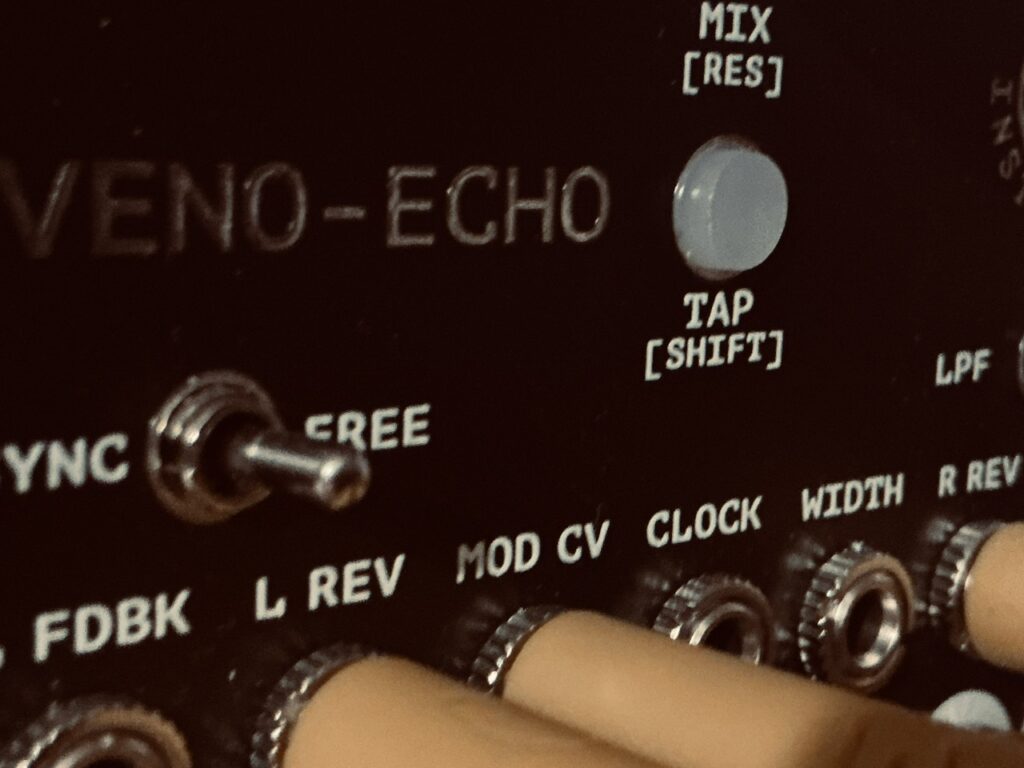
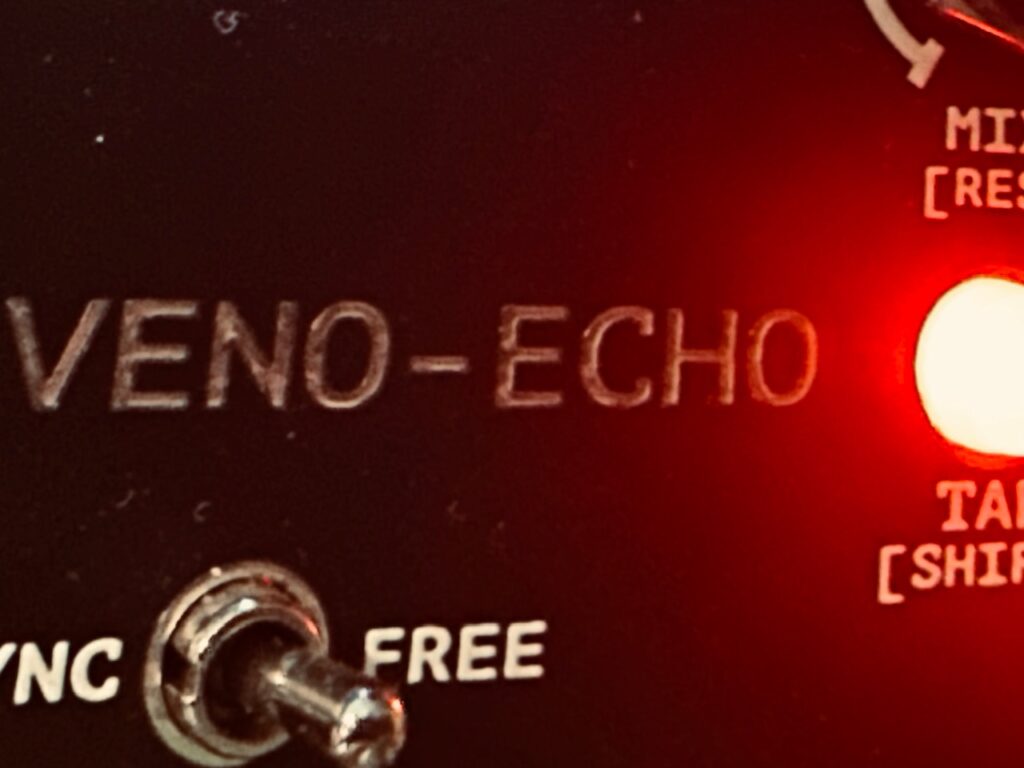
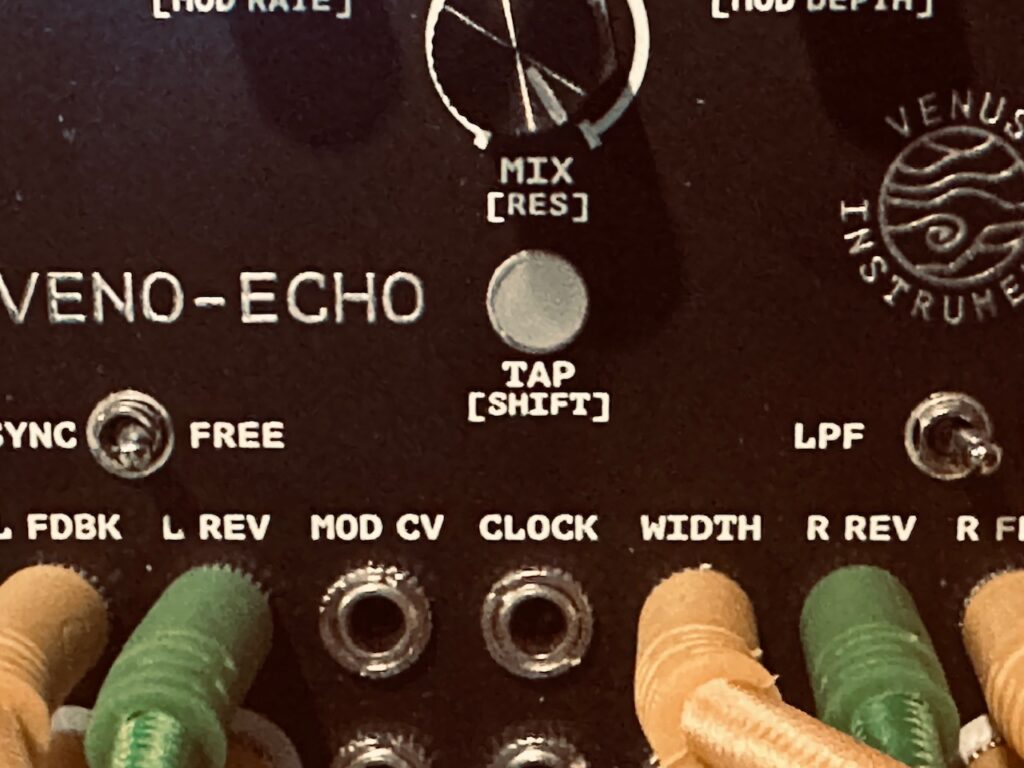
The output from Natural Gate was patched to what is perhaps my favorite all-around Eurorack delay, the Venus Instruments Veno-Echo. Each side was set to a slightly different delay time, and all of the internal modulation and effects were removed. It sounded really good with sample rate reduction, but only in isolation, and that sound just wasn’t what this piece called for.
Here too Caudal made its mark. Gates from Numberwang, along with triggering the Lo Strings samples, also served to trigger the Reverse function on and off for both sides of Veno-Echo. Being that only a single gate output was used, the triggers were seldom, which was great. Caudal also modulated the feedback for both sides, chaotically bringing the number of repeats from just one to nearly infinite and back again.
In short, nearly every facet of this patch was controlled by just one set of interrelated chaos signals. Through these various processes, four modeled fish swimming in their virtual tank were able to help create something of incredible beauty. Despite having its own peculiarities (which patch doesn’t?), I’m quite proud of this recording. I set out with a goal: to use this particular chaos to drive an entire piece of music, and in that I succeeded admirably. Caudal is a wonderful module capable of many things. I’ll be sure to not ignore it again.
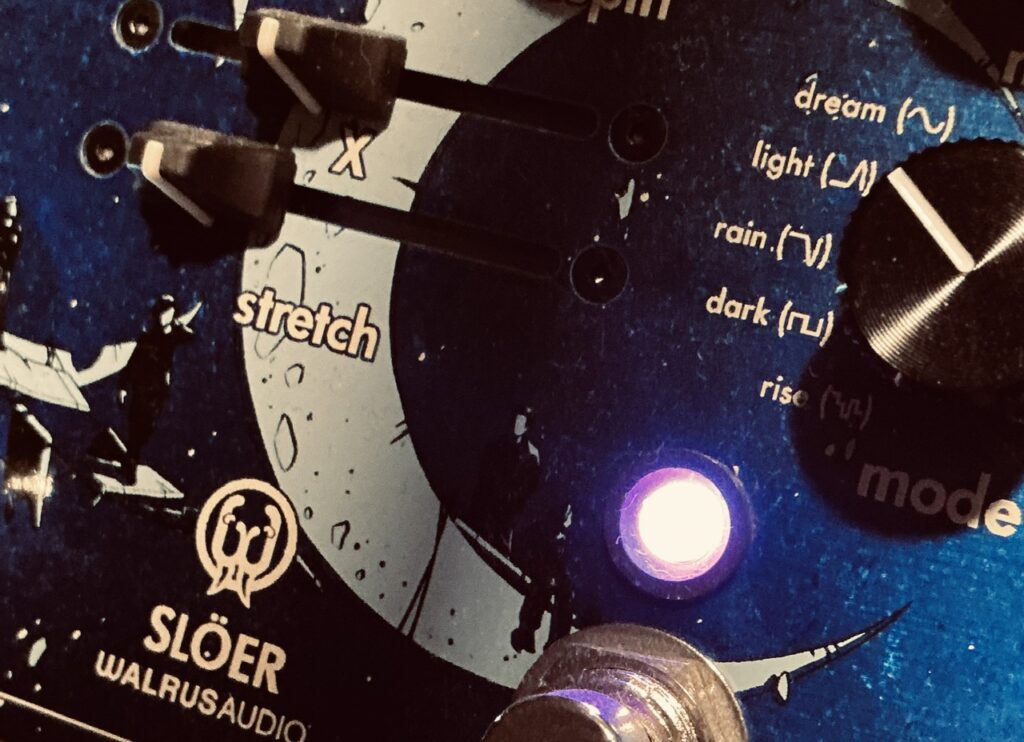
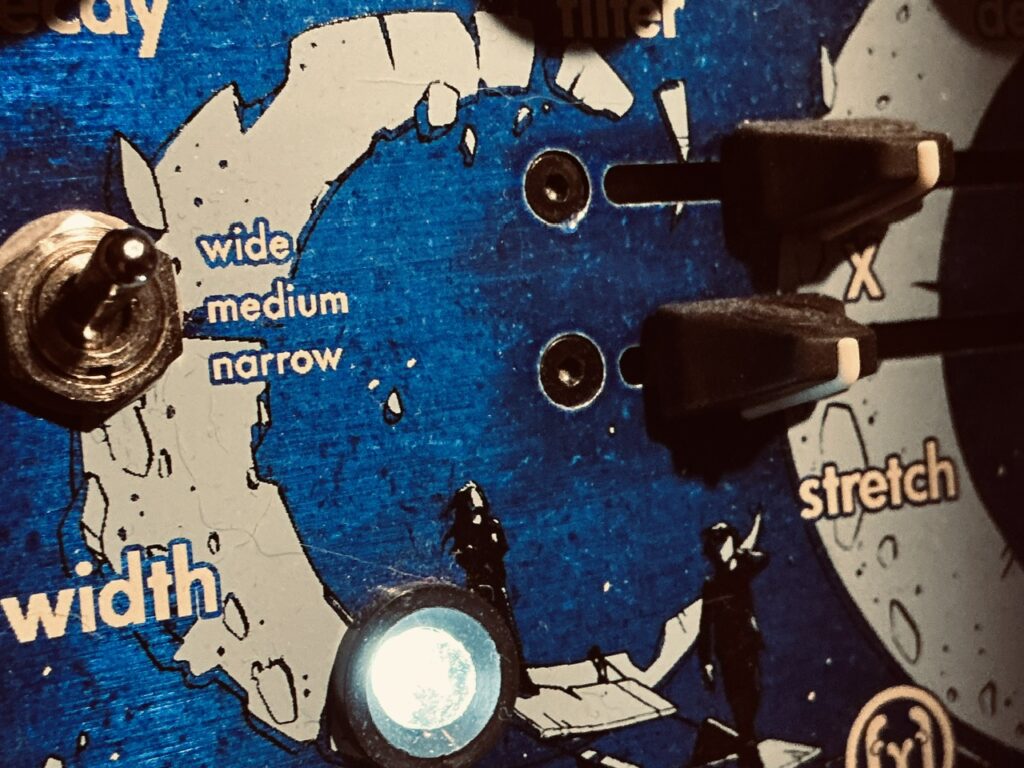
Like almost all of my patches, everything was sent to the Walrus Audio Slöer for reverb, this time in Light Mode. Though reverb is “just space”, Slöer is most definitely more. It’s a voice unto itself, helping to create the choir effect heard throughout the piece. Even on days when I want to experiment with other reverbs, Slöer has a way of dissuading me.
Modules Used:
Vult Caudal
Humble Audio Quad Operator
Intellijel Amps
Bizarre Jezabel Quarté Mk2
Nonlinearcircuits Numberwang
Expert Sleepers Disting NT
Pladask Elektrisk Dradd(s)
Xaoc Devices Moskwa / Ostankino II
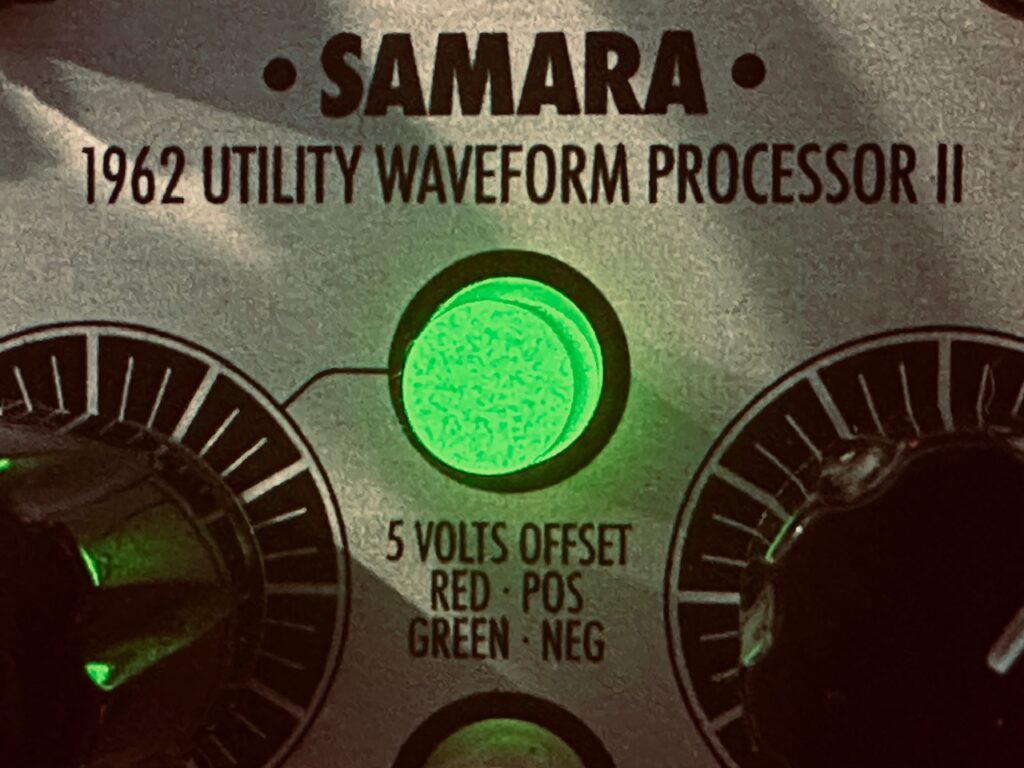
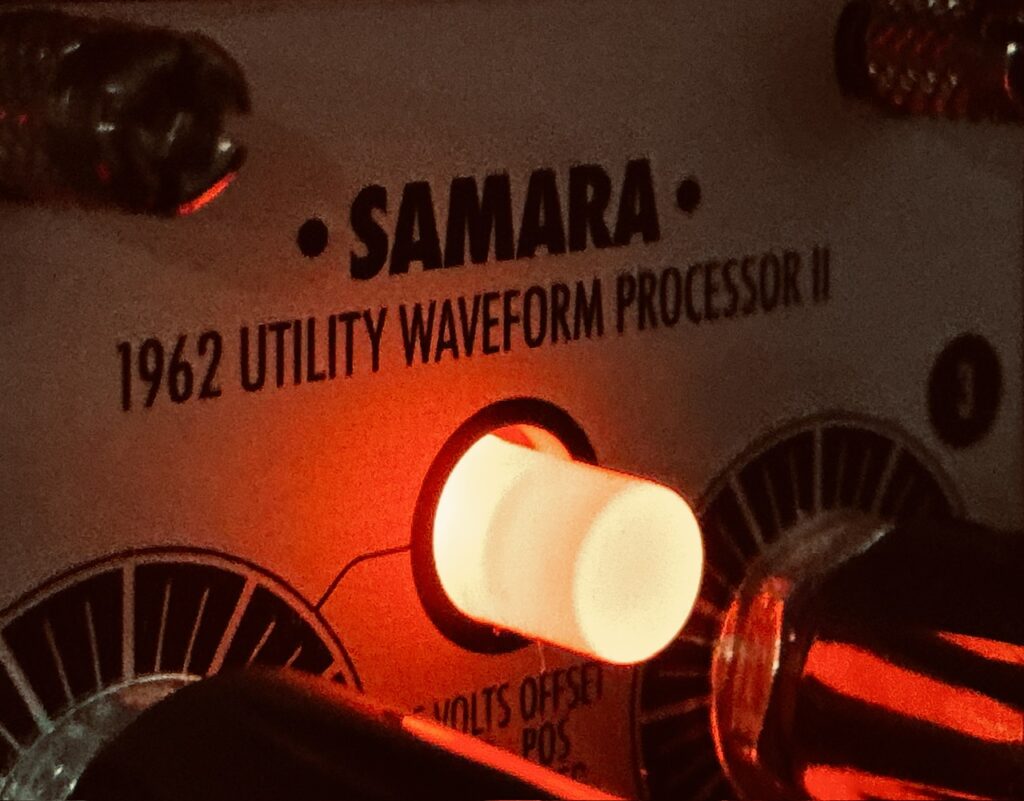
Xaoc Devices Samara II
Xaoc Devices Warna II
Instruō Cnoc
Instruō Ts-L
Instruō Tagh
Instruō I-o47
Instruō Carn
Calsynth uO_C
CuteLab Missed Opportunities
Venus Instruments Veno-Echo
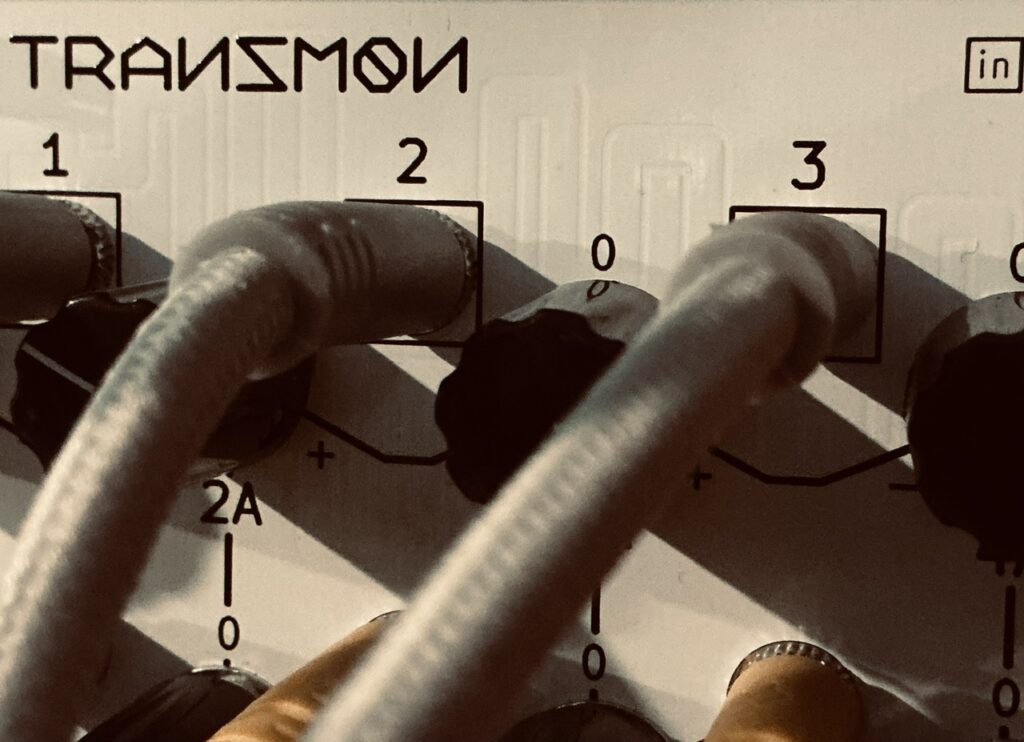
Atomosynth Transmon
Addac814 6×6 Stereo Matrix Mixer
Addac506 Stochastic Function Generator
ST Modular Sum Mix & Pan
Vostok Instruments Asset
Rides In The Storm QAM
Klavis Tweakers
ST Modular SVCA
Knob Farm Ferry
Outboard Gear Used:
Echofix EF-X2
Walrus Audio Slöer
Noisy Fruits Lab Lemon
Plugins Used:
Toneboosters Equalizer 4
Klevgrand Luxe
Improvised and recorded in one take on iPad in AUM via the Expert Sleepers ES-9.