A Whirly Tube Of Chaos

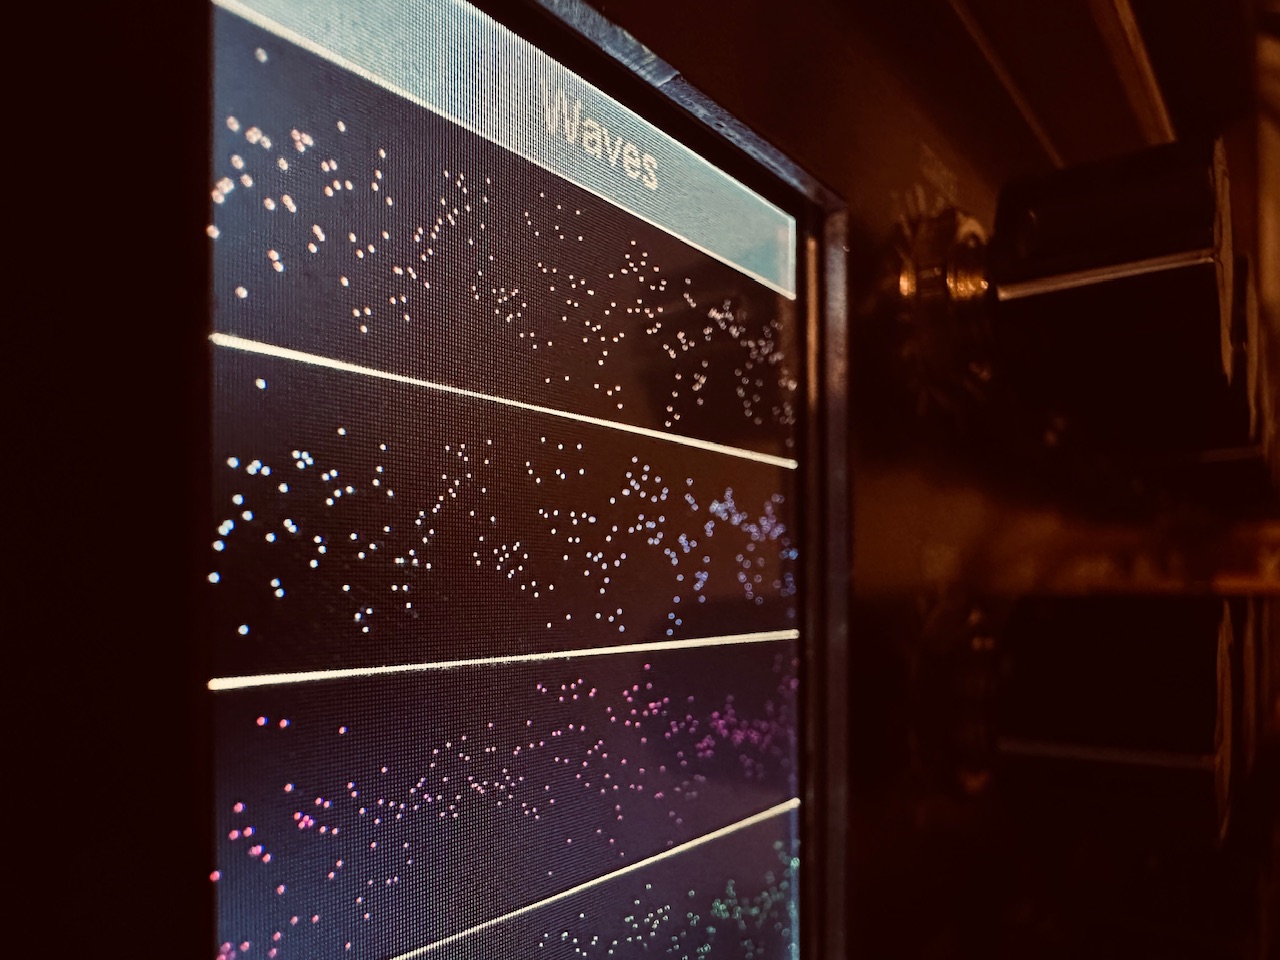
Still inspired by my latest patch, I decided to once again use four slow waves to control the levels of the Synthesis Technology E370, gently bringing them in and out of audibility. But rather than using Swell Physics to set the flow, I decided to use the flow of pure chaos. These sorts of soundscapes are amongst my favorite patches to create. They’re almost always exceedingly beautiful, and I’ve found that even similar patches can yield radically different results. I have a small library of slow motion patching techniques I use regularly, and I’m continuously looking for new ways of expanding upon them. Whether that be newly created control schemes, or simply making small adaptations to ones already in my toolbox, I’m constantly seeking new routes and trying to learn new methods.

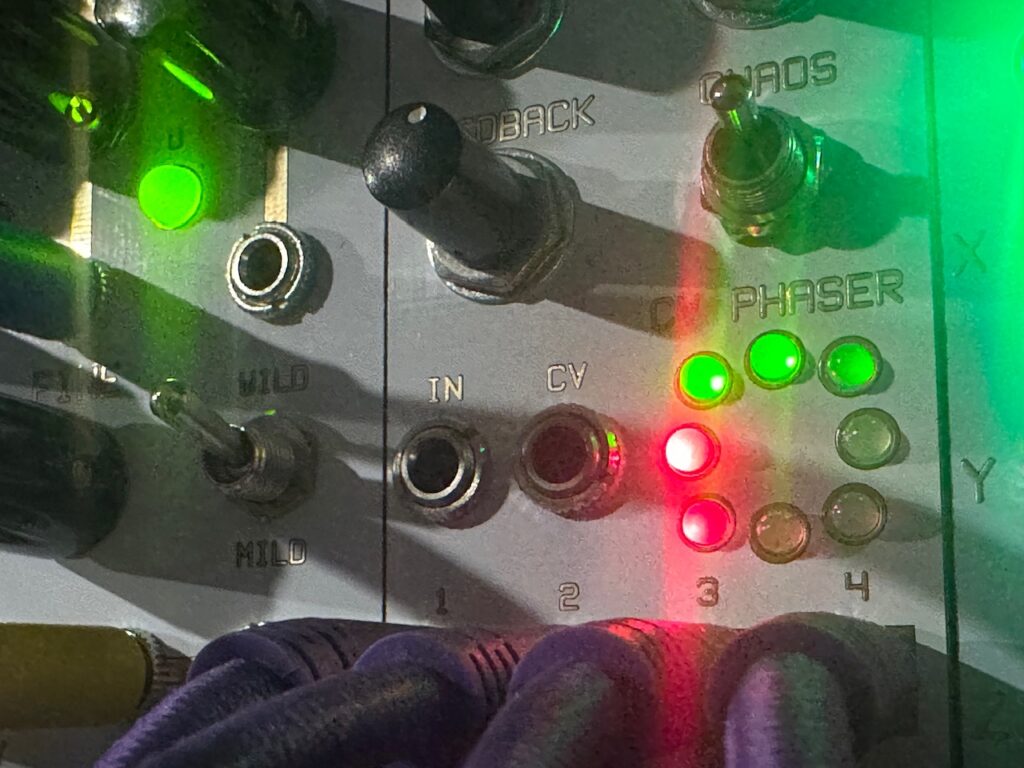
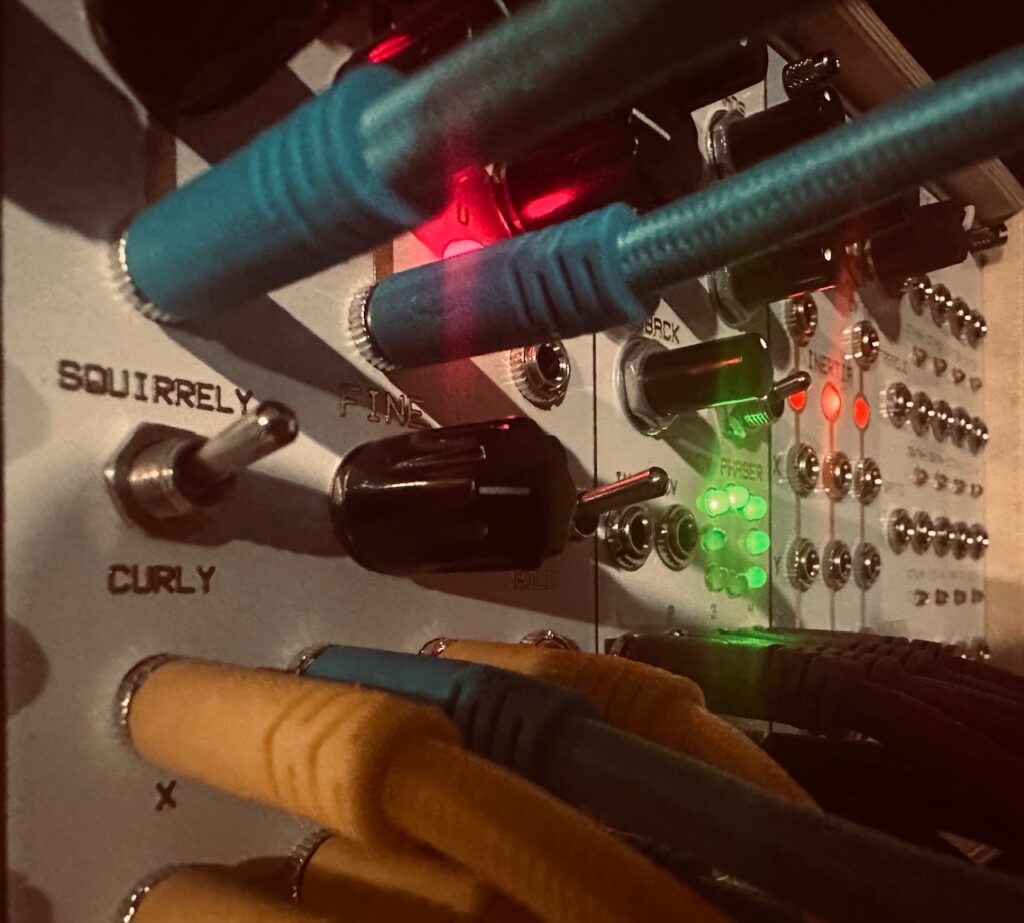
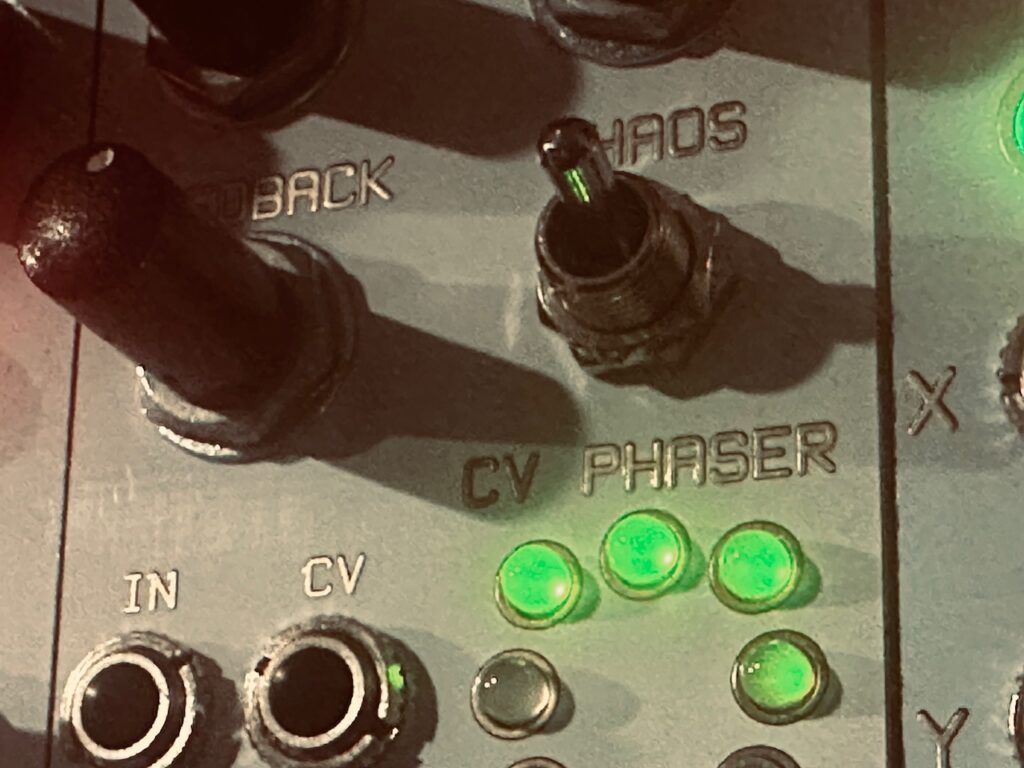
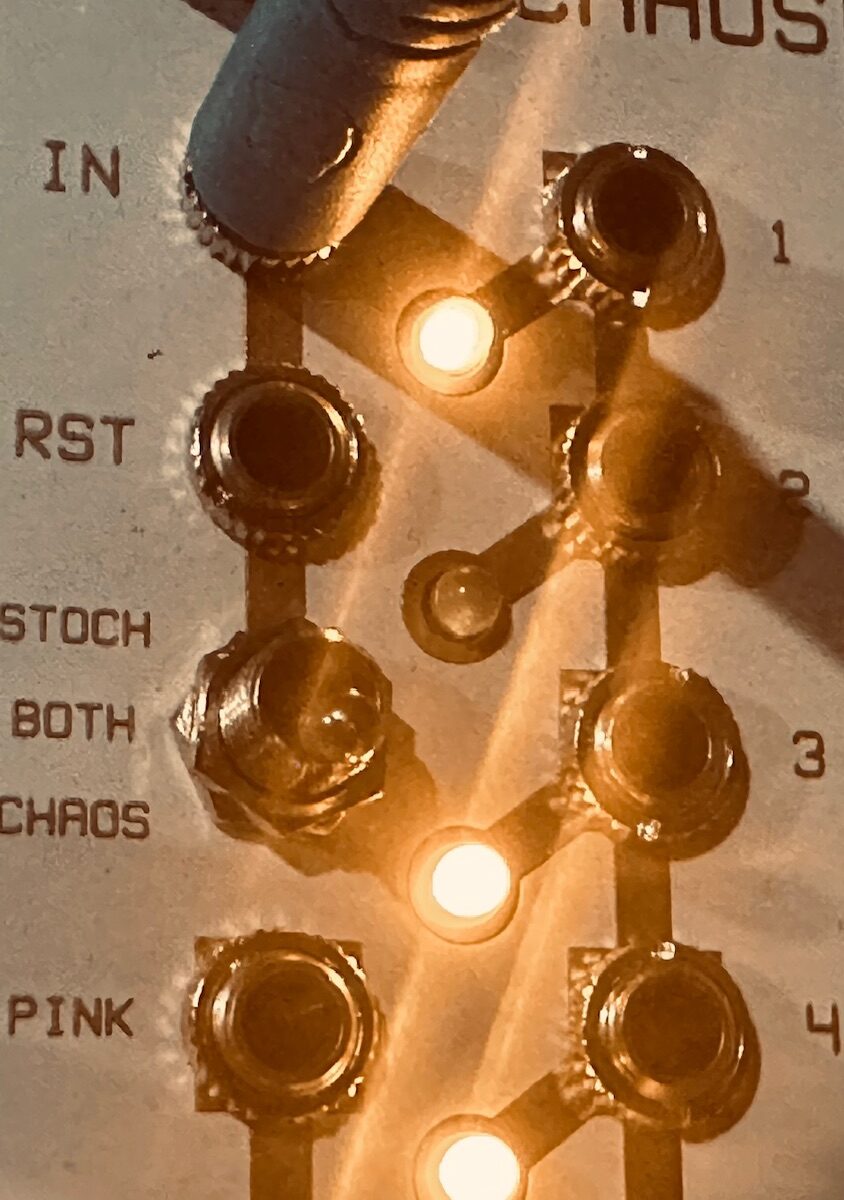
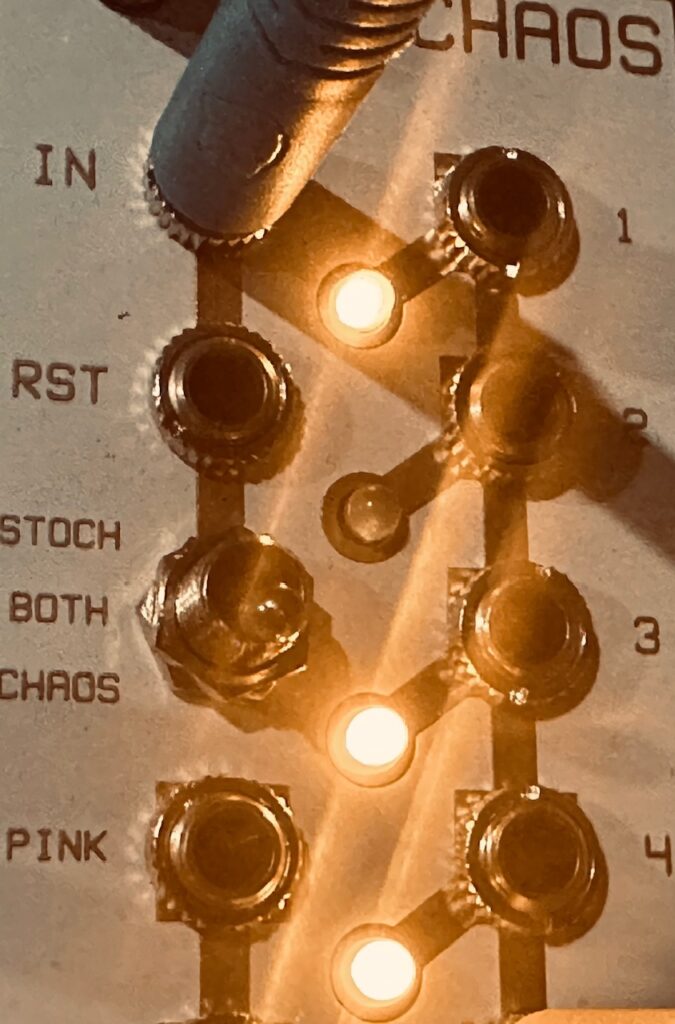
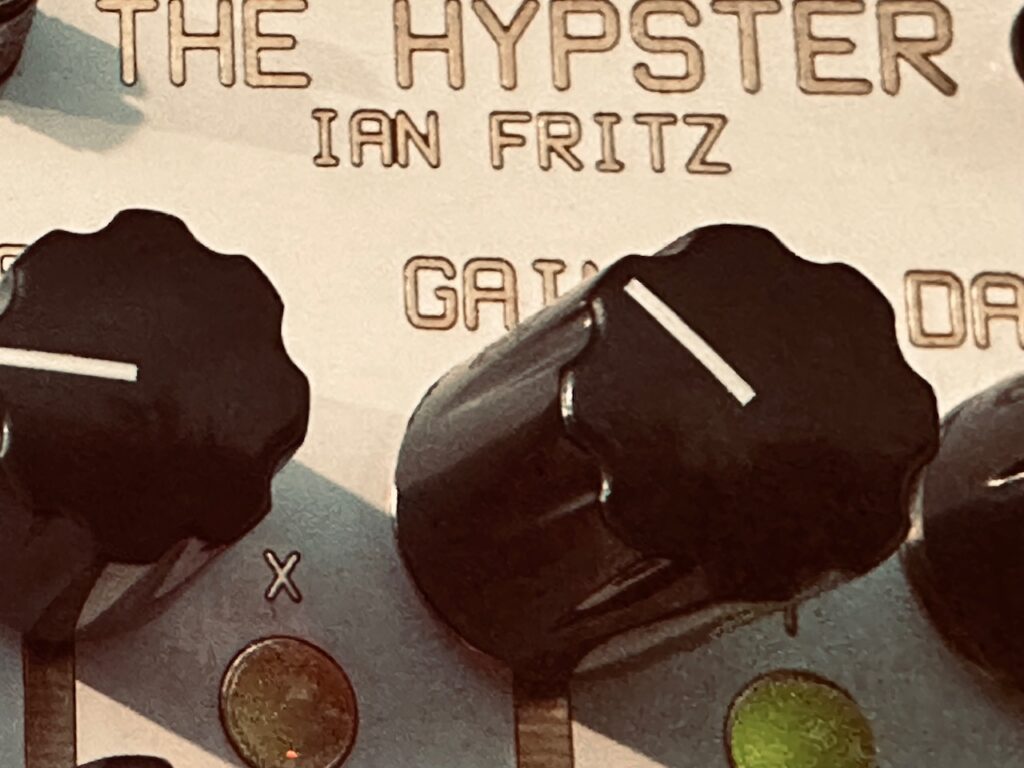
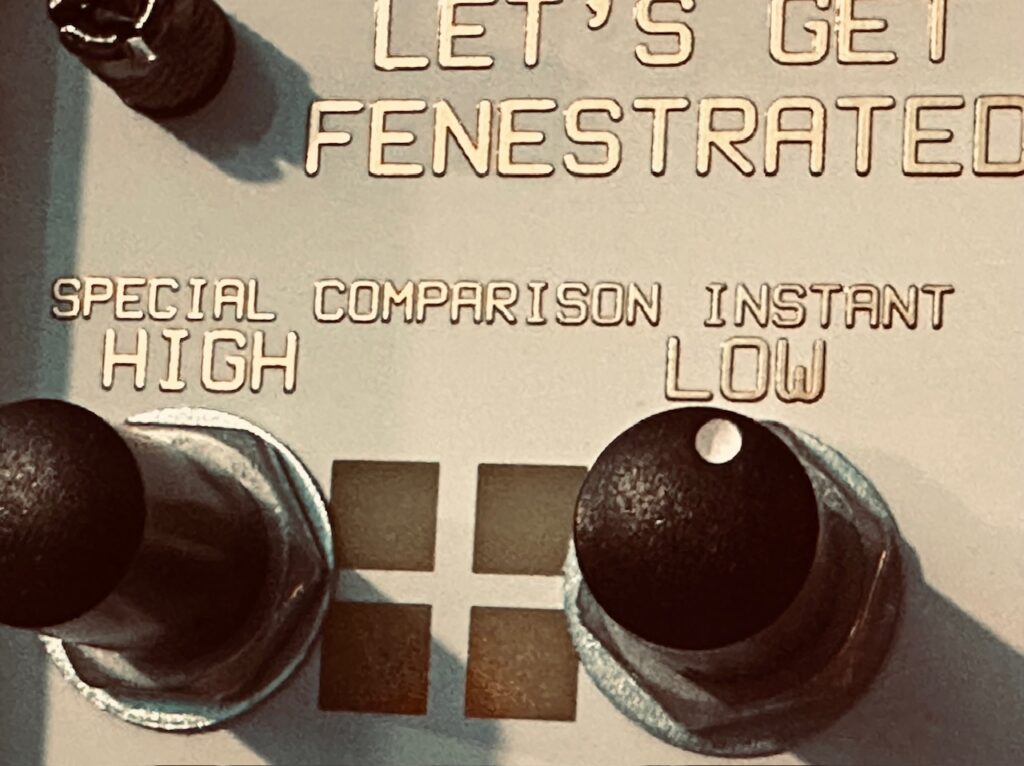
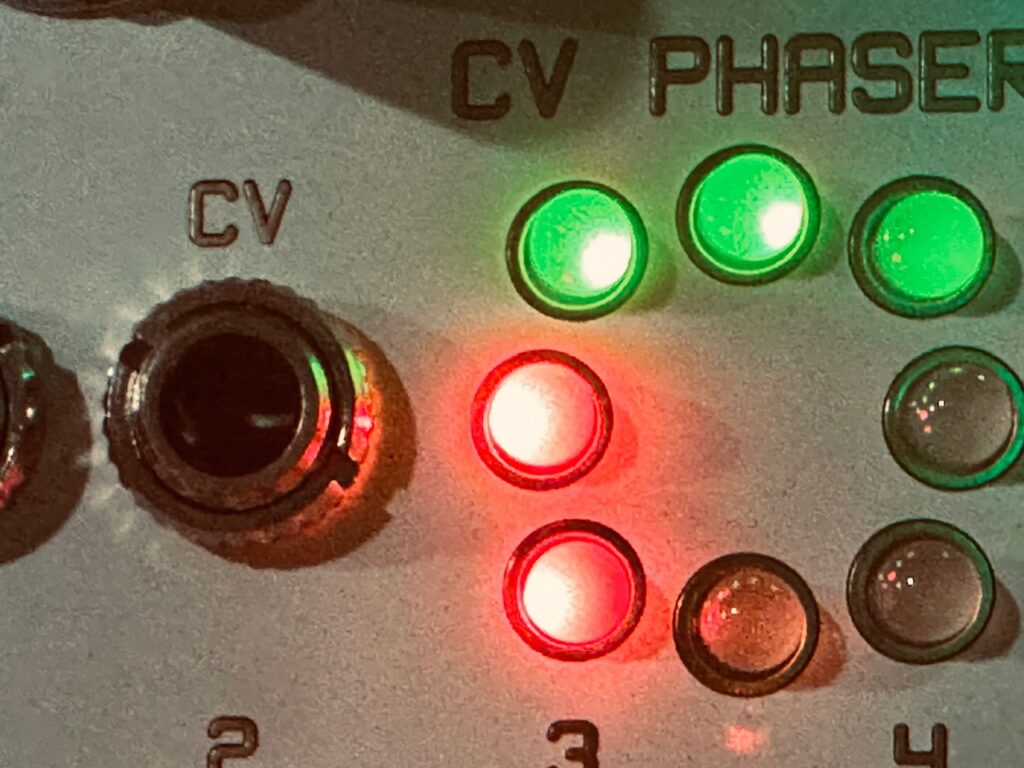
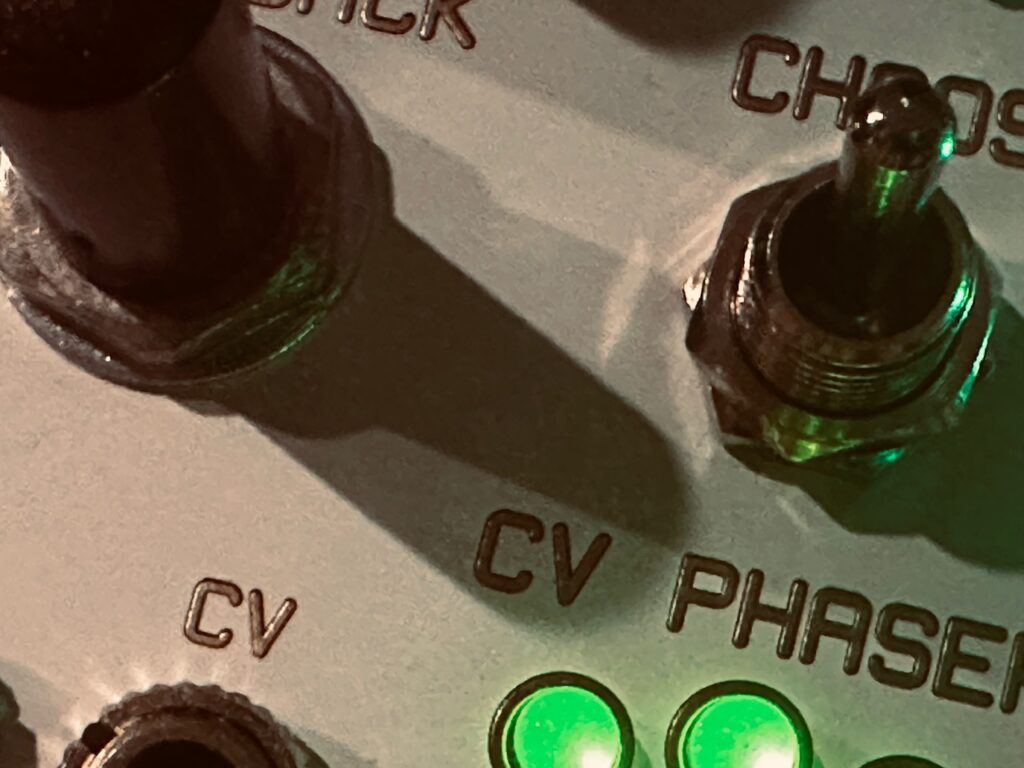
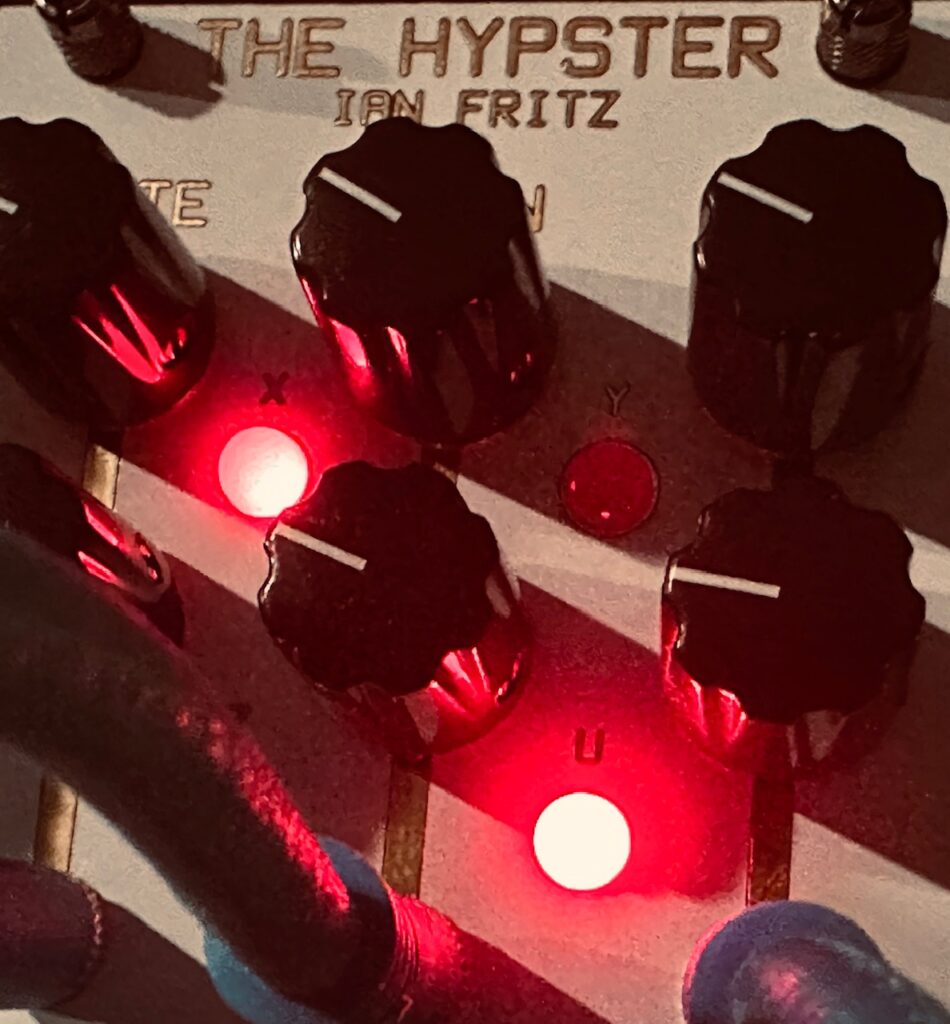
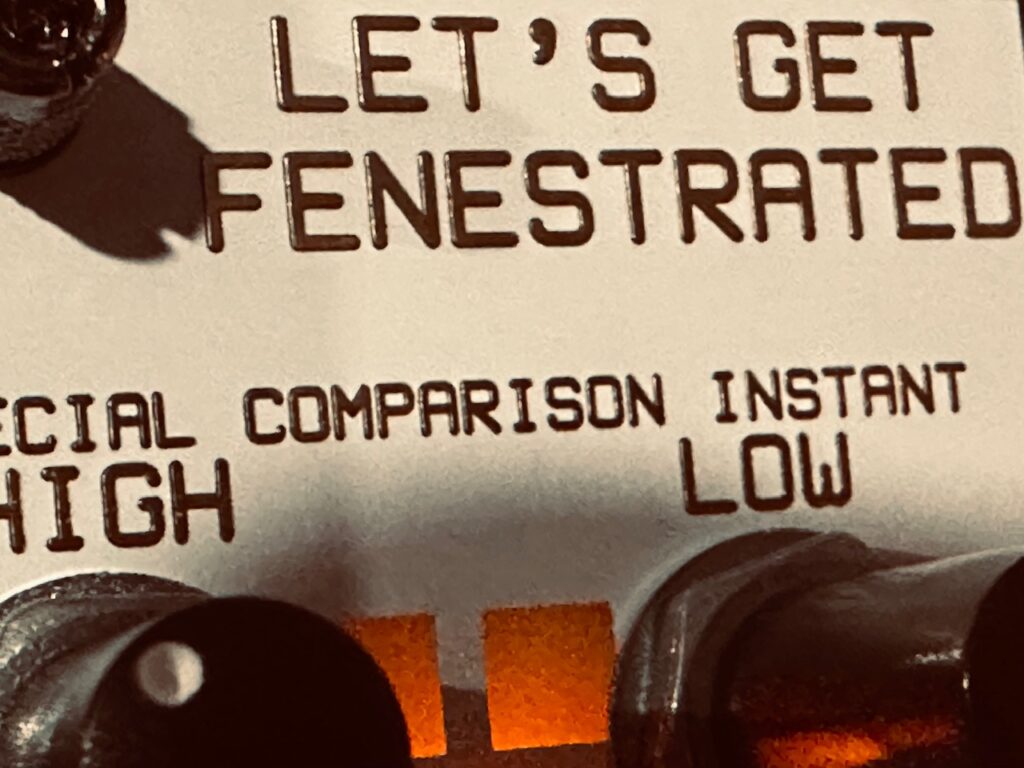
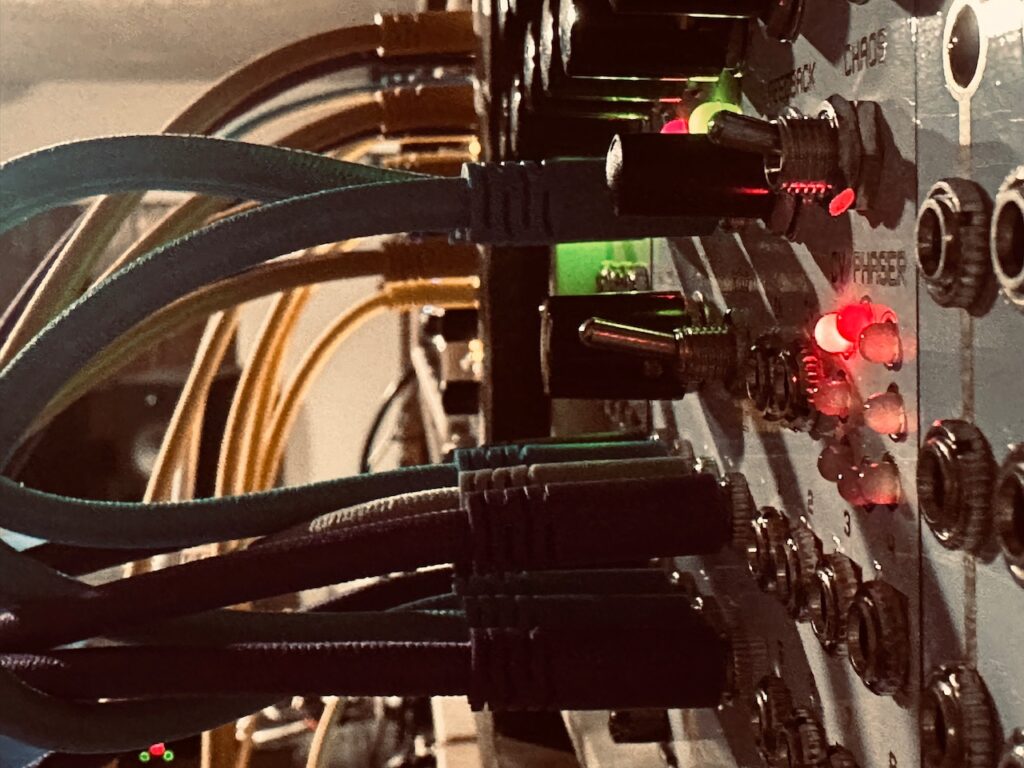
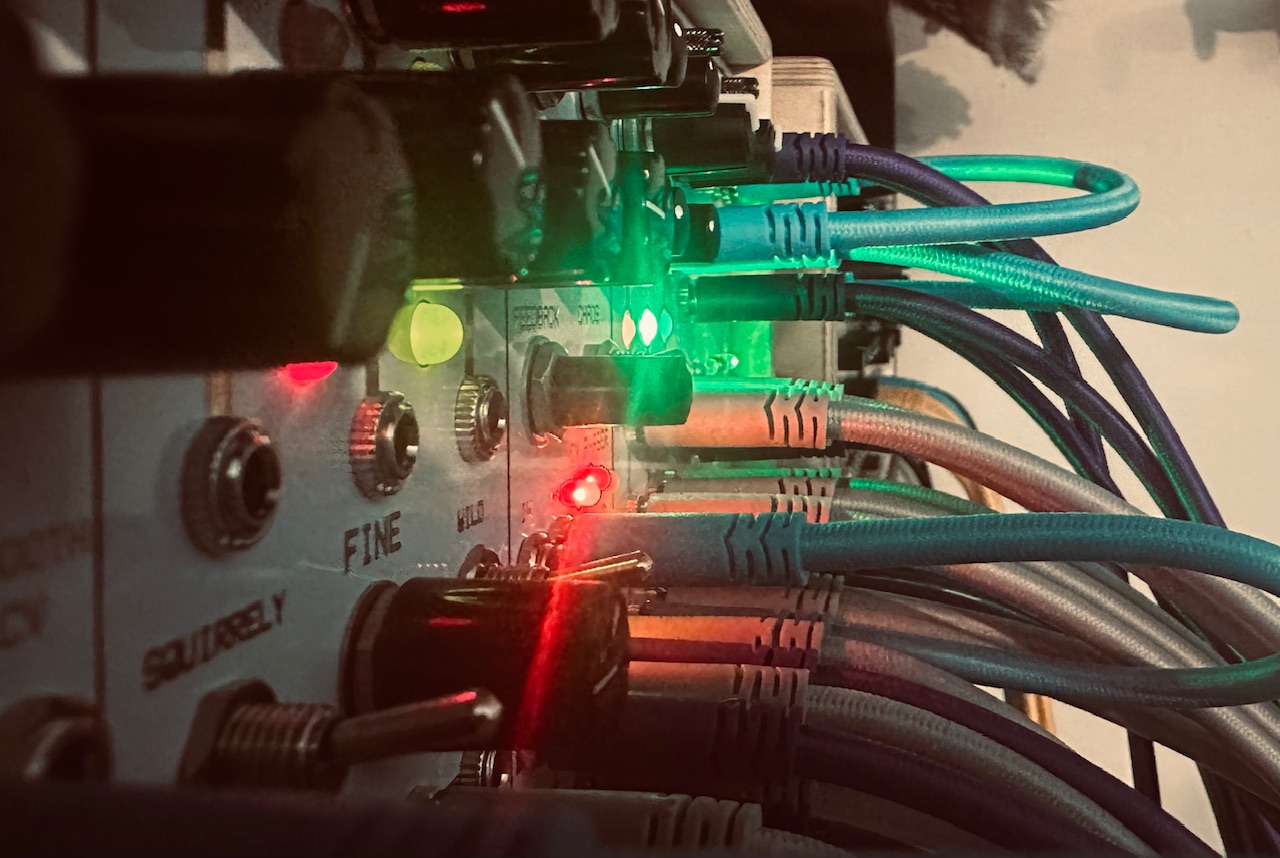
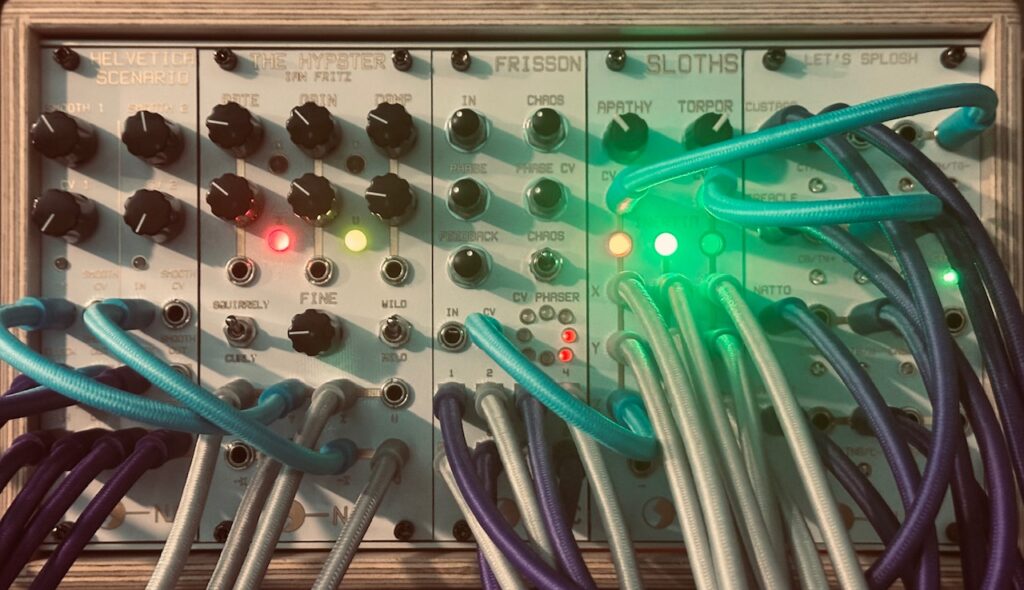
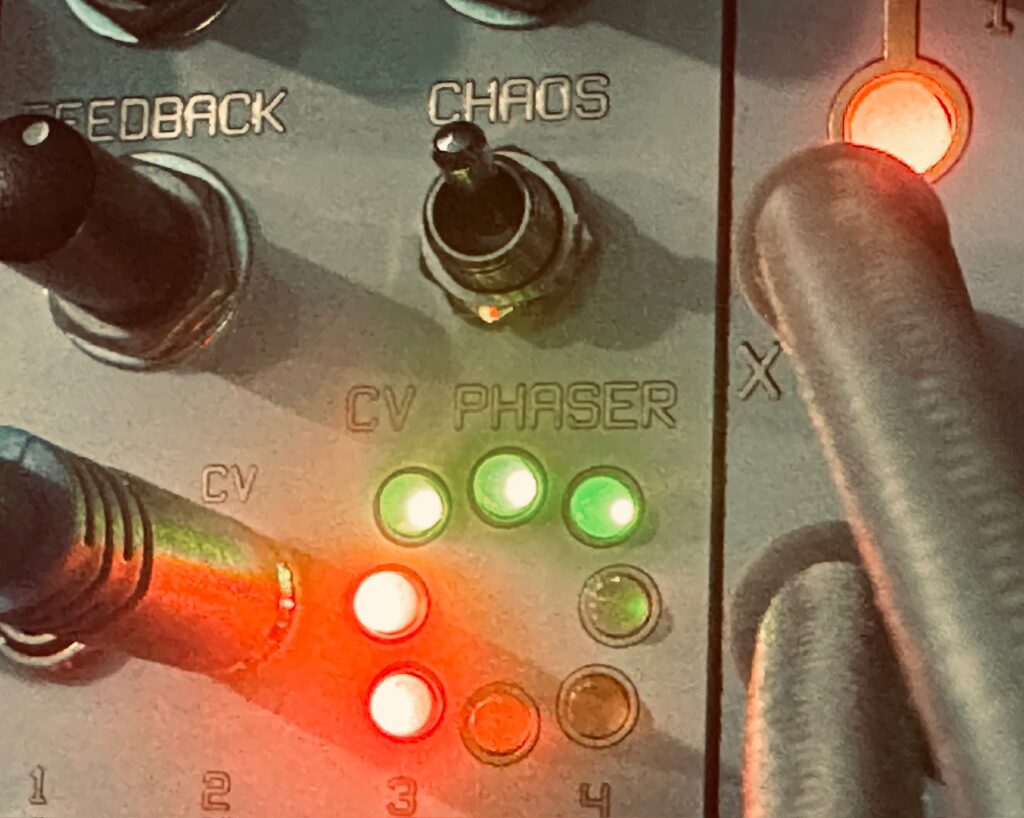
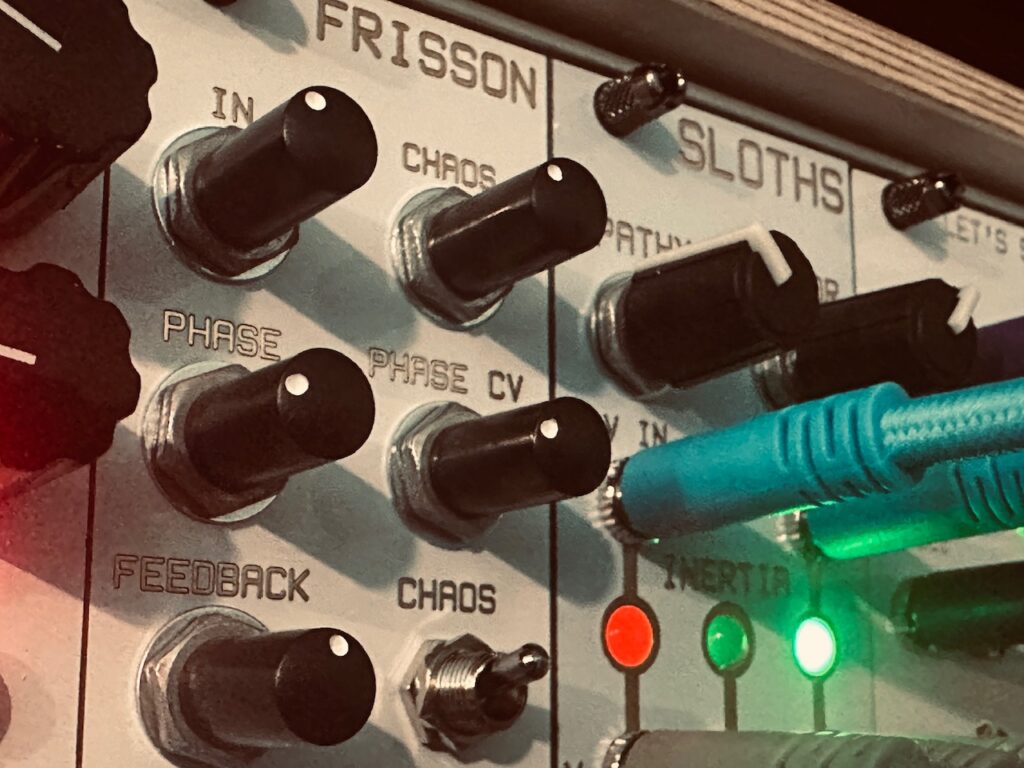
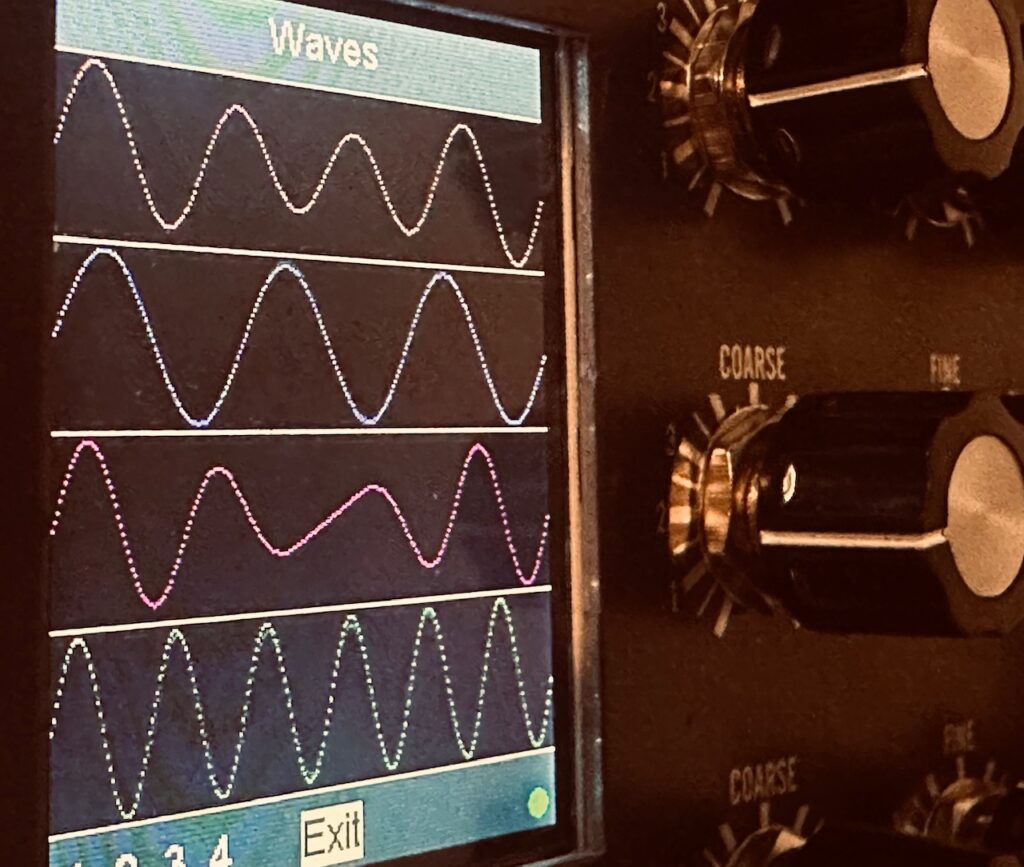
The beating heart of this patch began with the Nonlinearcircuits Frisson, an eight output chaos module based on Mackey-Glass equations, with some help from its chaotic friends, Helvetica Scenario, Triple Sloth, and The Hypster, as well as assists from fellow NLC friends, Numberwang and Let’s Splosh. Frisson is a chaos module that gives some control, but not an overwhelming amount. You can control phasing of the outputs, which also increasingly have more slew, and the speed can be somewhat controlled, though not really. You can also CV control the phasing, or inject an external signal into the internal chaos. It also can be alternatively used as a CV phaser, taking an input, while phasing the outputs and increasingly adding slew. It’s a fantastic way of getting eight closely related modulation signals. I’ve used Frisson in the past, it was a goodly part of my last patch too, but this time I used it differently. Rather than being solely used for modulation of some secondary parameter like a filter cutoff, this time Frisson’s chaos was the star of the show, with four randomly chosen outputs directly controlling the Synthesis Technology E370 output levels in the Intellijel Amps, while the other four outputs were patched to Let’s Splosh to be spread through the system. Having chaos directly control levels is interesting, because it means you’re hearing chaos and it’s meandering directly, as opposed to indirectly via the modulation of a secondary parameter. When the chaos signals rise, so too does the sound of each oscillator. As the chaos moves through its circuitous oscillations, you can hear its mood. Sometimes bold, other times shy and apt to change its mind, chaos is the highlight of this patch, not part of a side show. I’ve done similar patches before using chaos, most notably Jamuary 2509, but I tend more towards Swell Physics, or some form of LFO over straight chaos for this kind of job. Here, Frisson and its chaos form the basis of everything.

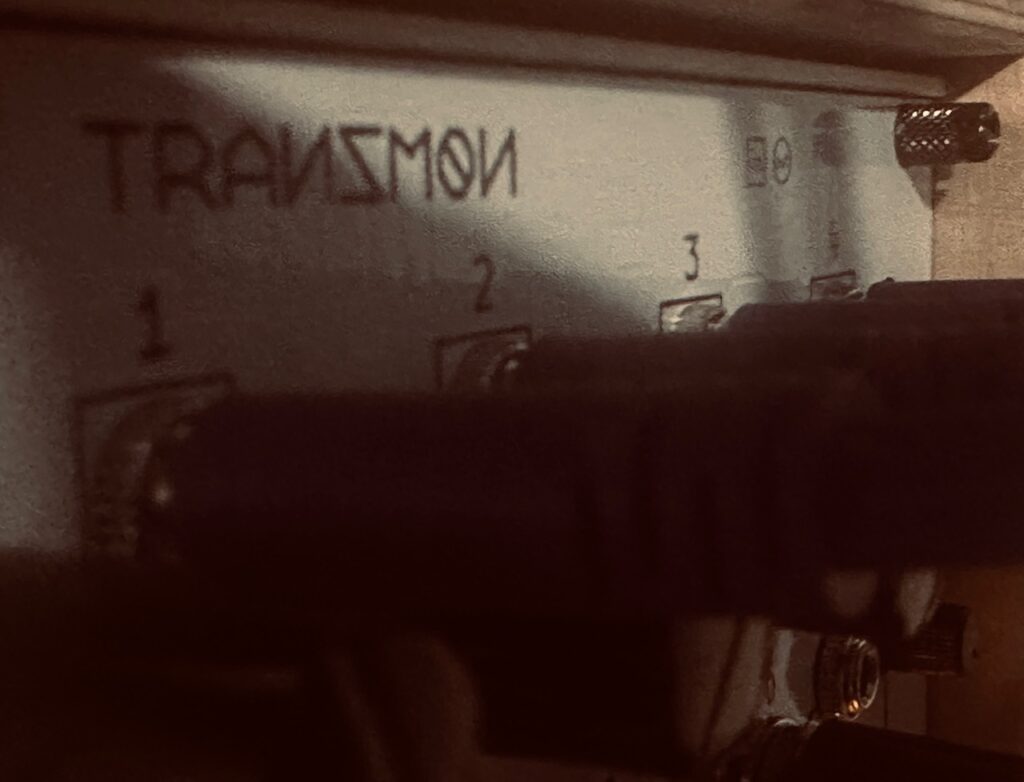
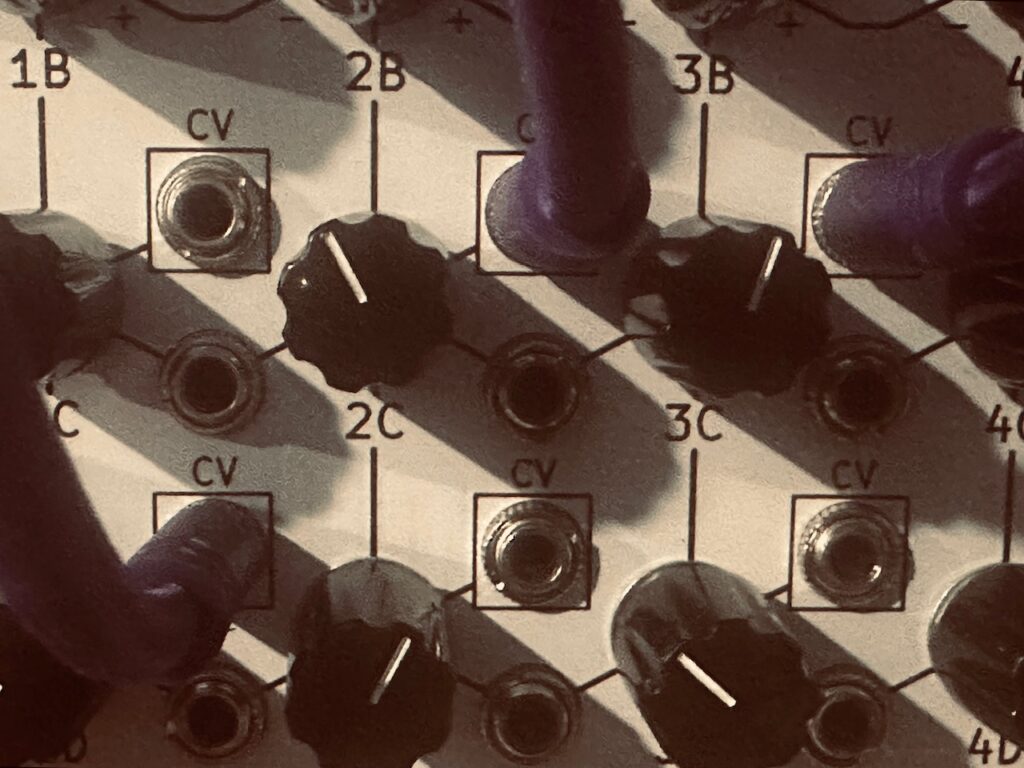
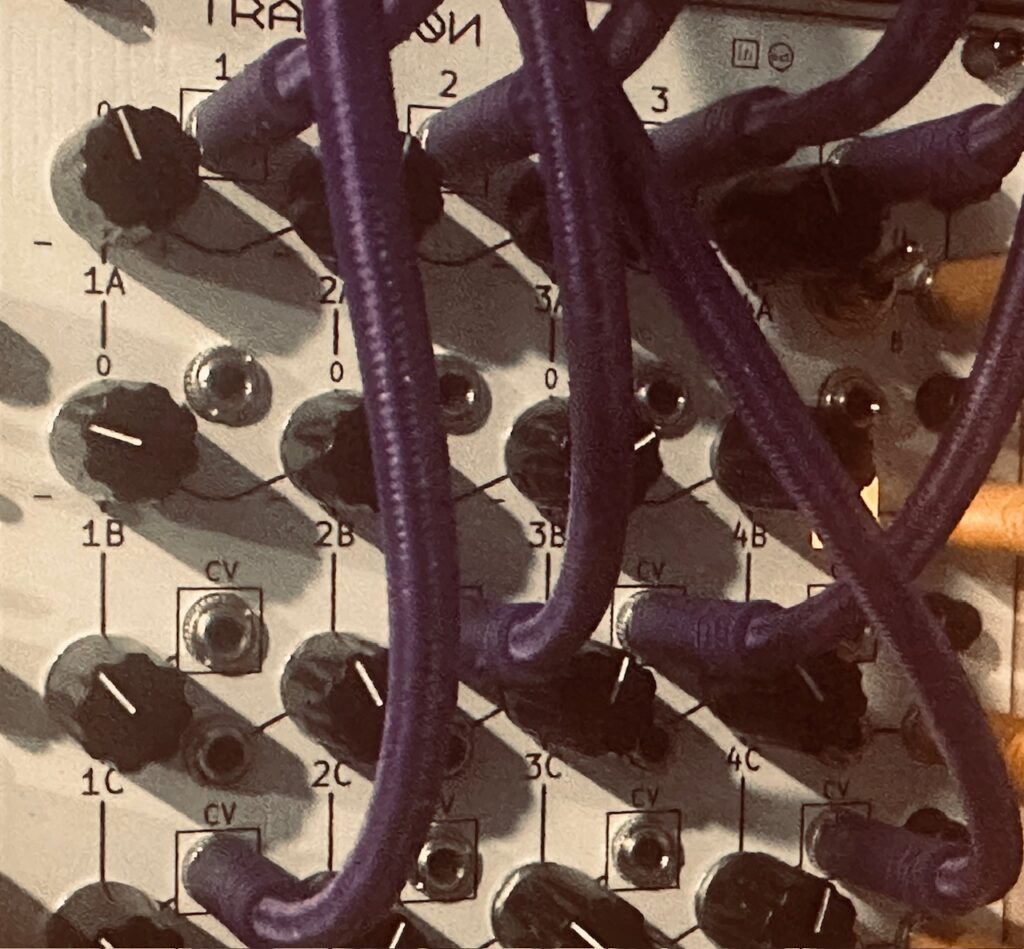
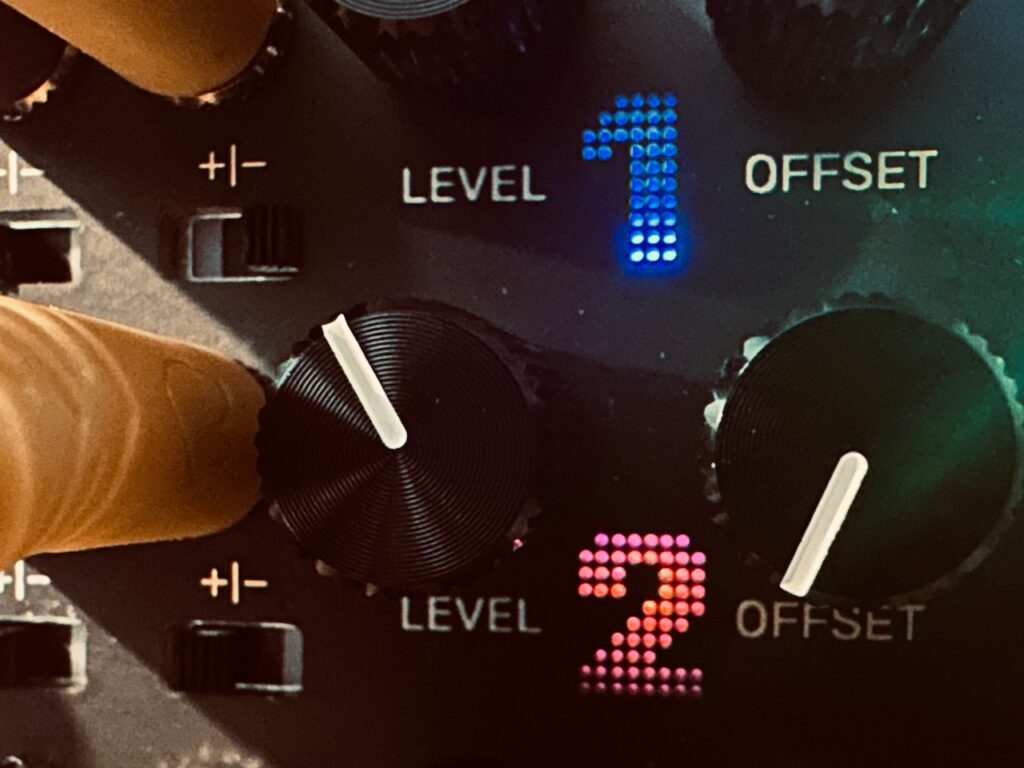
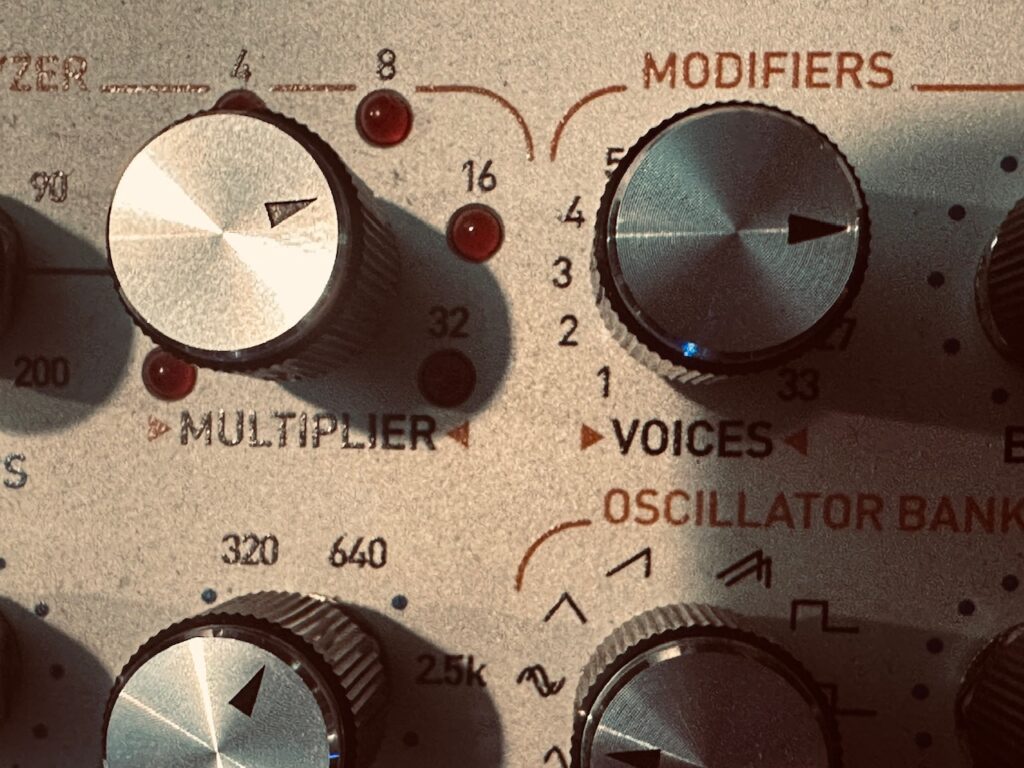
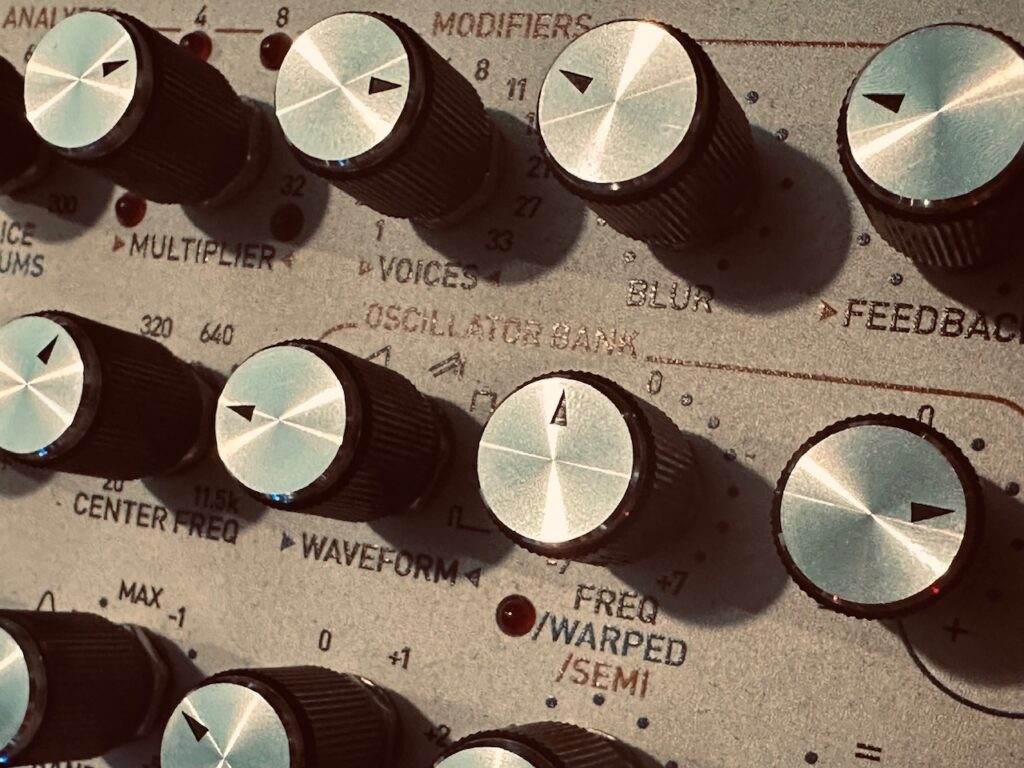
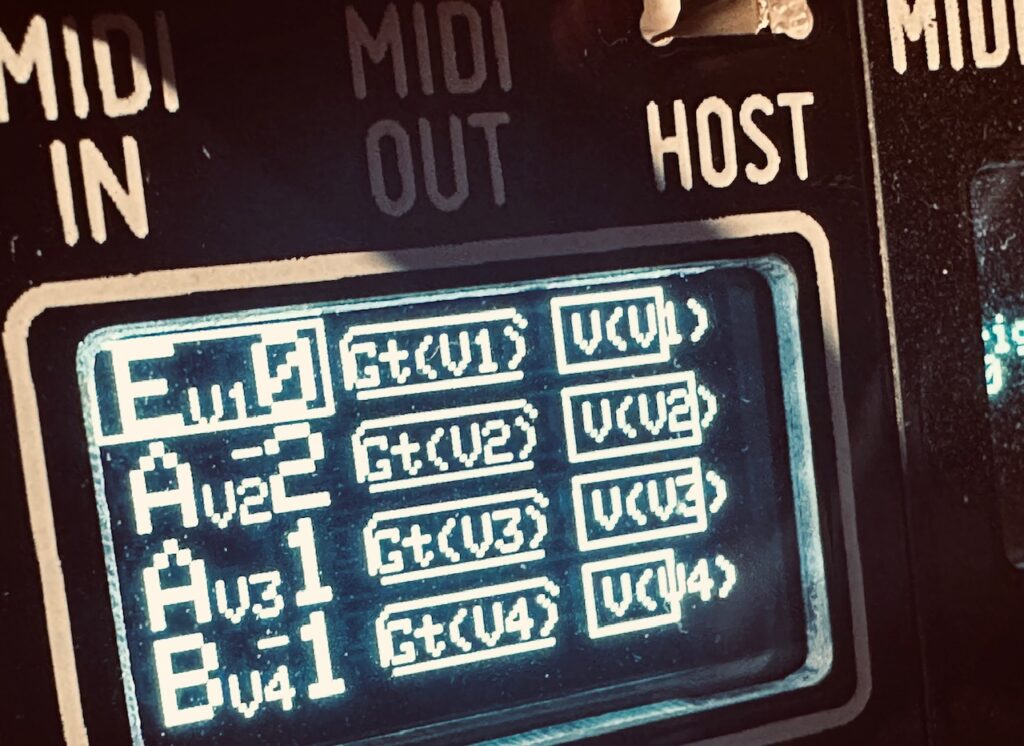
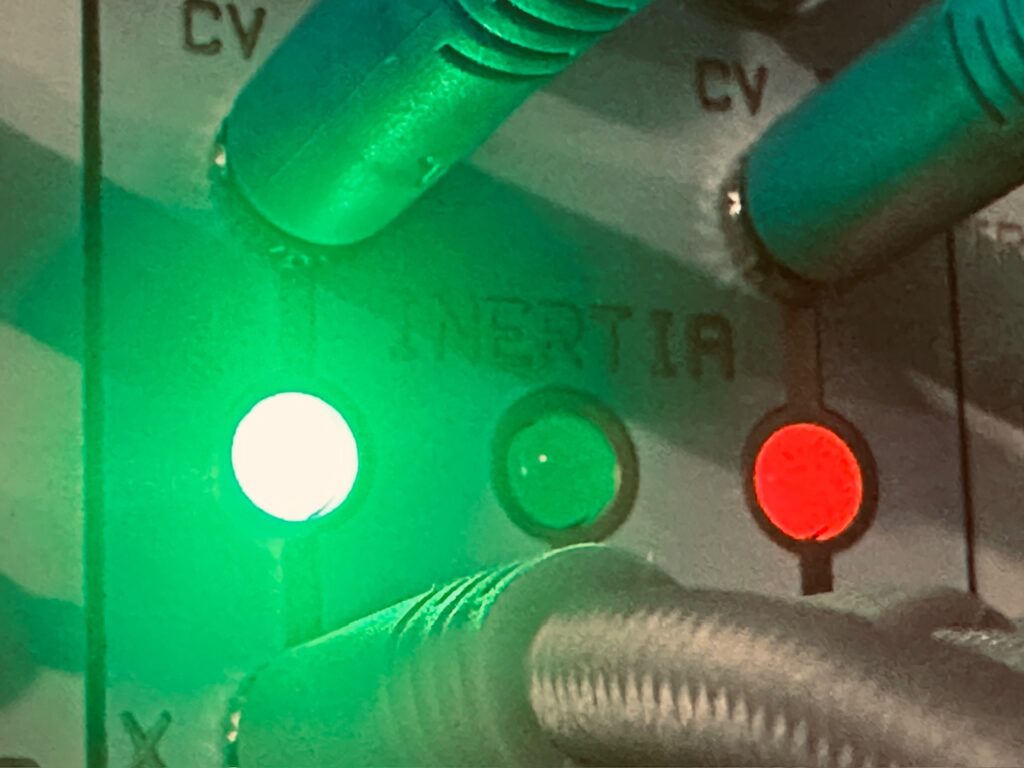
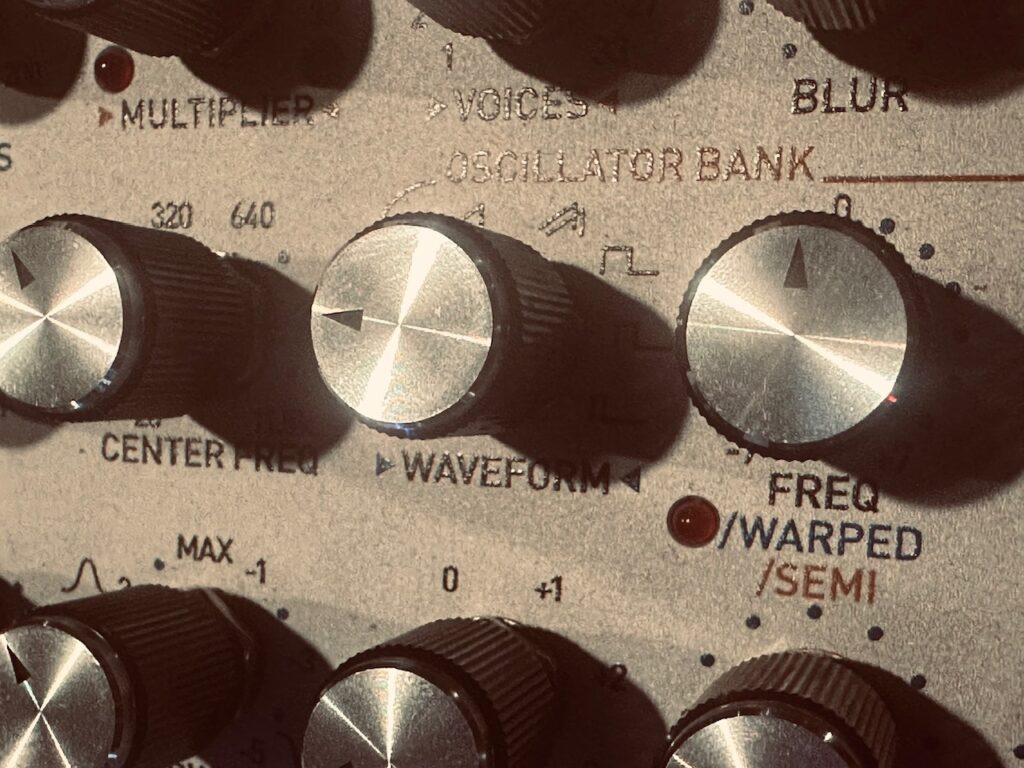
And it’s not just the volume levels that Frisson controlled. The remaining four outputs were patched to Let’s Splosh, a very excellent “put something in, get many things out” kind of module that takes four inputs and has a lovely 16 outputs of completely interrelated control voltage to spread around a patch. Four more-or-less randomly chosen Splosh outputs were patched to the Atomosynth Transmon’s inputs.1 Eight of the 11 outputs from the one and only Triple Sloth were used to modulate the eight CV inputs on Rows C and D of the Transmon to help create a wild mix of chaotically moving control voltage. This rich and complex mix of chaos created all of the tonal movement in this patch, as the oscillators were sent a steady Dmaj7 chord. As voltage increased along the X axis of each wavetable, notes move along a scale, most noticeably in the higher register, where it sounds reminiscent of a classic Gen X toy, the Whirly Tube. I was absolutely infatuated by this chaotically created melody, making sure to treat that one channel different from the rest. I offset the audio in Amps so that it might be audible for a bit longer than the other oscillators. I also made sure that its channel was centered and turned up loudest in the ST Modular Sum Mix & Pan, even if the third channel is still mixed too loud. I wanted it to be a highlight of the patch, with pitch and volume of the melody controlled by Frisson’s lovely chaos. Let’s Splosh didn’t stop at modulating wavetables, however. Two more of its outputs were patched to the two CV inputs on Triple Sloth, creating a CV loop where Splosh modulated Sloth which in turn modulated other Splosh outputs in the Transmon. Chaos acting upon chaos, acting upon chaos. Beautiful.

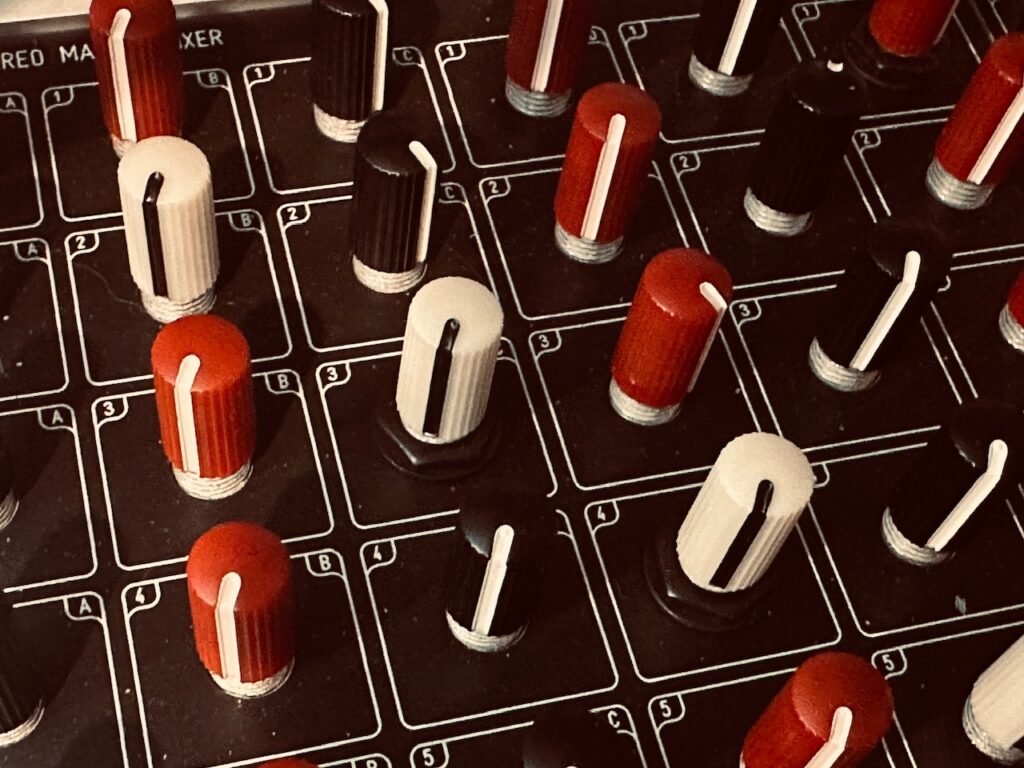
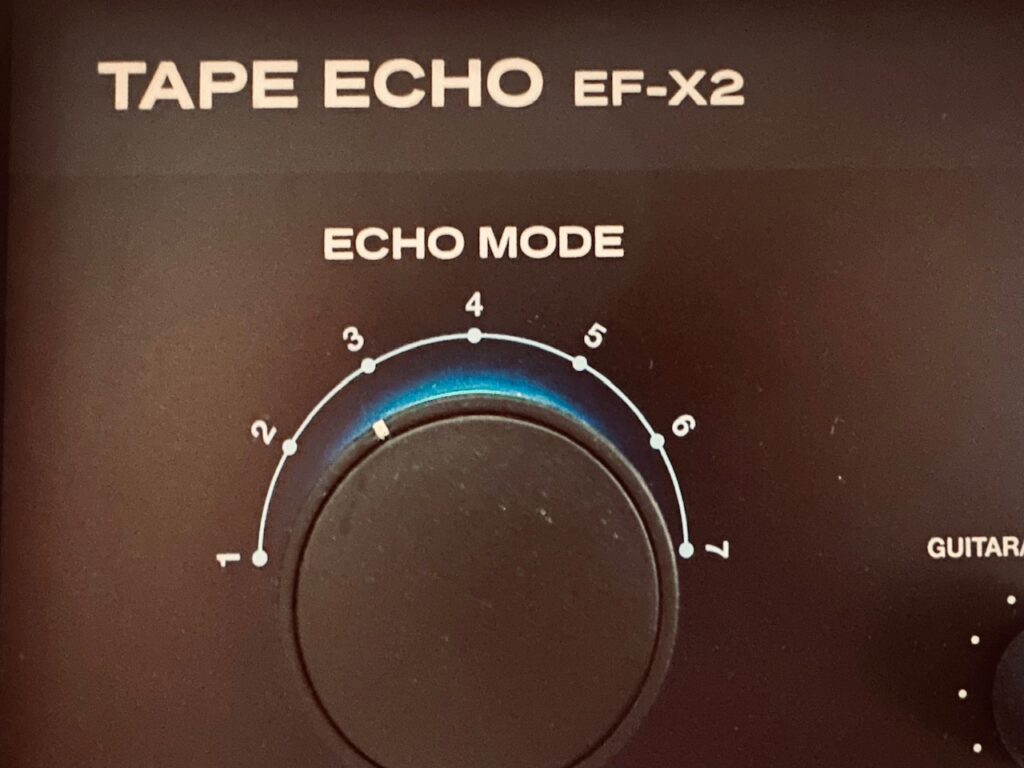
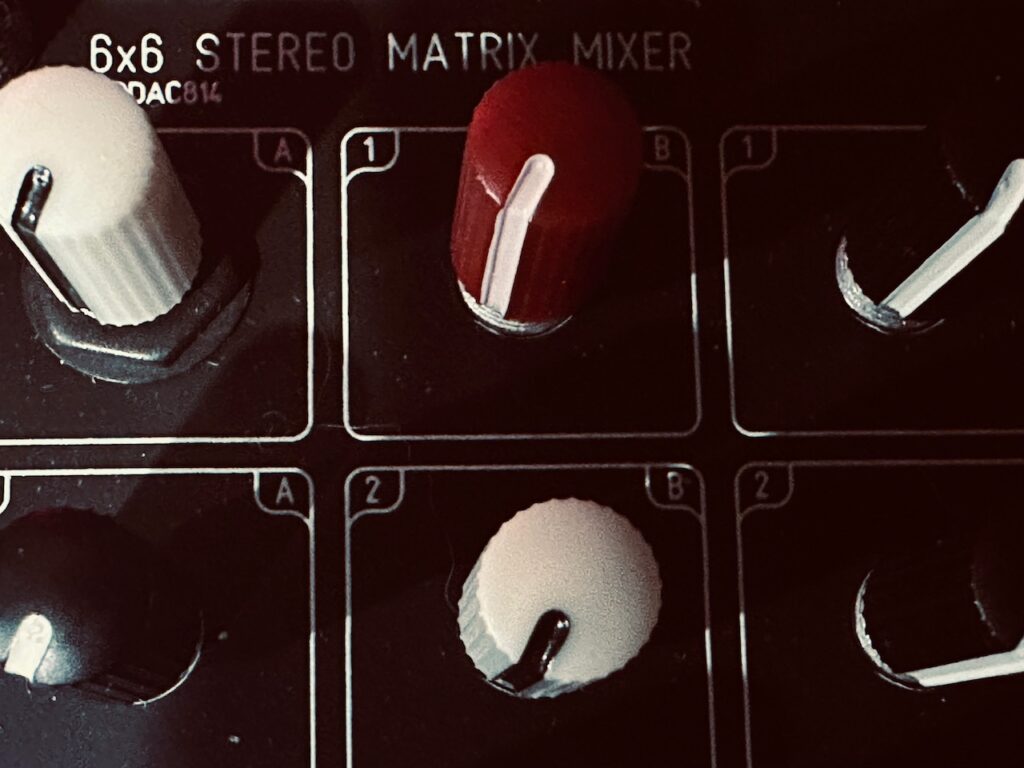
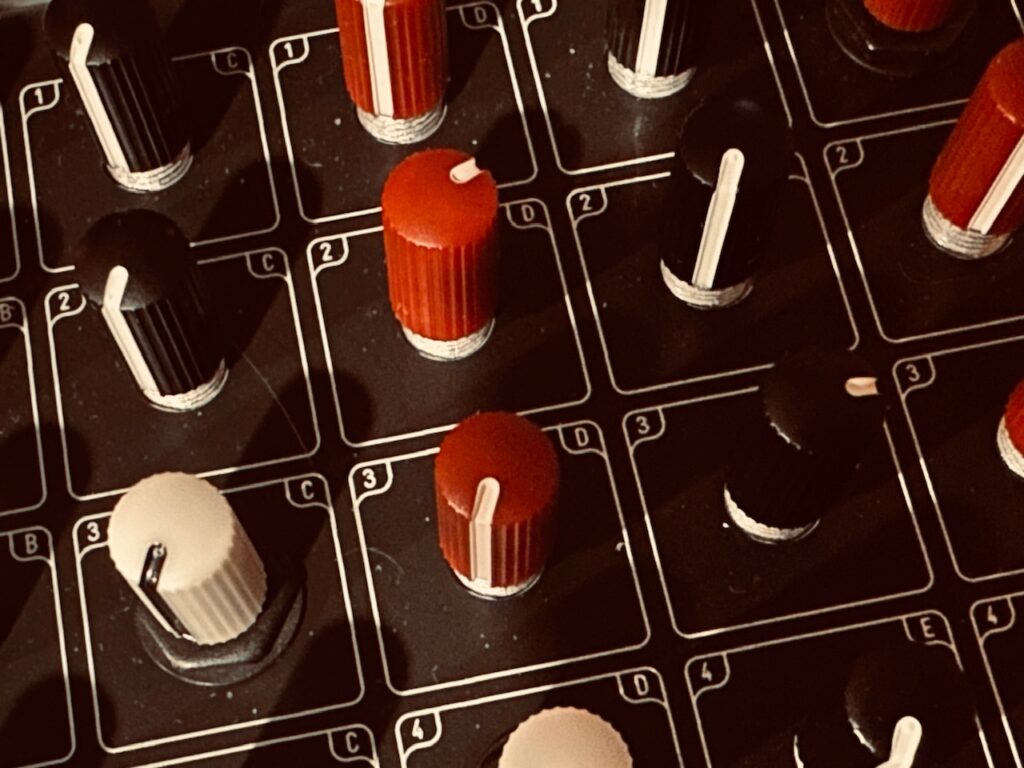
The audio was patched from the Intellijel Amps to the Addac System Addac814 6×6 Stereo Matrix Mixer via the ST Modular Sum Mix & Pan, before being spread around to various effects. Its primary destination was the Echofix EF-X2 pair for some stereo tape delay treatment. This recording may well be the my most beautiful result from the tape delays to date. Having used offset delay times with varying tape head combinations, a fair amount of feedback, and a smidge of reverb, the sound floats back and forth cloud-like in the stereo field. Once that cloud hit the reverb, it lingers in the best ways possible, with a slight octave up choir to provide for some air.

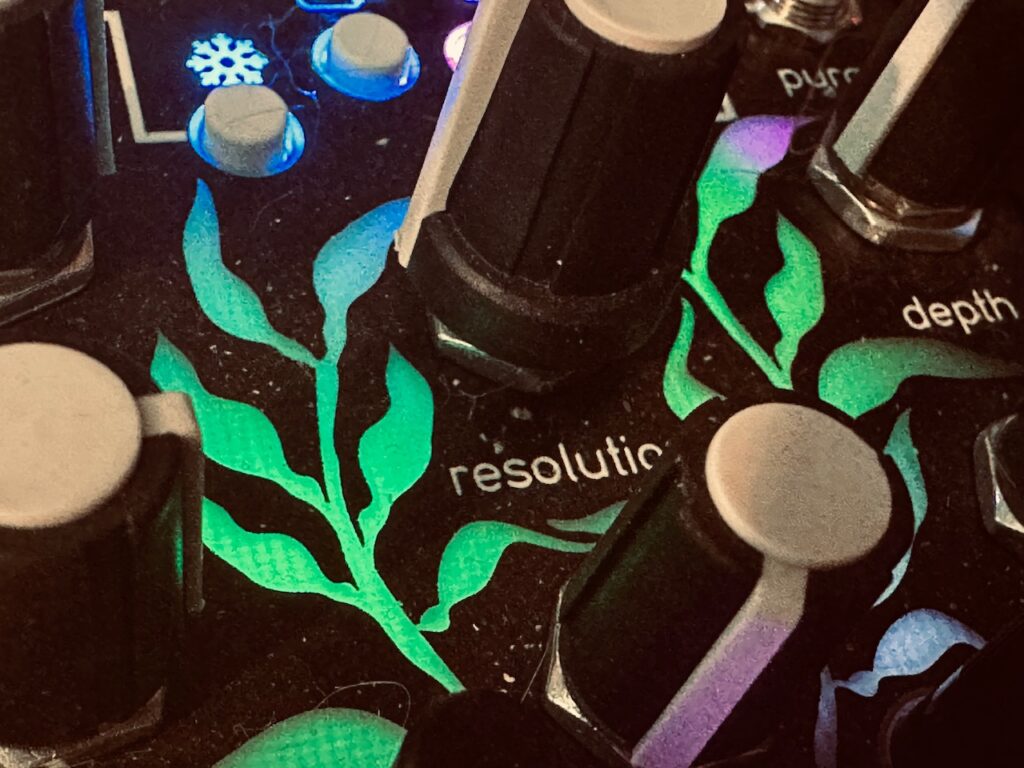
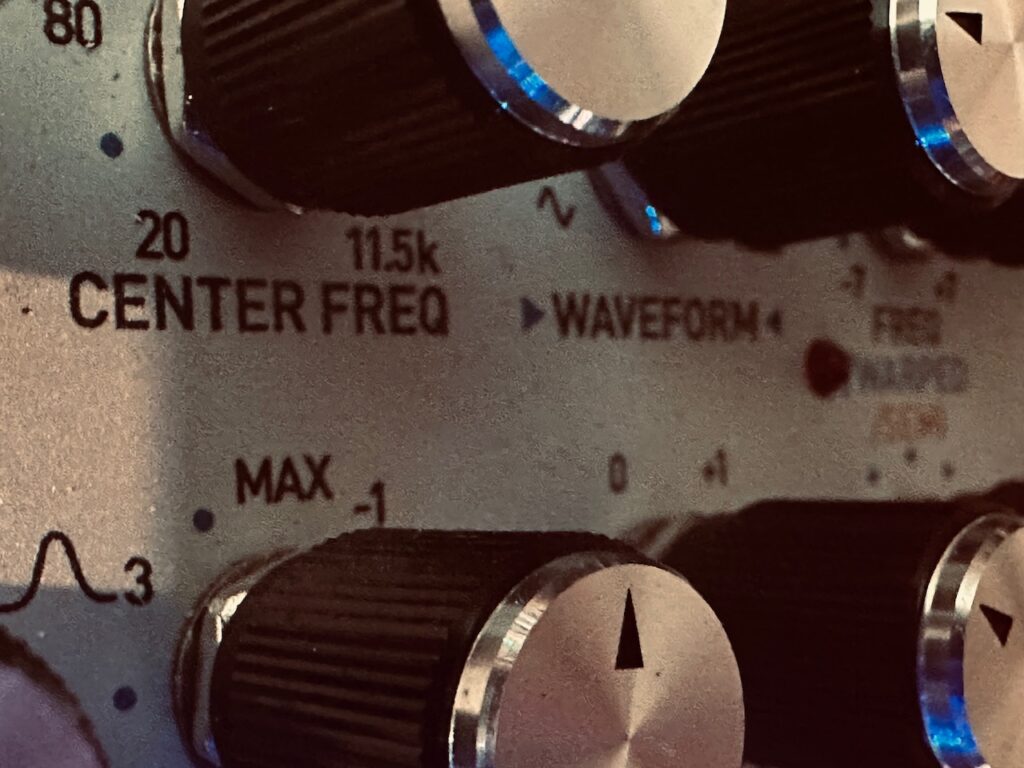
But the tape delays weren’t the only FX destination for the main audio. As I’ve become prone to do, I wanted something to fill out the frequency range. Most of the audio was in the mid-to-upper ranges, and I’m a sucker for depth. I used Panharmonium with a fairly slow analysis gap, set at an octave down. Two octaves down really sounded great, but, like the last patch, there was too much flutter from very low frequencies. I didn’t want to bother re-patching it through a filter, and I didn’t think to use an EQ in my mixer. I thought about sending the Panharmonium through a delay, but ultimately chose to let it stand on its own (through reverb, of course).

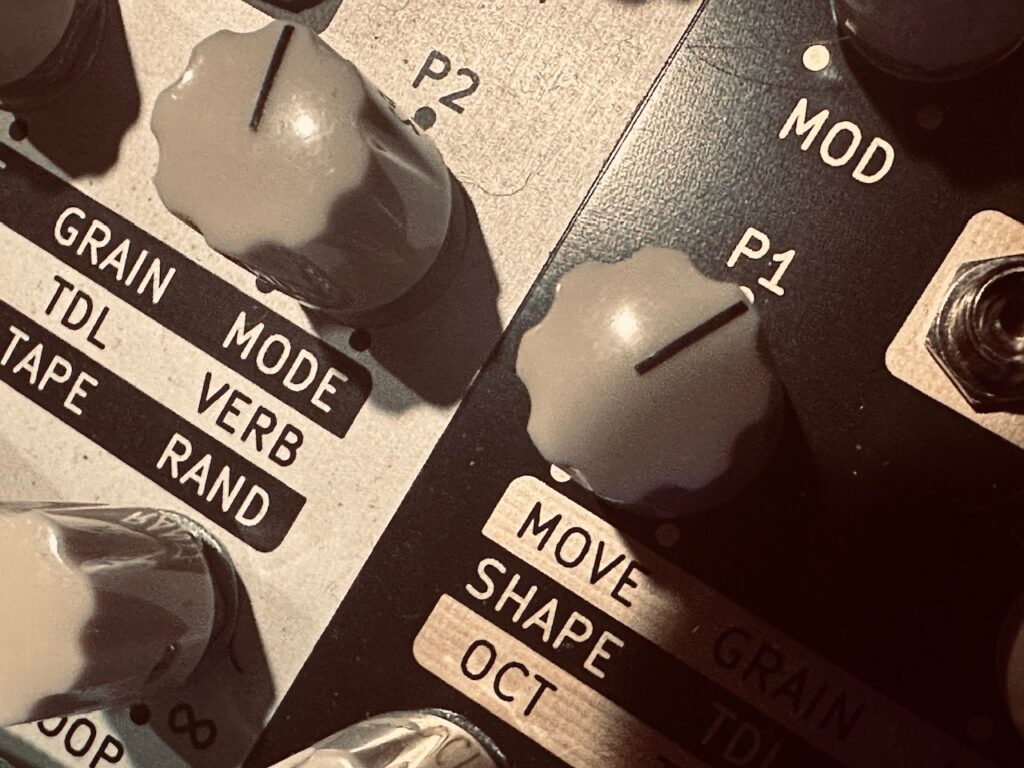
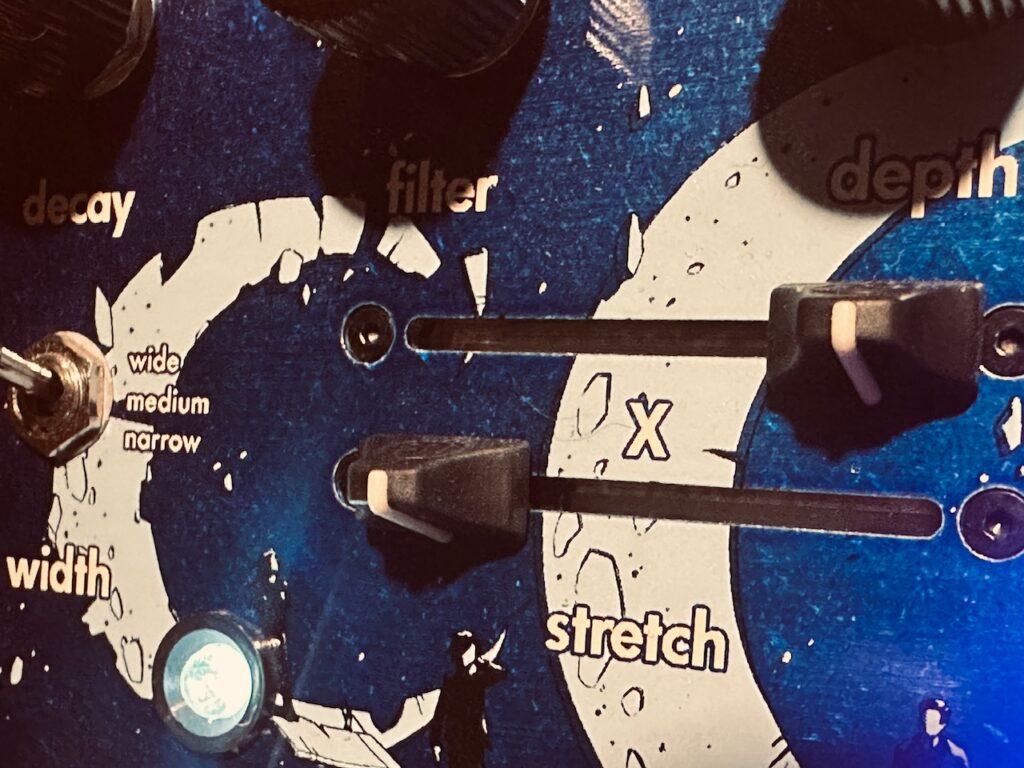
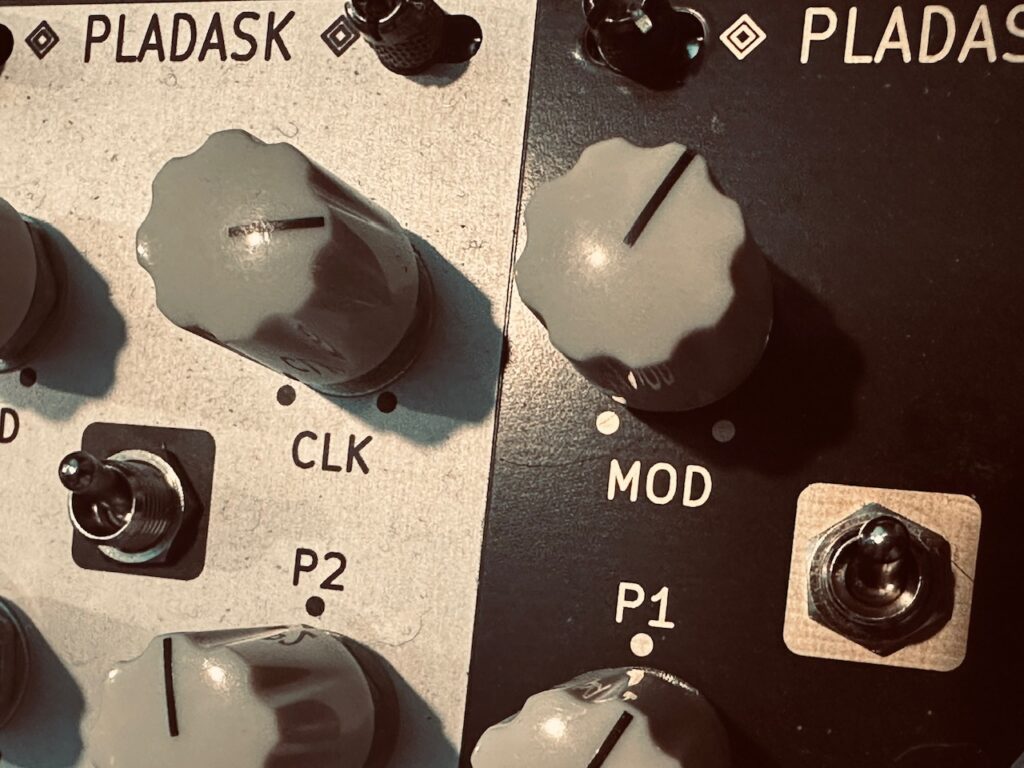
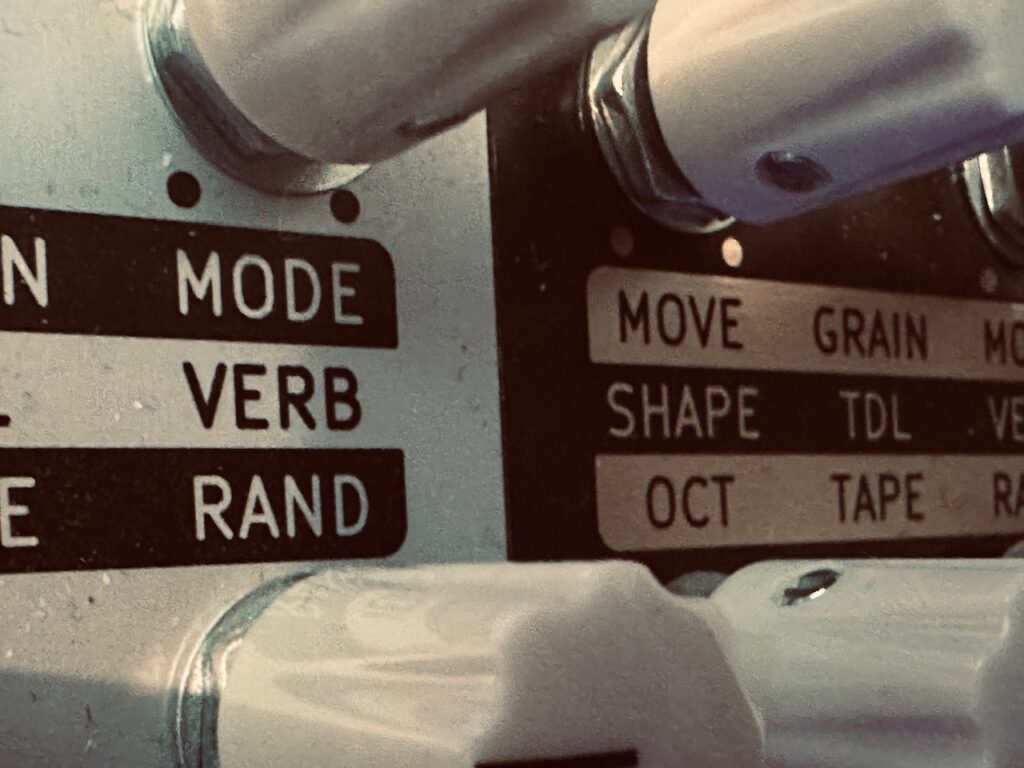
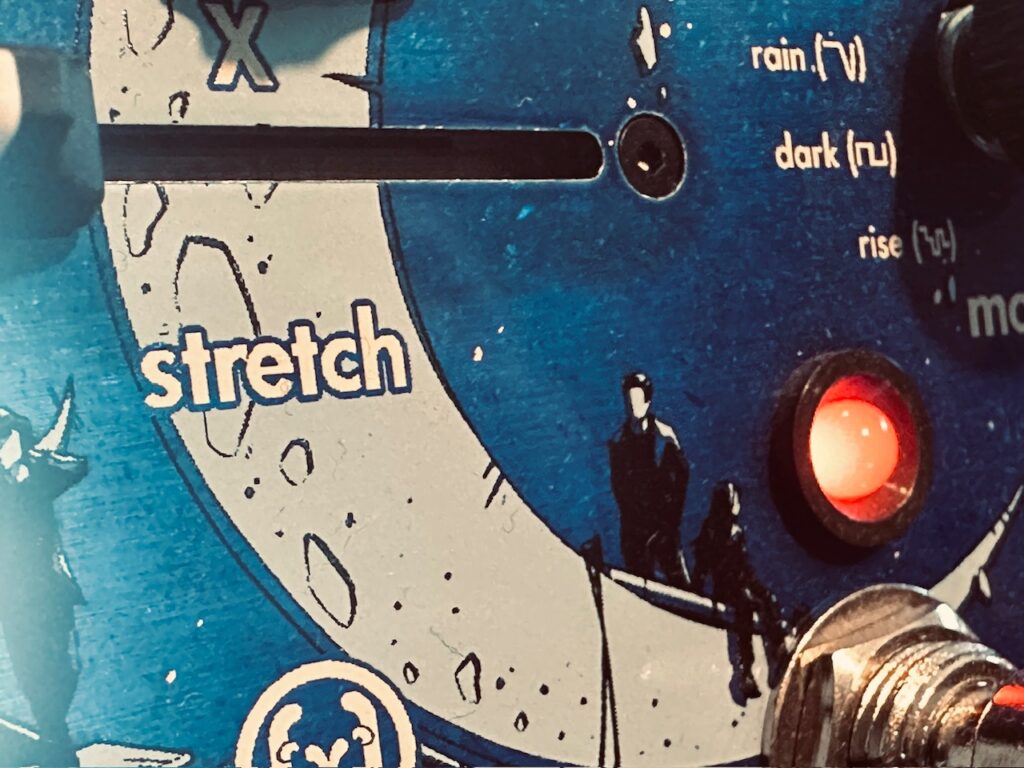
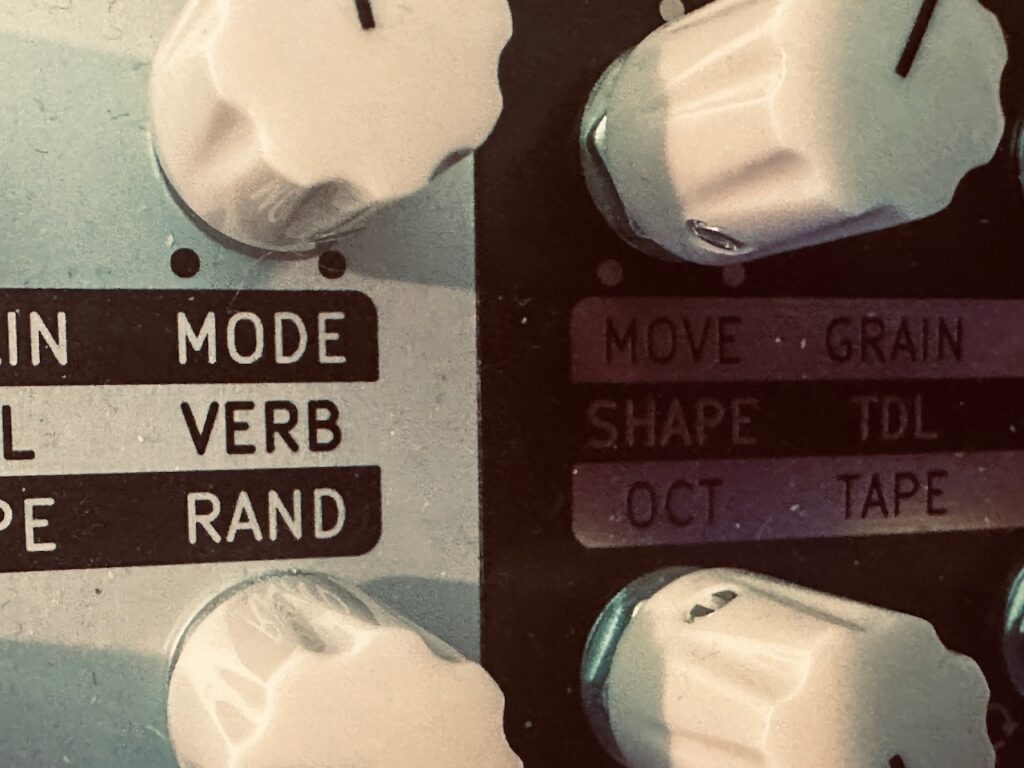
And the effects didn’t stop there either. Another favorite method of mine to thicken sound is to use it with the venerable Pladask Elektrisk Dradd(s). It’s not easy to describe what the Dradd(s) do in Grain Mode. The manual describes it as time stretching. And though it certainly sounds like time stretching, with some sources it sounds like something else too. Almost as if a small string section were playing a tremolo shadow of the input. A wonderful unsteadiness to the notes that follows it around like a little brother whimpering for attention.

With the core of the patch complete, I sought some appropriate ornamentation. This is normally a spot I might use a Multisample piano or high(er) pitched oscillator pings through a LPG, but none of that felt right. It was awkward, often falling too in line with the already existing frequency and timbre range of my chaotic cloud, and just sounded bad. I tried pianos of various types, resonators like Rings, music box samples, and others before deciding to do something I’ve never done before; just cycle through sample folders and see what sounded good in context. I landed on one instrument that sounded promising, but I decided to keep going and come back to it if I couldn’t find anything else. Within a few clicks I landed on a sample folder called “MoogMG1vsAD_SynthFX.” I still have no real idea what these samples are, but when I heard the first careless swirl I immediately associated it with the sound of my Whirly Tube oscillator and knew it was right.

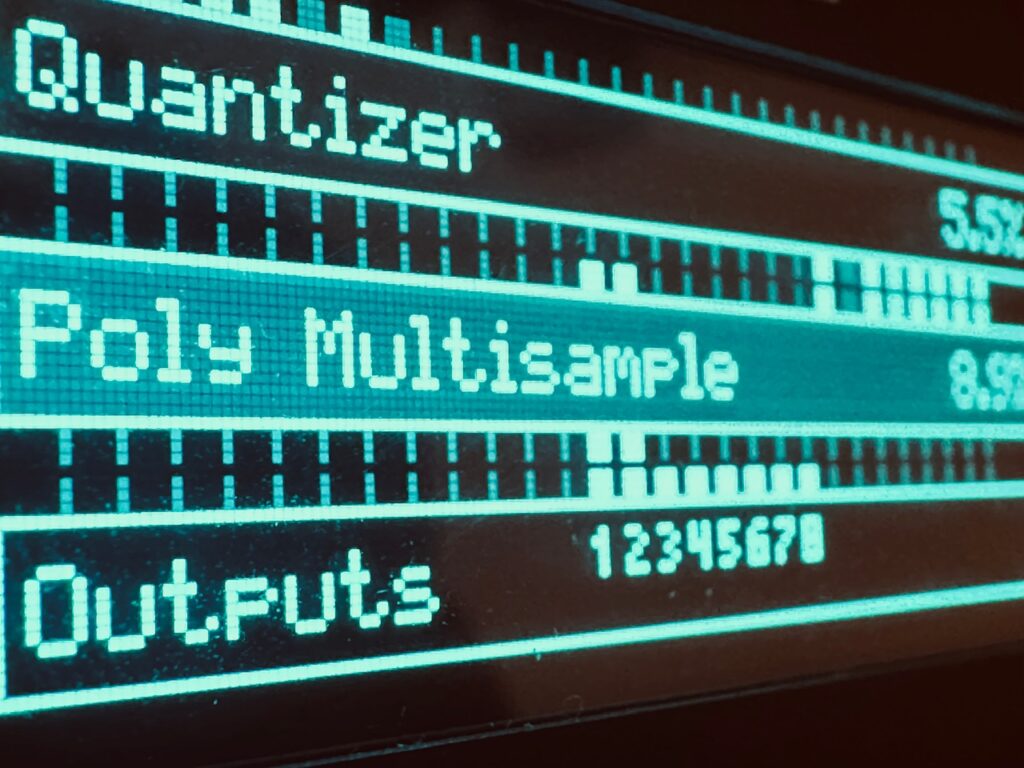
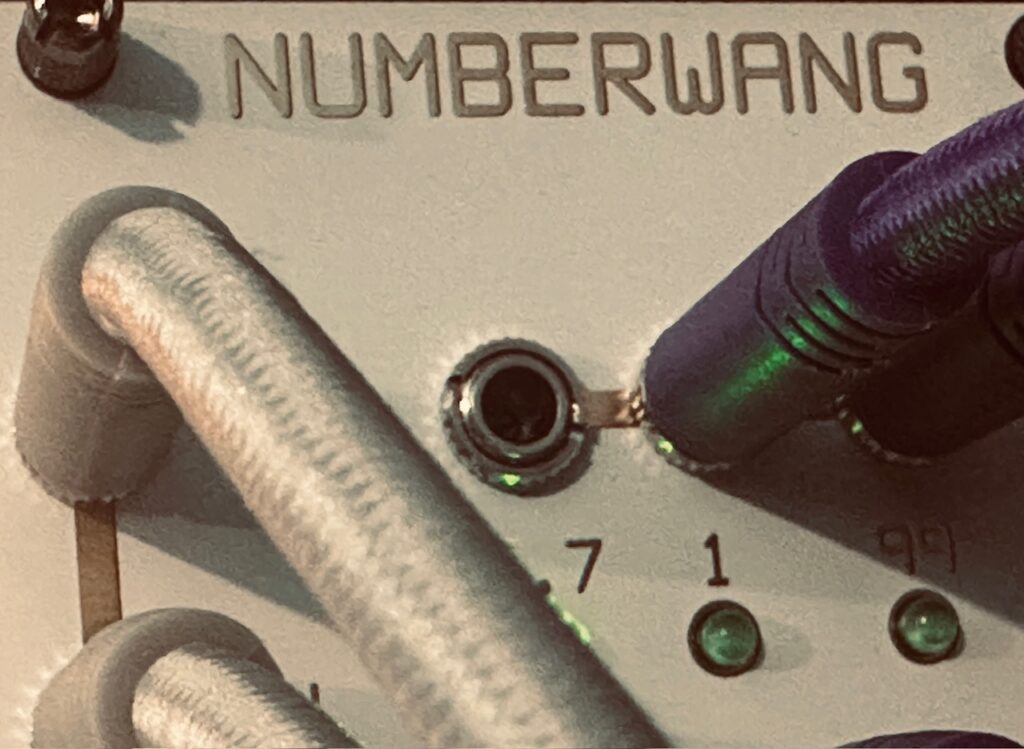
Gate and pitch generation for these swirlies was, just as the main audio, generated via chaotic processes. Four outputs from The Hypster were patched to Numberwang, while two others were patched to the Helvetica Scenario inputs. Numberwang used these chaos signals to create gates, while Helvetica Scenario was used as a sample and hold to get four separate CV outputs to be used for pitch, two of which would be derived from the inputs from The Hypster. Numberwang is a fantastic way of getting off-grid gate generation. It’s a favorite method of mine, depending on the needs of the patch. Four of its outputs were sent to the Disting NT which triggered the quantizer and samples, while two other outputs were used to trigger Helvetica Scenario. Helvetica Scenario is a fun module. It’s a slight twist on a traditional sample and hold module. Rather than using noise from which to sample voltage, it uses a jerk chaos signal running at approximately 300Hz. When hit with a trigger, it will output the voltage of the chaos signal, just as a normal S&H would do with noise. And just as with most S&H modules, one can always use an input, but Helvetica Scenario provides two outputs which act like a S&H. The first, the S&H output will sample the input and send that voltage to its output. The second, the Stepped output, however, will always sample the voltage of the internal chaos circuit so that each will provide two separate stepped outputs with just one trigger, for a total of four stepped voltage outputs. In fact, even if no input is patched, the Helvetica Scenario Stepped and S&H outputs will output voltages from different parts of the signal, so there are always at least two discrete voltages on every trigger. The four outputs here were used as the pitch CV for the swirlies, via the Disting NT’s quantizer, triggered by other gates coming from Numberwang.

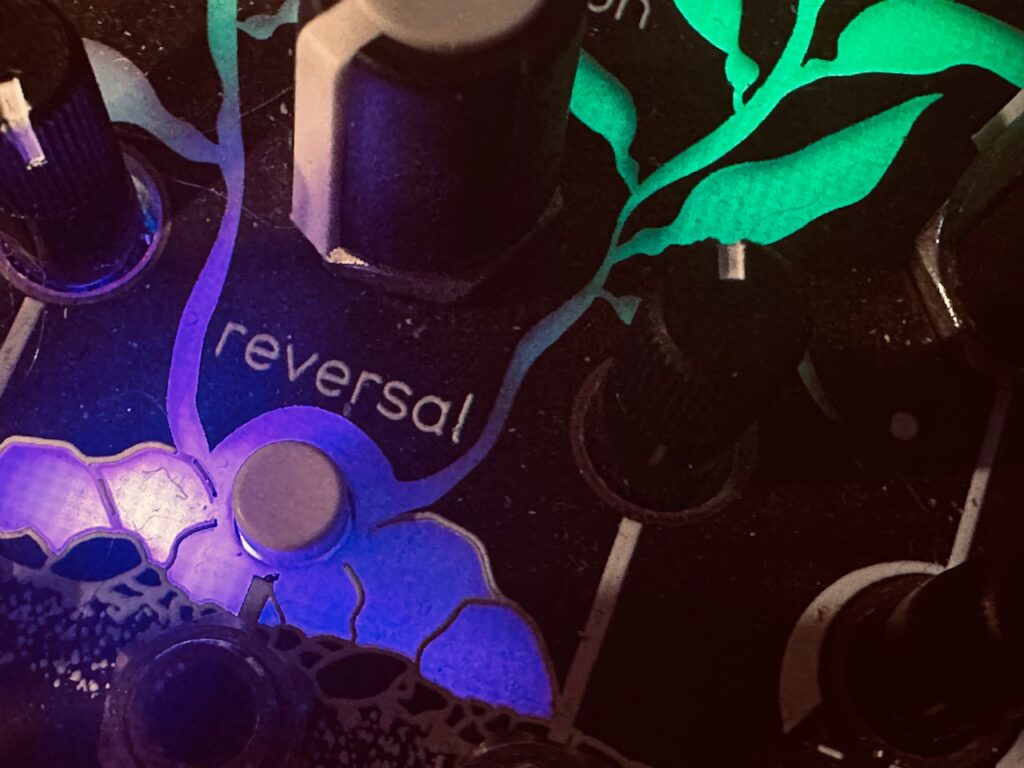
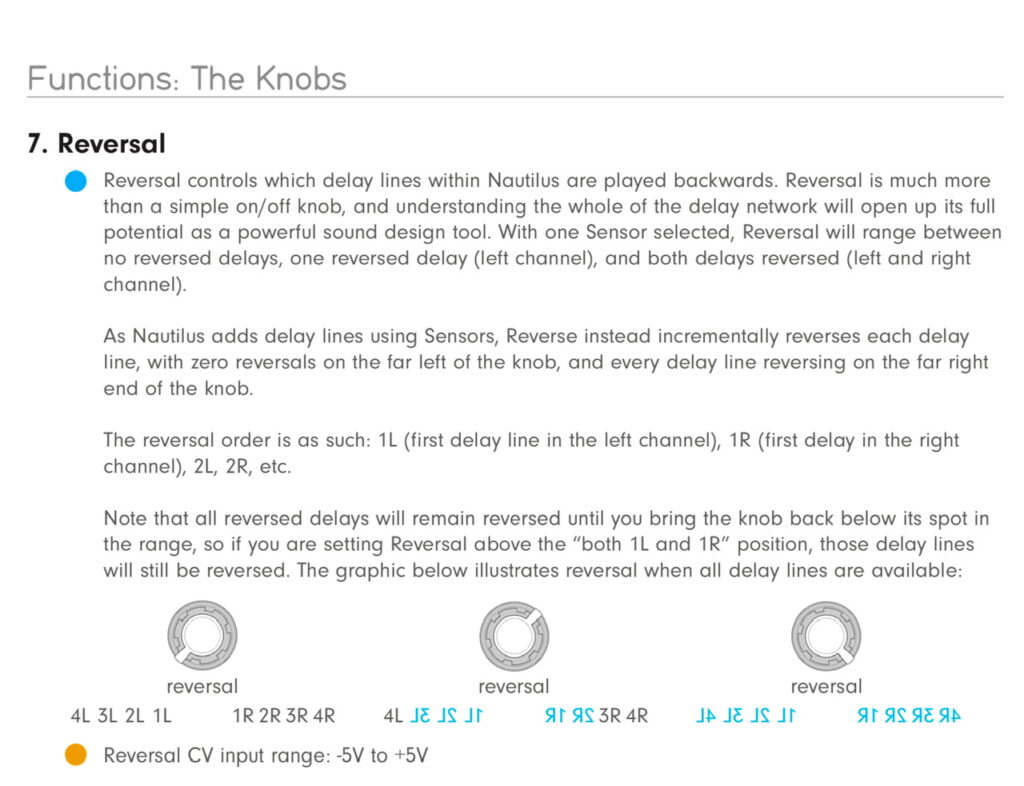
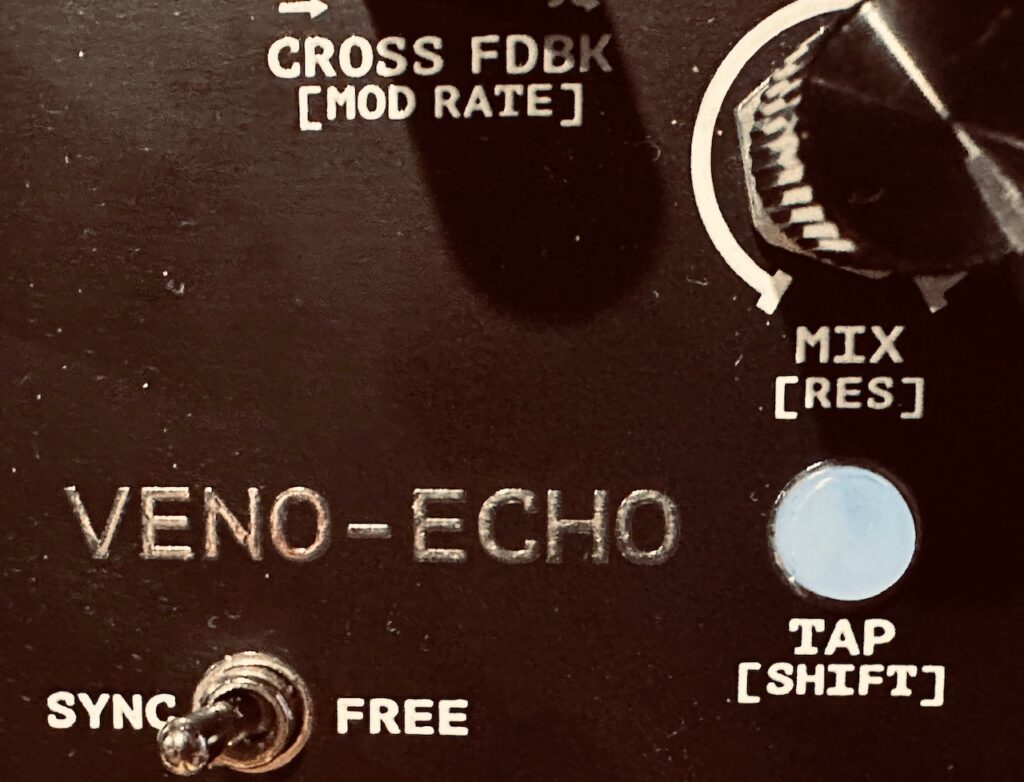
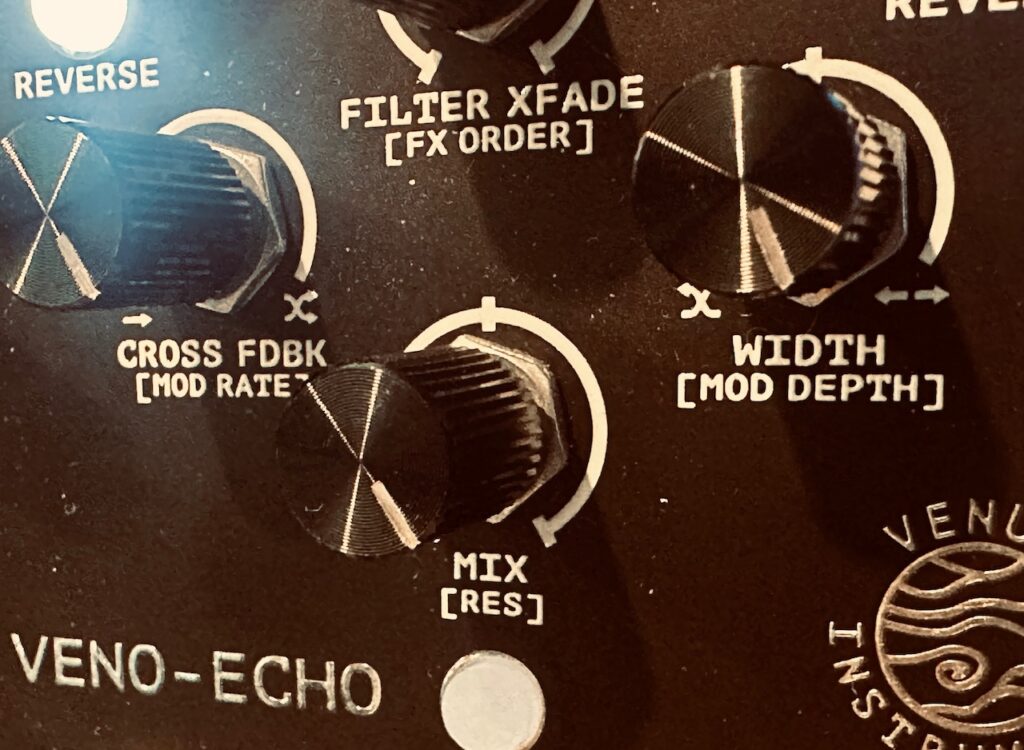
The swirlies from the Disting NT were patched to the Venus Instruments Veno-Echo. Cross feedback was set to full, with wide stereo width. There was also a twinge of sample reduction in the feedback path. Two final gates from Numberwang triggered the left and right Reverse, which created a very psychedelic feel to the swirlies as they darted through the clouds of the E370 and its floating repeats, Panharmonium, and the Dradd(s).

Modules Used:
Nonlinearcircuits Frisson
Nonlinearcircuits De-Escalate
Nonlinearcircuits Triple Sloth
Nonlinearcircuits The Hypster
Nonlinearcircuits Helvetica Scenario
Nonlinearcircuits Numberwang
Nonlinearcircuits Let’s Splosh
Atomosynth Transmon
Synthesis Technology E370
NOH-Modular Pianist
Intellijel Amps
Intellijel Quad VCA
ST Modular Sum Mix & Pan
ST Modular SVCA
Addac System Addac814 6×6 Stereo Matrix Mixer
Expert Sleepers Disting NT
Venus Instruments Veno-Echo
Rossum Electro-Music Panharmonium
Pladask Elektrisk Dradd(s)
CuteLab Missed Opportunities
Vostok Instruments Asset
Knob Farm Ferry

Outboard Gear Used:
Noisy Fruits Lab Lemon
Echofix EF-X2
Walrus Audio Slöer

Improvised and recorded in one take on iPad in AUM via the Expert Sleepers ES-9.

  1. I chose outputs based on their relative output levels. ↩︎

Adagio for E370 in Dmin7

It had been a couple of weeks since I’ve been able to patch, and I was itching. Having just been on a spring break high school baseball trip to the beautiful Emerald Coast, I was inspired by the sea. It was the first trip in over a year I hadn’t taken some music making device, and even if I didn’t really have the time to patch during this trip, I missed not having something.1 I thought all week about what I would be making if I had my synth, and Swell Physics was first and foremost in those musings.

When I first set up this patch it was a mess. A cacophony of sound where each part seemed to work well on its own, but as soon as it mixed with other parts the whole thing turned to shit. As a non-professional musician, I try not to fall into that trap of being too hard on myself when my results are less than what I’d hoped for. Failure, after all, is the key to progress and improvement, and if a recording sucks it’ll just go into the folder of dozens of other recordings that suck. My livelihood is not at stake, and I don’t yet have a reputation to ruin. When I turned on my synth today, I listened to that latest patch still plugged in, and I was unhappy. It was a mess, and only reminded me that the recording I had heard of that patch a dozen or more times that week just wasn’t it. I was resigned to tearing the patch down and starting from scratch, but since I wanted to use the same control scheme I instead chose first to tweak a few settings and see if I couldn’t salvage the patch.

I don’t really like tweaking already-built patches. I mean, I like tweaking controls, but not patch points. It’s generally not been an exercise that has produced meaningful fruit, and I usually find it easier to simply start over rather than navigate a nest of patch cables. Today’s first change, however, wasn’t a physical patch change, but a setting change to the E370. Rather than using one of the User wavetables I’ve taken fancy to, a very cool wavetable leftover from the previous owner, I switched all four channels over to ROM A, and the difference was immediate. In fact, it was pretty much the sound I envisioned before i even started patching. So much for tearing down the patch.

The patch starts, as many of my patches often do these days, with the Addac System Addac508 Swell Physics. Since first receiving Swell Physics many of my favorite recordings are based around it. Whether I’m using the wave outputs directly to control levels, or in conjunction with modules like the Nonlinearcircuits Numberwang and Let’s Splosh to control various facets of a patch, I’m constantly finding new ways to integrate it into my work. The four outputs were sent to an array of Intellijel Amps’ CV inputs to control the levels of four modulated outputs from the always lovely Synthesis Technology E370 quad wavetable oscillators and blue noise to simulate the spray of the ocean. Each oscillator was fed pitch information from the NOH-Modular Pianist, one note each of a D minor seventh chord (though I’ve no idea what the oscillator was tuned to). From the Amps, the mixed noise and audio outputs went to the ST Modular Sum Mix & Pan to place in the stereo field of the mix.

Modulation of the E370 wasn’t particularly heavy in this patch, but each oscillator’s X axis was moved around by a complex mix of CV from the Nonlinearcircuits Frisson mixed together in the Atomosynth Transmon CV controlled matrix mixer. Four randomly chosen outputs from Frisson were sent to the four inputs of the Transmon, with the other four Frisson outputs modulating four separate nodes in the mixer itself. This modulation to the E370’s X axis was at a medium slow speed and moved waves around beautifully, slowly shifting the sine wavetables.

The Atomosynth Transmon is a curious module. Nominally it’s a matrix mixer, made by a very niche maker based in Lima, Peru. But this matrix mixer has several tricks up its sleeve. The first row can be used for the attenuation or attenuversion of signals, a switch controlling which mode is active. The second row can do both, and each node has an individual output. The last two rows each have a discreet VCA input per node, also with individual outputs. If one of those individual outputs is used, it’s removed from the final mix of the row. Each node can also be used as a 12V offset voltage using jumpers on the back. The Transmon is a very powerful and flexible mixer that can be used in a myriad of ways. Most often I use it for simpler mixes, or even as individual VCAs, but this patch called for going whole-hog, mixing four chaos signals, while using four of Transmon’s individual VCAs to modulate my modulation. These new modulated modulation CV mixes create all of the tonal shifts in the E370 voice as they move the sine waves through a series of notes along the X axis of the wavetable. The pitch CV being sent was constant through the recording. I could have manually tuned each oscillator to those notes and the result would have been no different.

Although I was much more pleased with the result after changing wavetables, it wasn’t enough change. The original delay I had chosen for the E370, the Holocene Electronics Non-Linear Memory Machine, was no longer the best tool for the job. Although its inherent aliasing worked great with the original wavetable, I didn’t like it at all with the much cleaner waves I was using at the time. It created too choppy a repeat, even with some diffusion and without pitch shifting. So I switched over to the very clean Olivia Artz Modular Time Machine, which worked a treat. With a medium length delay time, notes were lengthened and it gave the overall sound a bit of thickness, even if I didn’t pay much attenuation to how I set up each tap.

With the primary voice more-or-less set, it was time to fill in the cracks. The flowing waves of the E370-plus-noise mix with its delay and some reverb were beautiful, but lonely. It was heavy on high(er) pitches, and I wanted to add a bit of body to it. In comes Panharmonium. Though it’s highly capable, I very rarely use Panharmonium as a main voice. But I use it all the time as a supplement to the primary voice as a means of reinforcement, most often shifting the pitch in one direction or another so that various frequency ranges are represented. In this patch I initially went with a two octave downward shift. It was deep, but not overpowering, in a beautiful way, though there was simply too much that wasn’t being heard at all because the frequencies were just too low, which too often caused a flutter that sounded like clipping. No good. So I compromised by going down only one octave, (introduced at 1:15), which transmogrified the audio into a warm bath. I don’t normally modulate Panharmonium, I haven’t found it needed, but for this patch I decided to use offset and attenuated versions of the Swell Physics Average output to modulate both the Center Frequency and Bandwidth, which created a slight swirl in the output which added texture.

But I didn’t stop there. The Panharmonium voice was beautiful, but it needed delay for a bit of thickness of its own, so I sent its output to a pair of very slightly driven Echofix EF-X2s, with its speed lightly modulated by a triangle wave from a Frap Tools Falistri, giving it a hint of vibrato in the delay tails. The offset delays helped create a beautiful stereo image, and added a slight bit of focus.

Now that we had a beautifully flowing soundscape of waves, it was time for some ornamentation. Recently I’ve been reaching primarily for my pair of ever wonderful Pladask Elektrisk Dradd(s) when I’m looking for granular synthesis, but I knew I wanted at least one thing that Dradd cannot do: a two octave shift to create sparkles. It can do a one octave shift in Tape Mode, but not two octaves. So I turned towards the Mutable Instruments Beads (introduced at 2:30). I’ve had Beads a long time. It was one of my first modules, bought on a whim when I saw they were in stock one day. Beads can be many things from delicate to bombastic, and with this patch I wanted subtle, and Beads excels at being subtle. Like all granular processors, finding a nice sweet spot (or range) can be a challenge, but the controls are intuitive and once you find that range, Beads can produce wonders to behold. With slight modulation from Tides to Size, along with use of the attenurandomizer circuit to Time, and I had a beautiful spray of shimmering grains to follow in the wake of the E370 and Panharmonium waves. But even with this beautiful flow of waves I wanted something more. Something to use as juxtaposition. Something with more edge.

One module that I’ve criminally underused is the Frap Tools Brenso. I’ve certainly used it before, but it’s daunting, and I haven’t really put much brain power towards learning it, so I’ve tended to use its standard shaped outputs, while ignoring the gobs of waveshaping and wavefolding on the right side of the module. It’s a shame, really, but I thought that this day would be a good day to start exploring the extensive tonal options on the panel. I decided to start simple, using Sapel’s two smooth fluctuating random signals to slowly and lightly modulate both the waveshaper and wavefolder. This created an almost crackling electricity sound at times. It sputtered. It growled. It was an uneasy signal, fraught with fear while trying to exert its independence. I ran the Final output from Brenso through CUNSA, mixed with noise like the E370 waves, for some light filtering to attenuate some of the most egregious frequencies. The last time I made a patch like this I used a sequencer and pure sine waves for the epic sub bass line. It was way too loud, even if it was intentional, and repetitive. It was also pitched far too low. This time around I decided to use the same module to create the bass line, but rather than use a sequence, I used the Doboz T12 in Touch Keyboard mode and manually played the part. I wanted to time the note changes by feel rather than a clock. It’s still too loud, and still probably too low in pitch (some lessons are harder to learn than others), especially as I go up in register, but placing this very uneasy and slightly dirty wave in contrast to the smooth waves of the E370 and Co was a nice touch. Were I to record this patch again, I would definitely do a better job of controlling the level of this voice. I think the recording still sounds great, but I was certainly a bit overzealous with the volume of this voice.

For reverb I used my trusty Walrus Audio Slöer in Light mode for a choral sounding octave up shimmer. This reverb really has become my primary reverb. I only move away from it once it proves itself to not be the best tool for the job.

Improvised and recorded in one take on iPad in AUM via the Expert Sleepers ES-9.

Modules Used:
Addac System Addac508 Swell Physics
Addac System Addac814 6×6 Stereo Matrix Mixer
Synthesis Technology E370
Nonlinearcircuits Divide & Conquer
Nonlinearcircuits Frisson
Atomosynth Transmon
Intellijel Amps
Intellijel Quad VCA
Olivia Artz Modular Time Machine
Frap Tools Sapel
Frap Tools Brenso
Frap Tools CUNSA
Frap Tools 333
Frap Tools Falistri
Doboz T12
Rossum Electro-Music Panharmonium
Vostok Instruments Asset
Mutable Instruments Beads
Mutable Instruments Tides v2
ST Modular SVCA
Knob Farm Ferry

Outboard Gear Used:
Walrus Audio Slöer
Noisy Fruits Lab Lemon
Echofix EF-X2 (no idea why this is no longer on their website)

  1. Technically I had my iPad, which, from my Jamuary experience, is more than enough music making machine, but I simply wasn’t inspired by anything on it at the time. ↩︎

Bonus Track – Colored Strings Rev 1

I didn’t set out to re-record my latest patch the other day. I was set on using some other sample set in some other way. But there were a few things about my last recording that bothered me a little. I was getting too many pitches that were too high; well outside the zone of what “Low Strings” should be. There were points when way too many colors were being shouted at listeners. The delay was a bit too much. And I wanted to streamline the patch a bit.

I won’t go too in depth on the patch, you can read about the details here, but I did make a few changes that improved the recording substantially….

The most major change I made was to eliminate the Qu-Bit Electronix Nautilus, and use the pair of Echofix EF-X2 tape delays on the string samples. This helped to both fill out the space, while simultaneously cutting away excess in the overall soundstage. Rather than simply repeating notes and phrases, the tape delays lengthened and widened them.

The Panharmonium (introduced at ~2:40) was pitched down an octave, which helped lend some depth. More voices were added, and it was set to analyze a wider spectrum. The Panharmonium, along with the Walrus Audio Slöer (which was also set to pitch an octave down), really added weight to the entire recording. I removed a delay from the Panharmonium’s signal path (previously the tape delays), and allowed it to sing only through the reverb, which was a substantial improvement.

No changes were made to the Dradd(s).

No changes were made to Plaits-does-Robot-Speak except sending it far fewer gates.

Modules Used:
Nonlinearcircuits The Hypster
Nonlinearcircuits Lets Get Fenestrated
Nonlinearcircuits Stochaos
Nonlinearcircuits Triple Sloth
Vostok Instruments Asset
Expert Sleepers Disting NT
Addac System Addac814 6×6 Stereo Matrix Mixer
Rossum Electro-Music Panharmonium
Pladask Elektrisk Dradd(s)
Mutable Instruments Marbles
Mutabke Instruments Plaits
Mutable Instruments Beads
Knob Farm Ferry
ST Modular SVCA
Intellijel Quad VCA

Outboard Gear Used:
Echofix EF-X2
Walrus Audio Slöer
Noisy Fruits Lab Lemon

Improvised and recorded in one take on iPad in AUM via the Expert Sleepers ES-9.

Colored Strings

Ever since I started using the Polyphonic Multisample algorithm in the Disting Ex, and now the Disting NT, I wanted to do a string patch. For some unexplainable and inexplicable reason I never did. I got a taste of using string samples during a handful of Jamuary patches, particularly Jamuary 2507 and Jamuary 2510, when I experimented with using the very excellent Alexandernaut Fugue Machine and Decent Sampler, but I really wanted to do a string sample patch modular-style. At first I wanted to use the same string samples I used during Jamuary, the DK Solo Cello Spurs from Pianobook, but that did not work at all.1 After quickly pivoting to the LABS Low Strings Long samples included with the Disting NT, I was off.

Much of this patch is a simple altered duplicate of my last patch, so I won’t rehash the entire patch here. Many knob settings are different, and of course I triggered string and not piano samples, but the control and audio paths are largely identical. Because these string samples are inherently longer than piano notes, I had to drastically slow down The Hypster, the initial source for the master clock, in order to compensate and have Stochaos produce fewer gates. This slow down was coupled with using outputs on Stochaos that change much less often. I also tuned in the delay used on the string samples, the Qu-Bit Electronix Nautilus, to what I thought sounded best, thought I can’t recall the settings other than a long delay time with moderately high feedback. The Panharmonium settings were also changed drastically, cutting the number of voices, zeroing in on the desired frequency range, and really tuning the sampling time. Panharmonium is not always instant bliss, but given some gentle massaging it can become transformative. The Dradd(s), however, weren’t changed at all.

But even after being able to hone in on what I had hoped for the strings and the existing sound chain, there was something missing. It needed some kind of ornamentation. Something to juxtapose against the somber sounding string sequence plodding along in C minor. I initially thought of high pitched bells or sparkles of some kind, but then remembered a patch I did last summer as a test shortly before bringing a travel synth on a trip to Alaska. In that patch I used Plaits in the Vowel and Speech Synthesis algorithm (the last Green algorithm) to repeat four colors, Red, Orange, Yellow, Green. In this patch I took a slightly different approach, by using a random output from a Mutable Instruments Marbles to select the spoken color. I was quite happy with the result in the moment, but was carried away a bit during the performance with too many triggers. It should have been an occasional color spoken in a sad-ish voice to reflect the somberness of the strings, though it sometimes ended up being a robot talking over himself. I used a CV output from the Noisy Fruits Lab Lemon to control Marbles’ clock, which had a high amount of Jitter so as to not be regular. When I wanted more from Plaits, I pushed the fader to create more gates with Marbles. However I clearly pushed it too far during a couple of points. Initially I had Plaits running straight to the mixer, but later in the recording used Beads in full wet delay mode, which altered the tone slightly, and added a low number of soft repeats that really only served to add to the confusion. Plaits is simply triggered to often.

The proverbial icing on the cake was the Walrus Audio Slöer in “Light” mode, which is an octave pitch shift. But rather than a standard pitch shift, Slöer adds more of a choir or symphonic strings sound, which is absolutely beautiful. This patch used basic settings. Pitch shift volume at max, and clock speed at the slowest setting. There was a long decay, and a moderate amount of modulation.

Overall I’m quite happy with how this patch turned out. It’s beautiful and not deterministic. That said, the piece could use for some composed string sequences, even if only occasionally, in order to maximize tension and relief. I’m definitely going to try other adaptations, particularly in the timing of gates and pitch. I’m thinking the Addac508 Swell Physics might be a good place to start.

Modules Used:
Nonlinearcircuits The Hypster
Nonlinearcircuits Lets Get Fenestrated
Nonlinearcircuits Stochaos
Nonlinearcircuits Triple Sloth
Vostok Instruments Asset
Expert Sleepers Disting NT
Addac System Addac814 6×6 Stereo Matrix Mixer
Qu-Bit Electronix Nautilus
Rossum Electro-Music Panharmonium
Pladask Elektrisk Dradd(s)
Mutable Instruments Marbles
Mutabke Instruments Plaits
Mutable Instruments Beads
Knob Farm Ferry
ST Modular SVCA
Intellijel Quad VCA

Outboard Gear Used:
Echofix EF-X2
Walrus Audio Slöer
Noisy Fruits Lab Lemon

Improvised and recorded in one take on iPad in AUM via the Expert Sleepers ES-9.

  1. I was getting all sorts of sputtering and general ugliness using these samples. I’m not sure if I was overwhelming the algorithm with too many gates, or whether the sample rate or bit depth of the samples was too high, or perhaps something else, but I quickly abandoned these samples in favor of the stock LABS string samples. ↩︎

A Piano Dream

As I was un-patching my Fall patch, I got a hankering. I’ve used Multisample Piano in several patches over the last couple of years, but I wanted to make another one with the piano as the focus of the patch, rather than an accompanying ornament. These sorts of patches aren’t terribly hard, but they are fun, and I love relaxing to them as they just play.

My first thought was to get a random distribution of triggers and let it roll. I began by using the same sub-patch that created the Fall emulation; a series of random envelopes cycling within a defined range, with the End Of Cycle trigger striking one of four gate inputs programmed on the Disting NT. That worked okay, but there was something not quite right. I was never able to pin down exactly what that was, but I decided early on to abandon that patch and try a combination of patches that I’ve used before to some really nice effect. Once I decided to switch things up, I knew exactly what I wanted to do.

Let’s Get Fenestrated, by Nonlinearcircuits, is one of Andrew’s newest designs. It’s a triple comparator with the sole job of spitting out gates once the inputs reach certain voltage levels. According to an email exchange I had shortly before its release, Andrew’s idea when designing this module was to create wonky clocks with chaotic sources. When I inquired, I was looking for a couple of tools, some type of comparator being one of them.1 Upon his announcement of its release I had Scopic Modular, the guy I use for all of my NLC builds and all around nice guy, order and build it for me. But despite having had it for a while I hadn’t used it much. In the time between seeking some form of comparator and receiving Fenestrated, I had worked up several patches to get chaotic gates. Numberwang was my primary tool, but also others. But as I started to think about how I would come up with a different clock algorithm for this patch, I immediately thought about using Fenestrated.

The patch started with a chaos signal from The Hypster. I initially went with the U output, because it has the biggest range of the four outputs, but despite modulation happening via patch-programming, the output was just too regular. No matter what I did with the comparator setting on Fenestrated, I got more or less a steady-ish beat. Not on a grid, but just a little too close for the style of gate generation I was going for. Switching to The Hypster’s Y output, and adjusting the window on the first comparator of Fenestrated, fixed that in short order. The new clock output from Fenestrated was patched to Stochaos, which uses chaos (or random, or both) to generate gate patterns. One advantage to using Stochaos is that, unlike Numberwang or using the End Of Cycle outputs on various free running function generators, it generates multiple gates at the same time, meaning I’d have both dyads and chords, along with singularly generated notes, which is not possible using those other methods. Numberwang spits out exactly one gate at a time, and the chances of two random, free running cycles of a function generator finishing at the exact same time is exceedingly low. Having found a good cadence of notes, I moved on to giving them a pitch.

I’m a fan of using a very small number of modules as what I like to call an engine. The thing that makes the patch go. It’s quite often that I’ll use only one or two modules to control an entire patch. Having used The Hypster to control gate generation, I initially decided to use its other outputs as a pitch generator, patching the X, Z, U, and -Y outputs to the Disting NT CV inputs, via the Vostok Instruments Asset so that I might massage the notes for each input into a good range focused on the lower-middle to middle parts of the keyboard. Notes that don’t require one to be a dog to hear, nor ones that often only contribute to a muddy soundstage if used too often, especially in a reverb-rich environment. But I wasn’t completely satisfied with the result, so decided then to use the four CV outputs on Stochaos, which worked wonderfully, even if I can’t explain why it was better.

At first I wasn’t sure how I wanted to ornament the piano, not that a piano and some reverb aren’t enough to be beautiful. I wasn’t set on a sound, so I began to experiment with delays. Normally I would go to the Venus Instruments Veno-Echo, but decided instead to use the Qu-Bit Electronix Nautilus. I wanted intermittent reverse delay, which the Veno-Echo can do, but I wanted to CV control the reverse parameter, and not simply gate it on and off. Although I don’t always appreciate prescriptive controls, if those controls are lightly modulated the result need not feel prescripted. With most delays, reverse delay is reverse delay. It’s on or off. But due to it having up to eight delay lines, the Nautilus takes a different approach. Rather than an on of off dichotomy, it prescriptively assigns reverse repeats as you turn the knob. At full counter clockwise there are no reverse repeats. But as you turn the knob clockwise, you get reverse repeats in patterns. From the manual:

I set the knob at just above full CCW. I wanted reverse repeats, but I didn’t want them to overwhelm regular repeats. Using an attenuated version of one of the Triple Sloths outputs (a medium length cycle) I lightly modulated the reverse knob, which ended in a wonderful mix of mostly forward repeats, augmented by the always beautiful zips of reverse delay. But it wasn’t quite enough. I wanted to make it a bit dusty, so chose to put a very light amount of sample reduction as the Chroma.2 This matched perfectly with the slow clock speed I had running on my reverb, the Walrus Audio Slöer. I next decided on how long of a delay I wanted, and ultimately went with a fairly long delay time, and used an internal cross-feedback pattern for the repeats.

Wanting to fill in some of the space, I decided to go with a combination of Panharmonium and the Dradd(s). I initially had an idea that I would pitch the accompaniment in opposite directions, Panharmonium down an octave and the Dradd(s) up an octave, but that created all kinds of sonic havoc, especially with the already pitched up reverb. It just was too much going on in too many frequency ranges to be coherent. One issue with this patch is that it’s a bit difficult to pick out the Panharmonium. It’s pitched downwards an octave to give the piece some depth, but it seems to get lost a bit. It’s noticeable when Panharmonium is not present, especially as I added some saturation via the Echofix EF-X2 pair towards the end, but it’s hard to pick out as a separate voice in this recording. I’m not sure whether that’s good or bad, though I tend towards wanting every voice to stand on its own. I’m not exactly sure why this voice is so buried in the mix, and I’m not sure if it’s a bad thing in the end, but it is a little frustrating.

The Dradd(s), however, came out exactly like I’d hoped. They were set to Grain Mode, and time stretched at a slow crawl, one channel in reverse, the other forward. I love granular synthesis. The textures it can create are wonderful, and this patch is no exception. Each piano note, and its successive repeats from the Nautilus, stretched to the furthest extremes, filled out space in a particularly interesting way that I found compelling; the Piano notes seemingly stuttered as they were dragged out as long as the Dradd(s) could manage. Not only did the Dradd(s) serve to fill in space, but they added a wonderful lo-fi texture to otherwise smooth piano notes. Beautiful.

One thing I’ve long wanted to experiment with is using multiple reverbs. Not simply stacking reverbs or using two (or more) in parallel, but by trying to use them as instruments unto themselves. I’m not exactly sure when I first heard this technique, though it was surely in the context of ambient guitar, but it wasn’t until I heard Music Major by A Last Picture From Voyager that I saw its full potential. I recently made a recording during which I featured the freeze effect from the Dreadbox Darkness, and it was great, even if it all started with an accident. I was mesmerized by the beautiful reverb tail hanging as if it were a mist. But despite initially patching in the Darkness, I was simply unable to find the same kind of magic present in that first recording. While trying to fiddle around with Darkness, I discovered that, with shifting soundscapes, timing is everything. Hitting the freeze switch a smidge too early or too late and the capture isn’t what one hoped it might be. Whether too soft or too loud, slightly dissonant or too plain, hitting freeze at just the right moment proved to be more difficult than I originally imagined. So I decided to try a new reverb that I got around the start of the year but hadn’t yet used, the Old Blood Noise Endeavors Dark Star Stereo, to see if I might be able to get better results.

Buying the Dark Star Stereo was a long time coming. OBNE has been making highly compelling effects pedals for a long time. Alpha Haunt, a flexible, nasty fuzz,, was my first foray with them. And even if I sold that pedal for something much more basic, I knew it sounded awesome and that I was totally into the OBNE ethos. Dweller (Dweller!) was my next OBNE purchase, and that thing is ace. A delay circuit inside of a phaser circuit that sounds both unique and beautiful. Next was the Rêver and its sibling, Minim, which are both absolutely brilliant reverse delay/reverb. But as I grew, and especially with modular, I was pretty adamant that my reverbs all be stereo, and despite having wanted to use OBNE reverbs for their unique tones, none of them were stereo. A little while back they released the Dark Light (now discontinued), which is a “stereo” mashup of the Light and Dark Star pedals. But I always felt the implementation was odd, and some sounds were disjointed. It was seemingly more a dual mono reverb than a stereo one, and it just didn’t sound right so much of the time. So I waited. Then a few months backs, OBNE finally released a true stereo reverb, this time a fully featured version of the Dark Star, their most popular reverb pedal (and my favorite of those I’ve heard), and I jumped on one almost immediately. When I bought it I knew I didn’t have room in my pedal rack. But after selling my Oto trio and getting the proper cables to patch it into my synth, it quickly made its way to the synth FX rack, even if I all but ignored it during Jamuary when I didn’t touch it once.

The Dark Star Stereo is a lo-fi reverb, complete with pitch shifting (up or down), filtering, saturation, and sample reduction, along with mix, volume, and stereo spread. It’s designed primarily for soundscape and pad generation, but works great on any source. The default sound without any pitch shifting, filtering, sample deduction or overdrive is soft and gentle. But once you begin to shape the sound it begins to texturize in haunting ways. A bit of crunch to add some dustiness here, some high pass filtering there, and you have a beautiful ambient reverb that can last for days. In this patch I used a smidge of sample reduction and high pass filtering, along with pitch shifting up an octave. Compared to other implementations, the pitch shifting feature is…different. Rather than a cheesy sheen or beautiful choir-like effect, Dark Star Stereo produces more of a granular sounding pitch shift that can be a bit jagged sounding (in good ways), though I do wish that one could control the amount of pitch shifting in the output so that I can more easily get less of it. In this patch the Dark Star Stereo is introduced briefly at about 3:25, a second time around 4:35, then I used it very subtly as a parallel reverb from about 5:18 through the end. The result here was “okay.” It wasn’t exactly what I’d hoped for, but it was a good first foray into using reverbs in this manner., and a step in the right direction for future exploration.

The end-of-chain reverb in this patch is the ever-beautiful Walrus Audio Slöer, with a smidge of its choir-like pitch shifting that is exceptionally beautiful. The Slöer has been my go-to reverb since receiving it, and I simply can’t envision not having one.

Modules Used:
Nonlinearcircuits The Hypster
Nonlinearcircuits Lets Get Fenestrated
Nonlinearcircuits Stochaos
Nonlinearcircuits Triple Sloth
Vostok Instruments Asset
Expert Sleepers Disting NT
Addac System Addac814 6×6 Stereo Matrix Mixer
Qu-Bit Electronix Nautilus
Rossum Electro-Music Panharmonium
Pladask Elektrisk Dradd(s)
Knob Farm Ferry
ST Modular SVCA
Intellijel Quad VCA

Outboard Gear Used:
Echofix EF-X2
Old Blood Noise Endeavors Dark Star Stereo
Walrus Audio Slöer

  1. I also inquired about a gate combiner, to which he responded that would be a good idea, and wrote back a couple of days later with the design for Gator. ↩︎
  2. Chroma is an effect that’s applied to the delay feedback path. Other effects are a LPF, HPF, saturation, wavefolding, and heavy distortion. ↩︎

A Polyphonic Experiment

During one Jamuary patch, I had the pleasure of using the Alexandernaut Fugue Machine Midi sequencer extraordinaire. I enjoyed it so much that I sought a MIDI > CV converter so that I could bring that particular brand of magic into my synth. Sequencing is easily the most challenging part of eurorack for me. I’m quickly learning that, at least in the immediate term, “battleship” sequencers and me don’t work well together. The options are oftentimes overwhelming and programming them can be a constant exercise in frustration. When you’re trying to play a polyphonic patch, these frustrations compound as the patch gets more and more complex. Of the large sequencers I’ve used René v2 is easily my favorite. I find it to be the most intuitive sequencer I’ve used. The sequencer in the Doboz T12 is also easy to catch on, and the Verbos Voltage Multistage is ultra-simple. But I’ve done nothing but get my teeth kicked in by some of my larger sequencers. Frap Tools USTA, Oxi One, and 4ms Catalyst Sequencer in particular. Perhaps it’s the lack of effort with learning them, or that I simply quit on them too quickly, but nothing kills a moment like manual digging in the midst of a patch. Fugue Machine, even if it’s walled in its own very small box, is but one of many tools that make sequencing much less of a chore, and can help spark the creative drive to explore more advanced sequencing. Fortunately, there are good ways of leveraging MIDI tools in Eurorack.

I searched for a couple of weeks for my ideal MIDI > CV converter. My main consideration was for sequencing polyphonic patches, so it needed to have at least four channels of pitch CV, gates, and velocity. There are several options. One of the more compelling options is the Der Mann Mitt Der Maschine DROID. It’s a CV generating and processing powerhouse that can do almost anything that can be done with CV, including MIDI > CV conversion. I even have a DROID, and it has a killer feature set. If you can program it. It turns out that I can program DROID. It’s not terribly hard, even if I still do it by hand rather than using the GUI tool to create patches. But DROID would take more space, and would only be useful in this capacity, needing all eight CV outputs for pitch and velocity CV. So I kept searching, and finally settled on the relatively new Befaco MIDI Thing V2. I already have and use the Befaco CV Thing CV > MIDI converter and find it good at its job, even if the screen is not fit for middle-aged eyes. It’s only 6hp, and can sit right next to the CV Thing.

One of the MIDI Thing’s features is that it has 12 outputs. Exactly enough for four voices worth of outputs, and what’s more is that the exact configuration for my initial intentions with MIDI > CV conversion is already saved as a preset, or Pre-Def in Befaco-speak, for quick and easy input and output configuration. I simply set the MIDI Thing to “Predef 2: Multi Timbric” in the Global Menu and it automatically set the incoming MIDI channels to 1-4 and preconfigured the outputs. Pretty slick. Since I was already in for a lot of patching, I opted to forego using the velocity outputs. That wasn’t a step I was terribly interested in today. I wanted pitch CV and gates to trigger envelopes, and by golly that’s what I got after spending less than one minute in the MIDI Thing configuration screen.1

Once I had my MIDI routed in the AUM MIDI Matrix, and properly set MIDI ”Predef-ed” in the MIDI Thing, I fired up Fugue Machine. Since I was testing the functionality of the MIDI Thing and how that would work with a modular system, I wasn’t overly worried with an elaborate, or even original, sequence, and just used one of the included presets. Although I had played with the sequence length and transposition while running through the patch before recording it (which was all supremely cool), I simply forgot when I improvised the recording. I was more preoccupied with timing each channel, the levels of each oscillator, and crossfading the ending. As a result, this recording is a repetitive sequence. It doesn’t repeat exactly because of the modulation, but there’s no variation in anything other than oscillator timbre.

For oscillators I chose the always excellent Synthesis Technology E370, with a User-Loaded Wavetable titled NOV that was left from a previous owner. Thanks, dude. It’s pretty outstanding. Tuning each oscillator to unison (in Morph X/Y mode), I ran each of the pitch outputs from the MIDI Thing to the v/oct inputs. I followed that up by using the eight outputs of the Nonlinearcircuits Frisson to modulate both the X and Y parameters of each wavetable for all four oscillators. This constant timbre changing caused by the modulation also causes dramatic volume changes as waves morph in and out of more and less prominent waveforms in the table. I initially wanted something glitchy, and turned Glitch on HIGH with Interpolation Off for each of the four channels, and while it was cool, it didn’t fit at all in with the overall tenor of the sequence itself. The tonality is too “positive”, being in the key of A Lydian, and the sequence too upbeat. I suspect it would work fantastically on slower, more drone-ish material.

After I routed the pitch CV and modulation, I ran the gates to two Frap Tools Falistris for some enveloping. In addition to being enveloped at the Control inputs, three of the four gate outputs were also multed to the Hit input on one of two Rabid Elephant Natural Gates to provide some beautiful pinging of these ever-changing tones coming from the E370. All four channels were processed through Natural Gate, but only three were pinged. The bass note was only enveloped. In this process I made a grievous oversight. While Falistri is a perfectly good tool for this job, particularly the pluckier notes, more defined shaping with a ADSR would have really served the slower voices well. It so happens that I have perhaps the most advanced ADSR generator in Eurorack, but I didn’t even think to use it, and when I did, I was way too deep in the patch to re-patch and reconfigure the envelopes, so I let it go.

To be honest, I was expecting hurdles to cross, but I was surprised when it all just worked. CV did what it’s supposed to do. Gates did what they were supposed to do. Everything was perfectly in tune and on time.

Once the notes were created in their respective Natural Gate, all four outputs went to the ST Modular Sum Mix & Pan. While three of the four channels were panned to mono, the fastest moving and highest pitched voice was being slowly panned in the stereo field. The stereo output was then routed to the Addac814 6×6 Stereo Matrix Mixer, and sent to the Venus Instruments Veno-Echo. To ensure a solid clock for the delay, I used the now-defunct (or at least unavailable in the United States according to the App Store – which would seem weird) CoVariant Clock AUv3 plugin, which converted the MIDI clock in AUM to CV and sent it out an ES-9 output as an analog clock. I’ve never really sought to use a MIDI clock as the master clock outside of the iPad. I’ve certainly never used it as the master clock in a Eurorack patch. But this clock was flawless, likely to due CV being generated directly at the source, minimizing switches and pass-thru cabling or USB MIDI jitter. Hopefully CoVariant remains a working plugin in iOS for a while to come as there are currently no other direct MIDI > CV clock converters on the iPad. Veno-Echo was set at x2 on both sides with similar feedback just shy of noon. I also added a smidge of drive in order to enhance the sample reduction I put in the feedback loop. Veno-Echo, with its cross-feedback and width parameter, really can create an enormous stereo field

And so can the Dradd(s). It’s no secret I’m absolutely smitten by dual Dradd(s). Despite this infatuation, my first instinct was to patch in Beads, but Beads just didn’t really have what I was looking for today. At least I couldn’t find it. But the Dradd(s) did. In fact, I had to decide between two modes which both had something very cool to offer. I ultimately chose the Tape mode because the octave up was too much to resist. I slowly started to fade out the oscillators once the Dradd(s) were at full volume, and allowed its magic to guide the rest of the recording, fading out in a glorious wash of the Rain algorithm on the Walrus Audio Slöer.

Modules Used:
Befaco MIDI Thing V2
Synthesis Technology E370
Frap Tools Falistri
Frap Tools Sapel
Rabid Elephant Natural Gate
Nonlinearcircuits Frisson
ST Modular Sum Mix & Pan
ST Modular SVCA
Addac Systems Addac814 6×6 Stereo Matrix Mixer
Venus Instruments Veno-Echo
Pladask Elektrisk Dradd(s)
Knob Farm Ferry

Outboard Gear Used:
Walrus Audio Slöer

Plugins Used:
Alexandernaut Fugue Machine
CoVariant by Alan Clifton

  1. It should be noted that the MIDI Thing also produced velocity CV, I just didn’t use it. ↩︎

A Resonance Wobble Experiment

One of the beautiful things about eurorack is the many happy accidents that we all run into on occasion. Those times when some combination of conditions present at just the right moment seems to produce something magical. You don’t necessarily know what got you there, but nonetheless, here it is and it’s glorious. Though we may not always know exactly what leads to these enigmatic moments of splendor, there are things we can consider when seeking to be able to use those sounds as part of your artistic arsenal. It’s one thing to hap into something beautiful, however you might describe that term, but it’s another thing altogether to reproduce whatever it is you heard to make that magic an intentional part of your sound. To play it, rather than have it fall in your lap.

A couple of days after Jamuary concluded I made a patch on the Make Noise synth that made me stand up and stare. There was a whisper. An oscillator speaking softly into a filter’s ear, quivering as it tried to muster enough courage to get sound out. It wasn’t unlike bowing a string as lightly as possible, or trying to play a wind instrument as quietly as one can. There was a vulnerability in the voice, seemingly lacking the confidence to speak, or like trying to speak when you’re crying and your lips quiver. There was a wobble that was absolutely intoxicating, and I was set on trying to reproduce that wobble.

When I first set out to try and recreate this sound, I first isolated the conditions of the patch I wanted to emulate. Of course oscillators can’t speak softly. They only know one output level, generally speaking. I documented every patch connection and knob setting from this sub-patch. I verified modulation sources and any peculiarities. I thought about this patch a lot, writing extensively in my Notability patch book, and narrowed it down to three factors. At least theoretically.

  1. As low a level going into the filter as possible. On my original patch, I used QPAS as my first filter, and controlled levels with the input VCA knob. I initially did this out of necessity because the other voice in the patch was very quiet by its nature, and when any real level was given to the oscillator going through QPAS it was too loud. I discovered later that night that the lower the level, the better the conditions for interesting wobbles. If your filter does not have input level control, you can use an attenuator or VCA before going to the filter input.
  2. A filter with some fairly aggressive resonance. It need not scream like a Polivoks, but the resonance needs to be pronounced before it goes into self oscillation. If the resonance is non-linear, it’s even better. I’ve also surmised, perhaps errantly, that a vactrol-based filter would be better suited to this job because of the inherent drag and voltage drift of vactrols. The filter creating pronounced wobble in my Make Noise patch was QMMG, a vactrol-based filter, processing a signal that had already gone through QPAS. I could be wrong, but my experiments trying to reproduce the wobble seem to bear out this conclusion. I don’t have a vactrol-based filter in my main synth, but none of the filters I used in my experiments had the same sort of wobble as that produced by the QMMG.
  3. A slow moving modulation signal that moves the cutoff frequency through the fundamental frequency of the note. I’ve found the slower the better, but there are diminishing returns to that proposition. When you add resonance to a filter, you’re creating a small hump in the EQ curve at the cutoff frequency by feeding it back into the filter’s input. When that cutoff frequency intersects and passes through the fundamental frequency of whatever signal you’re passing through it, you get a small wobble. The resonance itself and the modulator’s frequency and shape can alter that wobble some, and can change its character, as do any curves you might put on your modulating signal.

Of course all of this was theoretical, and much of it still is, even if I’ve received some form of verification via Google AI, and tangible signs that I’m on the right track through my subsequent experimentation.1

When I set out to make a patch yesterday, my goal was to first experiment with recreating filter wobble through my main synth where I have a plethora of filters of all sorts. My first thought was to experiment wholly within the Frap Tools Cunsa. I can create sine waves with the first filter and still have three filters with which to experiment, all with normalized patching to make things simple. I was pretty quickly able to create some wobble using my three guideposts listed above, but it was very consistent, and exciting as it was to know I was on the right path, I felt that perhaps the Cunsa was simply too polite a filter to get the best results. Abandoning Cunsa, I next went to the Joranalogue Generate 3 feeding Filter 8, but I never felt like I could get anything close to what I wanted. The cutoff was always too high, and I couldn’t tame the harmonics in a way I wanted. So I switched to a single sine wave from Filter 8 feeding the Bizarre Jezabel Seju Stereo, which was okay, but not special, so I went to the Pkhia, which didn’t work very well. I moved on to the Pkhi Mk3, and had a promising start, but it didn’t progress much. Finally I went to the Blossom, a multi-output filter inspired by the legendary Mannequins Three Sisters, and I heard…something interesting. The wobble was there, and had a bit more character than the simple hump like the rest of the filters. I had found the subject for the rest of the day’s experiments. I spent well over two hours exploring different filters, and of those I tried, a simple sine wave into Blossom was definitely the most compelling. I have other filters that I think are good candidates, namely the Verbos Amp & Tone and Instruo I-ō47, but neither of those cases were in the synth when I turned it on. I’m definitely interested in trying those filters, as both have just the right kind of resonance, I think, to be compelling options.

After I’d finalized a base sound I wanted to use for the rest of the patch, a single sine wave into a resonant low pass filter, I worked up a sequence in C Lydian on the very excellent Doboz T12, and went to work. Like the voice used in my Make Noise patch, this voice would also be completely un-gated, sauntering along, only being level modulated in the filter by the slowly moving function of a cycling Contour 1. The cutoff point is set lower than the lowest fundamental frequency so that there would be times when no notes of the sequence come through. Because Blossom doesn’t have level input control, I ran the output of Filter 8 through an attenuator to initially make the sound as quiet as possible while still being (mostly) audible.

I decided to use a staggered clock. One that is gated by a clock divider, so as to never have continuous repetition. I multed a single x1 clock output from the Sitka Gravity to the Nonlinearcircuits Divide & Conquer in order to create my gate. Because the Gravity is in its infancy, there are several basic things it can’t do. As of now, Gravity’s clock (and sequencer) only outputs triggers, and not gates, so I couldn’t use the duty cycle of a gate output (like those on Pamela’s Pro (and New, and OG) Workout) to gate the x1 trigger that would ultimately go to the clock input on the sequencer. I wanted the clock to start and stop every five beats, and Divide & Conquer was able to provide a gate that enabled that staggered clock for my sequence to follow. The sequence itself is simple. It’s a couple of scale lines going up, with a very low probability (11%) of getting a quantized random pitch within seven semitones (a fifth) of any given step of the sequence. But because the cutoff frequency of the filter goes below the lowest fundamental pitch, the sequence flows in and out and isn’t steady. Notes hold in beautiful ways, and the sequence doesn’t repeat despite being only 16 steps long.

Once through the now occasionally wobbling filter, the audio went straight to the Bizarre Jezabel Mimosa. Mimosa is what I consider to be the most beautiful distortion I’ve heard in any format, short of very high dollar guitar amps. Of course the word beautiful is doing a lot of heavy lifting here, but what I mean is that it can heavily distort something, while still allowing the source to shine. It adds life, even when the dials are pinned. No matter what, you can always let some of the original dry signal through which helps keep shape in the audio regardless of the amount of distortion is applied. From gentle piano notes and sine waves (such as those in today’s patch) to ripping saw clouds Mimosa just does the right things whether using it for some gentle saturation or full on sonic destruction.

In this patch Mimosa started gently, with both the output volume and distortion amount both turned low. As the piece progressed, gain was adjusted upwards at multiple points. The first place was the original audio signal on the way into the Blossom. This allowed its resonance to growl a bit more rather than wobble. Higher input levels into the filter also mean higher output levels from the filter, and Mimosa is very sensitive to input level. Even at the same knob settings, input level is a crucial determinant of the final sound. Lower levels at the input might just have a bit of coloration or slight crunch, whereas loud sounds will rip or soar. It’s part of Mimosa’s magic. After I adjusted the initial input as loud as I dared, I started to slowly raise the output volume and distortion amount on Mimosa, as well as the amount of wet signal. From gently whispering and quivering to finally finding one’s voice to sing, all from nothing but subtle gain changes along the way. From Mimosa, the audio went to a new addition in the synth; the Addac Systems Addac814 6×6 Stereo Matrix Mixer to be distrusted to several effects.

It should be reiterated here that every sound is this patch arises from one single sine wave fed by one simple sequence, with but a single parameter being modulated by a lone triangle function (the filter cutoff). Of course that isn’t the only sound in total. That lone sine wave is repeated all over the place with overlapping delays, looped with four simultaneous digital tape heads and a delay of its own, and reverberated. The first delay, a Bizarre Jezabel Quarté Mk2, mostly added some lovely texture. A bit of a wash of decays in the wake of the melody, its gritty tail disintegrating into nothingness, which added depth and color. Repeats were set to moderately long, with a slow(er) delay time. With the PT2399 delay chips, the longer the delay time, the noisier it will be. The second delay was an Olivia Artz Modular Time Machine, with 4 active taps. It’s clear digital voice echoing the distorted sines near perfectly. Both delays are set to different times which really served to fill out space and maximize this one simple voice with the most basic of sound waves.

As beautiful as this very simple sequence was, I wanted to see if I couldn’t perform some complimentary embellishments, and decided to once again delve into the Cutlasses Instruments Gloop. I’ve only used Gloop a couple of times, but it’s already captured my attention. Some modules take some time to gel with. Despite some sloppy transitioning in my first couple of uses, I immediately took to Gloop. Its interface is (mostly) intuitive, and it’s a capable looper with some very cool tricks. It’s pretty easy to create compelling loops with Gloop. That said, it does have some drawbacks, at least in its current iteration. Though it’s packed with some clever effects that can be eminently useful with a looper, delay, reverb, and a host of tape-related effects like tape degradation, wobble, noise, and saturation, these effects can only be used on one channel or the other, and not both. Though Gloop has two outputs, it’s not really stereo, but dual mono. Each of the four heads can be panned in a stereo fashion and be used in one or both outputs as if it were a stereo signal, but for reasons I don’t understand the effects can only be used in one output at a time. This imbalance can definitely be a problem when trying to create a consistent stereo field. I was hoping to use the degradation effect, wherein the audio degrades as it would on a tape machine with each successive loop, fading out to nothing after a time. In loopers this is generally simulated by constantly low passing the signal at progressively lower cutoff frequencies in order to gradually roll off the highs. It’s a crucial component of Frippertronics, for instance. Allowing a loop to fade to nothing is also a beautiful way to end a track, and unfortunately I can’t do that with Gloop while using both output channels. In lieu of using Gloop to add tape hiss, I was able to add noise to both channels in the mixer via the very excellent DAW Cassette by Klevgrand, but that was an improvised half-measure. I think I can patch a workaround, but it definitely won’t function in quite the same way. A slow moving negative function into a wide open filter cutoff should get me at least part of the way there. Timing would be an issue. How long should this envelope be? What happens if I get to the end of the function, and I haven’t pressed stop on the recorder? Will the cutoff reset to fully open? That would be bad. But those are problems for another day.

I recorded a length of the sequence to Gloop, then while the sequence continued to play configured the four play heads and slowly started to raise the level on the looper, while lowering the level of the continuously sauntering sequence. Though this transition isn’t perfect, it’s much smoother than in tries past. I would use a crossfader like the WMD AXYS to more smoothly move between the two parts, but because the individual voices were being multitracked separately, I crossfaded in the mixer by hand using the Michigan Synth Works XVI Faderbank CV and Midi controller. The first and fourth heads were hard panned left and right at 2x forward and 4x in reverse respectively, while heads two and three were panned in the middle at 1x forward and .5x forward. I manually played the loop size and location within the loop of all four heads until it I manually faded out the hard panned parts before fading out the base melody and its half speed sibling. But not even Gloop was without its own dedicated delay, the ever-excellent Venus Instruments Veno-Echo. I used a x4 output from Gravity, with a /3 clock division set in Veno-Echo, which gave me a dotted eighth note delay, an always interesting pattern.

Both voices were mixed together in AUM and sent to the Walrus Audio Slöer using the Rain algorithm with almost no diffusion, and the clock speed at its slowest, adding to an already textured outcome. A medium long decay and high modulation finish off the track.

Modules Used:
Sitka Gravity
Nonlinearcircuits Divide & Conquer
Doboz T12
Joranalogue Filter 8
Joranalogue Contour 1
Bizarre Jezabel Blossom
Bizarre Jezabel Mimosa
Bizarre Jezabel Quarté Mk2
Addac Systems Addac814 6×6 Stereo Matrix Mixer
Olivia Artz Modular Time Machine
Cutlasses Instruments Gloop
Venus Instruments Veno-Echo
Intellijel Amps
ST Modular SVCA
Knob Farm Ferry

Outboard Gear Used:
Walrus Audio Slöer

Software Used:
Klevgrand DAW Cassette
Toneboosters TB Equalizer 4

Improvised and recorded in one take on iPad in AUM via the Expert Sleepers ES-9.

  1. I put very little stock in the accuracy of AI at this stage in its development. However, it stated the same three conditions I had independently surmised, and so choose to engage in a bit of sweet, sweet confirmation bias. ↩︎

Jamuary 2530

I wasn’t sure what I wanted to do today. I initially settled on a simple piano into an occasionally reversed delay patch, but wanted more than this very Rings-into-Clouds-like aesthetic. If I wanted that today, I’d just use Rings-into-Beads. But there’s a new module I recently got, and it was kinda staring at me wide-eyed, asking “Can you play with me now?”, akin to a small boy begging his busy father for just a few minutes of time. Or something like that. Whatever.

I was set on buying the new Cutlasses Gloop the very first time I saw it. Gloop is a four head tape looper. Each head can be played simultaneously, in either direction at various speeds. Each head can play the entire loop or any snippet down to small grains. It’s a fantastic looper on paper. I received it a couple of weeks ago, but just hadn’t gotten around to playing it yet. Once I realized that I wanted to use Gloop today, the patch pivoted and started to take on a life of its own. But I made the unfortunate decision to still incorporate the whole reverse delay and Beads thing. It’s not that it sounds bad. It doesn’t. It sounds really nice, actually. But it doesn’t fit with the looper direction very well, and I didn’t have the courage to dump the work I’d already done. It added several unnecessary minutes to the recording, and because of a now fixed peculiarity in how the module operates,1 I flubbed the performance, and had to add more unnecessary time to the recording in order to get the settings right and get to looping. That doesn’t happen until over nine minutes into the recording. Such is Jamuary.

The patch isn’t terribly difficult, even if there’s a lot of patch cables. I patched four cycling functions from the Addac506 to Numberwang, adjusted the rise and fall range to something that produced a nice cadence of gates in the Disting NT. The same four functions went to the Vostok Instruments Asset where I attenuated and offset all four channels into specific ranges of notes so as not to overcrowd the sonic range by using attenuation only. These four signals were patched to the Disting NT CV inputs for the quantizer to voice everything in D minor.

The piano went to the stereo matrix mixer where it was sent to the Veno-Echo, Beads, and Gloop.

Veno-Echo provided the sumptuous delayed sounds, randomly triggered into reverse by End of Rise gate outs on the Addac506, via the CuteLab Missed Opportunities, with a low probability of allowing the gate through.

Beads was set to have medium length grains with a sharper envelope, the buffer being slowly scanned at one octave up. The Beads output was sent directly to the mixer for multitracking.

One unfortunate fact of looping more or less randomly generated parts is that you get what you get. Sometimes, like during my first run-through, you’re able to capture a really good loop. Something you can work with. But other times, you’re not left with much, and you kind of need to eat your own dog food and pretend it tastes great. Such is this recording, I think. It’s not offensive. Not by a long shot. But had this been a take for anything other than Jamuary, I would have re-done it (as well as jettisoned other parts). Looping can be inspiring when you have a good loop. But it can feel like work when you have to search around for good looping points.

I completely neglected to snap any pics of this patch, which is a shame. Next time. And I’ll definitely be revisiting Gloop very soon.

Modules Used:
Addac Systems Addac506 Stochastic Function Generator
Nonlinearcircuits Numberwang
Expert Sleepers Disting NT
Vostok Instruments Asset
AI Synthesis 018 Stereo Matrix Mixer
CuteLab Missed Opportunities
Venus Instruments Veno-Echo
Mutable Instruments Beads
Cutlasses Gloop
Knob Farm Ferry
ST Modular SVCA
Intellijel Quad VCA

Outboard Gear Used:
Walrus Audio Slöer

  1. This behavior has been fixed in the newest firmware, but I haven’t installed it yet. When you cleared a loop, all tape head settings would revert to the default. I didn’t realize it until I was in the midst of performing the patch. ↩︎

Jamuary 2527

When I set out to do today’s Jamuary patch I had initially planned on recreating, at least in spirit, a patch I did as a test for a travel synth during the summer. After setting up the piano portion of the patch, I changed my mind and decided against creating a sub bass sequence, or indeed using any distortion as I did in that patch. In part was because I was highly taken aback when, instead of plugging the piano output into the Qu-Bit Nautilus, as I did in that patch, I reached for the extremely lo-fi Bizarre Jezabel Quarté Mk2. The natural decay of the delay was plenty dirty in all the best of ways, and decided to go with it instead of introducing some other form of distortion. From there the patch went a very different direction. Rather than a sad yet hopeful tenor, this one is just sad.

For this patch I decided to use Stochaos as my gate producer for triggering the piano sounds, being fed by a chaotically controlled clock. I’m a fan of using chaos as a clock source. I’ve used multiple methods of using chaos to create off beat rhythms, from using Numberwang to running a chaos signal through Divide & Conquer, a clock divider than can use any signal as a clock input. Today I used, for the first time, the Nonlinearcircuits Let’s Get Fenestrated, a comparator NLC-style, fed by a heavily modulated The Hypster. This process created a perfectly ultra-wonky clock, which then fed Stochaos. Stochaos spat out four gates at the Disting NT inputs which triggered both the quantizer and the Poly Multisample player.

The audio was sent to the AI Synthesis 018 Stereo Matrix Mixer, and on to the Bizarre Jezabel Quarté Mk2 for some soul-crushingly beautiful repeats that seem to disintegrate as they decay away. I seriously contemplated just leaving the patch at that, adding in some reverb, and calling it a day, but I knew that I could add to it subtly and give it some more life. To give it some other textures to contemplate and heighten the overall mood of the piece without distracting too much from the piano and those beautiful repeats.

I started with the Qu-Bit Electronix Data Bender, but I knew I only wanted to use that sparingly and didn’t think it would add enough by itself, so opted also to send the piano notes to the Dradd(s) for some good old fashioned time stretching. This was perfect and even allowed me to use the Data Bender even more sparingly so as not to overwhelm the Piano with failure. I slowly controlled the Data Bender output in the ST Modular SVCA with a modulated LFO from the Frap Tools Falistri. To modulate the length of the LFO I used an attenuated and slightly offset Smooth Random output from Sapel into the Both CV input. An inverted copy of the LFO was sent to a second SVCA which very slightly lowered the volume of the Piano and its repeats while the Data Bender did the thing.

The Dradd(s) add tons of texture with their medium-to-short grains, re-creating the piano at a slow crawl, filling in space and adding a layer of intrigue. Like a splash in water, the Dradd(s) created a distorted view of what’s underneath: slivers of sound overlapping and rippling off each other in a beautiful chorus. I’m still infatuated with the dual Dradd(s). I’ve used lots of granular processors in Eurorack. Of the continuous processing type, those that don’t rely on pre-recording to a buffer, but instead have a continuous buffer and don’t require recording a certain bit of material to process, I have a very difficult time choosing between the Dradd(s) and the Mutable Instruments Beads. It seems like I can always find something fascinating. That I can always use it to find something beautiful inside of the audio itself.

Modules Used:
Nonlinearcircuits The Hypster
Nonlinearcircuits Let’s Get Fenestrated
Nonlinearcircuits Stochaos
Nonlinearcircuits De-Escalate
Expert Sleepers Disting NT
Bizarre Jezabel Quarté Mk2
Qu-Bit Electronix Data Bender
Pladask Elektrisk Dradd(s)
Frap Tools Falistri
Frap Tools Sapél
Vostok Instruments Asset
AI Synthesis 018 Stereo Matrix Mixer
ST Modular SVCA
Intellijel Quad VCA
Knob Farm Ferry

Outboard Gear Used:
Walrus Audio Slöer

Improvised and recorded in one take on iPad in AUM via the Expert Sleepers ES-9.


Jamuary 2525

Today’s Jamuary is not only a classic patch, it’s a meme in the modular world. With a small twist. That’s right, it’s Marbles > Rings > Beads. Although the true classic is Rings > Clouds, Beads is a fine substitute. I haven’t used any of my Mutable Instruments modules in a long time. I removed that case from the synth a few months ago in order to expand it, and while I was filling it up, it went completely unused. It’s one of the downsides of having a modular modular synth. There’s always something missing. Beads had been a staple in many of my patches until I pulled it out. To the MI case I added several choice modules. Blades, Stages, Tides v2, and am still in the process of adding one last module before the case will be complete. But I decided that today I’d do a patch I haven’t done in a very long time.

Rings into Clouds is a eurorack gateway drug. It’s a patch that many of us try at least once, and for good reason. Some people never venture any further and come up with something new every time. Such is the depth of this venerable duo. But Beads, although borne of, is not Clouds. You can do many similar things, but they are each their own instrument. Like so many Rings > Clouds patches before, this Rings > Beads patch all started with Marbles, and wonderfully musical random CV and gate generator, spitting out random CV to Rings’ v/oct input. With Rings a gate or trigger isn’t necessary. It detects changes in incoming CV and automatically generates notes when the CV has sufficiently changed. It’s a brilliant design, and dead simple to use. It’s no wonder why Rings is one of the first modules so many of us try. I know it was one of my first modules, and despite having other methods of producing the same sounds,1 it will never leave my synth. You needn’t know any fancy synthesis techniques to get incredibly beautiful sounds right out of the gate. Marbles was set to a moderately slow tempo with lots of jitter as to not become regular, and off we went. Set in Sympathetic Strings mode, Rings was left completely unmodulated. As Rings received new pitch information it sent notes to the venerable (and infamous) Beads, Mutable Instruments’ final module before closing shop in 2022.2

I’ve had Beads since its initial release. I’m one of those lucky enough to have been able to get one, as after the second batch was shipped a few months later, all production stopped, prices soared, and for a while became unobtainium. It took me a while, perhaps a year, to come to grips with Beads. The first couple of patches were a cacophony of grains overtaking everything else in the patch. It was messy, unruly, and I couldn’t figure out how to tame it. So I set it aside for a while. Once I became more familiar with the building blocks of granular synthesis (and synthesis in general) and how they worked in concert, I gave it another try and was bewildered by its beauty. Ever since then I’ve been hooked, and it’s become a tool that would be almost inconceivable to lose.

In this patch Beads was set to a moderately low number of randomly generated grains, while fairly heavily modulating Time, scanning the recording buffer, Shape, changing the composition of each grain, and Size from small to moderately large. This modulation allowed grains that were quite plucky to much longer “slides” through the buffer. Long grains can be a very interesting sound, and one I’ve explored some, but will seek to experiment with more in the future. The Quality setting is in Scorched Cassette mode, both for the longer buffer, as well as the saturated goodness it imparts on the audio. A little bit of blowout and compression goes a long way.

Once out of Beads, the audio went to Blades for some light, somewhere-between -Bandpass-and-High Pass Filtering, and the very slightest bit of Drive. Blades is new-to-me module I haven’t used before this patch, and now that the MI case is back in action, I’ll definitely be using it much more.

The bass drone is courtesy of Plaits playing what amounts to a very (very) lightly FM’d sine wave, with some modulation only to the Morph CV input to give it a small bit of motion so as not to become stale. I have no idea what note it is that’s droning away. I simply tuned it to the Rings output by ear and called it a day.

All modulation throughout the patch was done by Tides v2. This was also my first time using Tides, so I have no idea what mode it was in, or generally how it functions. What I do know is that I managed to get a quad of slow LFOs that are all phasing in and out of each other. I’ll have to read the manual to get a better idea of how it works, but it’s hard to mess up slow modulation sources too badly. One frustrating instance during making this patch was that although I had installed Stages in the case as part of the expansion, I hadn’t actually plugged it in. So despite desiring more modulation, I didn’t have access to any inside the MI case other than Tides, and so opted to not use any more modulation at all. I wanted as much as possible done only with this case, only using other modules for getting from the case to the interface.

With one exception.

One module I’ve also had for a very long time is the Qu-Bit Electronix Data Bender. Along with Rings (and Typhoon, one of the many versions of Clouds), it was one of the very first Eurorack modules I bought once I was bit by the bug. I used it a bunch initially to learn how, even if I’ve forgotten most of it after a few years, but haven’t really touched it since, generally favoring granular synthesis for glitchiness. Data Bender has a very unique sound. It’s the sound of failure. CD skipping, digital buffer errors, tape malfunctions, bit and sample reduction, and any other sort of audio failure, analog and/or digital, you can imagine. I’ve tended to enjoy its take on digital errors when I’ve used it and when I hear it in other people’s work. A sort of glitchiness that harkens back to the earliest days of my musical awakening as an adolescent as I was forming my own aesthetic in music. The days of CD players in the 80s that would skip if you farted across the room, and the multitude of buffering errors in the newly emerging internet through players like WinAmp were commonplace. Data Bender makes that failure musical. I would have thought that two different forms of glitch, from Beads and Data Bender might have been too much. But the effects were sufficiently different that they complemented rather than competed against one another.

Modules Used:
Mutable Instruments Marbles
Mutable Instruments Rings
Mutable Instruments Beads
Mutable Instruments Blades
Mutable Instruments Plaits
Mutable Instruments Tides v2
Qu-Bit Electronix Data Bender
AI Synthesis 018 Matrix Mixer

Outboard Gear Used:
Walrus Audio Slöer

  1. Since Rings, and all of the Mutable Instruments modules, have been open sourced, several variations have appeared from miniaturized versions like Rangoon and nanoRings, to the software being ported to multifunction modules like the Expert Sleepers Disting Ex and NT. ↩︎
  2. Emilie Gillet, the former head of Mutable Instruments, is said to have created Beads in order to address “flaws” in how most people seemed to use Clouds, or to correct perceived shortcomings in how Clouds functioned. Although it took nearly three years after Clouds’ discontinuation to finally release Beads and was highly anticipated, it initially had a mixed reception. Now it’s the only Mutable Instruments module that hasn’t been released to open source. ↩︎
0:00
0:00