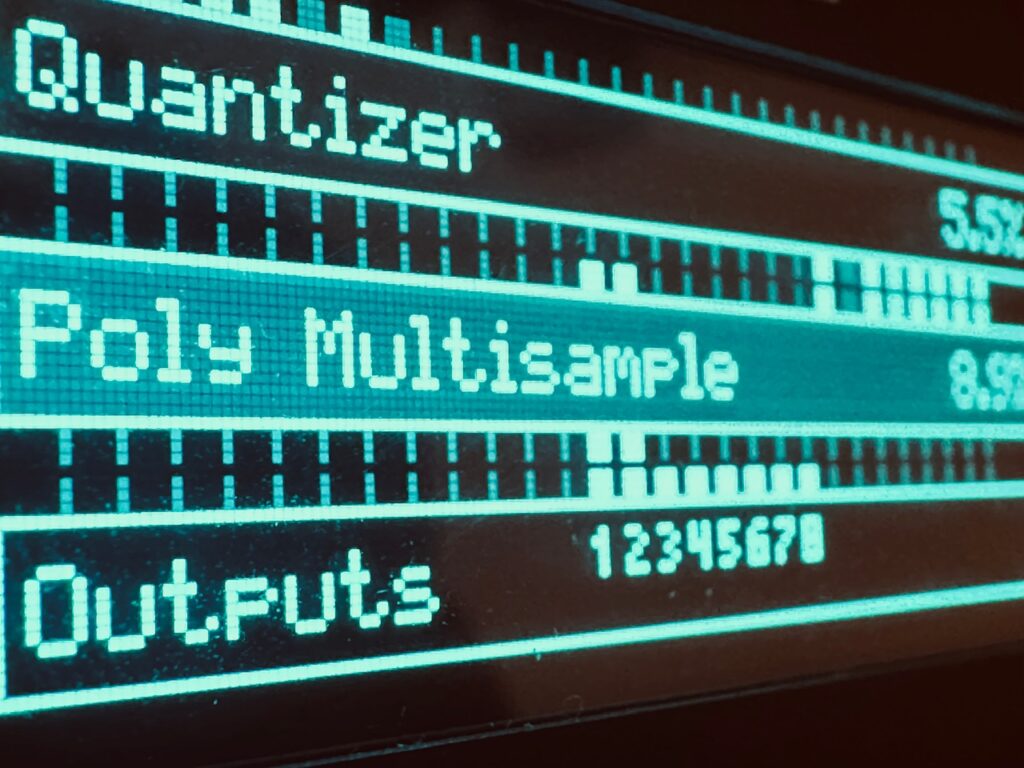
Ever since I started using the Polyphonic Multisample algorithm in the Disting Ex, and now the Disting NT, I wanted to do a string patch. For some unexplainable and inexplicable reason I never did. I got a taste of using string samples during a handful of Jamuary patches, particularly Jamuary 2507 and Jamuary 2510, when I experimented with using the very excellent Alexandernaut Fugue Machine and Decent Sampler, but I really wanted to do a string sample patch modular-style. At first I wanted to use the same string samples I used during Jamuary, the DK Solo Cello Spurs from Pianobook, but that did not work at all.1 After quickly pivoting to the LABS Low Strings Long samples included with the Disting NT, I was off.
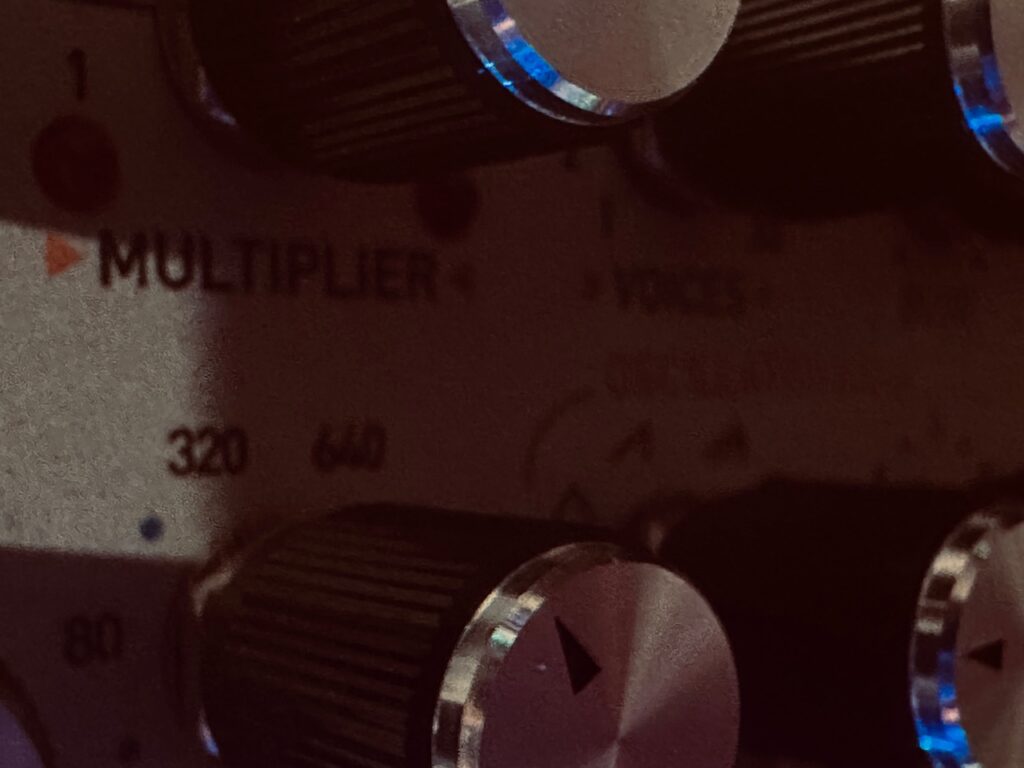
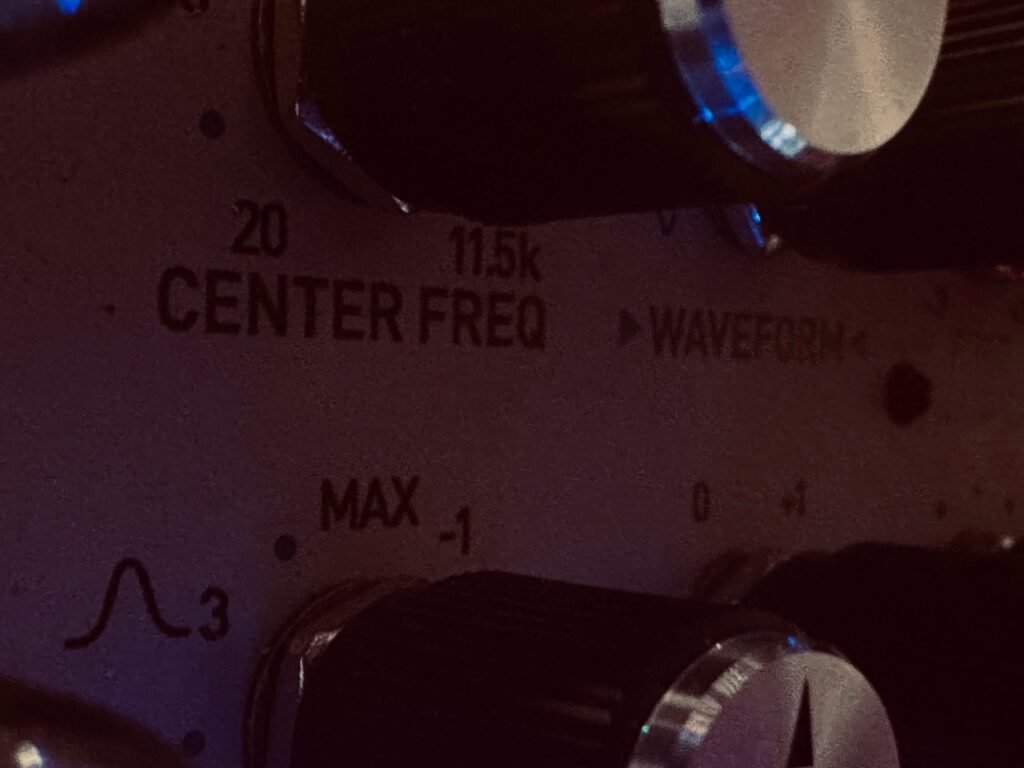
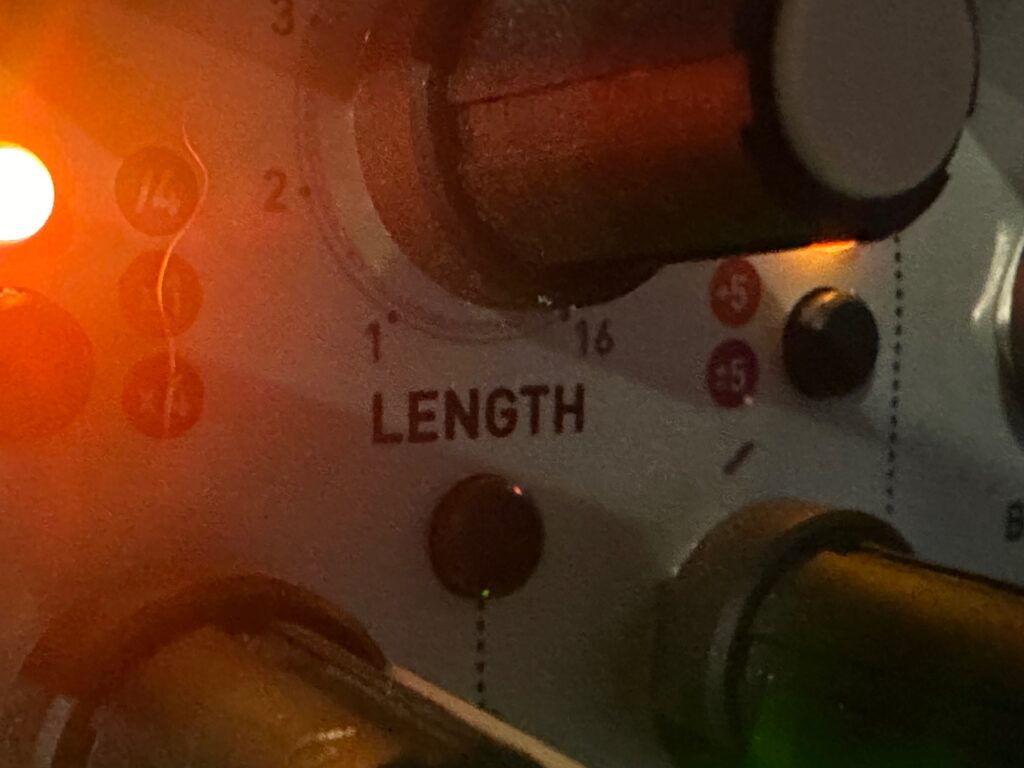
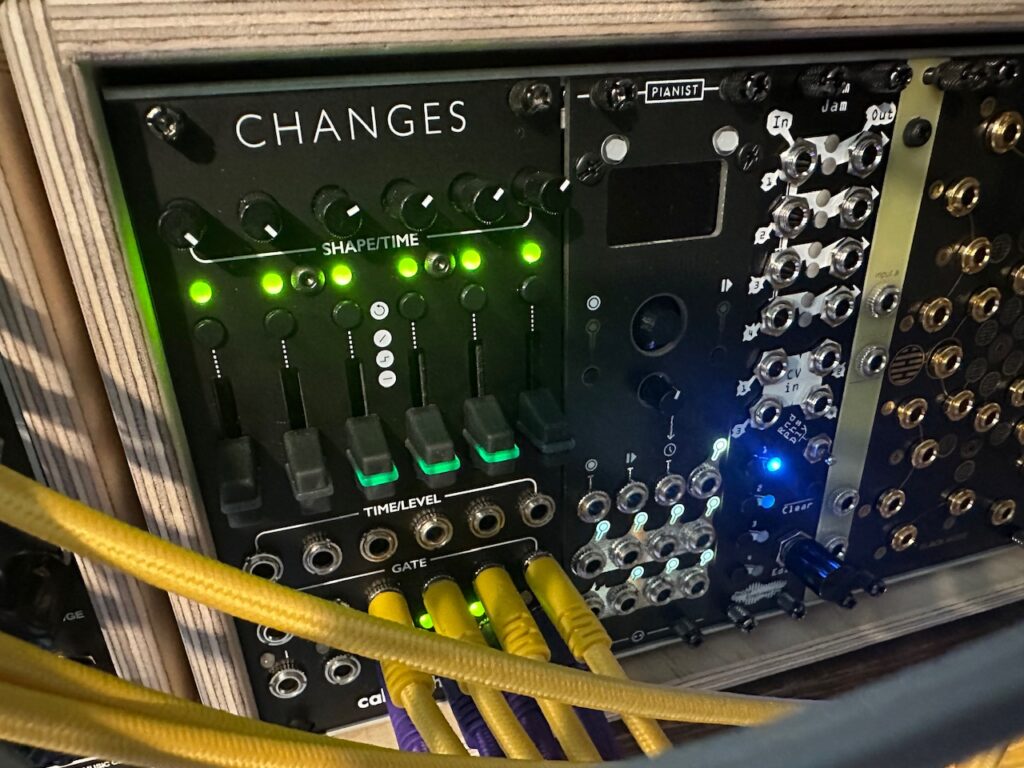
Much of this patch is a simple altered duplicate of my last patch, so I won’t rehash the entire patch here. Many knob settings are different, and of course I triggered string and not piano samples, but the control and audio paths are largely identical. Because these string samples are inherently longer than piano notes, I had to drastically slow down The Hypster, the initial source for the master clock, in order to compensate and have Stochaos produce fewer gates. This slow down was coupled with using outputs on Stochaos that change much less often. I also tuned in the delay used on the string samples, the Qu-Bit Electronix Nautilus, to what I thought sounded best, thought I can’t recall the settings other than a long delay time with moderately high feedback. The Panharmonium settings were also changed drastically, cutting the number of voices, zeroing in on the desired frequency range, and really tuning the sampling time. Panharmonium is not always instant bliss, but given some gentle massaging it can become transformative. The Dradd(s), however, weren’t changed at all.
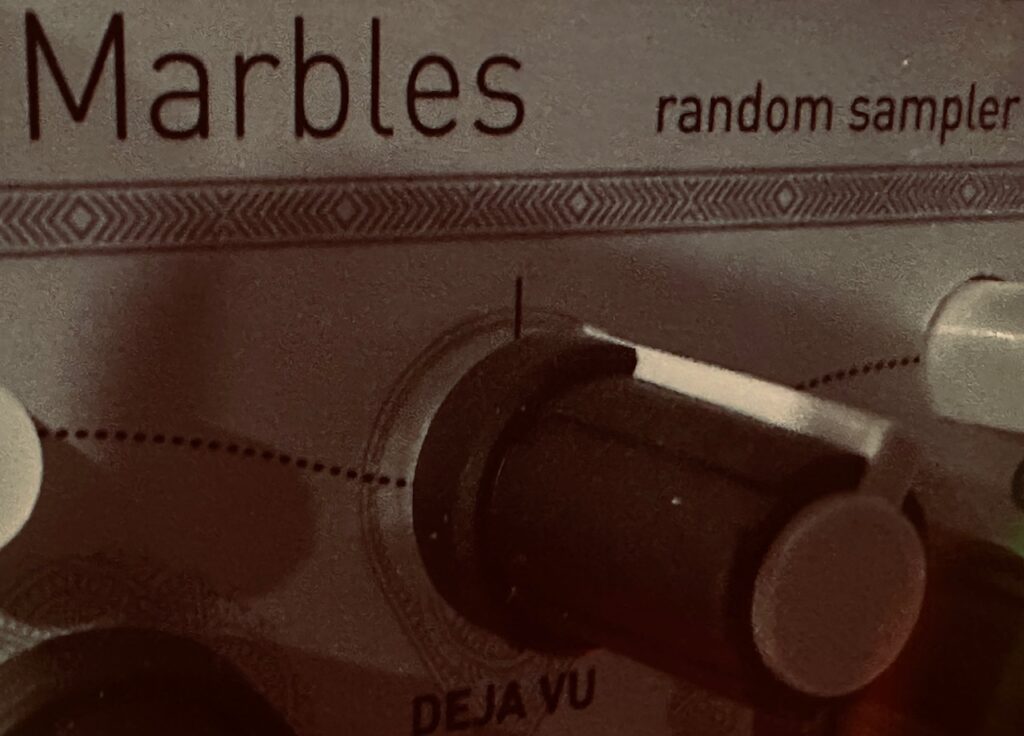
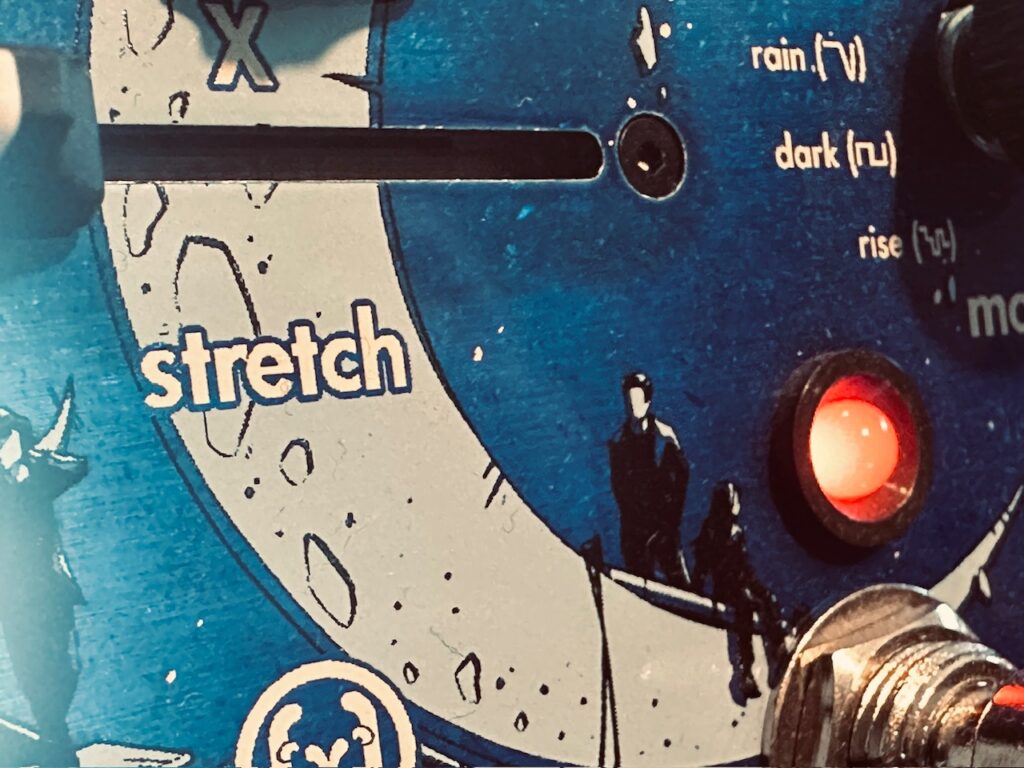
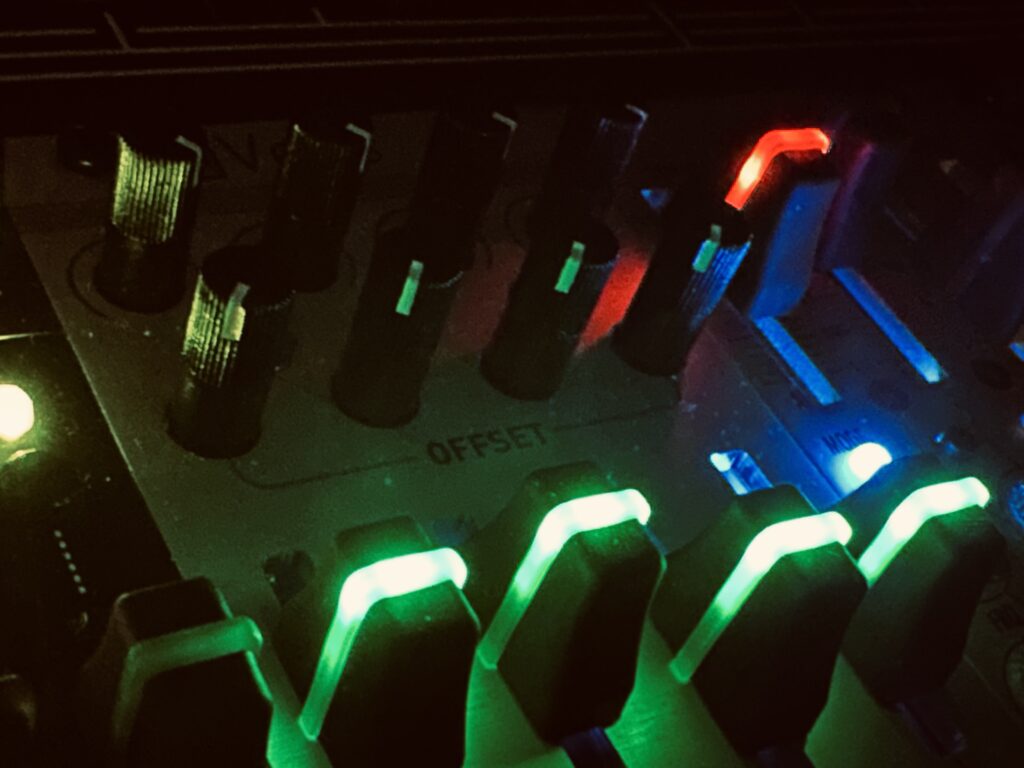
But even after being able to hone in on what I had hoped for the strings and the existing sound chain, there was something missing. It needed some kind of ornamentation. Something to juxtapose against the somber sounding string sequence plodding along in C minor. I initially thought of high pitched bells or sparkles of some kind, but then remembered a patch I did last summer as a test shortly before bringing a travel synth on a trip to Alaska. In that patch I used Plaits in the Vowel and Speech Synthesis algorithm (the last Green algorithm) to repeat four colors, Red, Orange, Yellow, Green. In this patch I took a slightly different approach, by using a random output from a Mutable Instruments Marbles to select the spoken color. I was quite happy with the result in the moment, but was carried away a bit during the performance with too many triggers. It should have been an occasional color spoken in a sad-ish voice to reflect the somberness of the strings, though it sometimes ended up being a robot talking over himself. I used a CV output from the Noisy Fruits Lab Lemon to control Marbles’ clock, which had a high amount of Jitter so as to not be regular. When I wanted more from Plaits, I pushed the fader to create more gates with Marbles. However I clearly pushed it too far during a couple of points. Initially I had Plaits running straight to the mixer, but later in the recording used Beads in full wet delay mode, which altered the tone slightly, and added a low number of soft repeats that really only served to add to the confusion. Plaits is simply triggered to often.
The proverbial icing on the cake was the Walrus Audio Slöer in “Light” mode, which is an octave pitch shift. But rather than a standard pitch shift, Slöer adds more of a choir or symphonic strings sound, which is absolutely beautiful. This patch used basic settings. Pitch shift volume at max, and clock speed at the slowest setting. There was a long decay, and a moderate amount of modulation.
Overall I’m quite happy with how this patch turned out. It’s beautiful and not deterministic. That said, the piece could use for some composed string sequences, even if only occasionally, in order to maximize tension and relief. I’m definitely going to try other adaptations, particularly in the timing of gates and pitch. I’m thinking the Addac508 Swell Physics might be a good place to start.
I was getting all sorts of sputtering and general ugliness using these samples. I’m not sure if I was overwhelming the algorithm with too many gates, or whether the sample rate or bit depth of the samples was too high, or perhaps something else, but I quickly abandoned these samples in favor of the stock LABS string samples. ↩︎
As I was un-patching my Fall patch, I got a hankering. I’ve used Multisample Piano in several patches over the last couple of years, but I wanted to make another one with the piano as the focus of the patch, rather than an accompanying ornament. These sorts of patches aren’t terribly hard, but they are fun, and I love relaxing to them as they just play.
My first thought was to get a random distribution of triggers and let it roll. I began by using the same sub-patch that created the Fall emulation; a series of random envelopes cycling within a defined range, with the End Of Cycle trigger striking one of four gate inputs programmed on the Disting NT. That worked okay, but there was something not quite right. I was never able to pin down exactly what that was, but I decided early on to abandon that patch and try a combination of patches that I’ve used before to some really nice effect. Once I decided to switch things up, I knew exactly what I wanted to do.
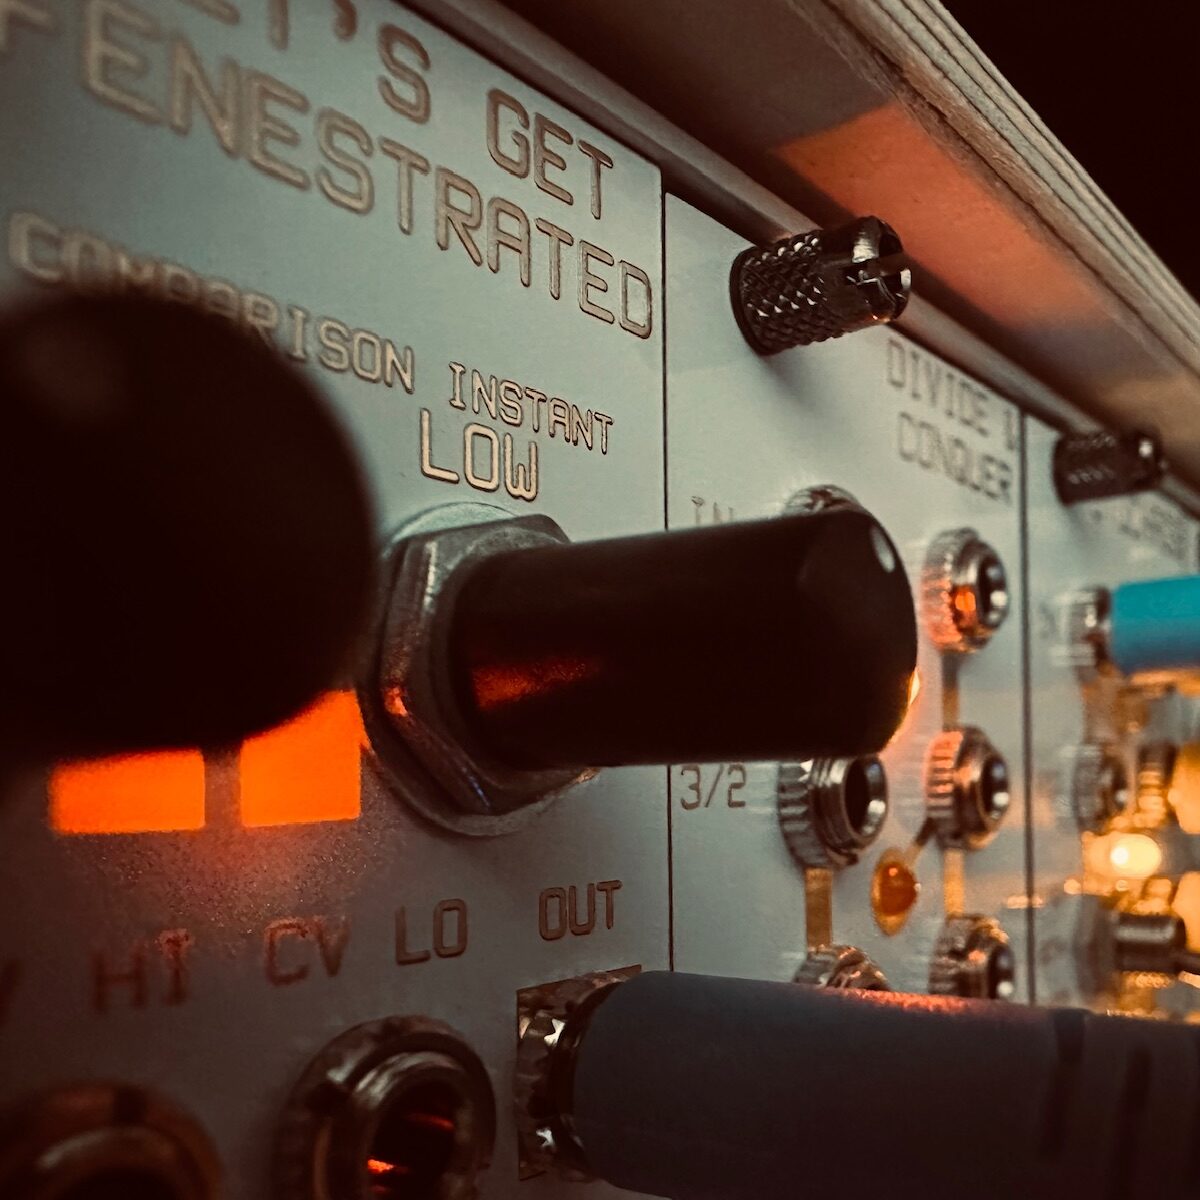
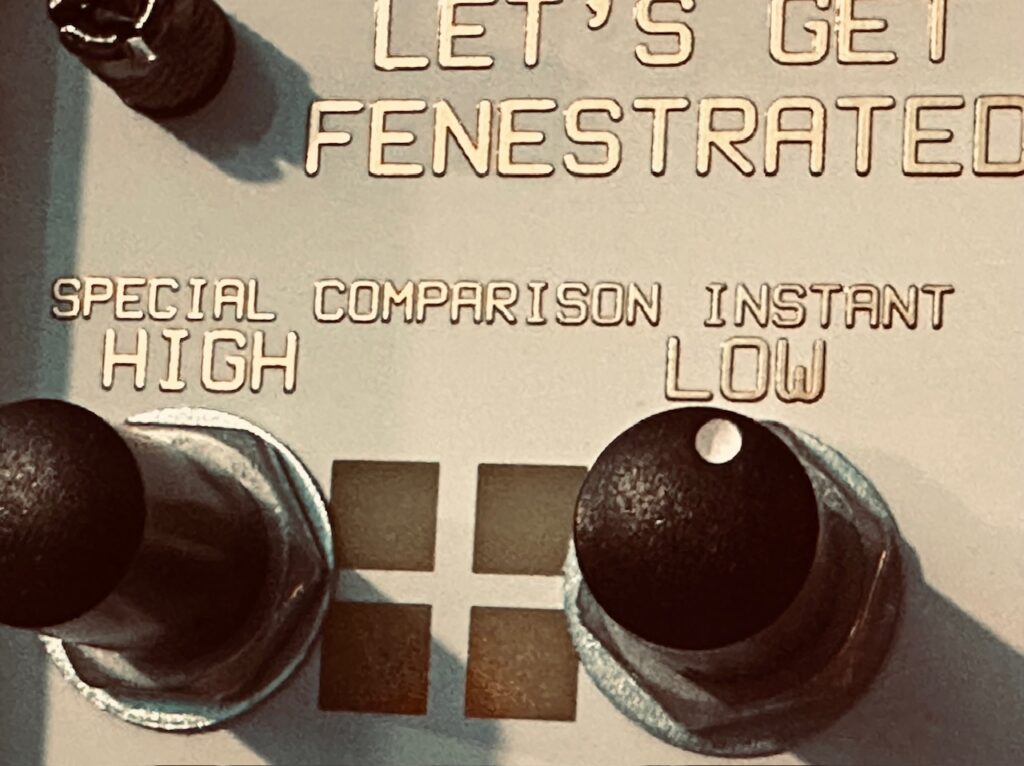
Let’s Get Fenestrated, by Nonlinearcircuits, is one of Andrew’s newest designs. It’s a triple comparator with the sole job of spitting out gates once the inputs reach certain voltage levels. According to an email exchange I had shortly before its release, Andrew’s idea when designing this module was to create wonky clocks with chaotic sources. When I inquired, I was looking for a couple of tools, some type of comparator being one of them.1 Upon his announcement of its release I had Scopic Modular, the guy I use for all of my NLC builds and all around nice guy, order and build it for me. But despite having had it for a while I hadn’t used it much. In the time between seeking some form of comparator and receiving Fenestrated, I had worked up several patches to get chaotic gates. Numberwang was my primary tool, but also others. But as I started to think about how I would come up with a different clock algorithm for this patch, I immediately thought about using Fenestrated.
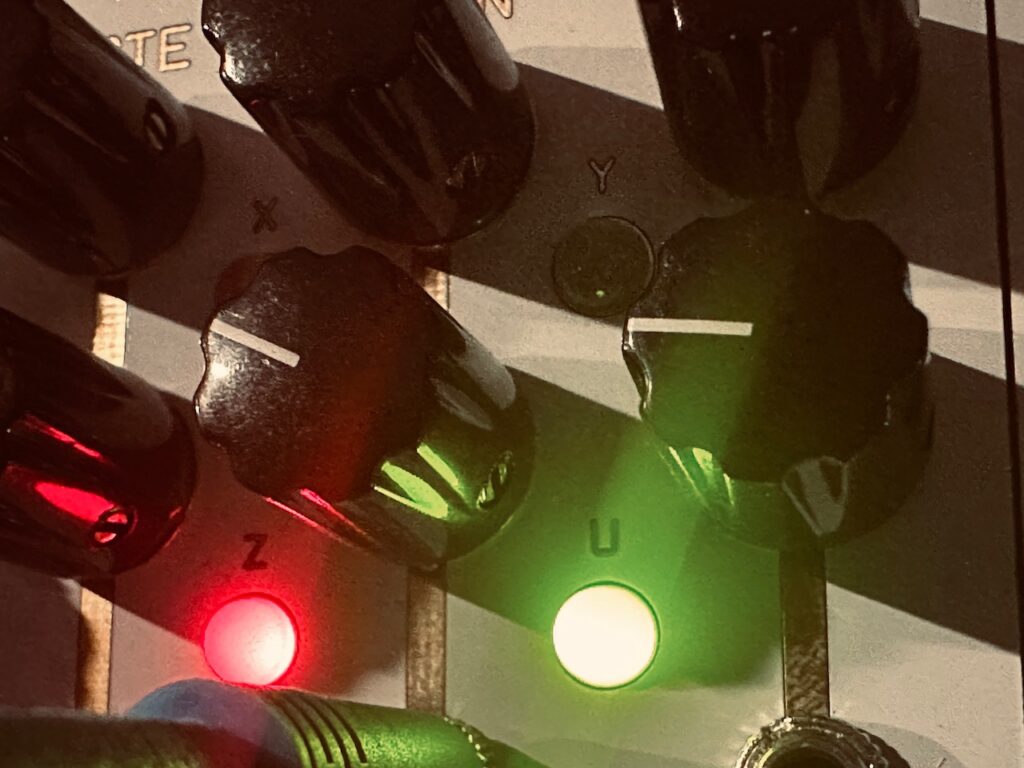
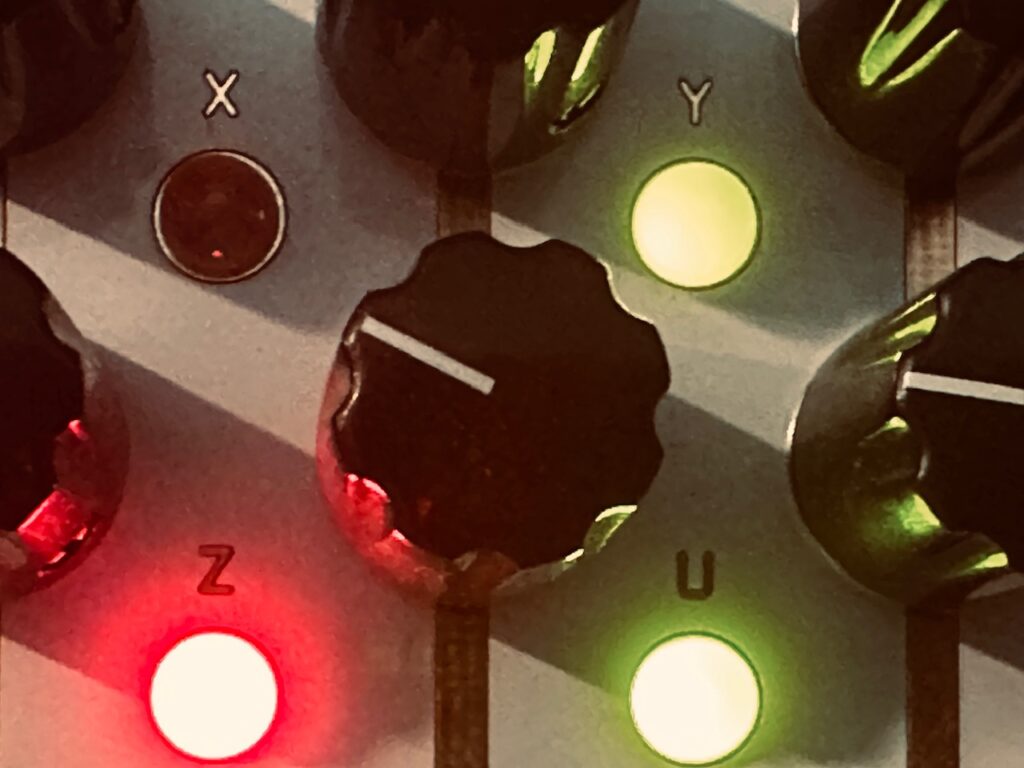
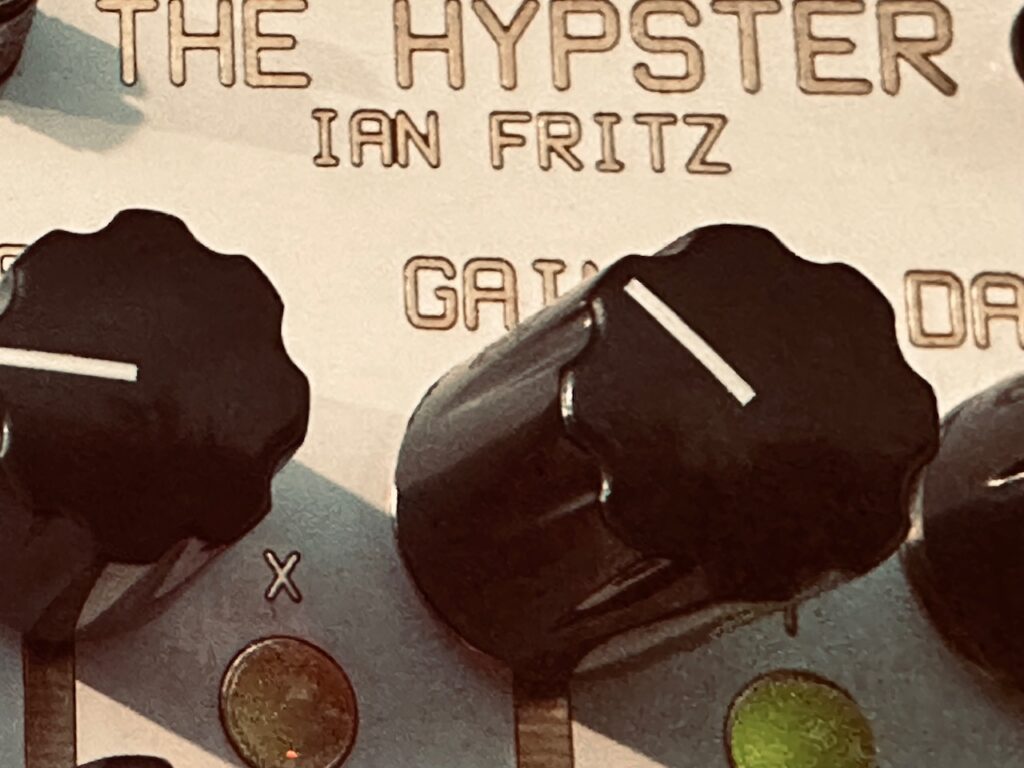
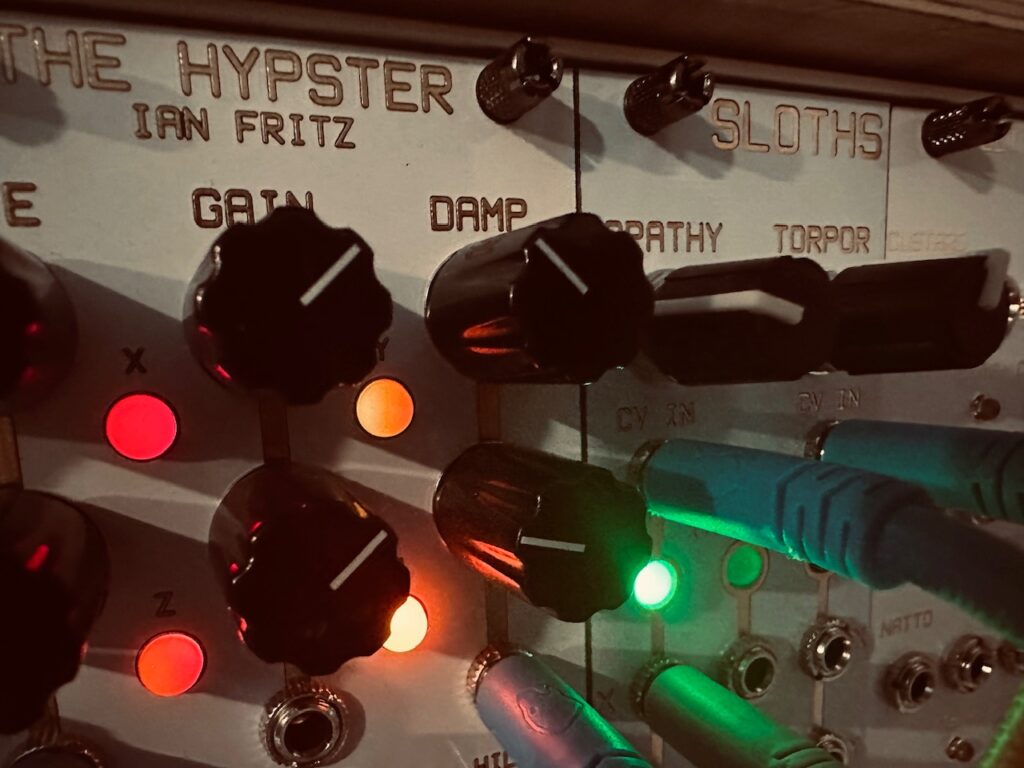
The patch started with a chaos signal from The Hypster. I initially went with the U output, because it has the biggest range of the four outputs, but despite modulation happening via patch-programming, the output was just too regular. No matter what I did with the comparator setting on Fenestrated, I got more or less a steady-ish beat. Not on a grid, but just a little too close for the style of gate generation I was going for. Switching to The Hypster’s Y output, and adjusting the window on the first comparator of Fenestrated, fixed that in short order. The new clock output from Fenestrated was patched to Stochaos, which uses chaos (or random, or both) to generate gate patterns. One advantage to using Stochaos is that, unlike Numberwang or using the End Of Cycle outputs on various free running function generators, it generates multiple gates at the same time, meaning I’d have both dyads and chords, along with singularly generated notes, which is not possible using those other methods. Numberwang spits out exactly one gate at a time, and the chances of two random, free running cycles of a function generator finishing at the exact same time is exceedingly low. Having found a good cadence of notes, I moved on to giving them a pitch.
I’m a fan of using a very small number of modules as what I like to call an engine. The thing that makes the patch go. It’s quite often that I’ll use only one or two modules to control an entire patch. Having used The Hypster to control gate generation, I initially decided to use its other outputs as a pitch generator, patching the X, Z, U, and -Y outputs to the Disting NT CV inputs, via the Vostok Instruments Asset so that I might massage the notes for each input into a good range focused on the lower-middle to middle parts of the keyboard. Notes that don’t require one to be a dog to hear, nor ones that often only contribute to a muddy soundstage if used too often, especially in a reverb-rich environment. But I wasn’t completely satisfied with the result, so decided then to use the four CV outputs on Stochaos, which worked wonderfully, even if I can’t explain why it was better.
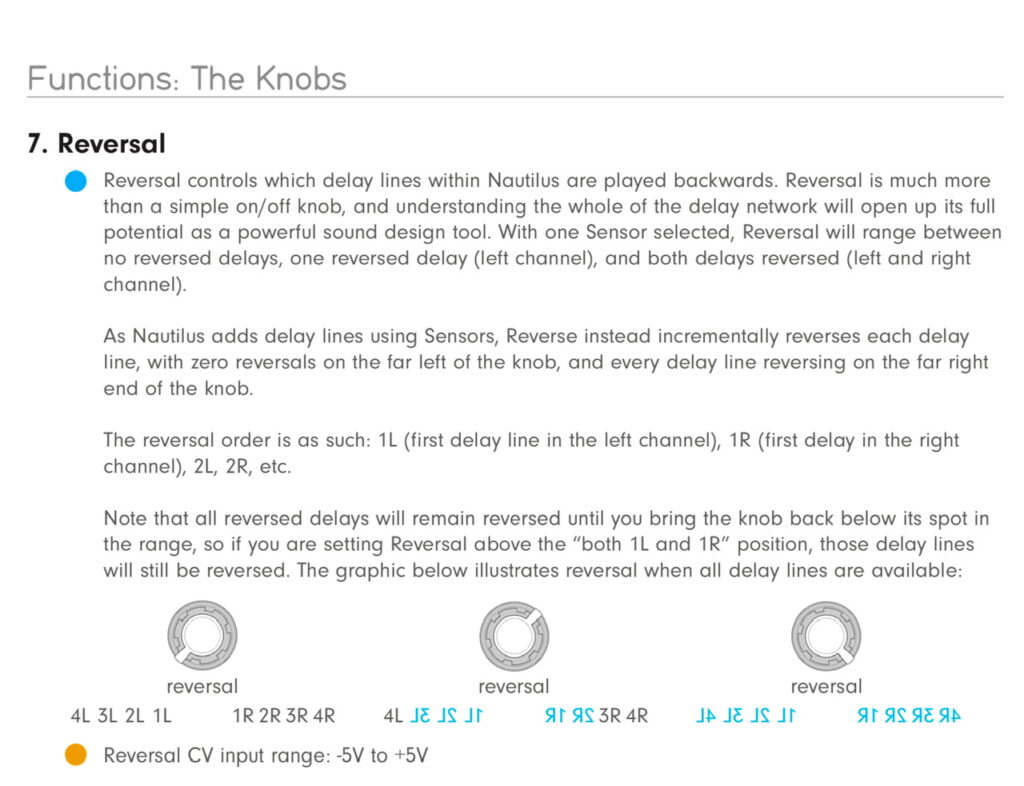
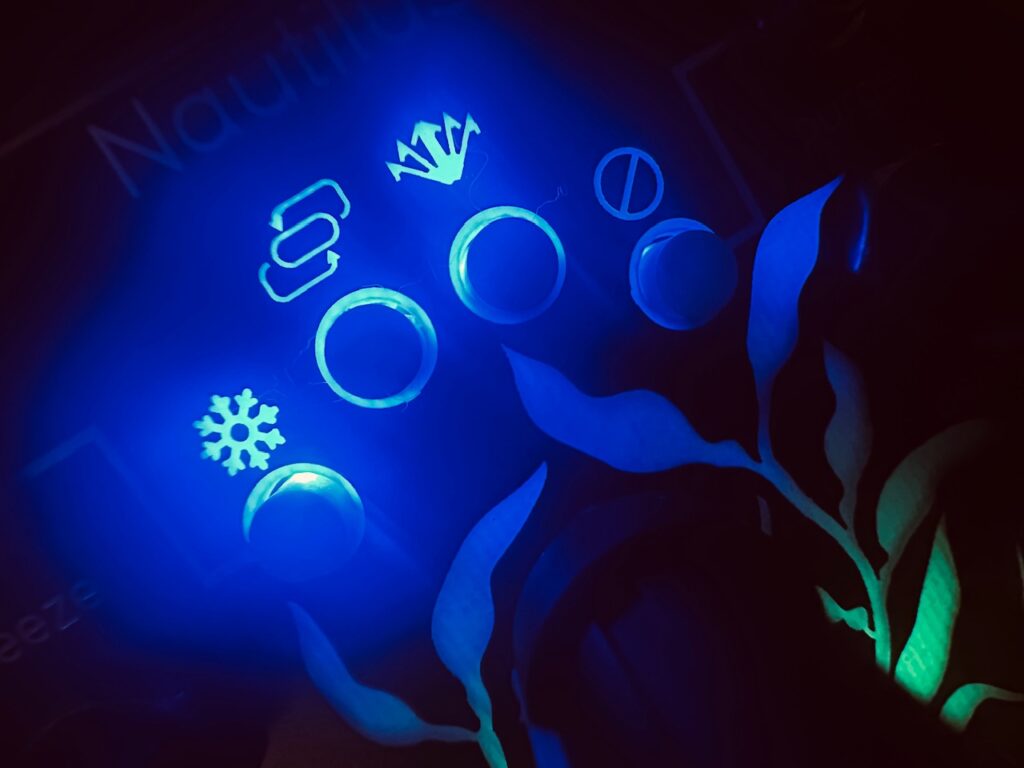
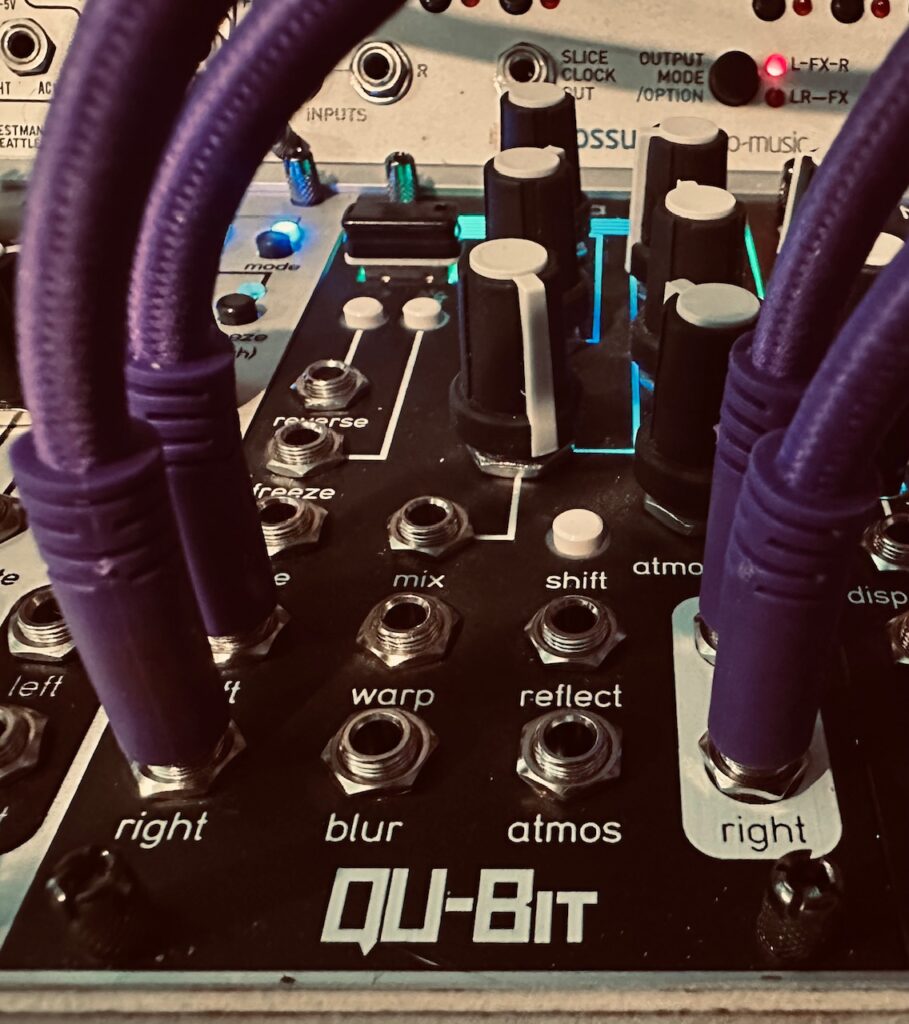
At first I wasn’t sure how I wanted to ornament the piano, not that a piano and some reverb aren’t enough to be beautiful. I wasn’t set on a sound, so I began to experiment with delays. Normally I would go to the Venus Instruments Veno-Echo, but decided instead to use the Qu-Bit Electronix Nautilus. I wanted intermittent reverse delay, which the Veno-Echo can do, but I wanted to CV control the reverse parameter, and not simply gate it on and off. Although I don’t always appreciate prescriptive controls, if those controls are lightly modulated the result need not feel prescripted. With most delays, reverse delay is reverse delay. It’s on or off. But due to it having up to eight delay lines, the Nautilus takes a different approach. Rather than an on of off dichotomy, it prescriptively assigns reverse repeats as you turn the knob. At full counter clockwise there are no reverse repeats. But as you turn the knob clockwise, you get reverse repeats in patterns. From the manual:
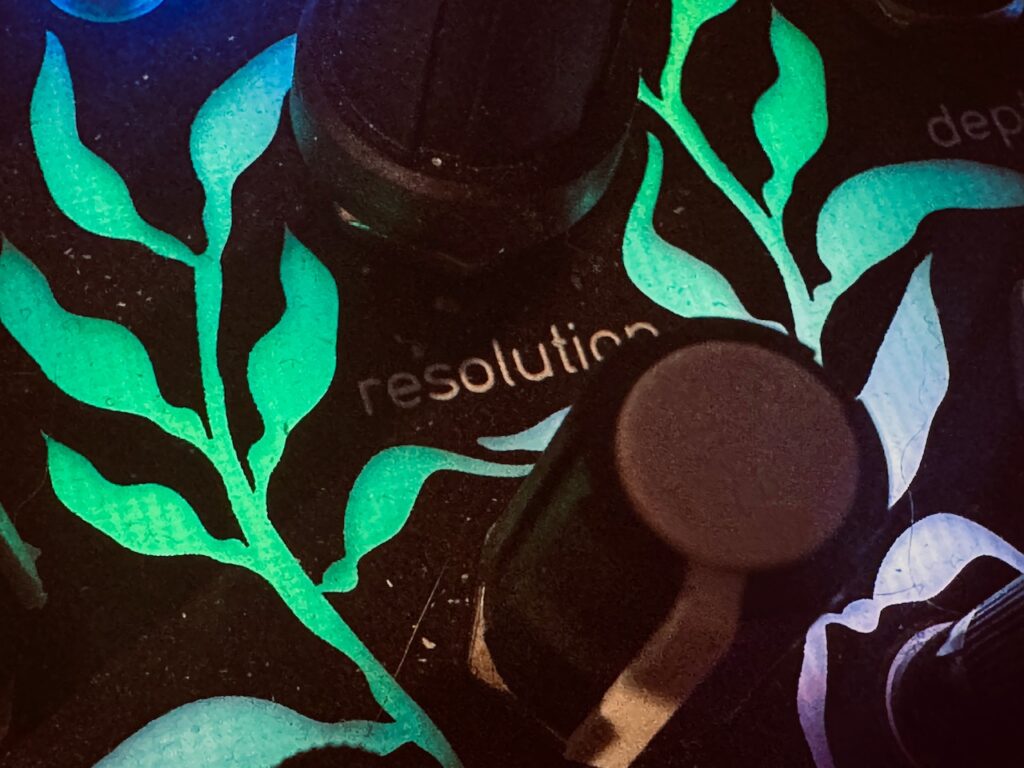
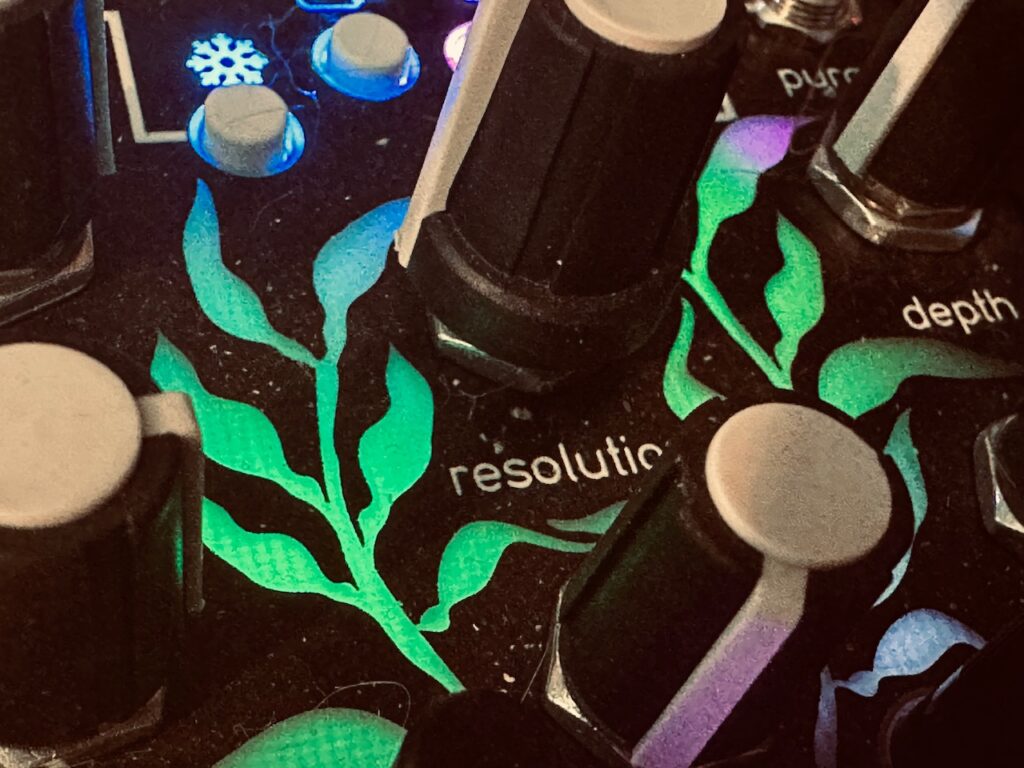
I set the knob at just above full CCW. I wanted reverse repeats, but I didn’t want them to overwhelm regular repeats. Using an attenuated version of one of the Triple Sloths outputs (a medium length cycle) I lightly modulated the reverse knob, which ended in a wonderful mix of mostly forward repeats, augmented by the always beautiful zips of reverse delay. But it wasn’t quite enough. I wanted to make it a bit dusty, so chose to put a very light amount of sample reduction as the Chroma.2 This matched perfectly with the slow clock speed I had running on my reverb, the Walrus Audio Slöer. I next decided on how long of a delay I wanted, and ultimately went with a fairly long delay time, and used an internal cross-feedback pattern for the repeats.
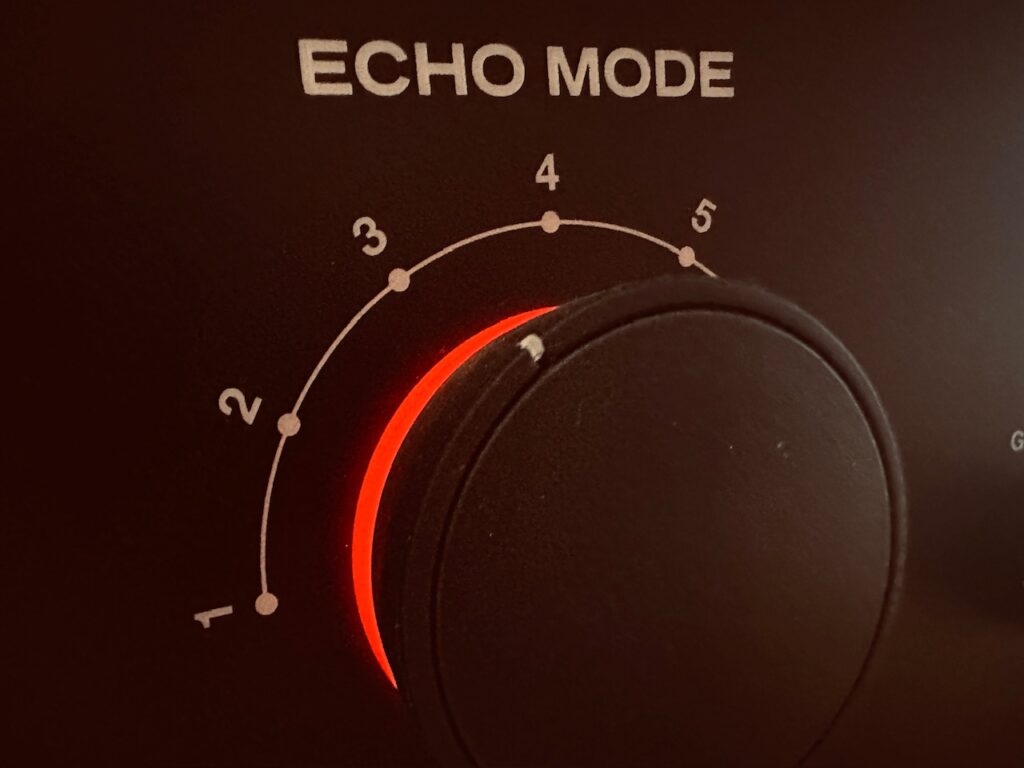
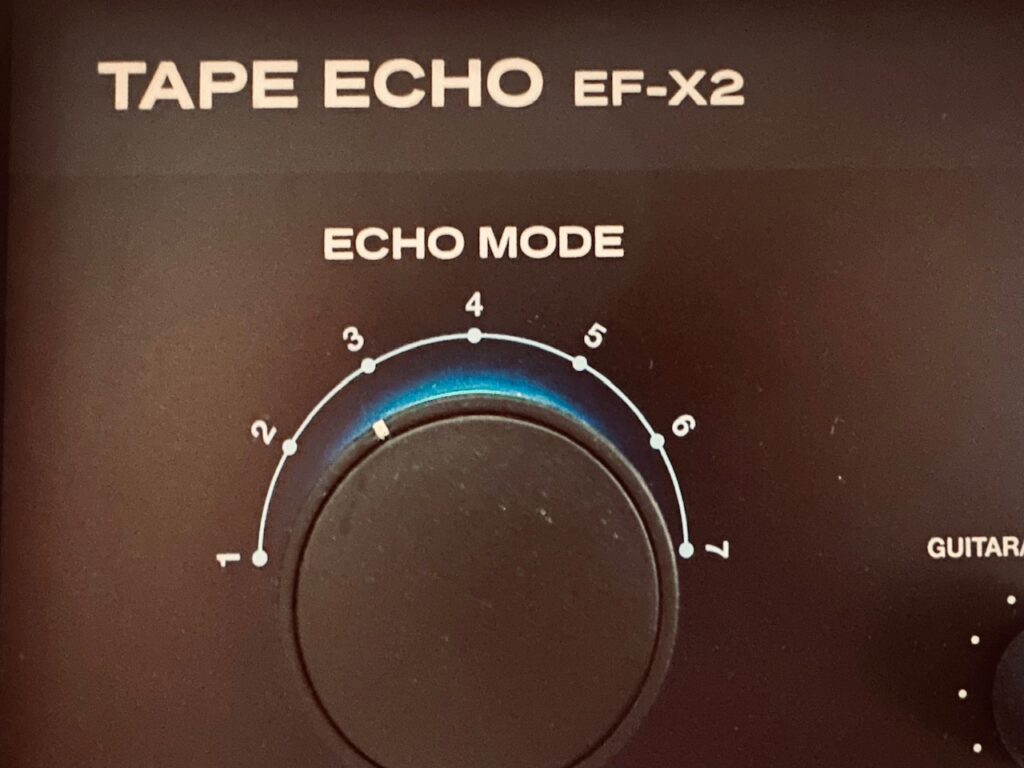
Wanting to fill in some of the space, I decided to go with a combination of Panharmonium and the Dradd(s). I initially had an idea that I would pitch the accompaniment in opposite directions, Panharmonium down an octave and the Dradd(s) up an octave, but that created all kinds of sonic havoc, especially with the already pitched up reverb. It just was too much going on in too many frequency ranges to be coherent. One issue with this patch is that it’s a bit difficult to pick out the Panharmonium. It’s pitched downwards an octave to give the piece some depth, but it seems to get lost a bit. It’s noticeable when Panharmonium is not present, especially as I added some saturation via the Echofix EF-X2 pair towards the end, but it’s hard to pick out as a separate voice in this recording. I’m not sure whether that’s good or bad, though I tend towards wanting every voice to stand on its own. I’m not exactly sure why this voice is so buried in the mix, and I’m not sure if it’s a bad thing in the end, but it is a little frustrating.
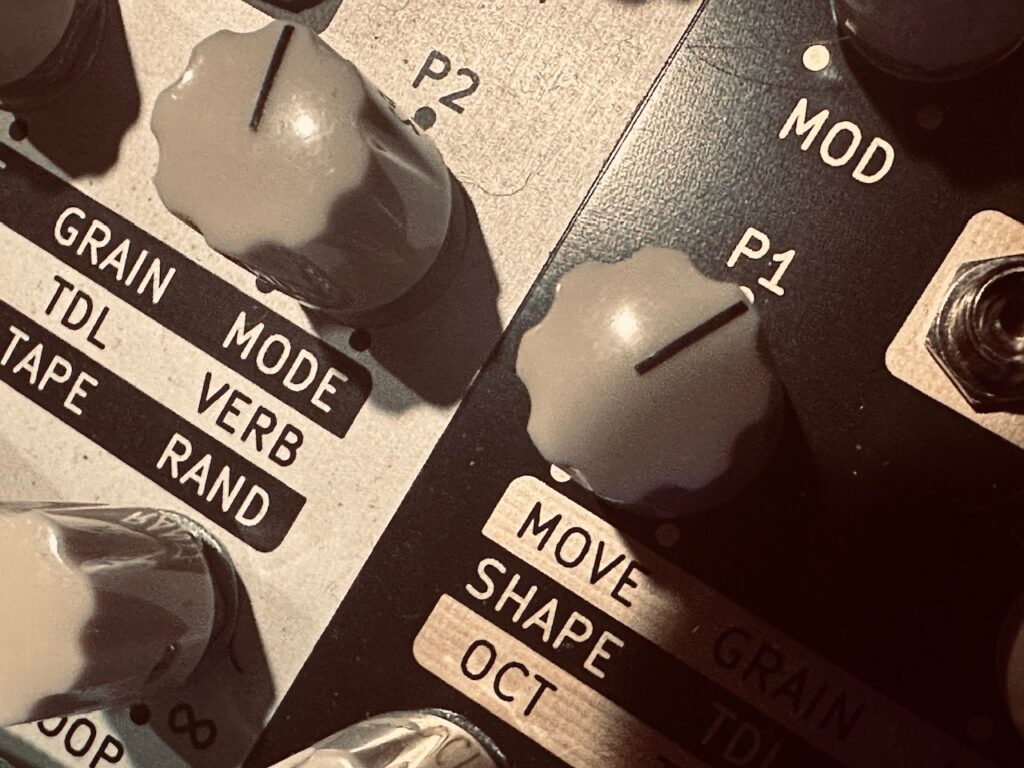
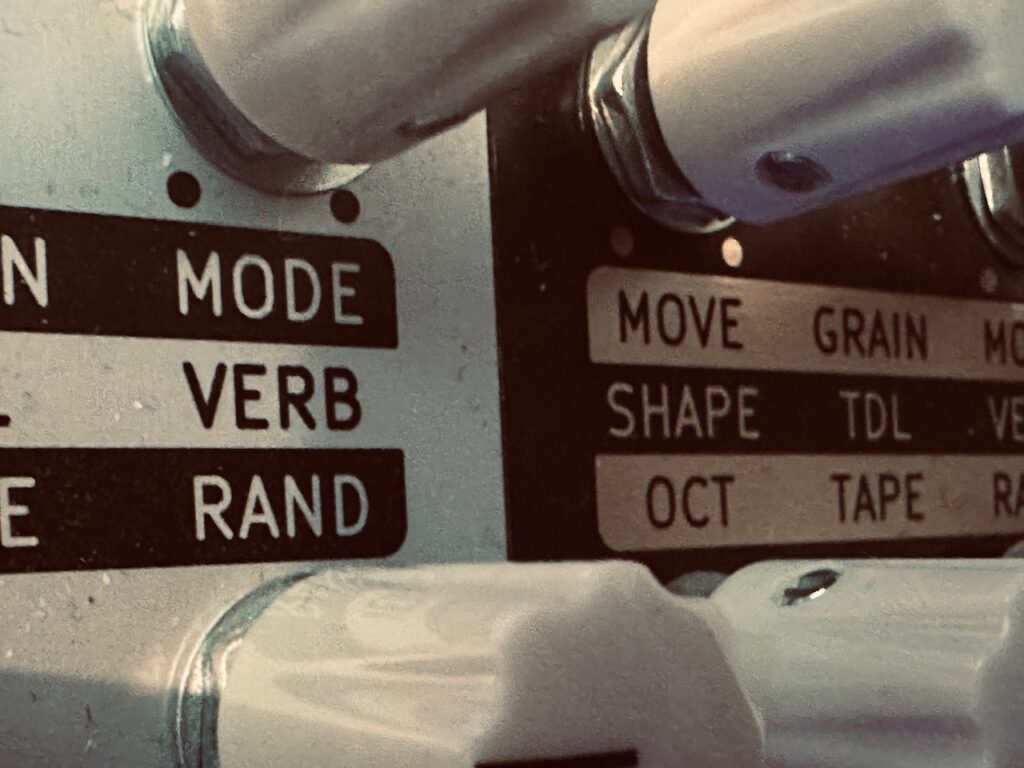
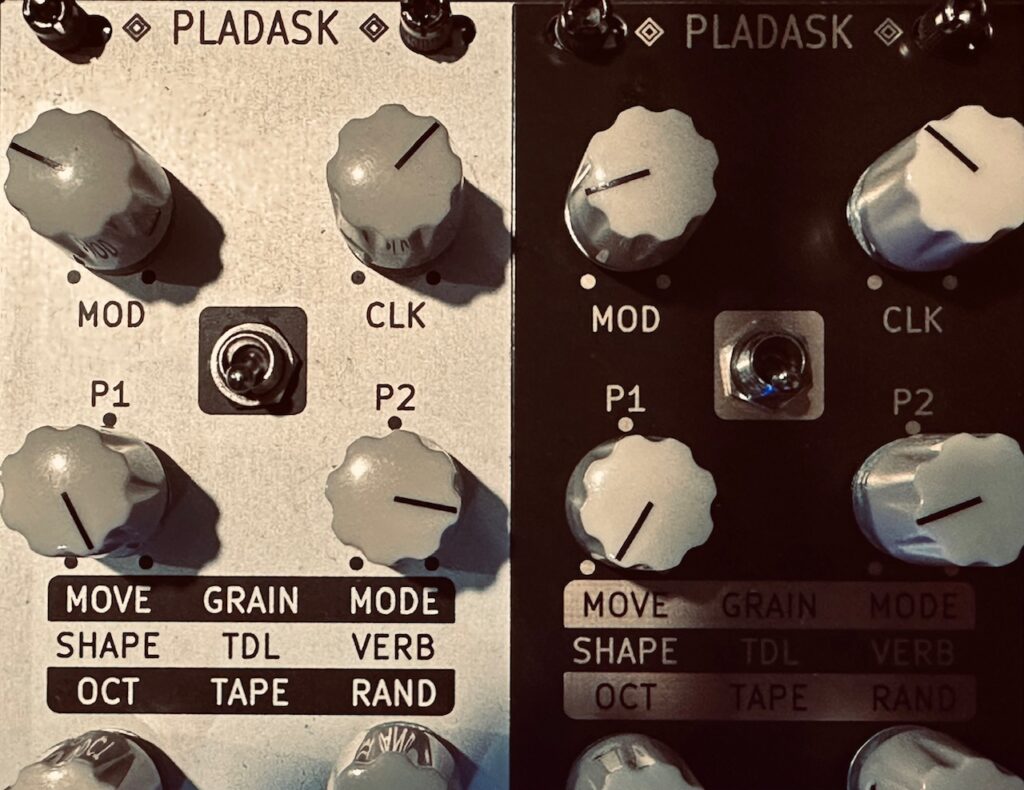
The Dradd(s), however, came out exactly like I’d hoped. They were set to Grain Mode, and time stretched at a slow crawl, one channel in reverse, the other forward. I love granular synthesis. The textures it can create are wonderful, and this patch is no exception. Each piano note, and its successive repeats from the Nautilus, stretched to the furthest extremes, filled out space in a particularly interesting way that I found compelling; the Piano notes seemingly stuttered as they were dragged out as long as the Dradd(s) could manage. Not only did the Dradd(s) serve to fill in space, but they added a wonderful lo-fi texture to otherwise smooth piano notes. Beautiful.
One thing I’ve long wanted to experiment with is using multiple reverbs. Not simply stacking reverbs or using two (or more) in parallel, but by trying to use them as instruments unto themselves. I’m not exactly sure when I first heard this technique, though it was surely in the context of ambient guitar, but it wasn’t until I heard Music Major by A Last Picture From Voyager that I saw its full potential. I recently made a recording during which I featured the freeze effect from the Dreadbox Darkness, and it was great, even if it all started with an accident. I was mesmerized by the beautiful reverb tail hanging as if it were a mist. But despite initially patching in the Darkness, I was simply unable to find the same kind of magic present in that first recording. While trying to fiddle around with Darkness, I discovered that, with shifting soundscapes, timing is everything. Hitting the freeze switch a smidge too early or too late and the capture isn’t what one hoped it might be. Whether too soft or too loud, slightly dissonant or too plain, hitting freeze at just the right moment proved to be more difficult than I originally imagined. So I decided to try a new reverb that I got around the start of the year but hadn’t yet used, the Old Blood Noise Endeavors Dark Star Stereo, to see if I might be able to get better results.
Buying the Dark Star Stereo was a long time coming. OBNE has been making highly compelling effects pedals for a long time. Alpha Haunt, a flexible, nasty fuzz,, was my first foray with them. And even if I sold that pedal for something much more basic, I knew it sounded awesome and that I was totally into the OBNE ethos. Dweller (Dweller!) was my next OBNE purchase, and that thing is ace. A delay circuit inside of a phaser circuit that sounds both unique and beautiful. Next was the Rêver and its sibling, Minim, which are both absolutely brilliant reverse delay/reverb. But as I grew, and especially with modular, I was pretty adamant that my reverbs all be stereo, and despite having wanted to use OBNE reverbs for their unique tones, none of them were stereo. A little while back they released the Dark Light (now discontinued), which is a “stereo” mashup of the Light and Dark Star pedals. But I always felt the implementation was odd, and some sounds were disjointed. It was seemingly more a dual mono reverb than a stereo one, and it just didn’t sound right so much of the time. So I waited. Then a few months backs, OBNE finally released a true stereo reverb, this time a fully featured version of the Dark Star, their most popular reverb pedal (and my favorite of those I’ve heard), and I jumped on one almost immediately. When I bought it I knew I didn’t have room in my pedal rack. But after selling my Oto trio and getting the proper cables to patch it into my synth, it quickly made its way to the synth FX rack, even if I all but ignored it during Jamuary when I didn’t touch it once.
The Dark Star Stereo is a lo-fi reverb, complete with pitch shifting (up or down), filtering, saturation, and sample reduction, along with mix, volume, and stereo spread. It’s designed primarily for soundscape and pad generation, but works great on any source. The default sound without any pitch shifting, filtering, sample deduction or overdrive is soft and gentle. But once you begin to shape the sound it begins to texturize in haunting ways. A bit of crunch to add some dustiness here, some high pass filtering there, and you have a beautiful ambient reverb that can last for days. In this patch I used a smidge of sample reduction and high pass filtering, along with pitch shifting up an octave. Compared to other implementations, the pitch shifting feature is…different. Rather than a cheesy sheen or beautiful choir-like effect, Dark Star Stereo produces more of a granular sounding pitch shift that can be a bit jagged sounding (in good ways), though I do wish that one could control the amount of pitch shifting in the output so that I can more easily get less of it. In this patch the Dark Star Stereo is introduced briefly at about 3:25, a second time around 4:35, then I used it very subtly as a parallel reverb from about 5:18 through the end. The result here was “okay.” It wasn’t exactly what I’d hoped for, but it was a good first foray into using reverbs in this manner., and a step in the right direction for future exploration.
The end-of-chain reverb in this patch is the ever-beautiful Walrus Audio Slöer, with a smidge of its choir-like pitch shifting that is exceptionally beautiful. The Slöer has been my go-to reverb since receiving it, and I simply can’t envision not having one.
I also inquired about a gate combiner, to which he responded that would be a good idea, and wrote back a couple of days later with the design for Gator. ↩︎
Chroma is an effect that’s applied to the delay feedback path. Other effects are a LPF, HPF, saturation, wavefolding, and heavy distortion. ↩︎
Today’s Jamuary is not only a classic patch, it’s a meme in the modular world. With a small twist. That’s right, it’s Marbles > Rings > Beads. Although the true classic is Rings > Clouds, Beads is a fine substitute. I haven’t used any of my Mutable Instruments modules in a long time. I removed that case from the synth a few months ago in order to expand it, and while I was filling it up, it went completely unused. It’s one of the downsides of having a modular modular synth. There’s always something missing. Beads had been a staple in many of my patches until I pulled it out. To the MI case I added several choice modules. Blades, Stages, Tides v2, and am still in the process of adding one last module before the case will be complete. But I decided that today I’d do a patch I haven’t done in a very long time.
Rings into Clouds is a eurorack gateway drug. It’s a patch that many of us try at least once, and for good reason. Some people never venture any further and come up with something new every time. Such is the depth of this venerable duo. But Beads, although borne of, is not Clouds. You can do many similar things, but they are each their own instrument. Like so many Rings > Clouds patches before, this Rings > Beads patch all started with Marbles, and wonderfully musical random CV and gate generator, spitting out random CV to Rings’ v/oct input. With Rings a gate or trigger isn’t necessary. It detects changes in incoming CV and automatically generates notes when the CV has sufficiently changed. It’s a brilliant design, and dead simple to use. It’s no wonder why Rings is one of the first modules so many of us try. I know it was one of my first modules, and despite having other methods of producing the same sounds,1 it will never leave my synth. You needn’t know any fancy synthesis techniques to get incredibly beautiful sounds right out of the gate. Marbles was set to a moderately slow tempo with lots of jitter as to not become regular, and off we went. Set in Sympathetic Strings mode, Rings was left completely unmodulated. As Rings received new pitch information it sent notes to the venerable (and infamous) Beads, Mutable Instruments’ final module before closing shop in 2022.2
I’ve had Beads since its initial release. I’m one of those lucky enough to have been able to get one, as after the second batch was shipped a few months later, all production stopped, prices soared, and for a while became unobtainium. It took me a while, perhaps a year, to come to grips with Beads. The first couple of patches were a cacophony of grains overtaking everything else in the patch. It was messy, unruly, and I couldn’t figure out how to tame it. So I set it aside for a while. Once I became more familiar with the building blocks of granular synthesis (and synthesis in general) and how they worked in concert, I gave it another try and was bewildered by its beauty. Ever since then I’ve been hooked, and it’s become a tool that would be almost inconceivable to lose.
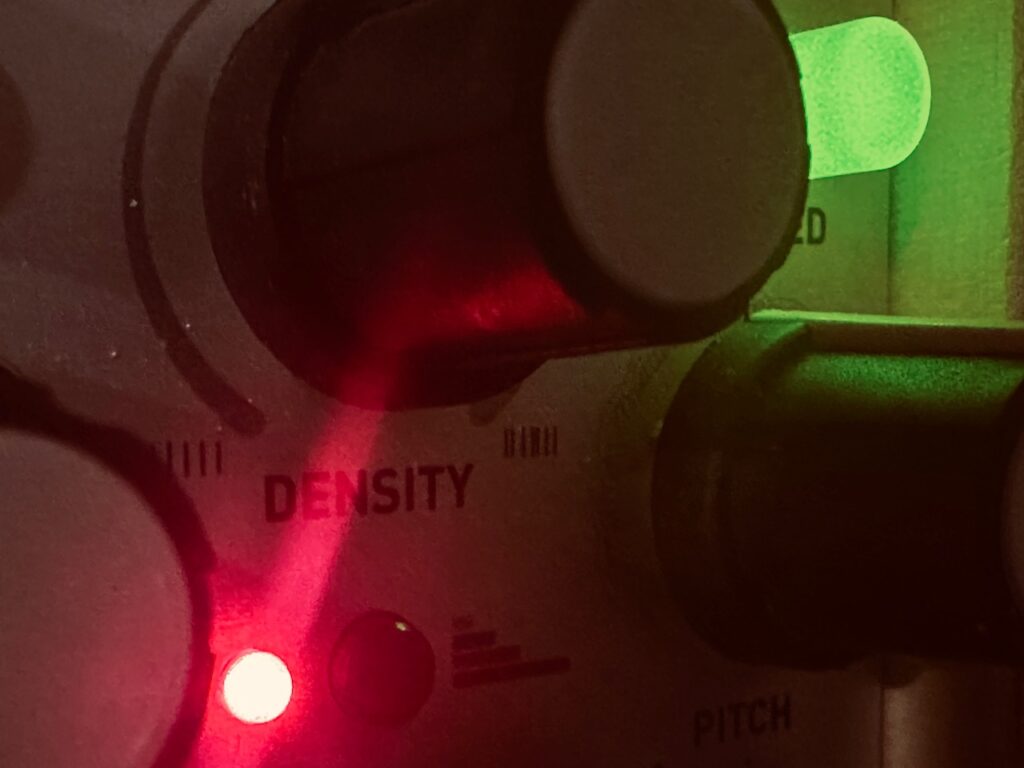
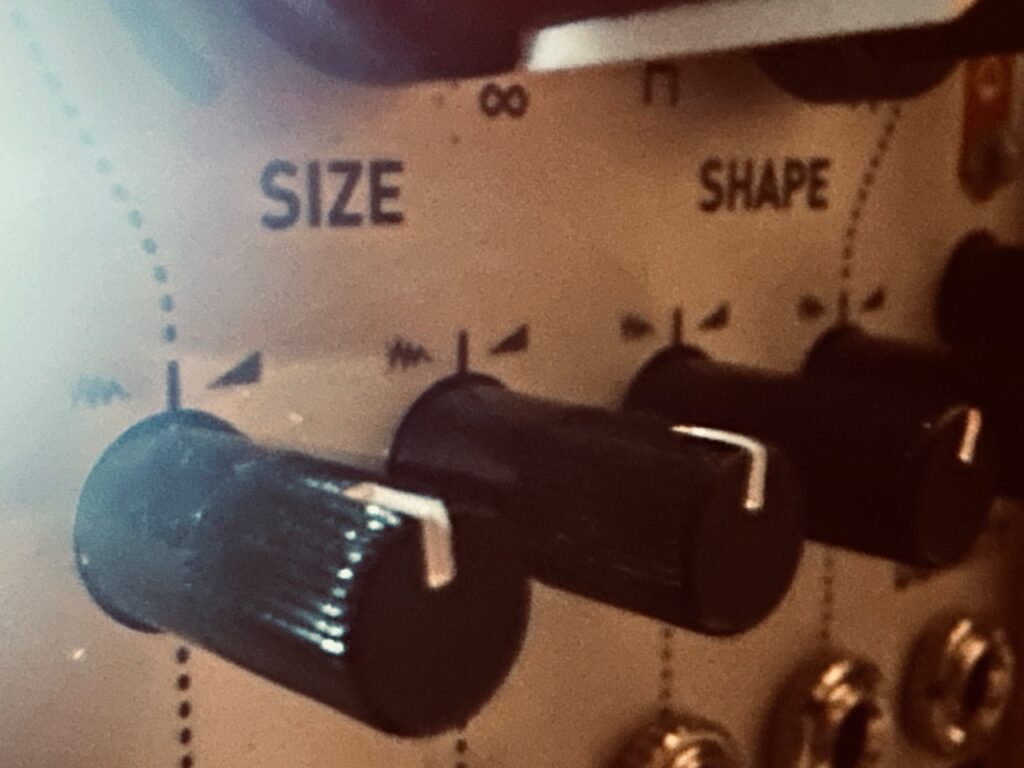
In this patch Beads was set to a moderately low number of randomly generated grains, while fairly heavily modulating Time, scanning the recording buffer, Shape, changing the composition of each grain, and Size from small to moderately large. This modulation allowed grains that were quite plucky to much longer “slides” through the buffer. Long grains can be a very interesting sound, and one I’ve explored some, but will seek to experiment with more in the future. The Quality setting is in Scorched Cassette mode, both for the longer buffer, as well as the saturated goodness it imparts on the audio. A little bit of blowout and compression goes a long way.
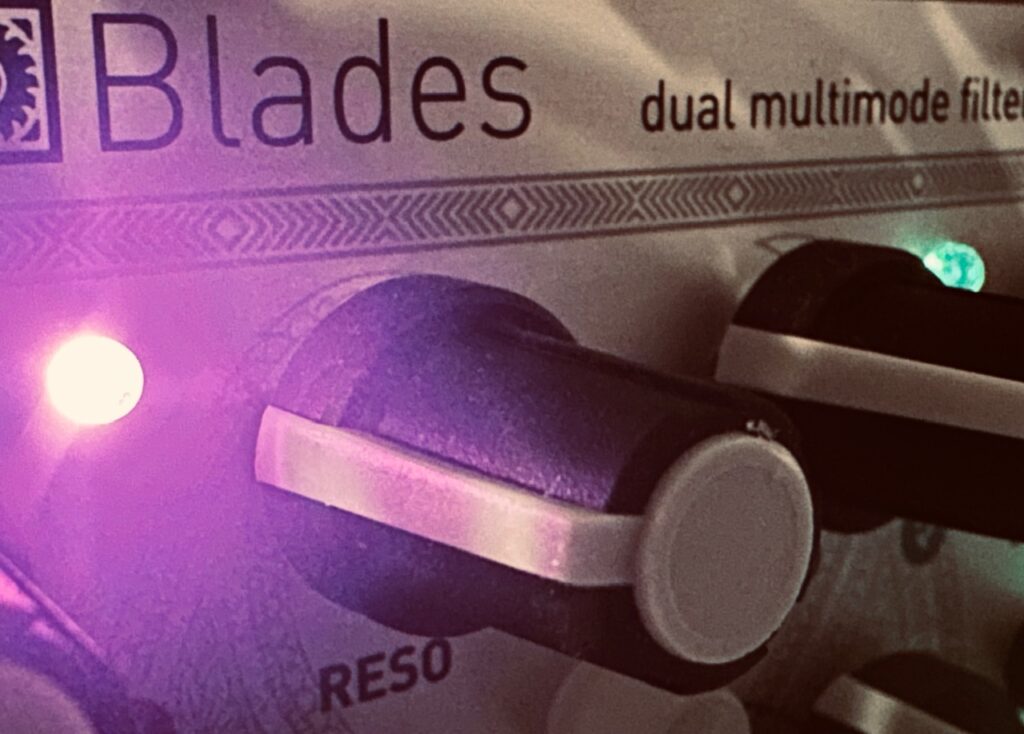
Once out of Beads, the audio went to Blades for some light, somewhere-between -Bandpass-and-High Pass Filtering, and the very slightest bit of Drive. Blades is new-to-me module I haven’t used before this patch, and now that the MI case is back in action, I’ll definitely be using it much more.
The bass drone is courtesy of Plaits playing what amounts to a very (very) lightly FM’d sine wave, with some modulation only to the Morph CV input to give it a small bit of motion so as not to become stale. I have no idea what note it is that’s droning away. I simply tuned it to the Rings output by ear and called it a day.
All modulation throughout the patch was done by Tides v2. This was also my first time using Tides, so I have no idea what mode it was in, or generally how it functions. What I do know is that I managed to get a quad of slow LFOs that are all phasing in and out of each other. I’ll have to read the manual to get a better idea of how it works, but it’s hard to mess up slow modulation sources too badly. One frustrating instance during making this patch was that although I had installed Stages in the case as part of the expansion, I hadn’t actually plugged it in. So despite desiring more modulation, I didn’t have access to any inside the MI case other than Tides, and so opted to not use any more modulation at all. I wanted as much as possible done only with this case, only using other modules for getting from the case to the interface.
With one exception.
One module I’ve also had for a very long time is the Qu-Bit Electronix Data Bender. Along with Rings (and Typhoon, one of the many versions of Clouds), it was one of the very first Eurorack modules I bought once I was bit by the bug. I used it a bunch initially to learn how, even if I’ve forgotten most of it after a few years, but haven’t really touched it since, generally favoring granular synthesis for glitchiness. Data Bender has a very unique sound. It’s the sound of failure. CD skipping, digital buffer errors, tape malfunctions, bit and sample reduction, and any other sort of audio failure, analog and/or digital, you can imagine. I’ve tended to enjoy its take on digital errors when I’ve used it and when I hear it in other people’s work. A sort of glitchiness that harkens back to the earliest days of my musical awakening as an adolescent as I was forming my own aesthetic in music. The days of CD players in the 80s that would skip if you farted across the room, and the multitude of buffering errors in the newly emerging internet through players like WinAmp were commonplace. Data Bender makes that failure musical. I would have thought that two different forms of glitch, from Beads and Data Bender might have been too much. But the effects were sufficiently different that they complemented rather than competed against one another.
Since Rings, and all of the Mutable Instruments modules, have been open sourced, several variations have appeared from miniaturized versions like Rangoon and nanoRings, to the software being ported to multifunction modules like the Expert Sleepers Disting Ex and NT. ↩︎
Emilie Gillet, the former head of Mutable Instruments, is said to have created Beads in order to address “flaws” in how most people seemed to use Clouds, or to correct perceived shortcomings in how Clouds functioned. Although it took nearly three years after Clouds’ discontinuation to finally release Beads and was highly anticipated, it initially had a mixed reception. Now it’s the only Mutable Instruments module that hasn’t been released to open source. ↩︎
I’ve used all kinds of slow modulation sources in my patches. Wave simulators, chaos, and slow, free-running LFOs are all staples in my modular practice, and I’ve used all of them as the engine that drives an entire patch. But one thing I’ve never tried in a lead role in a patch is good, old fashioned random modulation. Sure, I’ve used sample and hold or smooth random generators like the Frap Tools Sapél, Mutable Instruments Marbles, or Make Noise Wogglebug for specific tasks within a patch, but outside of Marbles > Rings-type patches, I’ve never based a patch on staochastic movement before.
Random is, well, random, and it’s hard to be intentional when you can’t really expect what’s going to happen next. In some circumstances, that unpredictability is perfect. In other cases, it just makes a really big mess. There are certainly ways to corral in a random signal to fit within particular parameters to allow for more predictability. That’s the basis of stochastics. Sapél has a range probability knob which directs it to choose output values predominantly from a particular range. Marbles has a switch for voltage ranges. Wogglebug similarly has a mechanism for more or less drastic changes. You can even hone random voltage in on your own with a little offset and attenuation. But it’s still random, and even if completely random might work for certain facets of a patch, using it as the main driver becomes difficult while still remaining musical.1 But I was determined to make it work, and I had just the module to help.
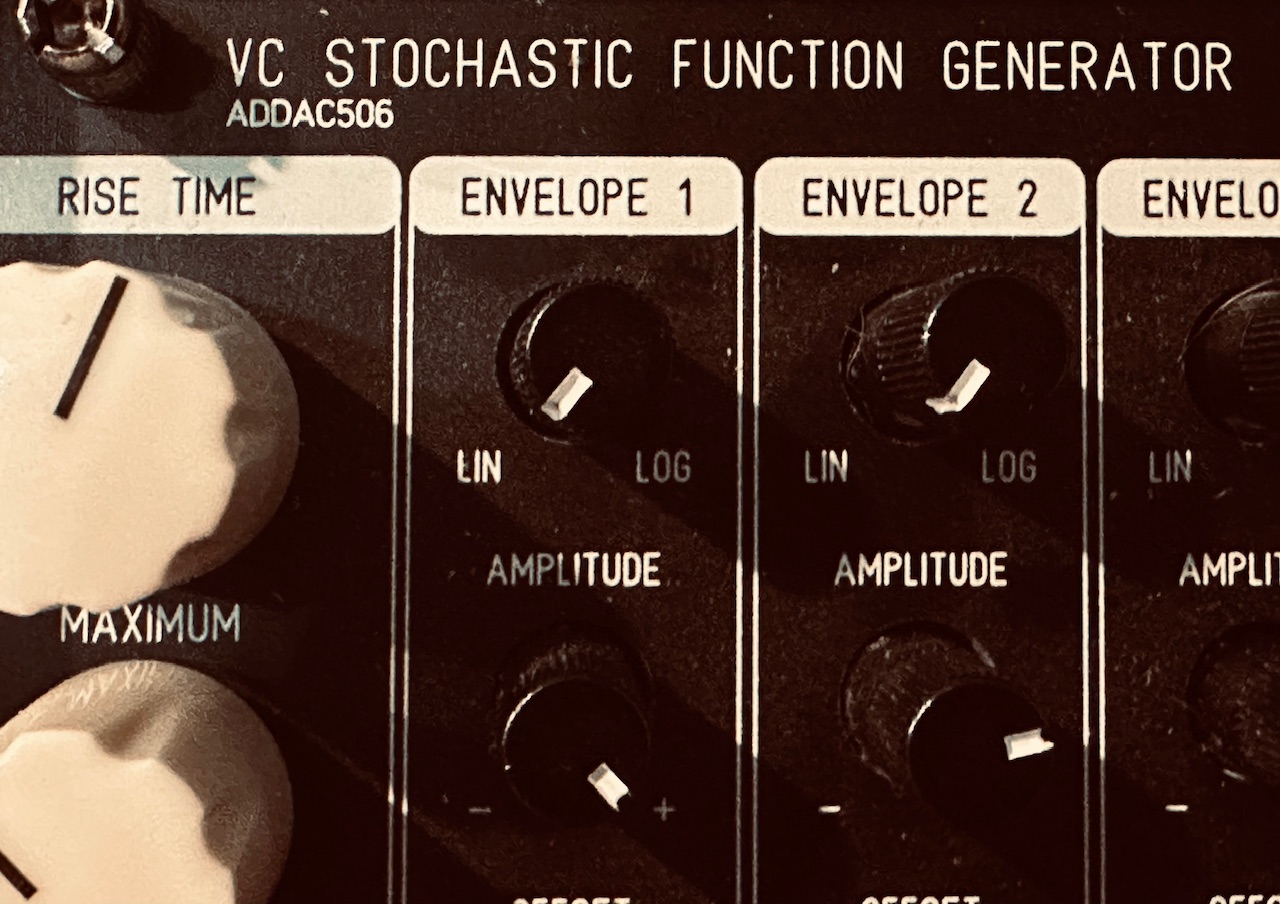
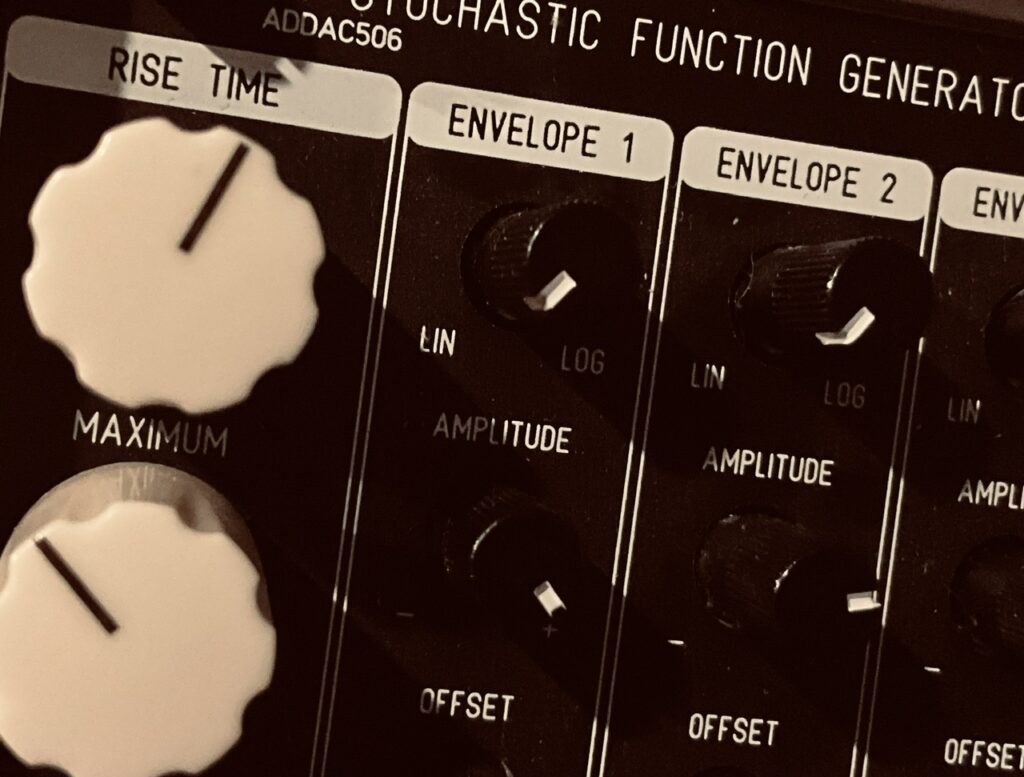
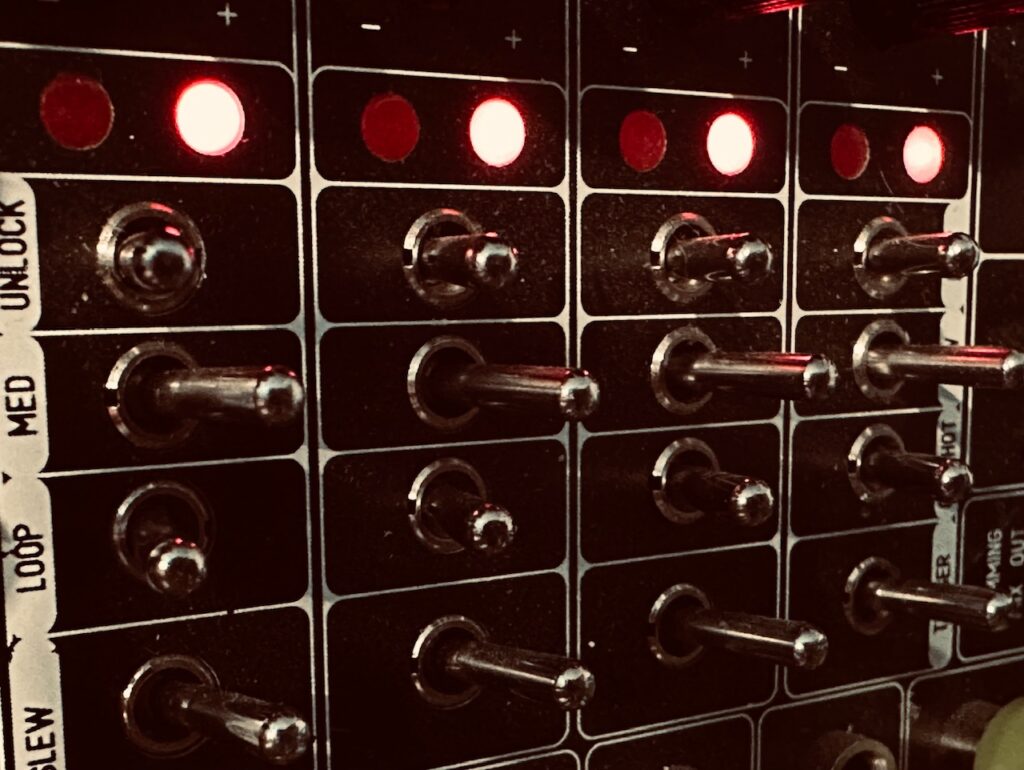
The Addac506 Stochastic Function Generator is a powerhouse modulation source made up of four function generators, and most of the bells a whistles one could want. Need cycling envelopes? Check. Slew limiter? Check. One shot envelopes? Check. Audio rate to very slow? Check. EOR and EOC trigger outputs. Check. Offset and attenuation to get your generated functions in the exact range you need it? Check? Some comparator action for related modulation? Check? And this checklist of features goes on and on. But the killer app of the Stochastic Function Generator is its ability to set a very precise range for both Rise and Fall times. This ability allows for some very compelling modulation that changes every cycle, but, particularly when using very slow modulation, does so organically in a way that seems transparent. It can be set to no random generation (standard envelopes), a very wide range with wildly changing Rise and Fall times, or a very narrow range where changes are subtle, and each of these can be done in three modes, slow, medium, or fast (per generator). The Addac506 is a very powerful module with a compelling feature set that can drive entire patches.
I had set out to make another E370 patch using slow modulation to fade the four wavetable oscillators in and out to create a cloud of a chord that is constantly shifting, yet still always the same. I’d been using slow moving bipolar signals for this purpose on several patches of late, but I wanted to try something a little different this time around. I’ve used chaotic systems, and I’d used both free running and synced LFOs, but I’d had problems using cycling unipolar functions in the past because no voice is ever truly out for very long. It’s a constant chord where each note changes volume, but is almost always audible. Mystery, drama, and tension are minimized; each note like a yo-yo rather than a graceful flow in and out and back in again. But the Addac506 is a little different. Unlike most function generators, with the Stochastic Function Generator you can tailor the outputs to any range you want. Those functions needn’t be unipolar, nor with wide ranging levels, and the ability to offset and attenuate signals allows one to shape your function to suit your destination without issue, and it’s this ability to perfectly condition CV before ever leaving the module that enabled me to use it in this slow fading movement I was looking for.
Setting the stochastic functions on the Addac506 is simple: set minimum and maximum Rise and Fall times, and call it a day. At the instantiation of every cycle both Rise and Fall will receive a random value between those set minimum and maximum times, and that stochastically determined envelope will come out. Flick the cycling switch and every cycle is something different. And the Addac506 gives us that, times four. It should be noted that this behavior can be replicated in any function generator that has both End Of Rise and End Of Cycle gate/trigger outputs, plus CV inputs to control the rise and fall times independently. You’ll need to add in a sample and hold or random voltage generator, plus a module for offset and attenuation to define the range of random. All this times four is a lot of patching, and a lot of modules. The Addac506 does it all seamlessly under the panel.
At first I was a little confused. Although I hadn’t initially set any offset, the output was still silent until the voltage as somewhere between 1-2 volts.2 I had anticipated needing to use negative offset to create some space between the fading out of one wave and when it will become audible again, but instead found myself using positive offset to get the flow I was after. Fortunately the flexibility of the Addac506 allowed for quick and easy adjustments to put each wave in the right zone. I added a fair amount of positive offset to the bass note of the chord so that it was always audible, while still having level changes to keep it moving. The other three oscillators used a very slight positive offset. Combining their need to get to somewhere between one and two volts before becoming audible, with the very slow nature of these ever-evolving functions determined the use of positive offset. Up to 40% of their positive range was already inaudible. Giving the functions a bit of a voltage floor rise was in order, lest far too much silence ensue.
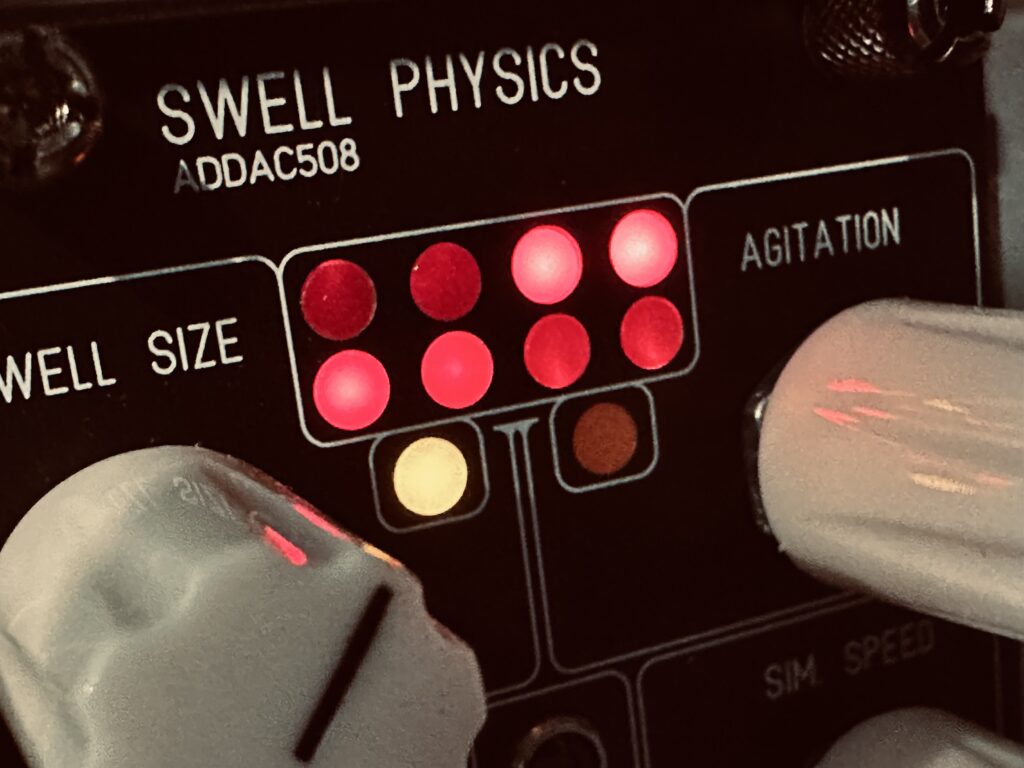
Having already decided on my four oscillators for this chord soup, the quad wavetable oscillators of the Synthesis Technology E370, and having had the level control roughly framed out, it was time to look at modulating the wavetables to create movement within each note. The pitch of each oscillator would remain static, and to accompany the change in level, a change in timbre is natural (especially with a morphing wavetable oscillator). Having already used up the outputs of the Addac506, I looked to a familiar module, and one right next to the Stochastic Function Generator, the Addac508 Swell Physics.
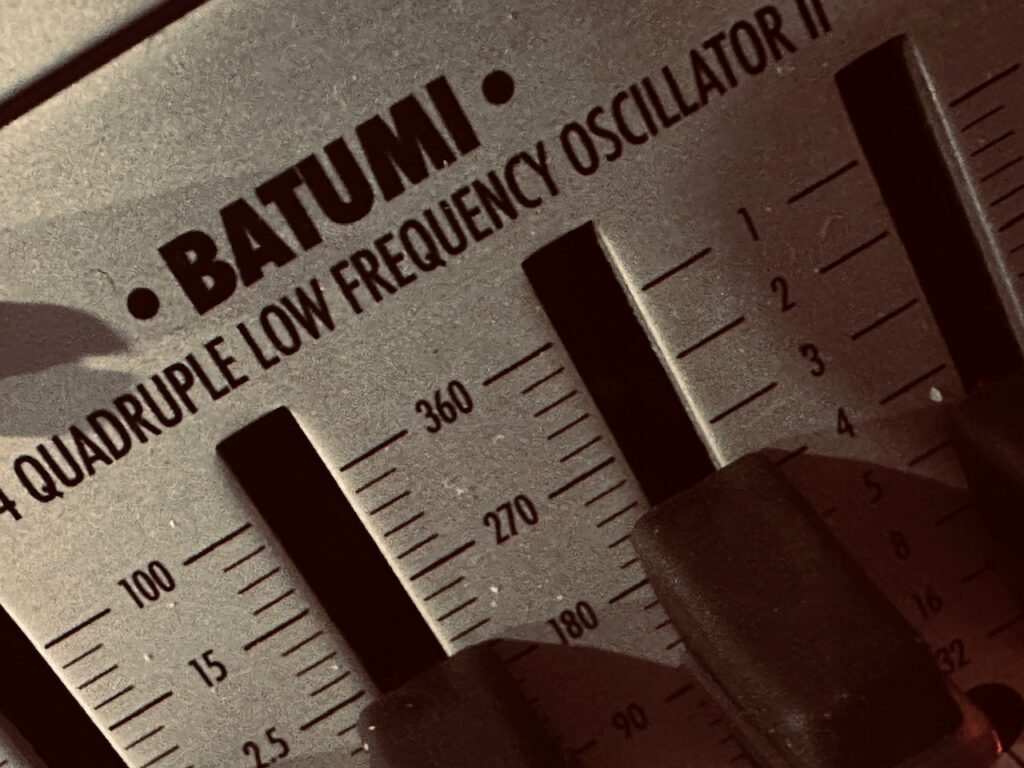
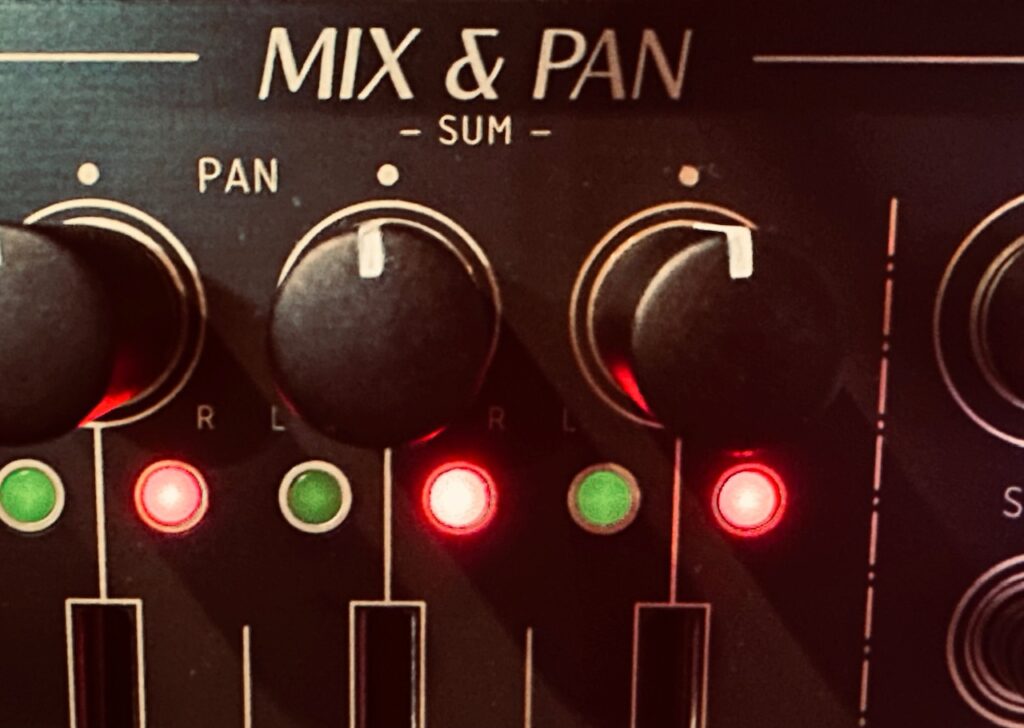
Although Swell Physics is definitionally a chaos-based system, and not a random one, the uneven flow up and down of each output was perfect for the job. The bass note oscillator received modulation only on its Detune CV input, while the other three oscillators received both Wave and Detune modulation, the former from Swell Physics and the latter three free running sine wave LFOs from Batumi II. The triangle wave LFOs from Batumi II were used to pan these same three signals slowly through the stereo field with the ST Modular Sum Mix & Pan, while the bass note was planted firmly in the center. Once mixed down to stereo, the four oscillator cloud went to the AI Synthesis 018 Stereo Matrix Mixer.
Once in the matrix mixer it was time to smooth out some of the rough edges with the Holocene Electronics Non-Linear Memory Machine, a favorite of mine since it went in the rack. As a non-clockable delay I found it a wonderful tool for long, drawn out ambient delays, especially with how it can smear repeats into an almost reverb-like sound. Although I tend to pretty heavily modulate the NLMM, I chose to go with no modulation in this patch, with smearing at about 12 o’clock on the knob, and feedback at around 11 o’clock. The NLMM was mixed with the dry signal in the matrix mixer at about a 50:50 ratio, and perhaps even favoring a bit more delay than dry signal.
This mixed signal was sent to both the output mixer and The Dradds for some broken tape machine treatment. Both sides, left and right, or light and dark as it exists in my case, were set to Tape mode at an octave up, with each side behaving slightly differently. The left side tends to randomly switch between forward and backwards playback at double-speed, while the right side randomly switches both direction and speed, although both sides were lightly modulated and sometimes change temporarily. Although I’ve always been enamored by the Dradd(s), it wasn’t until I really started to learn it have my results been what I was always hoping for. Since I sat down to really understand the Dradd(s), my patching has had an opportunity to be more intentional, with my results more satisfying and effective. Plus, having dual Dradds for a stereo field really maximizes the movement and variation it creates.
A heaping portion of distortion, courtesy of the Bizarre Jezabel Mimosa, was also used towards the end of the patch, which created occasional blips and stutters, and a sense of heavy drama. It was only used on the chord cloud and the Dradds, and even then I chose to keep a fair bit of the original dry signal in the mix. I really like the resulting sound, but something is happening that I don’t quite understand. As distortion was introduced into the mix, I did not lower the dry signal. I would have expected the volume would rise, yet it didn’t. The volume got lower, even once the dry and wet distortion signals were nearing full volume in the matrix mixer. It wasn’t until I started to lower the dry signal (the chord, its delayed signal from the NLMM, and the Dradds) that the overall volume started to become louder. My guess is there is some form of phase cancellation happening, although I don’t really know what phenomenon might explain it. You can hear it starting at about the 10 minute mark, with me starting to lower the dry level at about the 11:22 mark, which corresponded in a total output level rise. Curious, that.
Although I was quite happy with my shifting chord after a whole lot of tinkering with envelopes and CV input attenuators, I knew something was missing. I had blips of granular synthesis to break things up, but it needed more. I was hesitant to use SD Multisample as I’ve done a lot of that, but wanted something in a similar vein. Reaching back to one of my very first patches, an attempt at creating a wind chime-like sound and pattern, I decided to add in a randomly created, toy piano sound (or baby R2-D2 sounds as my oldest relayed ). I really enjoyed making that patch when I did it the first time around. It was the first patching technique I’d ever figured out on my own, and a sense of nostalgia pushed me over the edge, even if only to see if I could remember how to replicate it.
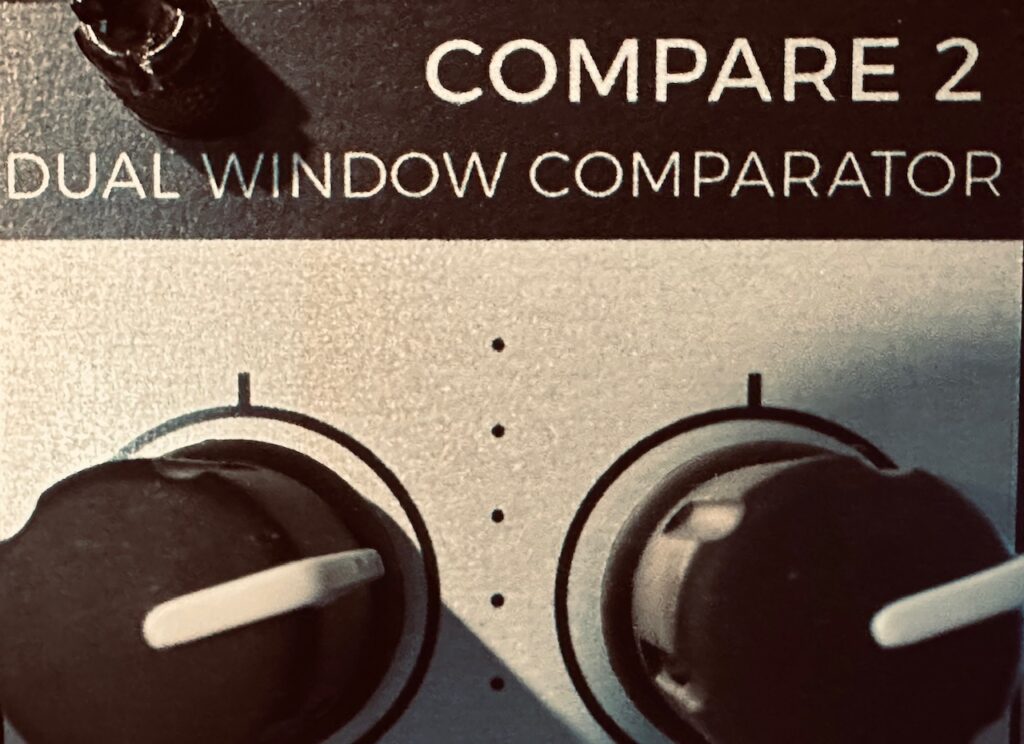
This part of the patch started at the Stochastic Function Generator’s “Average” output. This output was patched to the input of the Joranalogue Compare 2. When the Average out from the Addac506 was inside the comparator window, it spat out a gate to the cycling input on a Frap Tools Falistri. While the function was cycling, the End Of Cycle gate triggered Sapel and Quantermain. Sapel sent a value from the N2 output to both Quantermain, in order to send quantized pitch CV, and the Decay CV input of Falistri that would change the envelope length with each note. The VCO changed pitch, and the cycling envelope opened the VCA, each note with a different pitch and length. The sound went from the first VCA to the output mixer, as well as a second VCA which panned the signal to two separate delays, which were then mixed and sent to the output mixer to be mixed with the dry signal and the rest of the patch.
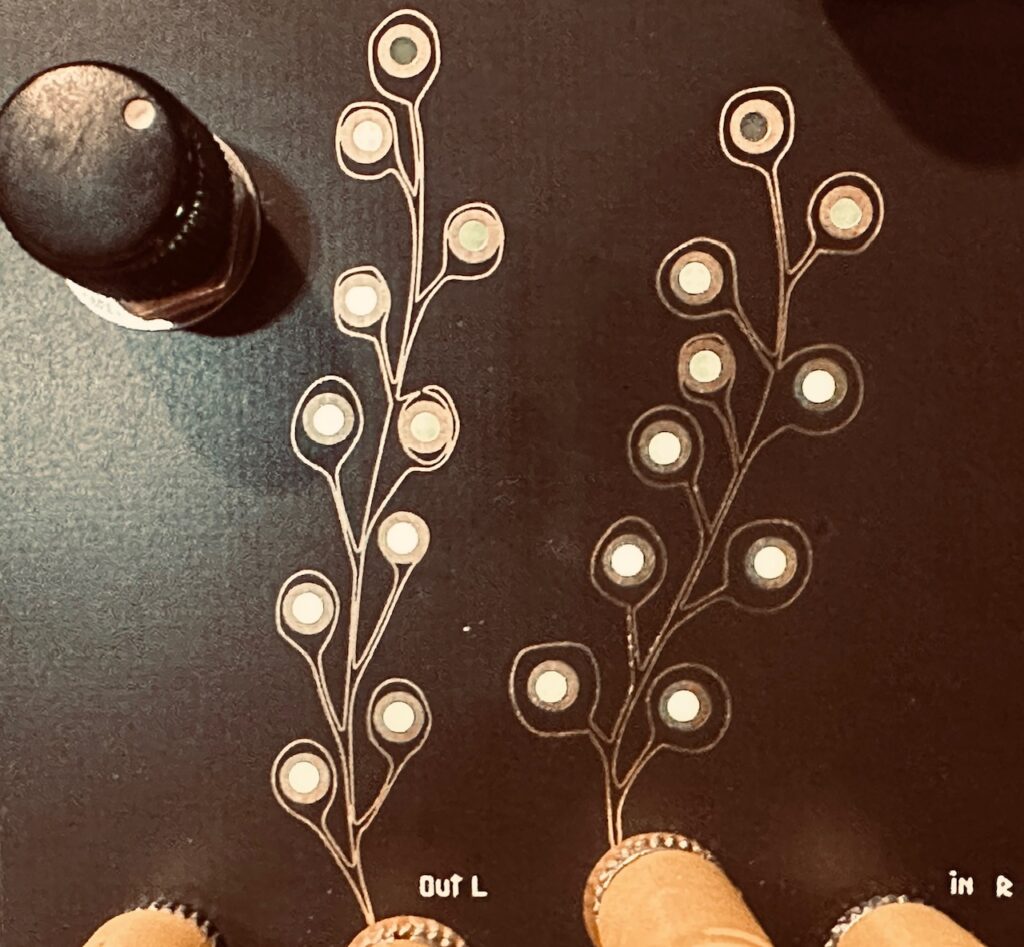
Although the method I ultimately used in this patch is very different than the first time around, the results are similar. The sounds are much higher in pitch, much faster, and much shorter than my original version, but the theory behind creating the sounds was the same, even if I took a different route to get there.3 I wanted short, uneven bursts, and I got them. It’s quite often these days that I realize there are many routes to the same end. Overall, this part of the patch played a very minor role, but an important one. After several listens, I’d probably integrate this part differently were I to do it again. I’d definitely have it more forward for most of the mix rather than hanging around the background. It seems to get lost sometimes, when it should be more prominent. I would also not mess up a patch connection with my second delay, the Qu-Bit Electronix Nautilus, where I plugged into the Right input, and not the left, which, with the feedback pattern chosen, put virtually all of the delay signal from Nautilus on only the Left side. Some might not even notice, but it bothers the shit out of me.
The last part of this patch is the periodic “bubble burst” with accompanying echoes (courtesy of the Xaoc Devices Sarajewo). I stole this idea straight from one of my favorite patches on the Make Noise channel. It’s a simple sound that is both unobtrusive, and only very periodic. The sound was created by pinging (ringing?) CUNSA, which also had its frequency modulated by the highly attenuated HP output of the same filter (another trick I stole from Make Noise – Thanks, Walker!). It was triggered by using a Stackcable to combine three separate gate outputs from the Stochastic Function Generator. These long functions output only very periodic gates at a random interval, so there’s no overcrowding. It also helped provide a sense of scale and depth of the musical space.
Everything ended with a round trip through the Walrus Audio Slöer, which is quickly becoming my favorite reverb. Although I’ve tended towards one of the pitch shifting algorithms, I ultimately decided on using the Dream algorithm, though the Rain algorithm also sounded nice.
I really enjoyed this patch, even if there are a few things I would definitely change. It was both challenging and highly rewarding. It offers answers to some questions, but also to more questions to explore in a future patch.
Although what is or isn’t “musical” is certainly subject to wide interpretation, I think we can still make useful generalizations, while drawing lines between something most would call musical, with yet other examples most would call sound(s) or noise. ↩︎
I’m not sure, but I suspect that the VCA/mixer I was using to process the audio has a logarithmic response, delaying its response with slow(er) signals. The manual doesn’t illuminate the VCA topography, unfortunately. ↩︎
After looking at a patch diagram of the original patch, the methods used between these two patches was quite different, even if it started similarly. It’s nice to know that there is generally more than one way to accomplish some patching goal. ↩︎
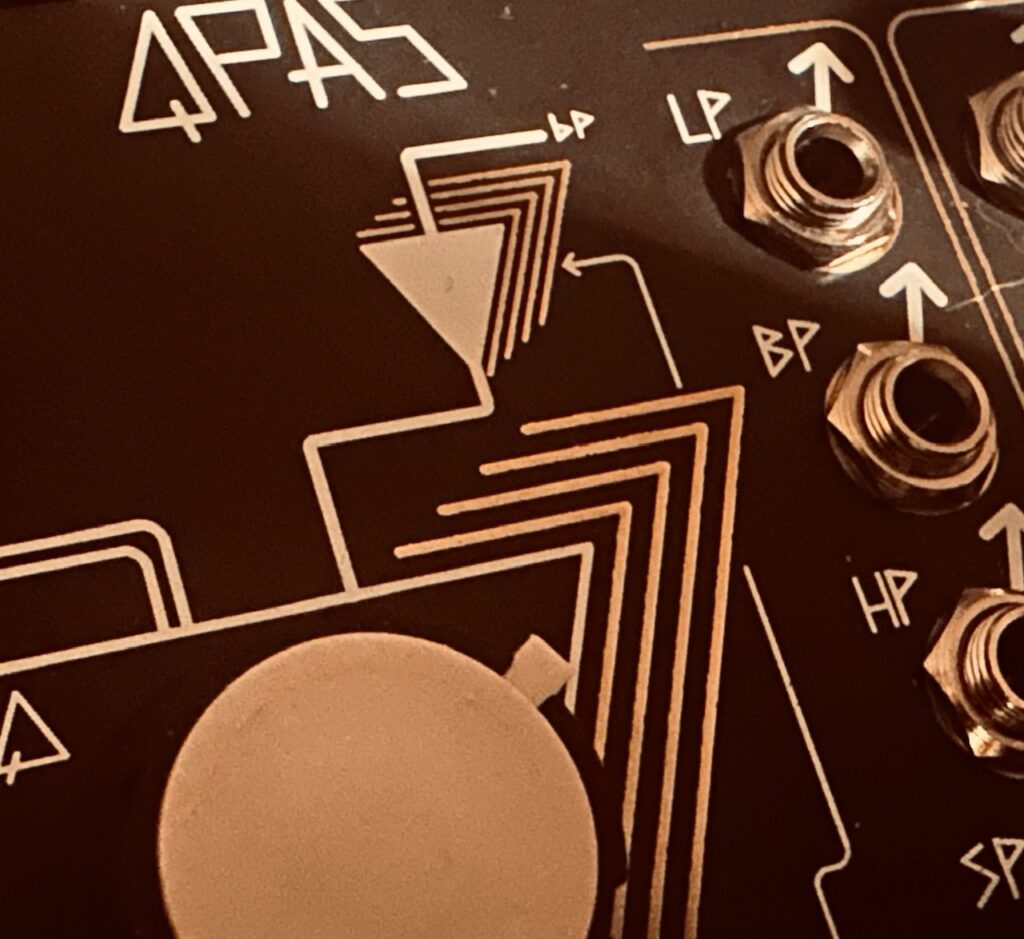
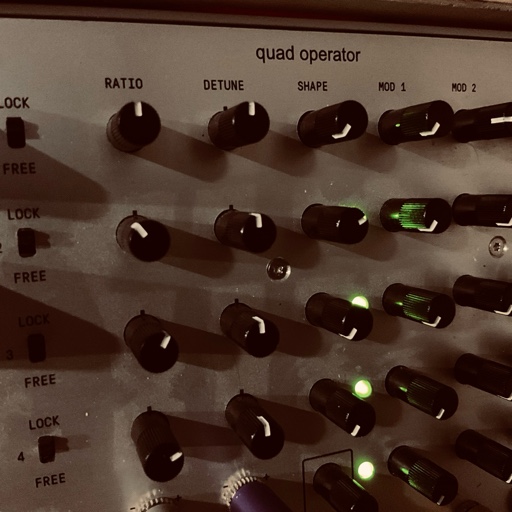
After a fantastic morning of sailing through Glacier Bay, I decided to spend the afternoon and evening patching while I watched the beautiful southeast Alaskan coast float by outside my cabin window, door ajar for the the sound and smell of the sea as inspiration. The first patch started simply enough, the Swell Physics four wave outputs into Quad Operator’s four gain inputs, through some delay and reverb, and out for your pleasure. But this time I decided to add a bit of variation via Batumi’s various wave shapes to modulate the wave shape of each of the operators. This modulation had the unanticipated effect of also modulating the apparent volume of the output as well, which created a very cool phasing effect of the individual waves as both their levels and wave shapes were being modulated at separate rates.
The four Quad Operator outputs are mixed down to stereo, then sent through QPAS which had moderately heavy modulation to the cutoff, both Radiance CV inputs, and with gates to both !!¡¡ inputs. I mixed both the LowPass and Smile Pass outputs at about a 75/25 ratio for some very cool stereo imaging, and sent the signal to Nautilus.
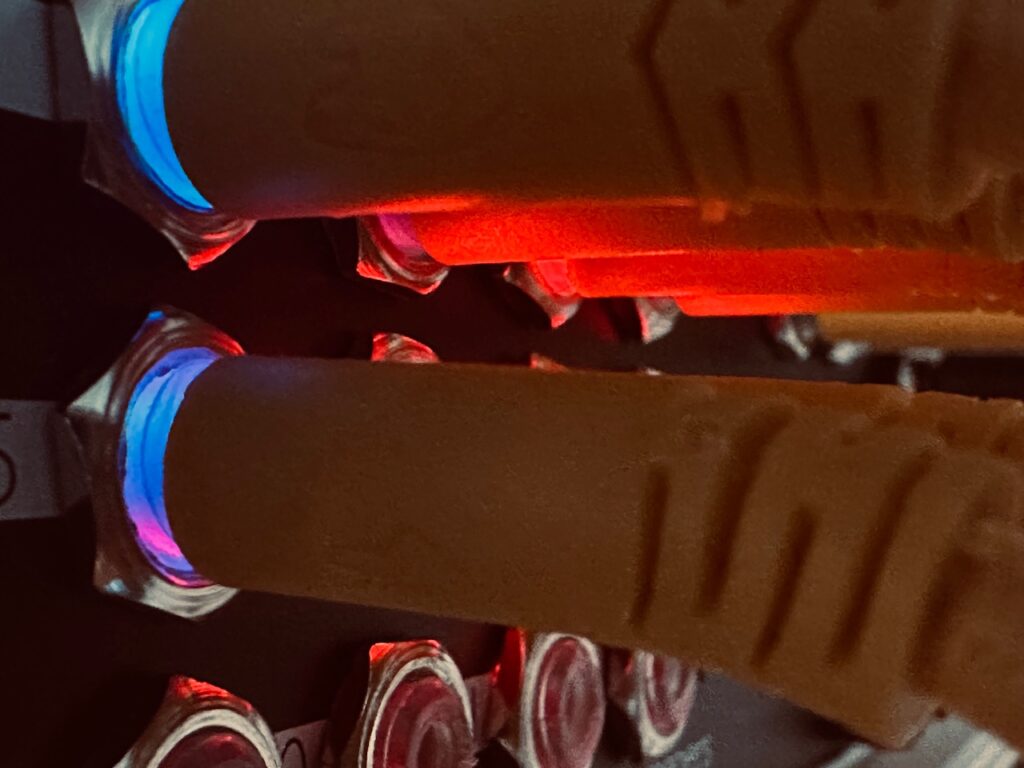
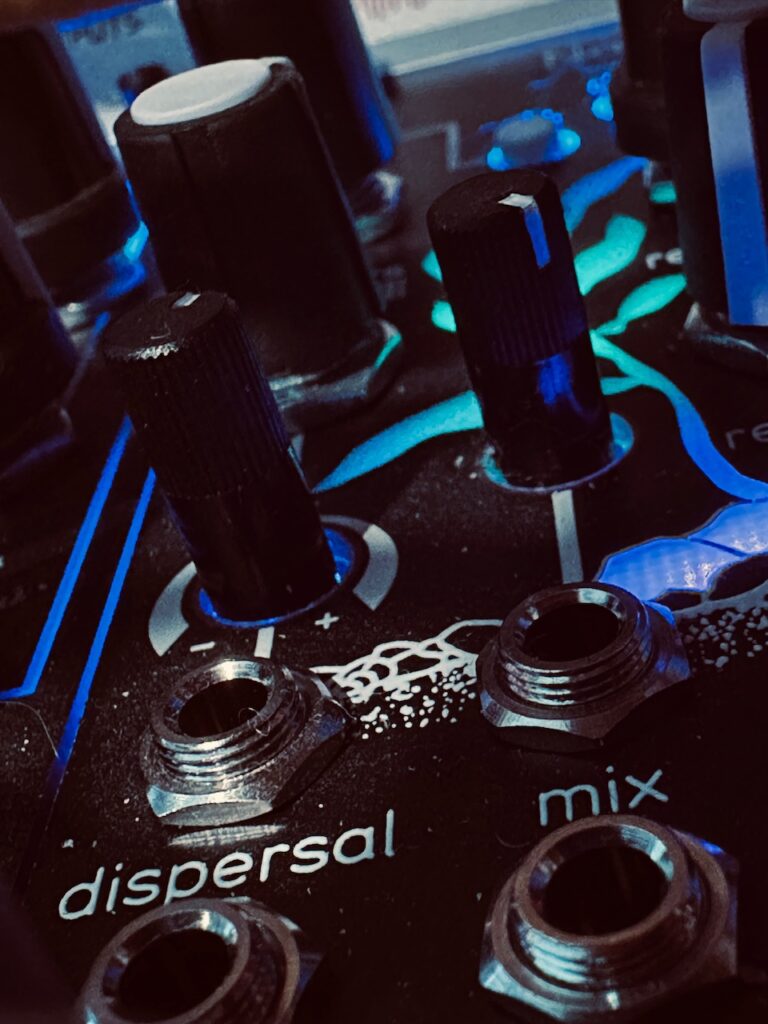
Although I’ve used the Chroma feature of the Qu-Bit Nautilus a lot, I’d never used the wavefolder in the feedback path. I’d never used it because I never said to myself, “Man, what this feedback path needs is wavefolding!” Overdrive, distortion, and bitcrushing sure, but unfortunately wavefolding was ignored. A pretty aqua color in the kelp light show on the panel between the orange overdrive and red distortion. This oversight was a dumb and tragic mistake, alleviated by the conscious choice to use wavefolding in this patch. Wavefolding in the feedback path sounds fantastic! Controlling feedback and the Depth of the Chroma is crucial because wavefolding, like distortion and bitcrushing, can create runaway feedback quickly if the balance between feedback and wavefolder isn’t closely watched. The effect, as modulated by a highly attenuated triangle wave from Batumi, created a mix between a nasally and almost fuzz-like tone where there are some edges of the sound starting to leak and sputter, particularly on lower tones.
As accompaniment I went with the LABS Choir samples in the Disting Ex SD Multisample algorithm, using three of the Swell Physics wave outputs for pitch, and the 1 < 2 and 3 > 4 gate outputs through the CuteLab Missed Opportunities as triggers. What I was watching go by as our ship rolled along the grand Alaskan coastline called for drama. Something that could create tension and with some occasional resolution. Although I might better tune the gates to get just the right amount of action if I were to record this patch again, it’s often too sparse, and with not enough harmonization, I feel like the Choir more or less created the effect I imagined, even if it sometimes veered from dramatic to an uneasy suspense. It’s a feel as much as anything else.
Both the Quad Operator > QPAS > Nautilus and the Disting Ex voices went to the mixer, and on to the Stratosphere Cloud Reverb.
Overall I like the direction of this patch, but it needs work. The waves from Swell Physics are often way too slow (a common occurrence once the simulation has been running for a while), and although the modulation from Batumi created some very cool phasing effects, it all combined into a slow moving soup. A soup with promise, but a soup nonetheless. There’s just no pace. Perhaps that’s a reflection of the glaciers I’d been watching all morning, but by the time I’d hit the Stop Recording button in AUM the patch seemed to have come to a crawl, begging for an ending. With time, this patch can be exquisite, but I need to put in the work to get it there.
The Night Time Patch
Once I’d hit stop recording on the daytime patch, I’d become slightly frustrated that I couldn’t get it where I wanted to take it. Either through lack of food, time, patience, feel, or some combination thereof, the patch ended with a whimper. I wasn’t satisfied. Having done several slow, ambient patches for the last several weeks, I knew I needed a change. I needed something to shake that ass to. Something to temper my disappointment in the daytime patch, and something to quell my desire to create something. But only after a visit to the buffet to both feed my body and cleanse my musical palette.
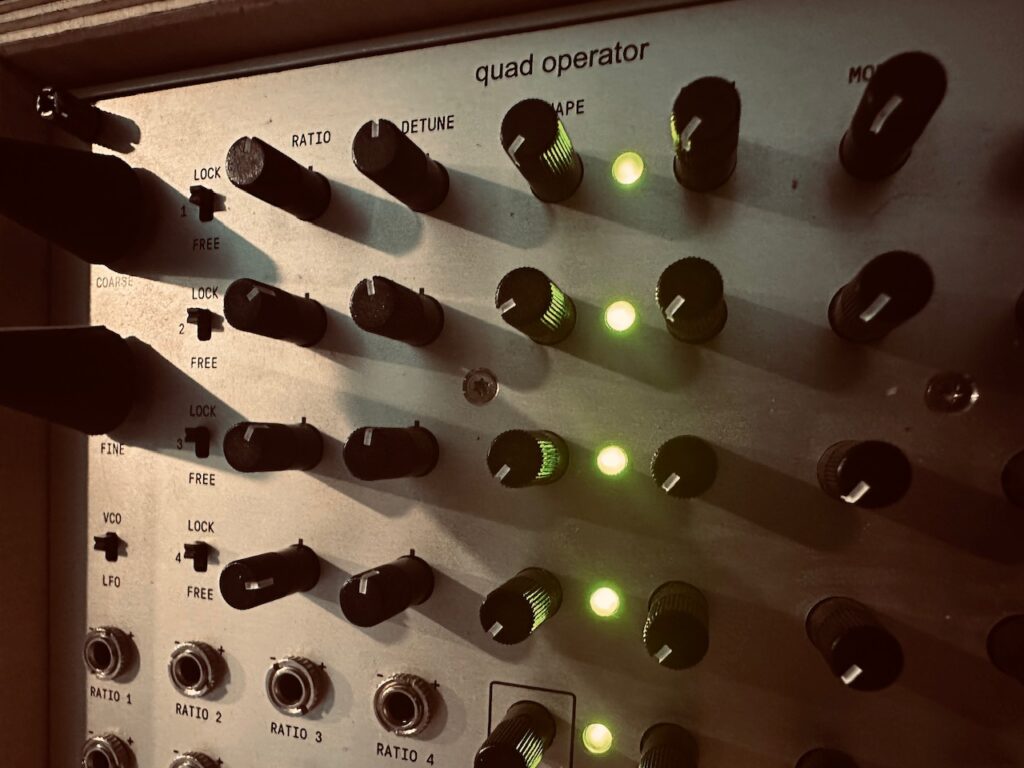
When I started patching again that evening I wasn’t exactly sure what I was going for. I knew I wanted something rhythmic and fun, but started in a way similar to how I’ve started lots of patches recently: four Batumi outputs going to the four gain inputs on the Quad Operator. But this time was different. Rather than using slow, randomly paced waves, as I would do in an ambient patch, I used clock divided LFOs to create a rhythm. Not only did each individual LFO create individual notes directly by lowering and raising the gain on each operator, but also created a rhythm via FM modulation.
With the Quad Operator, when you’re using the Gain CV inputs, each operator is available at its output when the gain input has positive voltage, just like with any VCA. Likewise, each operator is also only able to act as a modulating oscillator for Frequency Modulation to the other operators via the Quad Operator’s FM Matrix when its gain is positive (or the Gain CV input is not patched), making each Gain CV input have an effect on more than just that operator’s output. Each Gain CV input also controls timbre in other operators’ outputs as well, drastically changing the complexion of the overall sound as these various LFOs fade in and out at different, but related speeds, and with differently shaped waves. Sometimes an operator is being FM’d. Sometimes not. It’s a nice way of being able to use all four of the Quad Operator’s outputs, even if tuning can get complex, rather than sacrificing operators to modulation duties only. It doesn’t make sense to use a FM synth like the Quad Operator in this fashion very often, but it works well in some styles of patching. The four operator outputs are routed to the Mutable Instruments Veils for a stereo mix down before going to the final mixer. From there it’s sent to the Blue Mangoo Stratosphere Cloud Reverb.
If I were to do a patch like this again, I would probably process one or more the Quad Operator outputs individually to add some spice, rather than immediately mixing them to stereo. To treat each of those outputs as individual entities unto themselves, rather than assimilating them into a larger body immediately after their creation, never allowing each to have their own existence. Sending one output or another through a separate effect or process than the others might help create something special that is lost once an individual signal is married to another in a mixer.
The kick drum is about as simple as it gets. A /2 square wave output from Batumi to Plaits, twist the knobs a bit until you find the timbre, decay, and pitch you want, and turn the FM trimmer to taste. One of the wonders of Plaits, and Braids before it, is its versatility. It can be almost anything you want it to be. From a FM oscillator to speech synthesis to kick drums and plucked strings, Plaits can make a whole lot of sounds and be the main voice in any patch. If you have something like the Jasmine And Olive Trees Traffic, or if you’re savvy with CV processing, Plaits can be many things at once. Today, however, Plaits was just a humble kick drum.
I had hoped to use QPAS in a more exciting manner. One of my favorite ways to use QPAS is by pinging it. But because QPAS normally lives isolated in a Make Noise only case, I haven’t really experimented much with pinging it without the using the nice, wide gates of both Tempi and René v2. But my clock in this case, the Sitka Gravity, doesn’t have any of those, and my sequencer, the T12, was already being used. Gravity outputs short triggers, about 15ms, which are great for telling something else it’s time to do its thing, but virtually useless as direct modulation, and the ability to use the gate’s length to help control modulation, such as with an ADSR envelope, is lost. I could ping the input with a trigger easily enough, but instead decided to use a probability gated square wave from Batumi via the CuteLab Missed Opportunities, which wasn’t quite the same as using the 50% duty cycle gates Tempi spits out. Although the developer of the Gravity has said that a gate mode, wherein the duty cycle of the gate will be adjustable, for now it’s all triggers. I could (should) have just used the triggers from Gravity to sync to Batumi and trigger envelopes from that unused Changes sitting there wondering why he was left out of the party, but it just didn’t occur to me until I was too deep in the patch to bother with changing it. With the Batumi square wave, the pronouncement of the modulation and ease of switching up the gate patterns just wasn’t there. You can hear the modulation well enough in isolation, but it’s almost nonexistent in the mix.
Despite my lack of imagination in modulating QPAS with unfamiliar tools, its role in the patch, however, is crucial. Its LP outputs add a marimba-like percussive element (thanks to feedback patching the left HP output to the highly attenuated Freq 1 input) to accompany the kick drum, and contribute a party-like atmosphere in the patch.
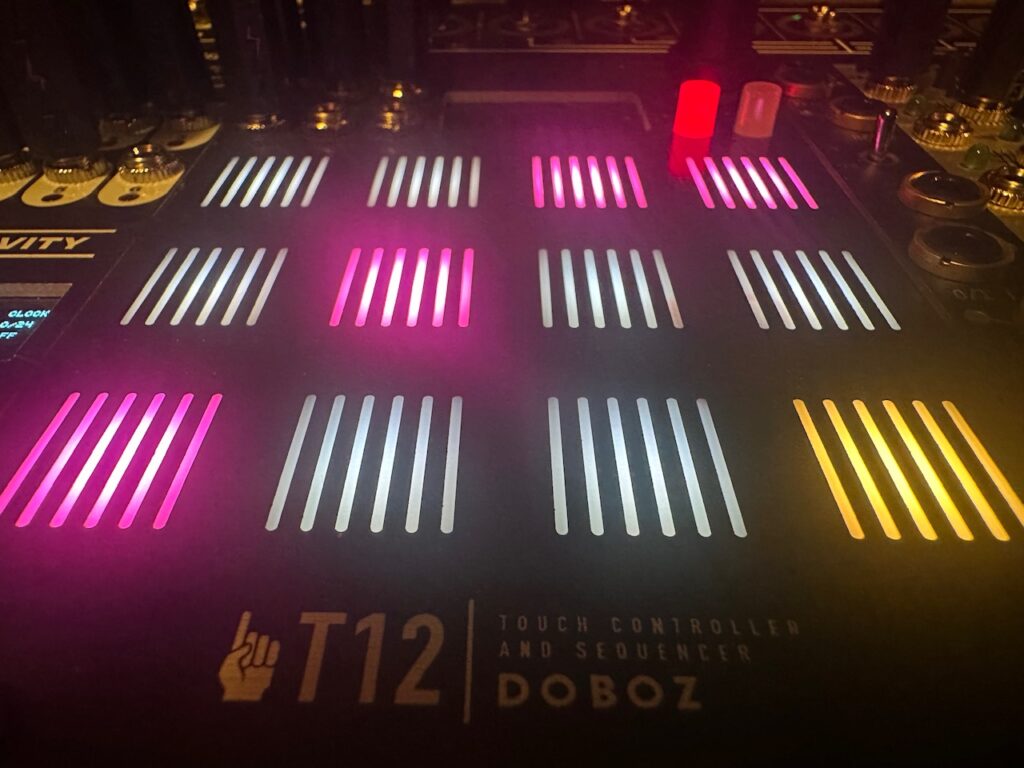
There are also two new-to-me elements to this patch that I hadn’t yet tried. The first is to use the Doboz T12 as an arpeggiator. Since the T12 is brand new, there are a lot of new things to try. It’s a deep, highly versatile module. I’ve used it as a sequencer, and as a touch controller (my over-70 mom also had a great time using it as a touch controller). In this patch I’d use it as an arpeggiator with the second new-to-me element: using the Poly Wavetable algorithm on the Disting Ex.
The T12 is turning out to be something akin to the greatest in-case touch controller in Eurorack. Of course I haven’t used many others, and those that I have used never tried to be quite as much as the T12 strives after, but the T12 seems to have some serious chops in terms of immediately challenging Eurorack mainstays like the Make Noise Pressure Points or Doboz’s own TSNM MKII. The T12’s main limitations are its inputs and outputs, and that it requires some level of menu diving . It only has three inputs and outputs. A pitch CV, an AUX CV, and a gate output, with clock and reset inputs, along with one solitary CV input. Something like Pressure Points can put out several voltages from several “channels” simultaneously, which is not something the T12 can do, but the T12 more than makes up for these shortcomings with flexibility, the customizability of each mode, and the ultra-intuitive user interface. The T12 is, by far, the easiest module I’ve used that has a screen based UI. Virtually all of the options for each mode are changed on the surface menu level, without any real diving at all. Doboz did a knockout job with designing the interface to be powerful, expansive, and super easy to navigate.
The T12 in use as an arpeggiator is smooth and ultra-fun. It will arpeggiate as many notes as you can get your fingers on, and the touch plates are very responsive when making changes. There’s generally enough space to maneuver use three or four fingers of one hand to make your note changes, but there are some button combos that require some serious hand dexterity, or the use of two hands. But once you get a feel for how to move your hand in the space, muscle memory starts to take over, and it’s nothing but pure fun. As with most arpeggiators there are several directions or patterns you can choose. This patch started with a forward pattern, and a 20% probability that a gate will be skipped, then, at some point, switched to a random direction, with a 20% probability that a gate will be skipped. There are many options I could have investigated, like the probability and range of pitch variability (by step or overall), or transposition, or using the AUX CV output, but I chose to keep it simple, and, quite frankly, I was having a really good time spending my night doing something simple and performative.
If I’m being honest, this patch was the first time I’ve used the Disting Ex in any algorithm other than the SD Multisample. The Disting Ex too is a deep, highly versatile module, to put it lightly, but I traded away a 1010 Music Bitbox Micro for a Disting Ex because of its capability as a multisample player, specifically that it can play eight simultaneous voices of polyphonic multisamples via pitch CV and gate inputs. No other module can do that in quite the same way. But I’d already used SD Multisample in my first patch on the trip, the Daytime Patch before this one, as well as my test patch before leaving. Every patch I’d made with this case included SD Multisample, and I wanted to try something new with this synth.
Because the patch was lively, I wanted to use a lively sound source for my arpeggios. Quad Operator was already in full use, and Plaits was thumping along as a kick drum, so I knew I needed to find another algorithm in the Disting Ex. If QPAS could self oscillate (without help), and if it could follow v/oct pitch CV, I probably would have used it as the arpeggiator voice either by pinging it (which QPAS does fantastically, as this patch shows), or as a sine wave oscillator through a VCA using the envelopes created by the T12. But QPAS doesn’t self oscillate or follow v/oct pitch CV, so the Disting Ex was the way. I could have chosen a completely unpatched CalSynth Changes, a very excellent MI Stages 1:1 clone, loaded with the latest quimem firmware in Ouroboros (Harmonic Oscillator) mode, but by the time I decided I wasn’t going to use Changes as a modulation source I was already set on using the Poly Wavetable algorithm in the Disting Ex.
Fortunately, Poly Wavetable is very similar to SD Multisample in how it functions. Poly Wavetable can take 3 CV sources and 3 gates and play up to 8 simultaneous voices polyphonically. That said, the weakness of the Disting UI and very small display becomes glaringly magnified when you need to make parameter changes, especially with nearly-50 eyes. You get a slew of options, several dozen, and a very tiny screen with which to navigate and make changes. I would have greatly preferred to control envelopes and such with a dedicated envelope generator outside of the Disting in a VCA or LPG, but I elected to use the internal envelope because I didn’t have any more VCAs to use, much less two of them. The 8 VCA channels (plus VCAs within modules like QPAS and Quad Operator) I brought with me were already in use doing other things, so fumbling through the menu system was the only way. Don’t get me wrong: the Disting Ex is incredibly powerful, and each algorithm is highly customizable. It sounds fantastic, and it can do dozens of operations from polyphonic multisample player to a pitch to CV generator, matrix mixer, or lots of other tasks. The Disting line, but particularly the Ex, is truly is the ultimate Swiss Army knife of Eurorack. Such a broad tool, that is also quite deep, is bound to be awkward sometimes. Since they’re built to do everything, it’s impossible to also have a UI that will match a good workflow for all of the algorithm functionality (perhaps, some might argue, for any of them). That said, the UI manages to be fairly simple to navigate. If you can see it. Most of the options are controlled on the surface level of the menu. You turn one encoder to change options, a second to change a parameter within that option, and click a third to save it.
Having listened back to the recording several times, I definitely wish that I had a pair of LPGs available to me in the case. That attack and intoxicating decay from a LPG would have been just the thing. The arpeggios in the Night Time patch are enunciated, but only just adequately. I never really got to shaping the internal ADSR envelope beyond shortening the release a bit, and the UI is actively hostile to changing while trying to perform. The UI really hindered me there, (I was trying to booty shake, not squint my eyes at a tiny screen trying to optimize my envelope), and that unused Changes was still staring at me with that sad face one gets when everyone except you were invited to the party. I know there are 3rd party screens for the Disting that alleviate the problem, this one came with one when I traded for it, but of the ~2200hp in my synth, my only 1u row is in the Make Noise 4 Zone Bus Case, which is occupied by a CV Bus Mk2, so it’s out of the question unless I decide to get two Distings.
This patch was a lot of fun to build and perform. I hope to patch in this same vein on my full synth soon enough.
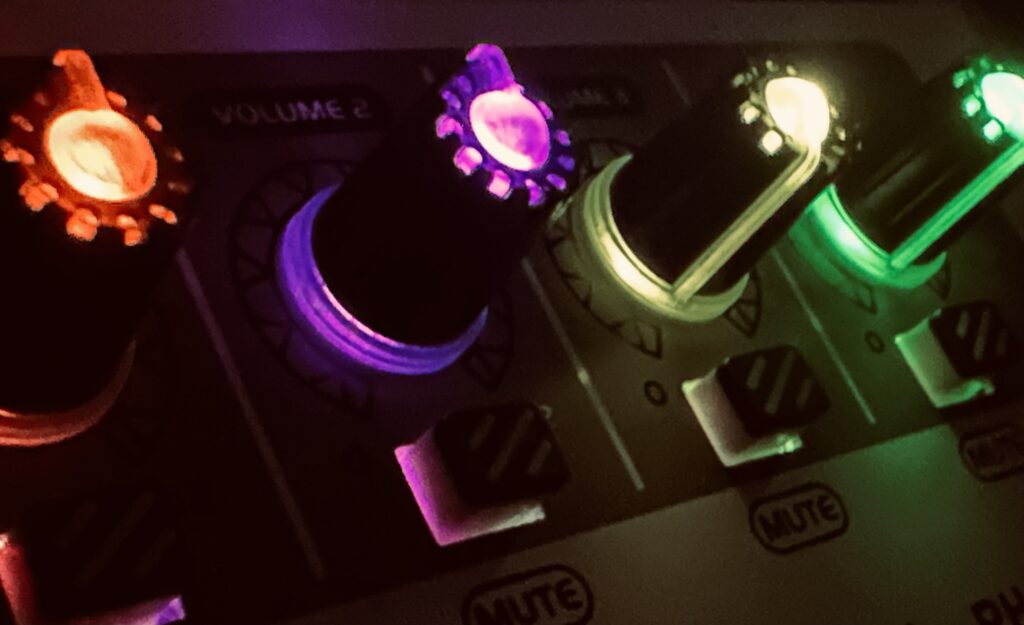
One last tool that I used on this trip that I hadn’t really written much about, and that I bought specifically for this trip, is the Bolanle PH400 4-Channel Headphone Amp. Since the plan was to use this synth with my brother, I wanted a means to have independent volume control. I loathe having to share volume control of headphones, and so decided on a small headphone amplifier. Although the PH400 is certainly not something I’d call studio worthy, I can say that it’s a good piece of kit, and it met all of my requirements. It had to be powered by USB C, small and portable, and it had to have individual control, and it had to sound good or better. I wanted something with both sized headphone outputs for each channel to avoid adapters, and the PH400 has that. Each channel also has its own mute button. As an added bonus, the LED light show is cool. This thing works great.
While I was testing a synth I built for my brother and me to play while on a family vacation, I wanted to see if I could get something more ambient from what I perceived as a more rhythmic-oriented case. I have a master clock, a sequencer, a chaotic/random gate producer that likes the time grid, all dedicated to staying in time. My brother is more of a shake your booty type of guy and I wanted to bring something he would enjoy too, so rather than chaos and random ahoy, I put in several modules that he could feel comfortable with too. But rather than resign myself to grid based tempos and rhythms from this synth, I ventured to see how I might go about creating something more freeform. Instruments tends to direct their players towards certain ways of doing things. Modules do the same via their UI cues. All modules demand some particular workflow which lends towards different styles as a result of their design. But this subtle push by module makers doesn’t preclude using their designs in ways that maybe they weren’t designed to be used, or in ways they hadn’t considered. Individual case builds likewise push musicians to patch in certain ways.
Since this was a test, I started with a familiar idea and tried to see how I might create an irregular clock in order to use Stochaos to hit the Disting Ex in the SD Multisample mode using the LABS Soft Piano samples. It’s one of my favorite voice patches, and generally it sounds beautiful. Enter the Sitka Instruments Gravity.
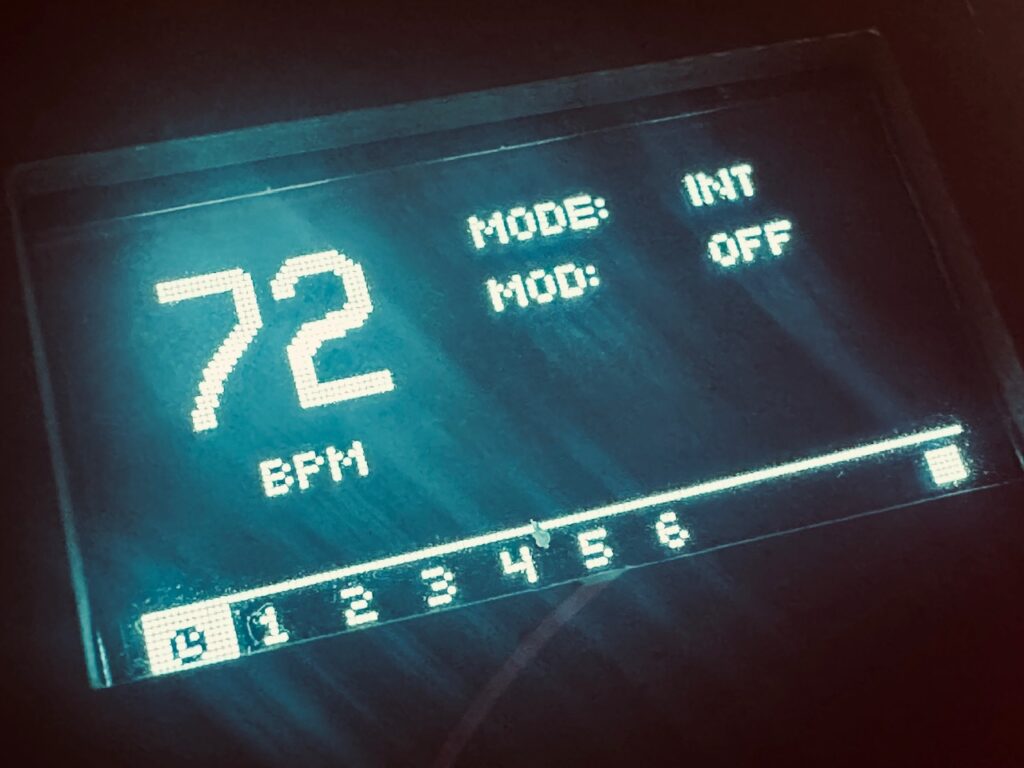
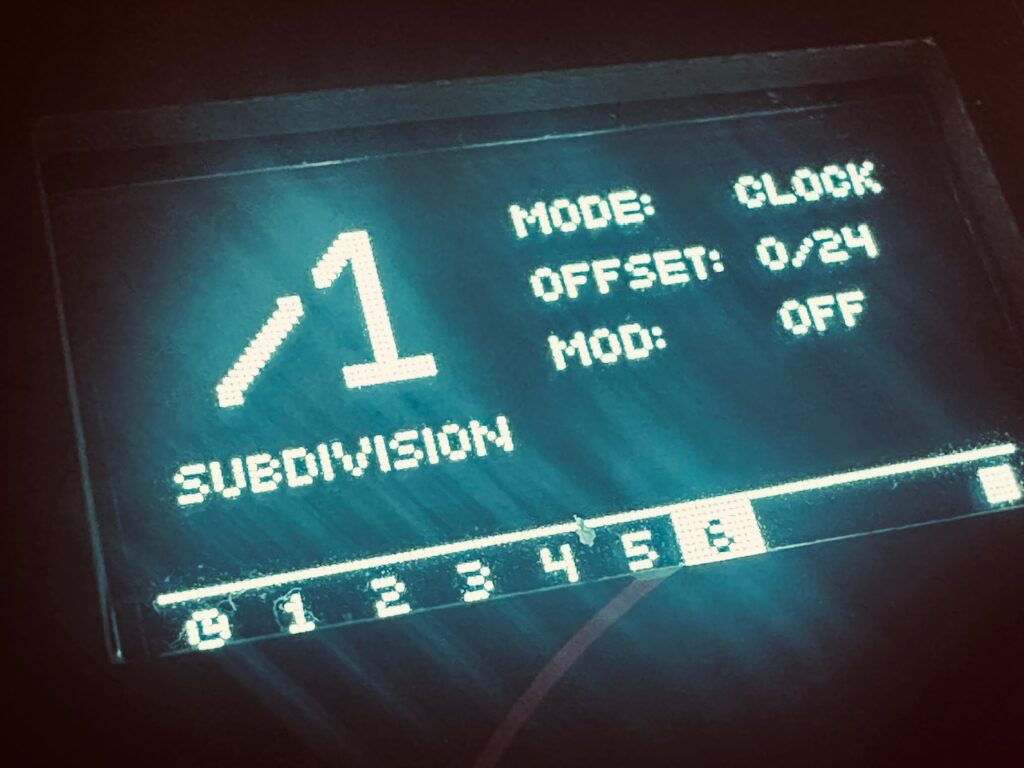
The Gravity is a 6hp, 6 output master clock. It doesn’t have the sorts of clocked modulation options that something like the ALM Busy Circuits Pamela’s Pro Workout has, nor does it have the quick, hands on manipulation of the Make Noise Tempi. But it does have a fair few things going for it. It’s a rock solid clock, and easy to manipulate, even at first glance. The UI is intuitive, and its distractions few. Each output has three modes: Clock, Probability Clock, and Sequencer. The clock and probability clock does what it says. The outputs put out short triggers according to a clocked division or multiplication of the master tempo.1 Timekeeping is not exciting, however it is crucial. But the killer app in the Gravity is that its tempo can be modulated by control voltage, a feature not found in every master clock. At this realization I knew just exactly how I was going to get my wonky clock.
After plugging in a smooth random LFO from Batumi II + Poti II and tuning its frequency and amplitude to taste, we had a modulating clock that randomly floats above and below the master tempo. The Gravity gives a numerical option when the master tempo is being modulated, called Range. It’s simply a number that goes up by tens. Although initially I wasn’t sure just exactly what that number represents, the developer noted that it’s a fixed maximum BPM deviation above and below the set master tempo. So if your tempo is set to 80bpm, for example, with a Range of 10, it will swing as low as 70bpm with -5v of CV, and as high as 90bpm with +5v of CV. Clever. Subtle undulations is one thing. Wild tempo fluctuations is something else altogether, and having a defined maximum range built in to the modulation is a really good way of making it easier. This clock was fantastic, subtly shifting faster and slower. Being anticipated, while not being predictable, and never on a strict grid. Perfect.
Although I didn’t need more triggers than what Gravity can supply to ping the Disting Ex, I did want those triggers to extend laterally, never close to anything we could call a pattern. Stochaos once again provides a beautifully timed spread of triggers which form the basis of the piano voice in the patch. It always takes some clock adjustments to get the triggers just so. In this patch I ultimately used a x8 multiplication of that modulated clock with a 20% chance of skipping a beat to drive Stochaos. This kept triggers coming at a reasonable pace for Stochaos to spread the gates through its various outputs, helped by the retrigger setting in the SD Multisample algorithm to “Synth” to keep it from going too cluttered with notes.
For pitch, I used three of the four Swell Physics outputs into Quantermain (in C major). One of the quantizers was set to quantize to all 7 notes in the scale, with the other two set to quantize only to the root, third, and fifth. This turned out to be a wonderful method of getting pitch. The outputs on Swell Physics are all inter-related, and something akin to phased LFOs, only the phasing is more organic. Swell Physics is not a single speed with waves sliding back and forth, but the movement of the ocean, with ebbs and flows that can’t be strictly controlled, and where each wave affects the others. All of their speeds fluctuate, as do their amplitudes. This set of waves allowed for a good spread of notes, with minimal dissonance.
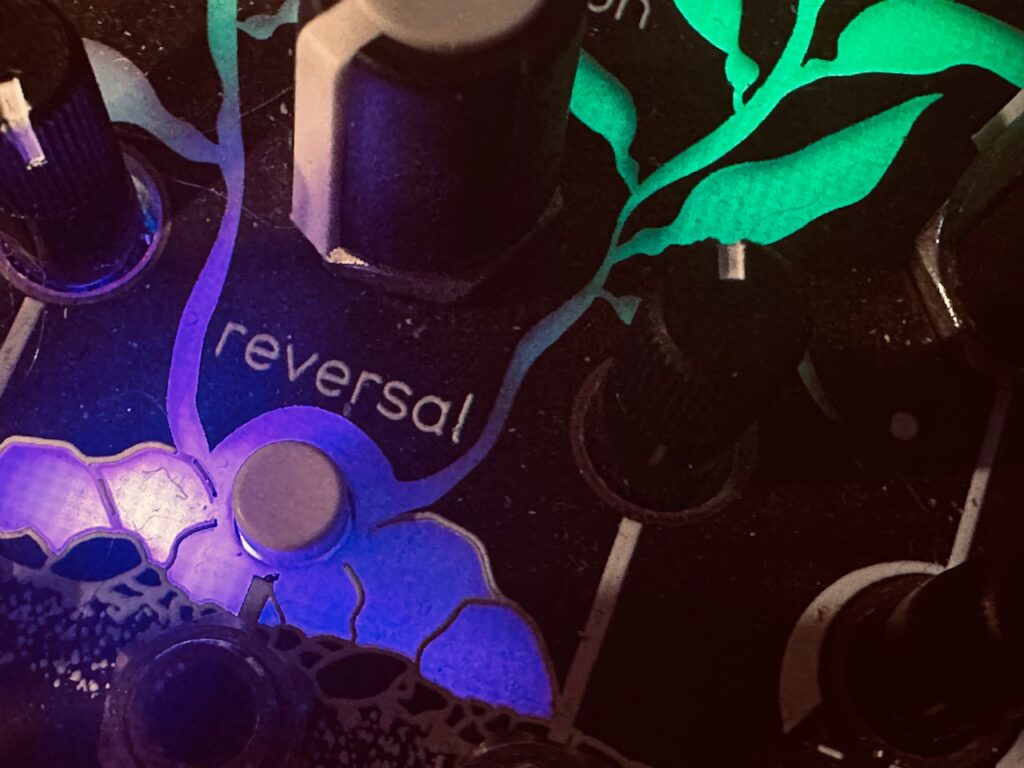
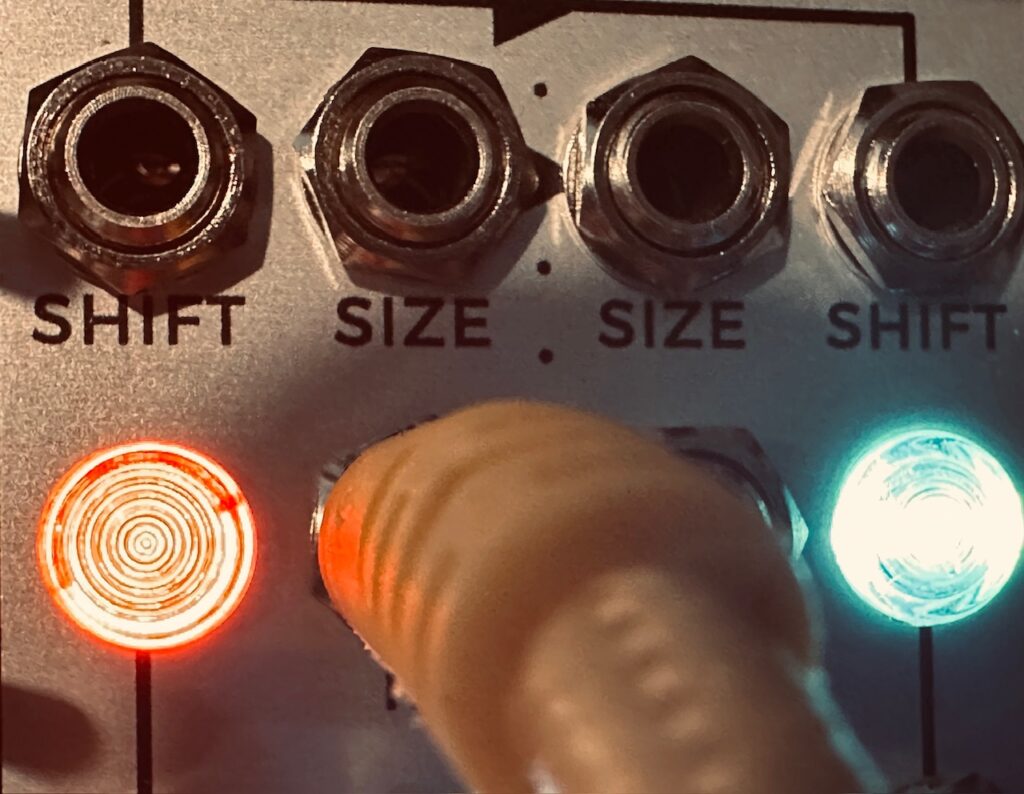
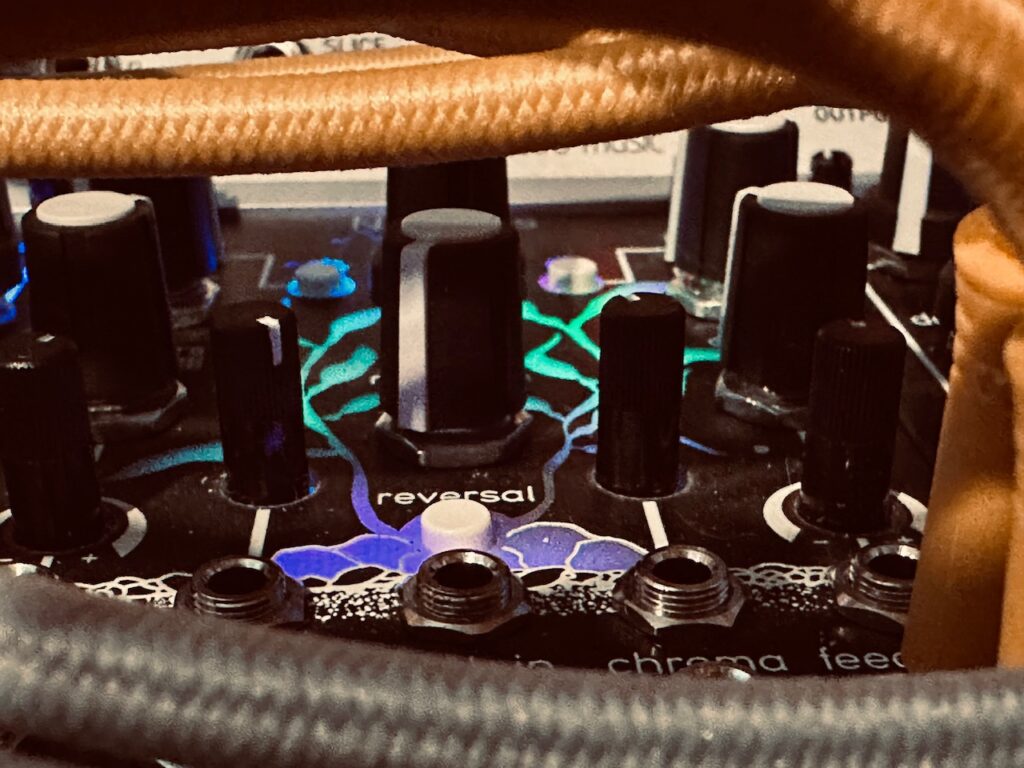
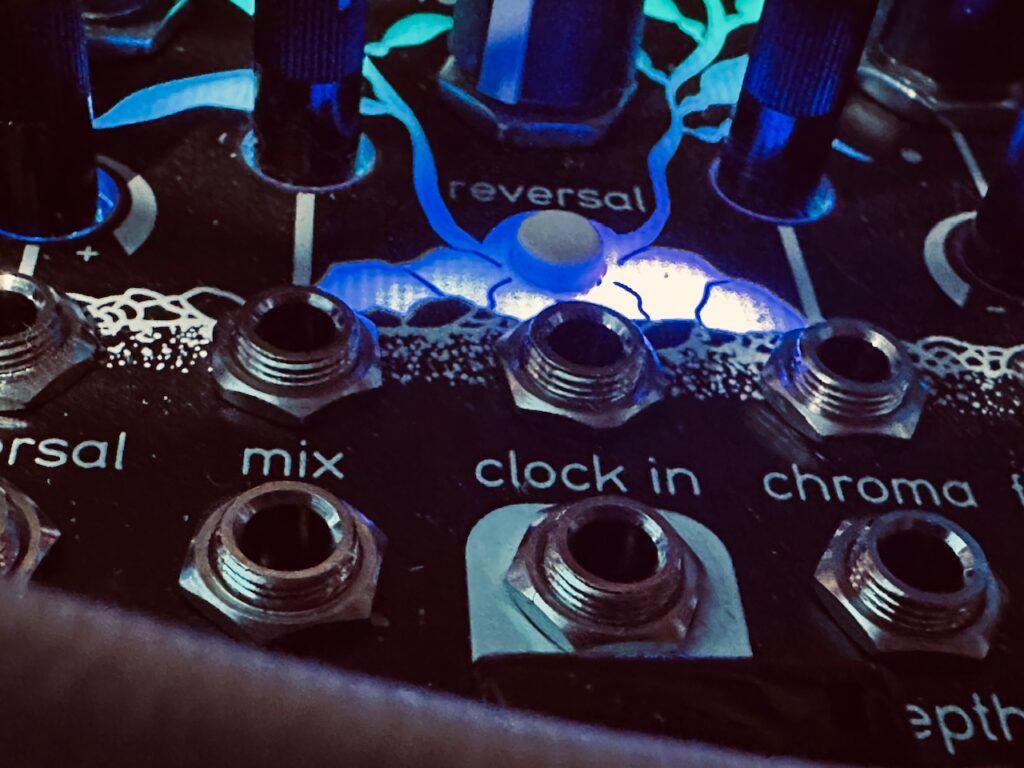
The Soft Piano sample outputs from Disting go to the Qu-Bit Nautilus for some unclocked delay. Feedback and Depth are lightly modulated by the highly attenuated AVG output from Swell Physics, while a highly attenuated saw ramp LFO from Batumi II + Poti II modulates Reversal. The patch starts with no Chroma (Qu-Bit speak for an effect inserted into the delay feedback path), but heavy distortion is introduced later on as the patch heightens. Using the delay feedback line for distortion, as opposed to using distortion before the delay, still allows for the piano notes to sing through quite clear, before being clipped to hell over and again as the repeats fade away.
After going through Nautilus, the signal made its way to the Make Noise QPAS for some light HP filtering. In most situations I would run a hard clipped signal through a LP filter to shave off some of the most egregious harmonics, but for some reason I preferred the HP filtering in this patch (I tried all four stereo outputs before deciding on HP filter), and so I won’t be too harsh on myself for an intentional decision made in the moment. The only modulation is via the 1 < 2 and 3 > 4 gate outputs on the Swell Physics via the CuteLab Missed Opportunities to both !!¡¡ inputs for some occasional shooting stars.
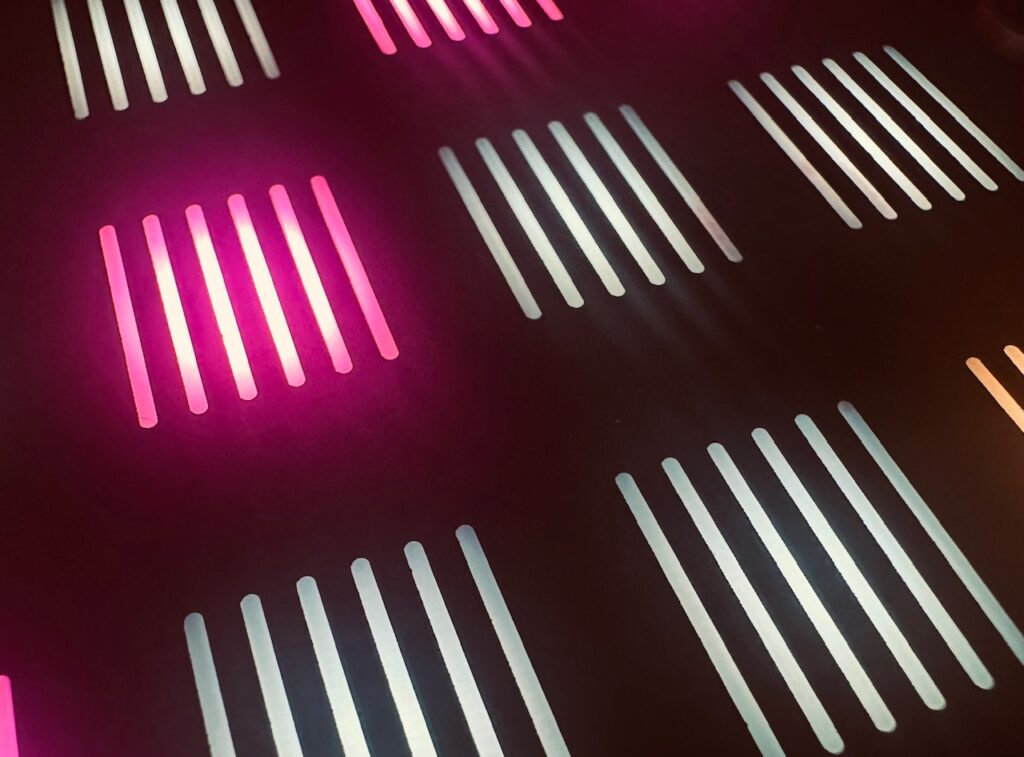
But getting a pretty flow of random piano notes wasn’t the final goal. The final goal was to test the new elements of this case so I’d have a basic understanding of how to use the case in a style I enjoy, and hopefully avoid having to constantly dig through manuals during the little time I’d have to patch on the trip, which brings me to a real beast of a module: the new Doboz T12, a 17hp (😕) touch controller, arpeggiator, and sequencer. I had half-assedly tried to get it going a couple of times over the last couple of weeks, but came up empty both times, so it was time to sit down with the manual and dig in.
At first I was intimidated by the T12. There’s not much on the panel outside of 12 touch plates, a screen, a couple of buttons, and an encoder to give you cues, and the options in the screen are many. But once I got over the initial hurdle of Step 1, the intuitive nature of the screen UI took over, which makes it generally simple to navigate and use. The T12 has 4 modes: a touch controller, an arpeggiator, a very straightforward up-to-32 step sequencer, and a more complex extended functionality step sequencer. Although I certainly want to understand the Complex Sequencer, my aim was to tackle the touch controller (why I initially bought the T12 to begin with), the arpeggiator, and the simple step sequencer.
Despite being a bit overwhelming at first glance, having loads of options in the UI, the T12 workflow is both fast and intuitive. Not only are there the standard pitch CV and gate outputs, but also a secondary CV output for something other than pitch. You can set vibrato, including a delay, gate probability, random note probability, touch behaviors, and many other facets of your sequence quickly and easily. The AUX CV output can send envelopes, slewed gates, secondary raw CV, amongst other stuff. The T12 is a really powerful, highly flexible, and intuitive module that is fun to use. Just don’t forget to save your work in one of the many save slots, or else you’re gonna lose all your shit. Ask me how I know. Fortunately this particular patch is pretty easy to reproduce should I have the need.
For this initial patch I wanted to keep sequencing as simple as possible. A slowly plodding 10 note, repeating sub-bass line via the Humble Audio Quad Operator that would flood the audio and shake the room. I was loosely aiming for a post-rockish feel in the progression. It’s intentionally loud, though not so loud that the piano can’t still be clearly heard. With the wandering clock set to /8, and after a smidge of tuning the individual notes in the sequence to what I wanted, I pretty quickly got what I was after.
Which isn’t to say that the bass line is without issues.
Firstly, I’d like to note that both the high level and super-low frequencies were exactly what I was trying to accomplish. I was looking for film score kind of epic. The kind of bass that rattles walls and that you can feel in your stomach. That said, there’s far too much audio gear, including very high quality audio gear, that has a difficult time reproducing C1 (32.70Hz). My audio monitors, a set of Focus Alpha 80 studio monitors only reach down to 38Hz before the cutoff becomes pronounced. At 32Hz, the tone could still be heard, but not with near the authority it should have. D1 (36.71Hz) had similar issues, although not nearly as marked. By the time we get to E1 (41.2Hz) things are booming, but of the 10 notes in the bass sequence, only 5 can be heard with the vigor I intended, and that’s through a good pair of studio monitors. Fortunately the cans I used to record this patch, a set of GK Ultraphones, and the AirPods Max Bluetooth headphones I use for general listening, have no pronounced problems with reproducing the low C. But if I were to record this patch again, and I’m highly considering it, I’ll pitch the entire piece up 4 full semitones (E1) to avoid that conundrum. It’s one thing for a bass heavy piece to not play through phone, tablet, or laptop speakers. It’s a different sort of problem when high quality studio gear can’t do it. Any system with a subwoofer should really shake the foundation, but you shouldn’t need a subwoofer to properly hear music.
The last voice was a spur of the moment addition to the patch. I didn’t know exactly what, but I knew the patch was missing something. It needed one last final touch. It needed Plaits. Though it certainly has its limitations, Plaits is one of the most versatile and best sounding oscillator modelers available. Everything from kick drums, a scaled down Rings algorithm, and FM, plus more is possible with Plaits. At first I didn’t really know what I wanted, other than it be sparse. The Rings algorithm didn’t really fulfill the role. It took away from the patch as much as it added to it.
But as I made my way through the modes one by one, I landed on the final green algorithm: Vowel and speech synthesis. This would normally be unremarkable, but as it happened, I kept hearing the word “Red.” How the various knobs had been set while testing other algorithms landed me smack at the beginning of the colors of the rainbow. I slowly turned the Morph knob to see what else was hidden there, and found a slew of words. At first I set up modulation of the Morph to cycle through the words quickly. Think Robot Auctioneer. And although this addition certainly moved me in the right direction, it still wasn’t the destination. There were too many words being synthesized too quickly. It was slightly distracting, and not wholly complementary.
After a bit of envelope experimentation, I settled on 4 words: Red, Orange, Yellow, Green, “said” at a slightly slower than “natural” pace, and with a fairly thin tone. This gives the voice an almost sad feel, which I think slightly tempers the optimism and hope found in C major piano alongside an epic bass line. It brings a bit of the non-perfection and often lonely feel of reality back into scope, and that even non-perfection and loneliness can be contained within beauty.
After repeated listens, I know that I wouldn’t send any pitch information to Plaits were I to record this again. I think having it repeat at the same pitch would have an even larger impact, and be more focused.
One last new module I used is the Intellijel Amps VCA. Two of them chained, actually. Although I initially planned and built this case with an Intellijel Quad VCA, I recently realized the power of fully cascading VCAs,2 and decided to replace one of my Quad VCAs with this pair of Amps. Even with the first use I could see the utility in cascading inputs. The ability to patch one input and get out several signals that are related, yet separately attenuated and/or modulated, for use throughout a patch is powerful. Of course multiple related outputs could also be accomplished by patching multiplied copies of the signal into all four VCA inputs, but with cascading inputs we can eliminate at least six patch points and three patch cables. Efficiency is key. Add in ring modulation and signal inversion, and Amps is a powerful tool indeed.
A fully cascading VCA is one in which all inputs, CV inputs, and outputs are normalized to the following channel until the normalization is broken by a plugged in jack. This configuration allows for a flexible array of both CV and audio patching, capable of complex mixes or routing.
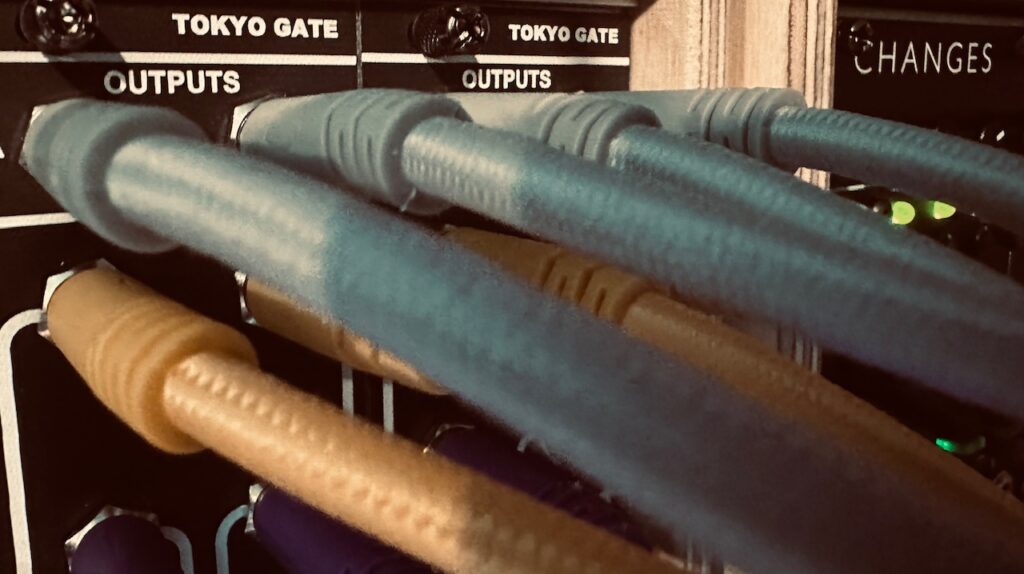
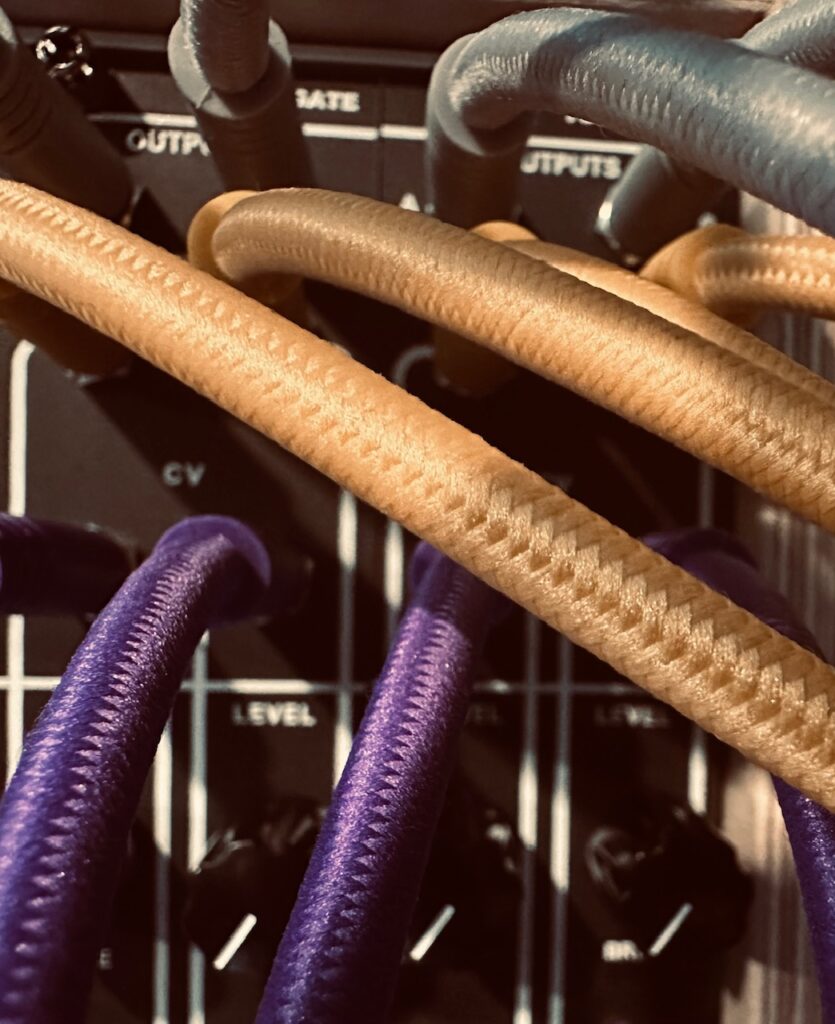
Since I’ve recently received several modules, I’ve been using them rather heavily of late, and they’ve kind of taken front and center. The Nonlinearcircuits Stochaos and Humble Audio Quad Operator are featured in many of my recent patches, and this is no exception. I wasn’t sure, exactly, what I wanted with this patch, but I knew I wanted a chaos clock that was moving fast. I wanted lots of gates firing quickly, and use those gates to hit 4 separate LPGs, this time a pair of Tokyo Gates. Then I knew I wanted these quickly firing notes to be heavily delayed, and sent to a resynthesizer to fill in space and give something for those quickly firing notes and repeats to swim in. I wasn’t imagining bubbles when I first started, but that’s what I kept coming to as I was fiddling with the patch, and after a while leaned into this theme a bit to see where I could take it.
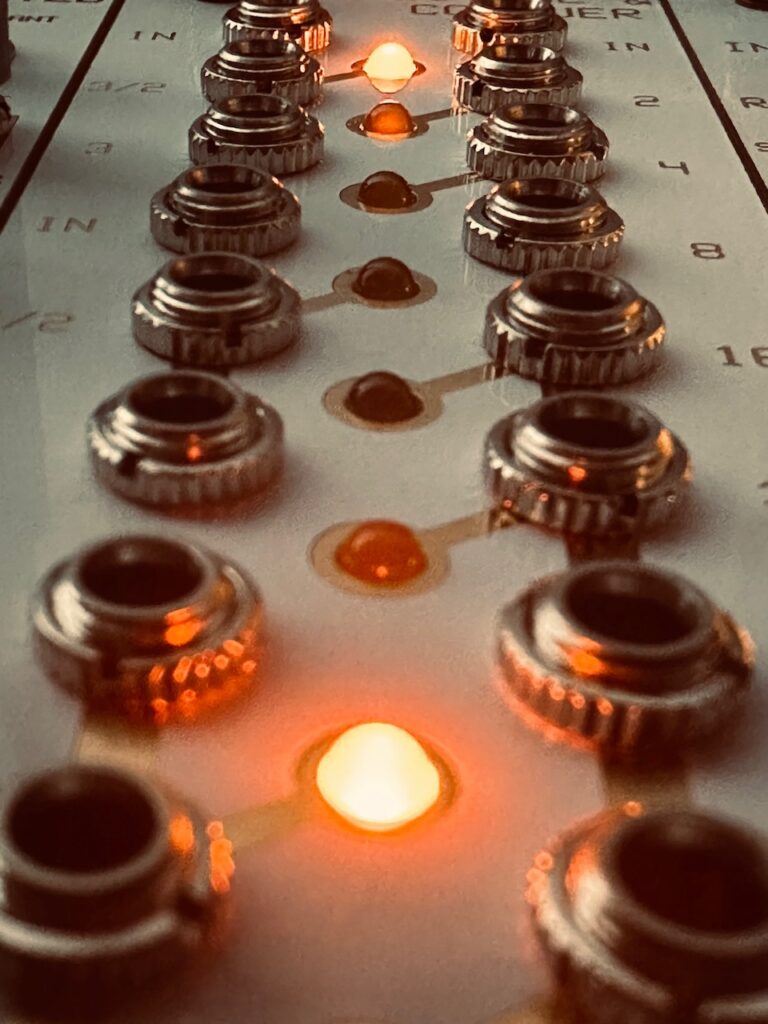
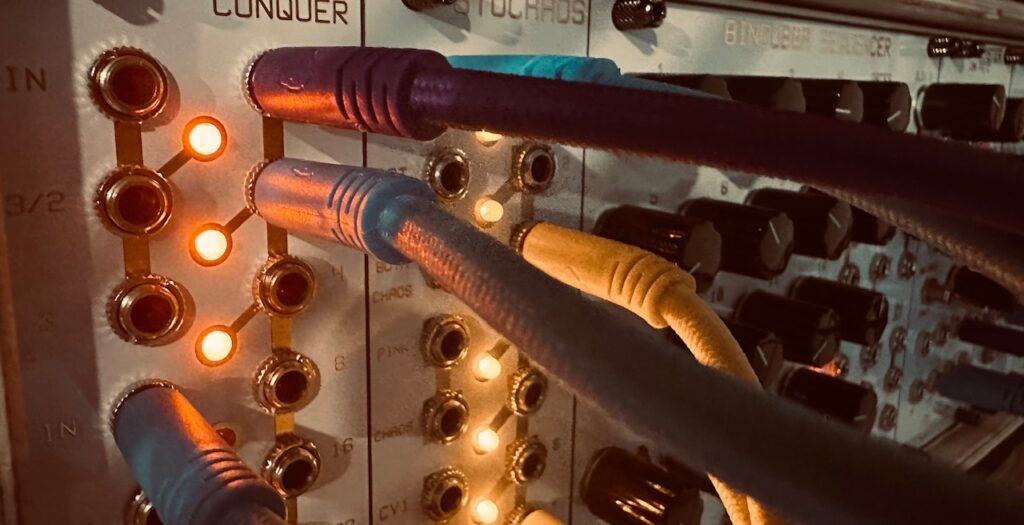
Getting a fast chaotic clock was the easy part. I’ve been using chaos-based clocks almost exclusively for a few months. I don’t mind a grid, but most of my creative inclinations are more towards malleable textures, and chaos provides an almost perfect ebb and flow. At slow tempos it’s definitely noticeable, but this patch was to be clocked at a very high rate; perhaps even approaching audio rate, and those differences at high rate are much less noticeable As per usual, I sent the modulated chaos signal to Divide & Conquer, before sending a fast division to Stochaos. From there the chaos-generated gates would go to the CalSynth Changes to create some snappy decay envelopes that would hit the CV input of four separate Tokyo Gates. The outputs of the Tokyo Gates were mixed into 2 signals in the Mutable Instruments Veils, and finally sent to the AI Synthesis 018 Stereo Matrix Mixer.
The audio is from the 4 operators of the Humble Audio Quad Operator. Although I initially experimented with tweaking the wave shape of the operators, several times, actually, I settled on sine waves. I also tried to work in some FM, but I couldn’t find exactly what I was looking for, which is likely because I was using all 4 operators as carriers, rather than trying to use just a couple of the oscillators as carriers, with the others acting as modulators. It’s tough to get oscillators to behave when you have lots of cross frequency modulation happening. Generally it’s pretty pedestrian as far as the audio source, but there are so many individual notes that are echoed so many times that anything much more complex might be a wall of sound rather than something more enunciated.
The pitch signal is taken from a slow chaos wave through Xaoc Devices Samara II for some careful offset and attenuation before going to uO_C’s Quantermain for quantization into D minor (even if I have no idea what the oscillator is actually tuned to), before being sent to the v/oct input on the Quad Operator. That accounts for the generally up and down nature of the pitch progression. It’s also a good example on how chaos operates. It’s steady-ish, but there are definitely times when the chaos deviates from its path. Sometimes that means speeding up or slowing down. Sometimes that means direction reversals. Sometimes it means lingering at some pitches longer than others. You think you know what’s going to happen, but then the chaos surprises you, providing something interesting. Even still, I feel like there is too much of the same thing when it comes to the pitch in this patch, but since it was more an exploratory patch I think I can forgive myself.
I recently became aware to the dismal fact that my main synth, a large set of separate subsystems that comprises 1,560hp and that has another 588hp in interchangeable subsystems, did not have a vactrol-based LPG in it. Despite having several vactrol LPGs from the Make Noise LxD and Optomix, to the Nekyia Sosumi, and still more, not a single one was in my main case. All of them had been moved to either my Make Noise Satellite Subsystem, or else my Side Case. I have plenty of non-vactrol-based LPGs like the Rabid Elephant Natural Gate, Bard Synthesizers VTG, Frap Tools CUNSA, and Verbos Amp & Tone in the main case, but not one vactrol LPG. As soon as I came to this realization I knew that it couldn’t stand for a single moment longer, and moved a pair of Tokyo Tape Music Center Tokyo Gates from my side case back to the main case. I’d get 4 channels of my favorite vactrol LPG to go along with all of the additive-style oscillators I tend to gravitate towards. Three Body, Quad Operator, Algo, Mob of Emus, and many others besides pair so naturally with a LPG that it seems boneheaded to not have them ready for the occasion.
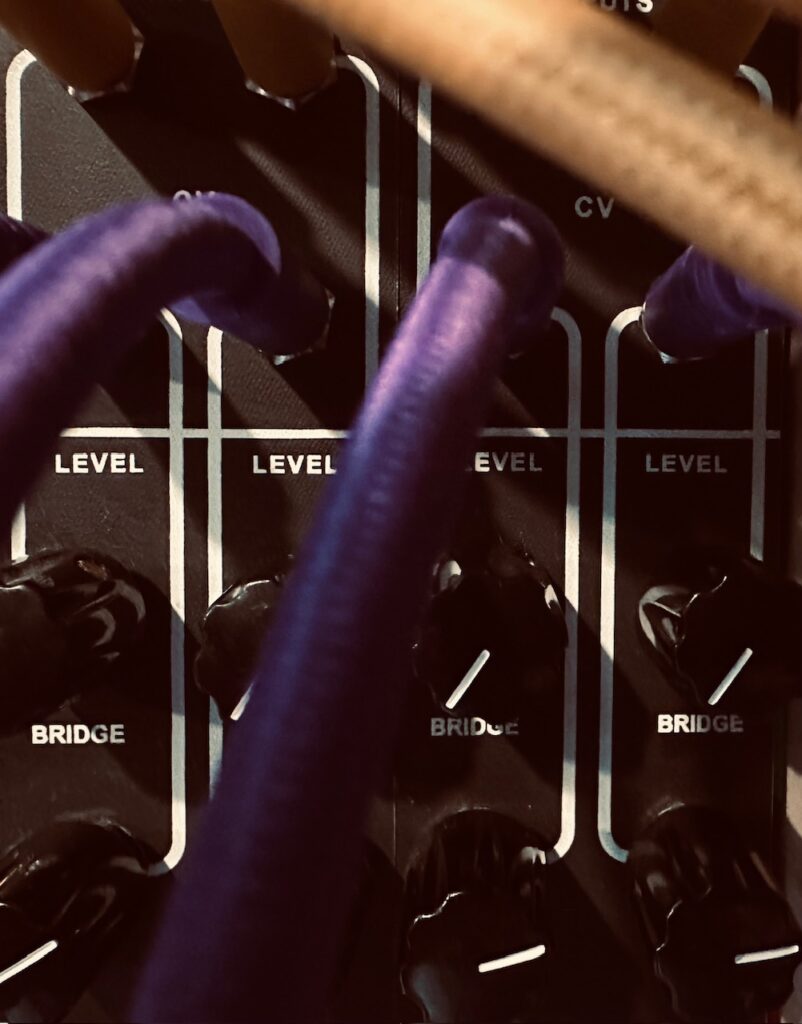
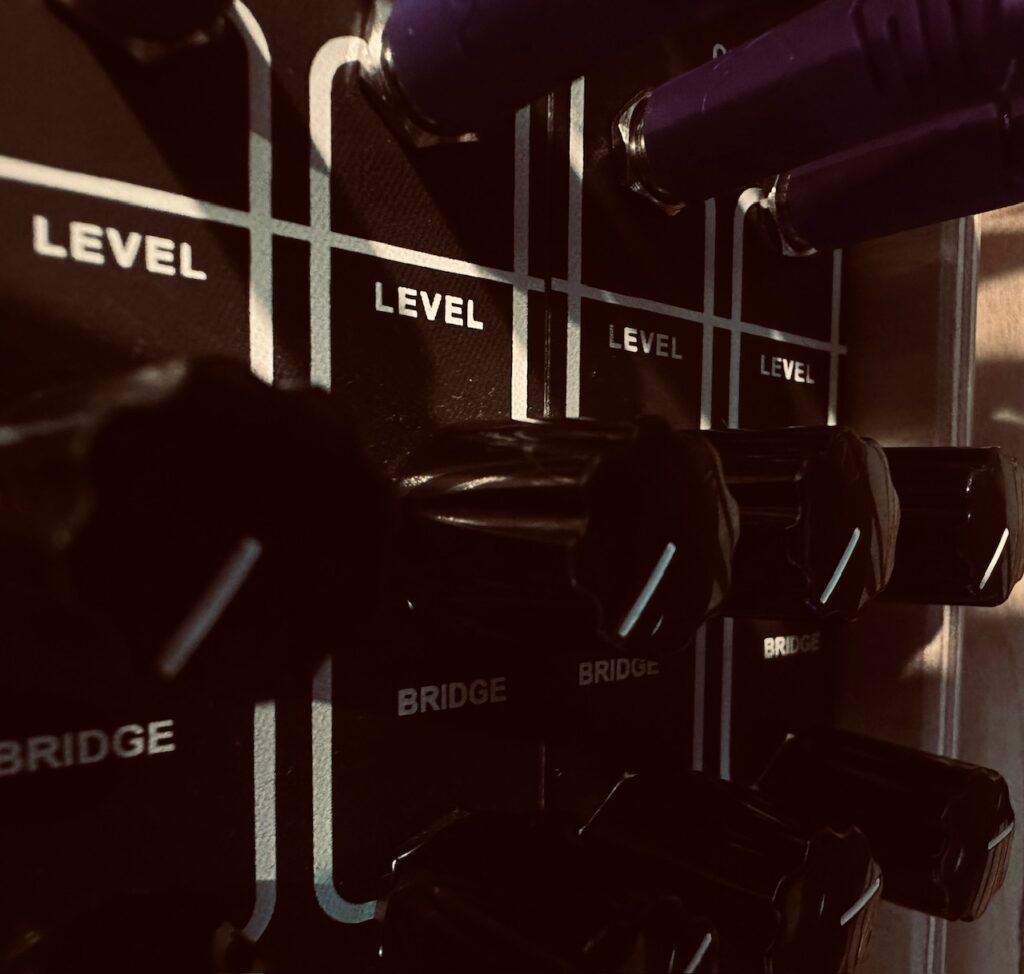
I’ve liked LPGs for a long time. My first foray was via the Make Noise Optomix, which quickly led to several others, both with and without vactrols. I like both types, but it’s the non-exactness of vactrols that really draws my ear. They can be a little sloppy, particularly when hit repeatedly with a gate or envelope. Vactrol-less LPGs like the Natural Gate or DXG too sound great, but there’s something about their precision that doesn’t feel the same as with vactrols. It’s almost too perfect, and too repeatable. I also feel that vactrols bleed prettier, which is a patching technique I love to use. I don’t know whether I was insistent in using vactrol LPGs in this patch because I thought they’d be best, or because I had just put four of them back in my main case, but I decided on using the venerable Tokyo Gate.
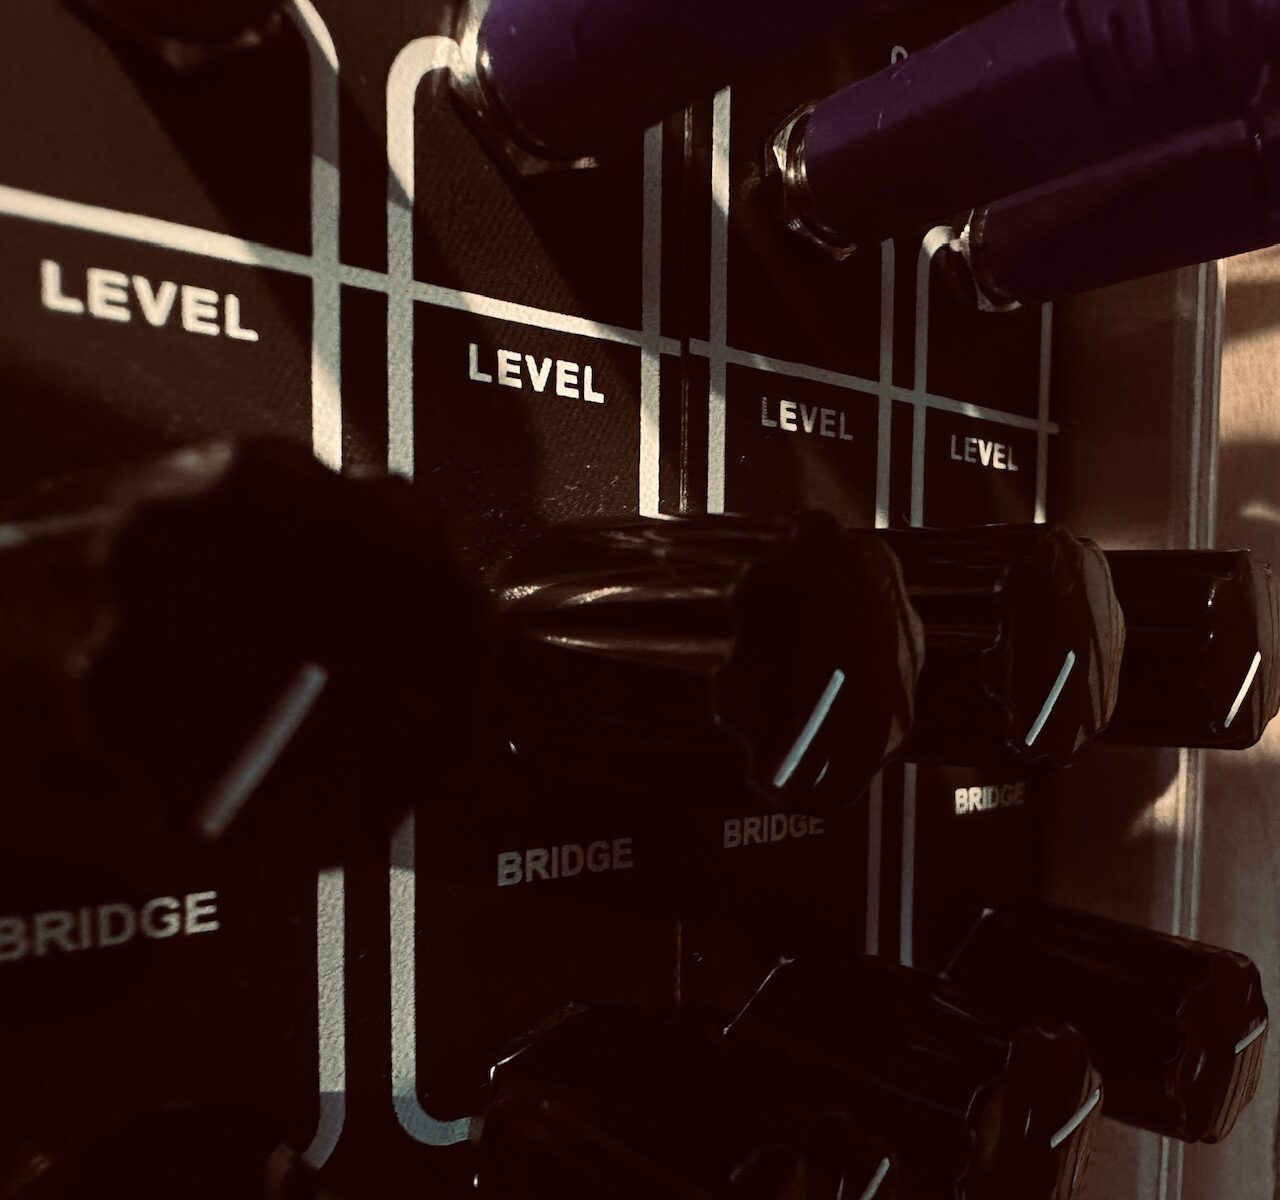
Even if I don’t use Tokyo Gate very often, it is my favorite of the vactrol LPGs I’ve had. Its decay is adjustable (to a degree) with the Bridge control, pleasant, and even can have a little squelch of resonance if you pin the Bridge knob full CW. Although you can directly ping Tokyo Gate with a trigger or gate just fine, I’ve found that envelopes generally sound more pleasant to the ear. There’s a harshness with slamming a gate into that isn’t there when using a well shaped decay envelope.
In this patch, because I was using sine waves, the Tokyo Gate probably performs not much different than a regular VCA. There are no harmonics in a sine wave to reveal and hide again as the filter also goes up and down with the volume, but you still get that vactrol decay which can’t really be had with anything else. I also liked the perceived sloppiness of the vactrols as they were being repeatedly hit by envelopes. All of the chaos-derived gates flying about in rapid succession, triggering short, snappy envelopes started to resemble four separate telegraph signals flying about in space.
And although the effect of four vactrol LPGs pinging away was pretty cool, I knew that I wanted a lot more of it by using delay. These pings were the start, not the end. Far from it. Rather than using one delay like I normally might, I opted to use two of them in parallel.
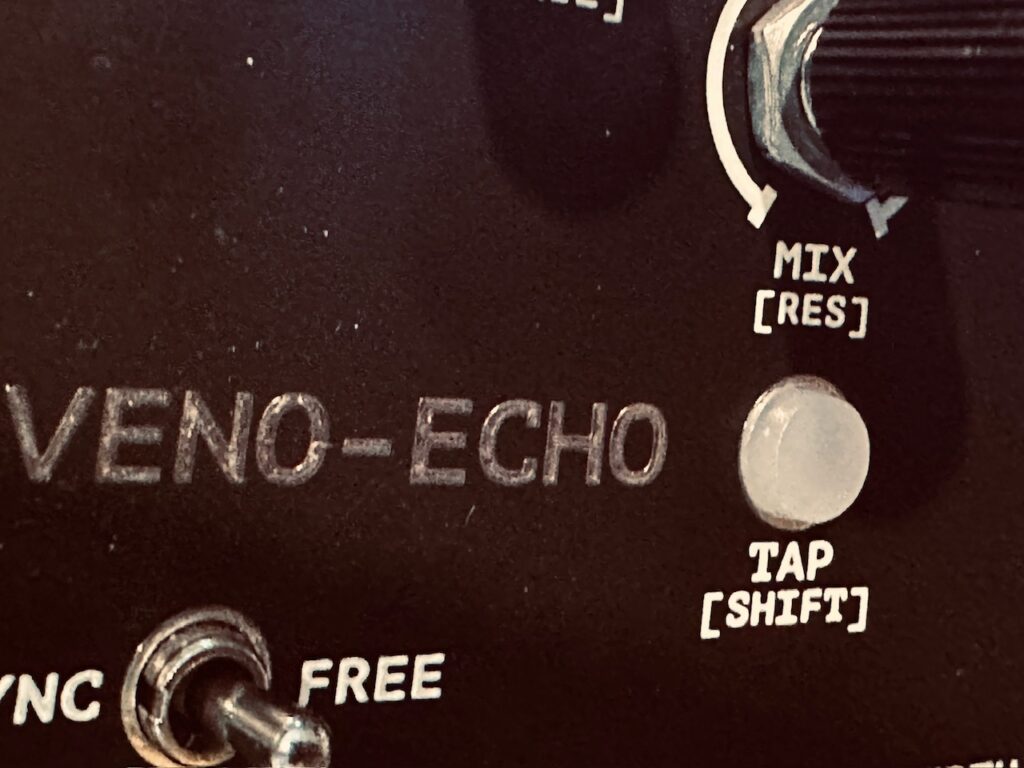
Delay number one was the Venus Instruments Veno-Echo. Its reverse function per channel was being modulated by chaos-derived gates from the very slow end of the Divide & Conquer. Since the original chaos clock signal itself was running quite fast, even very low divisions would trigger too frequently for me, and decided to run those gates through the CuteLab Missed Opportunities gate probability utility that I tend to use in most of my patches.
The second delay is the Olivia Artz Modular Time Machine. Using various delay taps would ensure the effervescent feeling I was getting as the patch started to take some shape, spraying delays all about the stereo space. Besides creating that bubbly feeling I was now striving for, the Time Machine is also the source audio for the Qu-Bit Aurora resynthesis module that fills in the gaps and helps create something thicker for those bubbles to float in.
Altogether we have the feeling of bubbles floating around space. One thing I might try in a future patch like this is to use the pitch as CV for the clock rate. As the pitch changes, so too does the clock, creating more gates with higher pitched bubbles, and fewer with lower pitched bubbles. I’d also be a bit more inventive with my pitch sequence as well. This is just a chaos signal triggering Quantermain as it moves through from note to note in the selected scale. Even if I want to use chaos as a source for pitch, in order for there be some quality pitch movement I’d be better off using one of the chaos derived gates to trigger the quantizer via some labyrinth of gate probability, logic, and/or a Bernoulli Gate.
Altogether there isn’t anything special about this patch other than it was experimentation throughout. Experimentation with chaos as pitch. Experimentation with extremely fast gates with vactrol LPGs. Experimentation with delay taps to get a good feeling of watching bubbles in a freshly poured glass of Coke. Experimenting with parallel delays. Experimenting with Aurora.
Lately I’ve been in a polyphonic mood, attempting to find evermore methods of creating chords and chord sequences with the modular synth. Using a DAW for this sort of thing is child’s play, but in modular synthesis, creating polyphonic chords isn’t a straightforward task most of the time. Most oscillators can only output one pitch at a time, and using multiple oscillators can create timbre mismatches. Tuning 4 or more oscillators to the same pitch while not suffering from pitch drift over time is a chore and a half. Sequencing chords in a traditional modular sequencer can be a mission rife with potential problems, and you don’t always want the repeating uniformity of a sequence, but something more organic. In short, modular synthesis is traditionally a monophonic enterprise, with only a small handful of monophonic voices being used together. A melody, a bass line, perhaps something else to fill in space, and some effects to create a stereo space. Full on chord generation isn’t common because it’s a tedious exercise that generally requires a lot of gear and even more patience. But over the last couple of years this is beginning to change. Although there have always been ways to create chords and chord progressions in modular synthesis, it’s not until relatively recently that we can more easily create chords. Oscillator banks like the Xaoc Devices Odessa (with its expander, Hel), Humble Audio Quad Operator, and RYK Modular Algo, and chord sequencers like the NOH-Modular Pianist make composing with chords on the modular a much more efficient and simple process.
In a previous patch I used the very excellent (and recently updated) NOH-Modular Pianist to create chords that were triggered by an irregular chaotic gate pattern. Although I am generally psyched about how that patch turned out, there are still a couple spots of ugliness that appear due to a bad match of back-to-back chords in the progression. On their own they sound fine. But once smeared out by the delay, FFT resynthesis, and reverb, there is some clashing that happens, creating some ear-cringing dissonance. I wanted something cleaner, and I didn’t want to have prescribed chords, but something that could change organically with a bit of modulation, without the worry of a spicy note peeping its ugly head in. Enter Quad Operator.
The Humble Audio Quad Operator is a bank of 4 oscillators that can be tuned to harmonic and subharmonic ratios of a base pitch. Tune the base pitch to your liking, then simply adjust the ratios of each operator, and you have oscillators that are all harmonically in tune. Patch in a single v/oct signal, and all 4 operators will move along in harmony. The Quad Operator is primarily designed as a the ultimate FM oscillator with any traditional FM algorithm possible, along with any other combo of modulator/carrier you can imagine. But with each operator being independent with its own output (both in a mix and independently), using it as a complex chord generator is a very happy side benefit. Input a single v/oct signal, output always-harmonically related chords. Add in some modulation of a couple of the operator’s ratios, and not only will the chords always be harmonically relevant, they’ll also quite often be different (even if the base of the chord is the same). For modulating the ratios I used both the Nonlinearcircuits Stochaos and the Auza Wave Packets.
There are lots of methods for getting a nice v/oct signal. Sequencers are the obvious solution, but with a quantizer any signal can be a used for pitch. S&H is extremely popular, but random pitch is only slightly less boring than patterns repeating themselves over and over in the exact same way. One solution is to use LFOs alongside triggers to create melodies or arpeggios. Envelopes work great too. But I wanted something a smidge different. LFOs and envelopes repeat themselves by nature. Unless modulated, an LFO or envelope is the same up and down every time. This regularity can be mitigated by irregular triggers, but then it starts to veer towards random, which isn’t really what I’m after. Enter chaos.
In my post, Chaotic Gates, I explained how chaos signals are regular-ish. They take the same general path on each pass, but some unknown irregularity in the feedback path will shift it off course in a non-regular way. These signals are kind of regular, but enough differences come about that there are always surprises. I mostly use chaos as a modulator of some kind. Opening and closing filter cutoffs or wavefolders, slowly modulating level, timbre, or some other facet of a patch. Today I would use it for pitch.
In most circumstances I would use triggers alongside my CV input with a quantizer. Send off a trigger, and whatever voltage is present at the quantizer’s input is sampled, quantized to the nearest note of your chosen scale, and output to the v/oct input on your oscillator. But some quantizers can function without a corresponding trigger, sensing voltage changes, and quantizing automatically once it detects a change large enough to be a separate note in the scale. Quantermain, the quad quantizer algorithm on the ever-useful Ornament&Crime, has this capability, and I decided to give it a whirl. It should be easy enough. Shove in a chaos signal, get quantized pitch CV on the output. And by and large, it was that easy. I knew I wanted fairly slow chord changes, so I needed a slow(er) moving chaos signal. After a bit of attenuation of the chaos signal to reign in the range, I was getting exactly what I wanted. Irregularly moving chords that shift at irregular speeds and that have irregular movement both up and down.
But chords themselves, cool as they are, need embellishment to be interesting. For effects, I sent the chords, via the stereo matrix mixer, to the Qu-Bit Nautilus for some smearing with low pass filtered delay, before going to the Instruo Arbhar. My initial plan was to have some shimmery granular action floating on top of the chords, but I could never find what I was hoping to get. Instead I found a happy accident of harmonically relevant dancing grains that moved to a rhythm.
These dancing grains, although not at all what I envisioned when I set out on this path, turned out being perfect, giving a sense of life inside the thick chords. Like minnows in a lake, or lightning bugs in the night.