Day 5 – One Day At Sea, Two Patches

The Daytime Patch

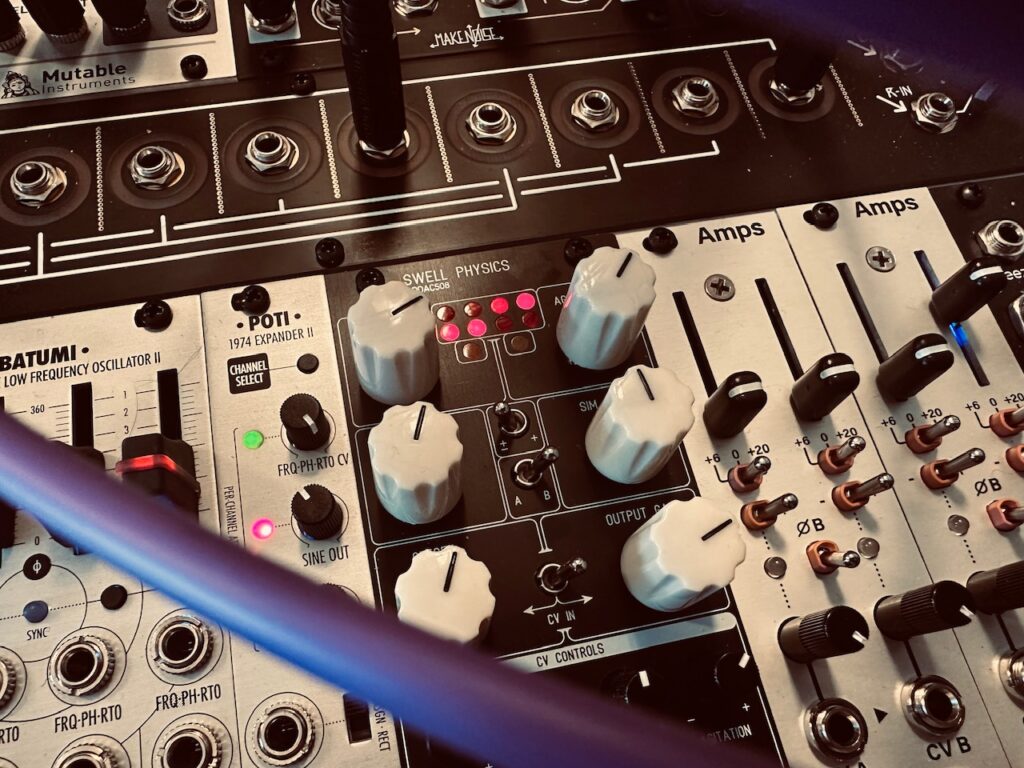
After a fantastic morning of sailing through Glacier Bay, I decided to spend the afternoon and evening patching while I watched the beautiful southeast Alaskan coast float by outside my cabin window, door ajar for the the sound and smell of the sea as inspiration. The first patch started simply enough, the Swell Physics four wave outputs into Quad Operator’s four gain inputs, through some delay and reverb, and out for your pleasure. But this time I decided to add a bit of variation via Batumi’s various wave shapes to modulate the wave shape of each of the operators. This modulation had the unanticipated effect of also modulating the apparent volume of the output as well, which created a very cool phasing effect of the individual waves as both their levels and wave shapes were being modulated at separate rates.

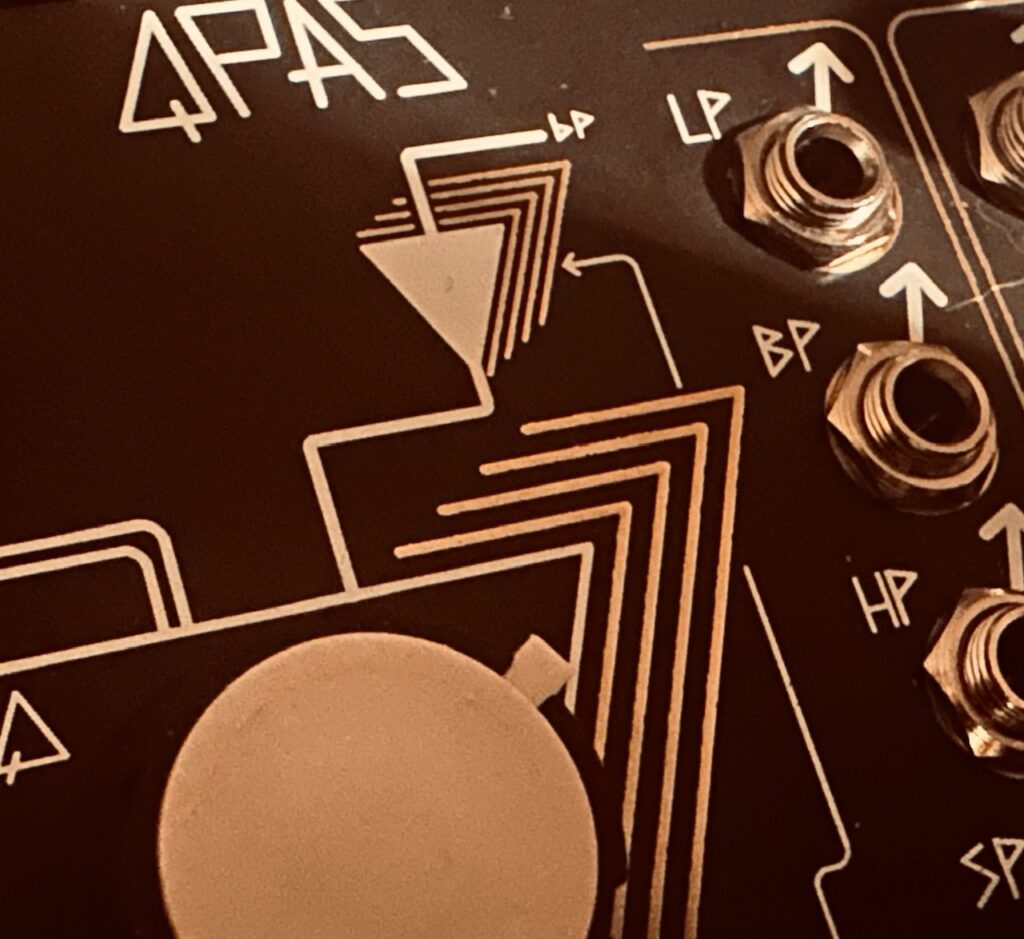
The four Quad Operator outputs are mixed down to stereo, then sent through QPAS which had moderately heavy modulation to the cutoff, both Radiance CV inputs, and with gates to both !!¡¡ inputs. I mixed both the LowPass and Smile Pass outputs at about a 75/25 ratio for some very cool stereo imaging, and sent the signal to Nautilus.

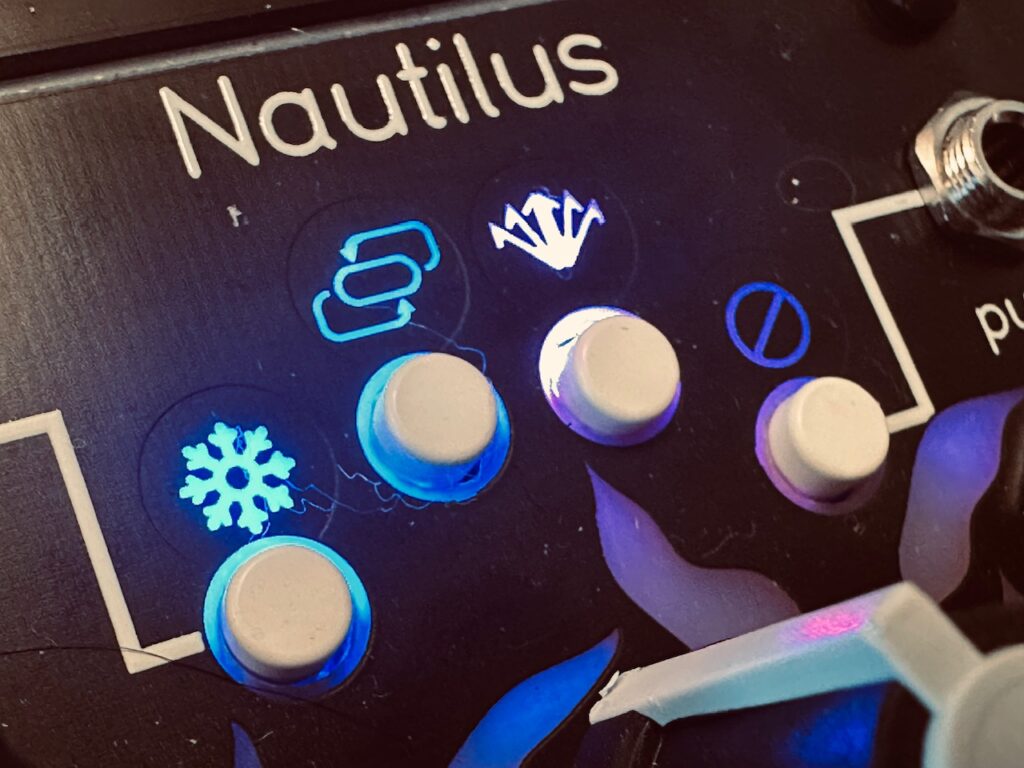
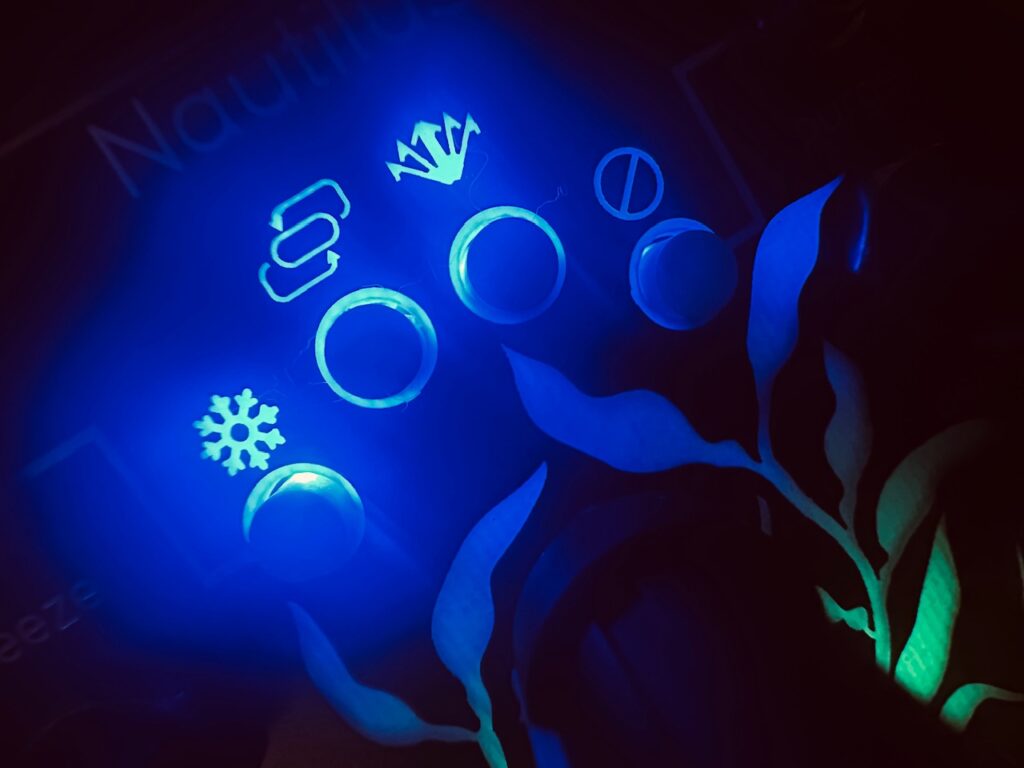
Although I’ve used the Chroma feature of the Qu-Bit Nautilus a lot, I’d never used the wavefolder in the feedback path. I’d never used it because I never said to myself, “Man, what this feedback path needs is wavefolding!” Overdrive, distortion, and bitcrushing sure, but unfortunately wavefolding was ignored. A pretty aqua color in the kelp light show on the panel between the orange overdrive and red distortion. This oversight was a dumb and tragic mistake, alleviated by the conscious choice to use wavefolding in this patch. Wavefolding in the feedback path sounds fantastic! Controlling feedback and the Depth of the Chroma is crucial because wavefolding, like distortion and bitcrushing, can create runaway feedback quickly if the balance between feedback and wavefolder isn’t closely watched. The effect, as modulated by a highly attenuated triangle wave from Batumi, created a mix between a nasally and almost fuzz-like tone where there are some edges of the sound starting to leak and sputter, particularly on lower tones.

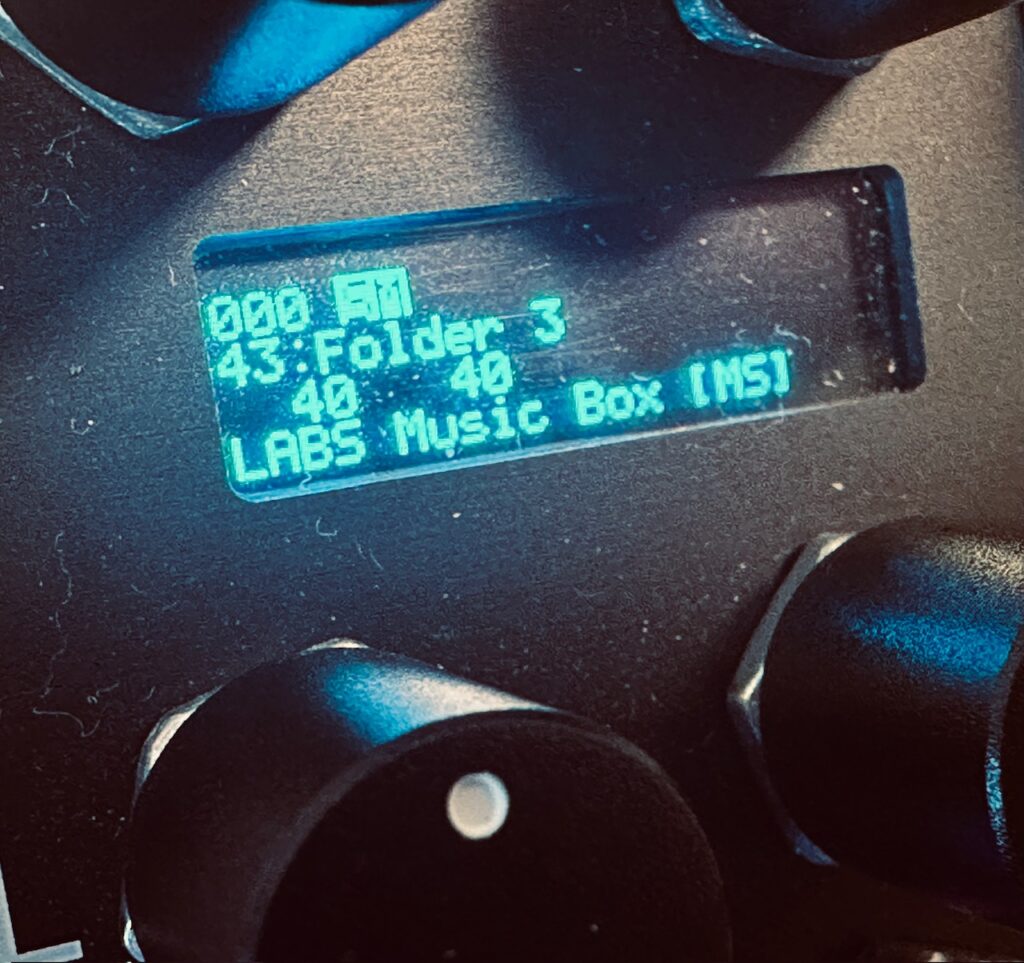
As accompaniment I went with the LABS Choir samples in the Disting Ex SD Multisample algorithm, using three of the Swell Physics wave outputs for pitch, and the 1 < 2 and 3 > 4 gate outputs through the CuteLab Missed Opportunities as triggers. What I was watching go by as our ship rolled along the grand Alaskan coastline called for drama. Something that could create tension and with some occasional resolution. Although I might better tune the gates to get just the right amount of action if I were to record this patch again, it’s often too sparse, and with not enough harmonization, I feel like the Choir more or less created the effect I imagined, even if it sometimes veered from dramatic to an uneasy suspense. It’s a feel as much as anything else.

Both the Quad Operator > QPAS > Nautilus and the Disting Ex voices went to the mixer, and on to the Stratosphere Cloud Reverb.

Overall I like the direction of this patch, but it needs work. The waves from Swell Physics are often way too slow (a common occurrence once the simulation has been running for a while), and although the modulation from Batumi created some very cool phasing effects, it all combined into a slow moving soup. A soup with promise, but a soup nonetheless. There’s just no pace. Perhaps that’s a reflection of the glaciers I’d been watching all morning, but by the time I’d hit the Stop Recording button in AUM the patch seemed to have come to a crawl, begging for an ending. With time, this patch can be exquisite, but I need to put in the work to get it there.

The Night Time Patch

Once I’d hit stop recording on the daytime patch, I’d become slightly frustrated that I couldn’t get it where I wanted to take it. Either through lack of food, time, patience, feel, or some combination thereof, the patch ended with a whimper. I wasn’t satisfied. Having done several slow, ambient patches for the last several weeks, I knew I needed a change. I needed something to shake that ass to. Something to temper my disappointment in the daytime patch, and something to quell my desire to create something. But only after a visit to the buffet to both feed my body and cleanse my musical palette.

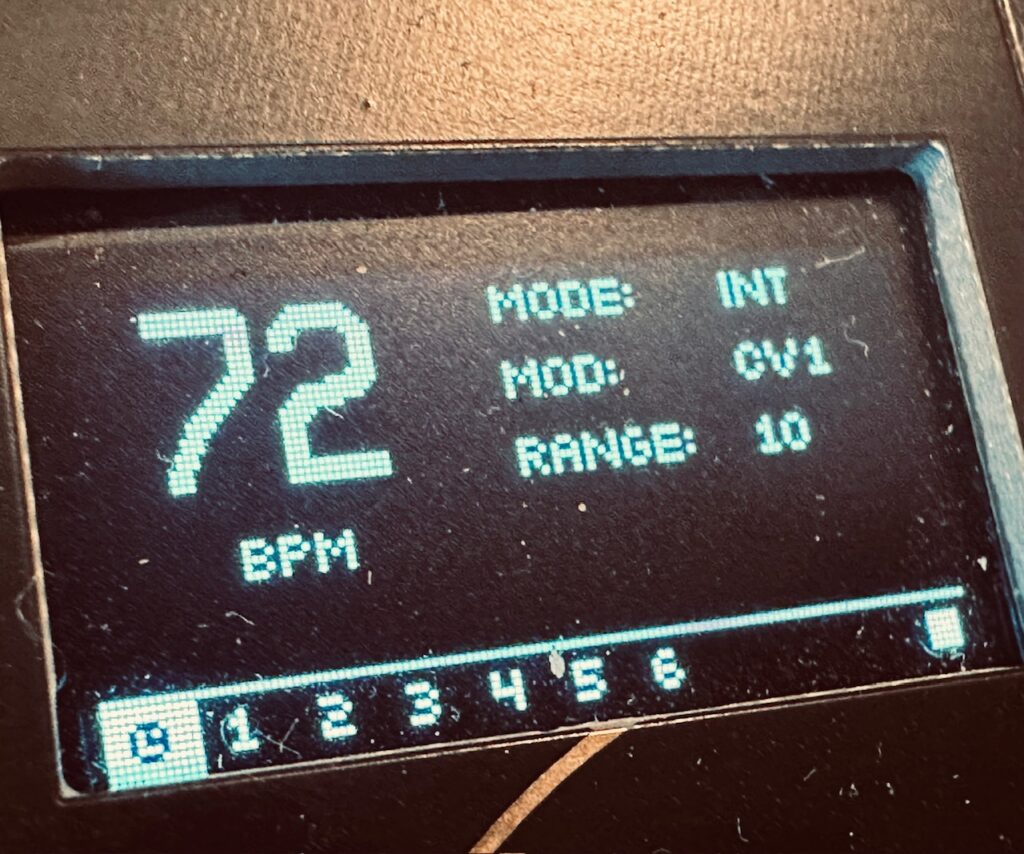
When I started patching again that evening I wasn’t exactly sure what I was going for. I knew I wanted something rhythmic and fun, but started in a way similar to how I’ve started lots of patches recently: four Batumi outputs going to the four gain inputs on the Quad Operator. But this time was different. Rather than using slow, randomly paced waves, as I would do in an ambient patch, I used clock divided LFOs to create a rhythm. Not only did each individual LFO create individual notes directly by lowering and raising the gain on each operator, but also created a rhythm via FM modulation.

With the Quad Operator, when you’re using the Gain CV inputs, each operator is available at its output when the gain input has positive voltage, just like with any VCA. Likewise, each operator is also only able to act as a modulating oscillator for Frequency Modulation to the other operators via the Quad Operator’s FM Matrix when its gain is positive (or the Gain CV input is not patched), making each Gain CV input have an effect on more than just that operator’s output. Each Gain CV input also controls timbre in other operators’ outputs as well, drastically changing the complexion of the overall sound as these various LFOs fade in and out at different, but related speeds, and with differently shaped waves. Sometimes an operator is being FM’d. Sometimes not. It’s a nice way of being able to use all four of the Quad Operator’s outputs, even if tuning can get complex, rather than sacrificing operators to modulation duties only. It doesn’t make sense to use a FM synth like the Quad Operator in this fashion very often, but it works well in some styles of patching. The four operator outputs are routed to the Mutable Instruments Veils for a stereo mix down before going to the final mixer. From there it’s sent to the Blue Mangoo Stratosphere Cloud Reverb.

If I were to do a patch like this again, I would probably process one or more the Quad Operator outputs individually to add some spice, rather than immediately mixing them to stereo. To treat each of those outputs as individual entities unto themselves, rather than assimilating them into a larger body immediately after their creation, never allowing each to have their own existence. Sending one output or another through a separate effect or process than the others might help create something special that is lost once an individual signal is married to another in a mixer.

The kick drum is about as simple as it gets. A /2 square wave output from Batumi to Plaits, twist the knobs a bit until you find the timbre, decay, and pitch you want, and turn the FM trimmer to taste. One of the wonders of Plaits, and Braids before it, is its versatility. It can be almost anything you want it to be. From a FM oscillator to speech synthesis to kick drums and plucked strings, Plaits can make a whole lot of sounds and be the main voice in any patch. If you have something like the Jasmine And Olive Trees Traffic, or if you’re savvy with CV processing, Plaits can be many things at once. Today, however, Plaits was just a humble kick drum.

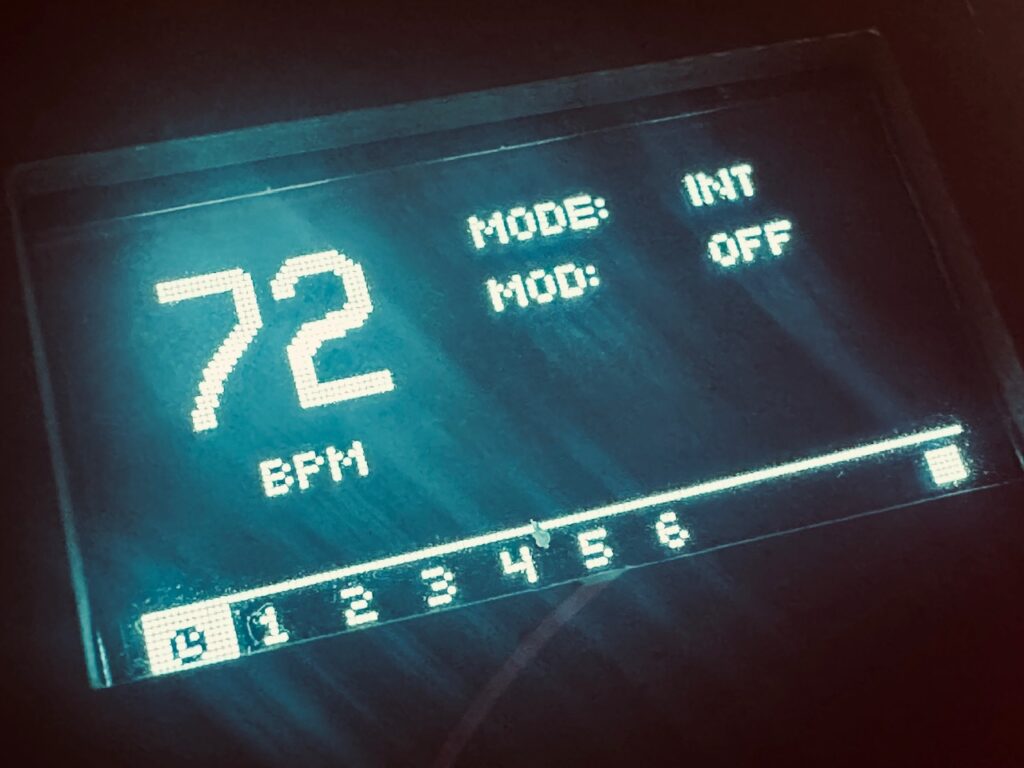
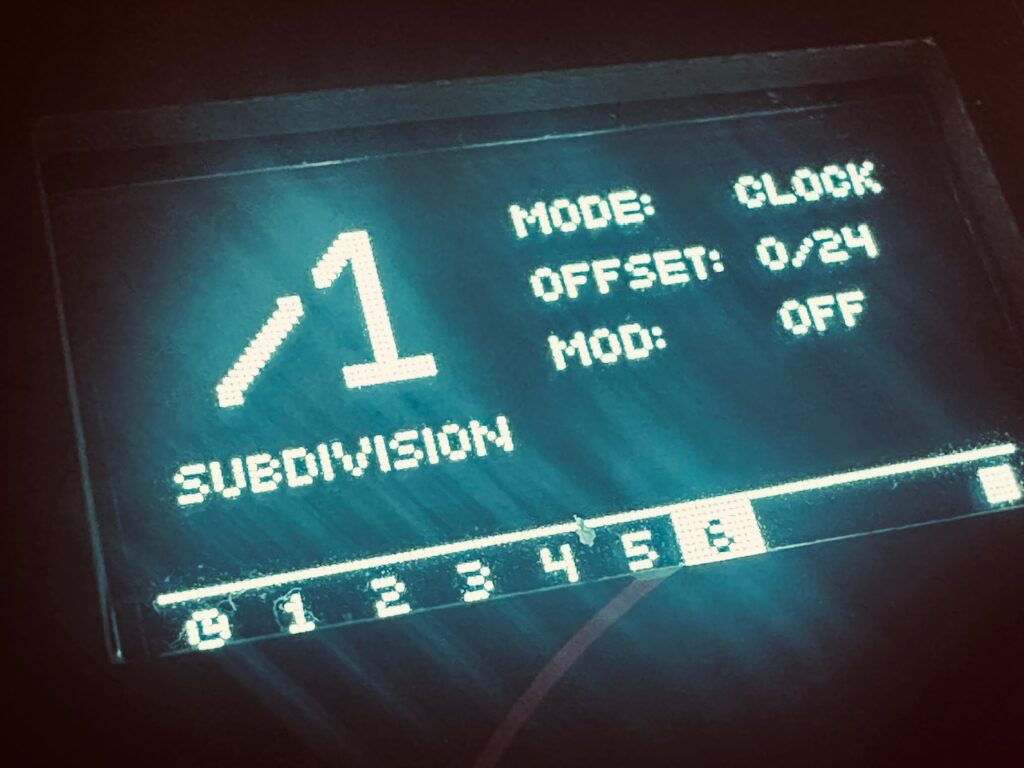
I had hoped to use QPAS in a more exciting manner. One of my favorite ways to use QPAS is by pinging it. But because QPAS normally lives isolated in a Make Noise only case, I haven’t really experimented much with pinging it without the using the nice, wide gates of both Tempi and René v2. But my clock in this case, the Sitka Gravity, doesn’t have any of those, and my sequencer, the T12, was already being used. Gravity outputs short triggers, about 15ms, which are great for telling something else it’s time to do its thing, but virtually useless as direct modulation, and the ability to use the gate’s length to help control modulation, such as with an ADSR envelope, is lost. I could ping the input with a trigger easily enough, but instead decided to use a probability gated square wave from Batumi via the CuteLab Missed Opportunities, which wasn’t quite the same as using the 50% duty cycle gates Tempi spits out. Although the developer of the Gravity has said that a gate mode, wherein the duty cycle of the gate will be adjustable, for now it’s all triggers. I could (should) have just used the triggers from Gravity to sync to Batumi and trigger envelopes from that unused Changes sitting there wondering why he was left out of the party, but it just didn’t occur to me until I was too deep in the patch to bother with changing it. With the Batumi square wave, the pronouncement of the modulation and ease of switching up the gate patterns just wasn’t there. You can hear the modulation well enough in isolation, but it’s almost nonexistent in the mix.

Despite my lack of imagination in modulating QPAS with unfamiliar tools, its role in the patch, however, is crucial. Its LP outputs add a marimba-like percussive element (thanks to feedback patching the left HP output to the highly attenuated Freq 1 input) to accompany the kick drum, and contribute a party-like atmosphere in the patch.

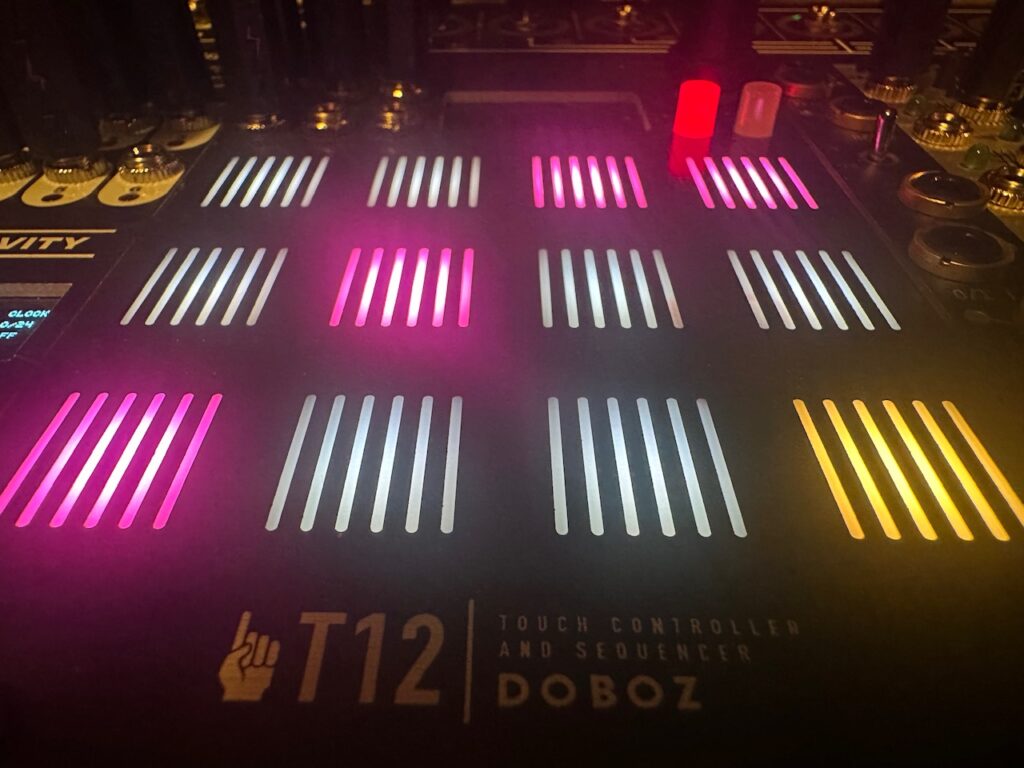
There are also two new-to-me elements to this patch that I hadn’t yet tried. The first is to use the Doboz T12 as an arpeggiator. Since the T12 is brand new, there are a lot of new things to try. It’s a deep, highly versatile module. I’ve used it as a sequencer, and as a touch controller (my over-70 mom also had a great time using it as a touch controller). In this patch I’d use it as an arpeggiator with the second new-to-me element: using the Poly Wavetable algorithm on the Disting Ex.

The T12 is turning out to be something akin to the greatest in-case touch controller in Eurorack. Of course I haven’t used many others, and those that I have used never tried to be quite as much as the T12 strives after, but the T12 seems to have some serious chops in terms of immediately challenging Eurorack mainstays like the Make Noise Pressure Points or Doboz’s own TSNM MKII. The T12’s main limitations are its inputs and outputs, and that it requires some level of menu diving . It only has three inputs and outputs. A pitch CV, an AUX CV, and a gate output, with clock and reset inputs, along with one solitary CV input. Something like Pressure Points can put out several voltages from several “channels” simultaneously, which is not something the T12 can do, but the T12 more than makes up for these shortcomings with flexibility, the customizability of each mode, and the ultra-intuitive user interface. The T12 is, by far, the easiest module I’ve used that has a screen based UI. Virtually all of the options for each mode are changed on the surface menu level, without any real diving at all. Doboz did a knockout job with designing the interface to be powerful, expansive, and super easy to navigate.

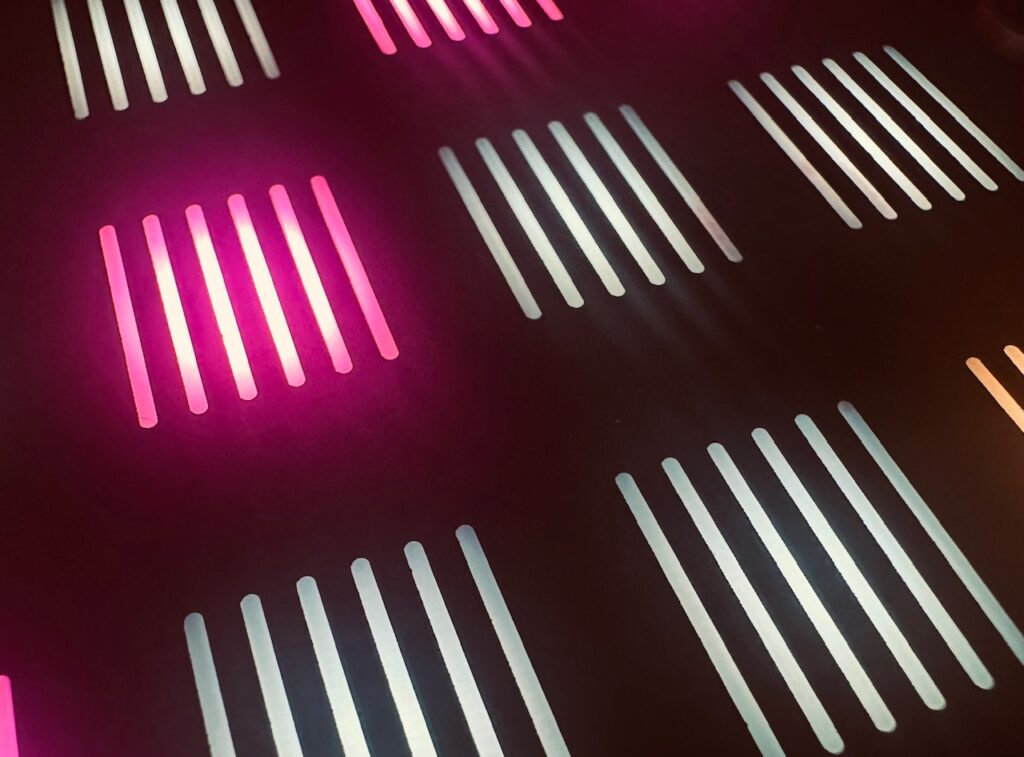
The T12 in use as an arpeggiator is smooth and ultra-fun. It will arpeggiate as many notes as you can get your fingers on, and the touch plates are very responsive when making changes. There’s generally enough space to maneuver use three or four fingers of one hand to make your note changes, but there are some button combos that require some serious hand dexterity, or the use of two hands. But once you get a feel for how to move your hand in the space, muscle memory starts to take over, and it’s nothing but pure fun. As with most arpeggiators there are several directions or patterns you can choose. This patch started with a forward pattern, and a 20% probability that a gate will be skipped, then, at some point, switched to a random direction, with a 20% probability that a gate will be skipped. There are many options I could have investigated, like the probability and range of pitch variability (by step or overall), or transposition, or using the AUX CV output, but I chose to keep it simple, and, quite frankly, I was having a really good time spending my night doing something simple and performative.

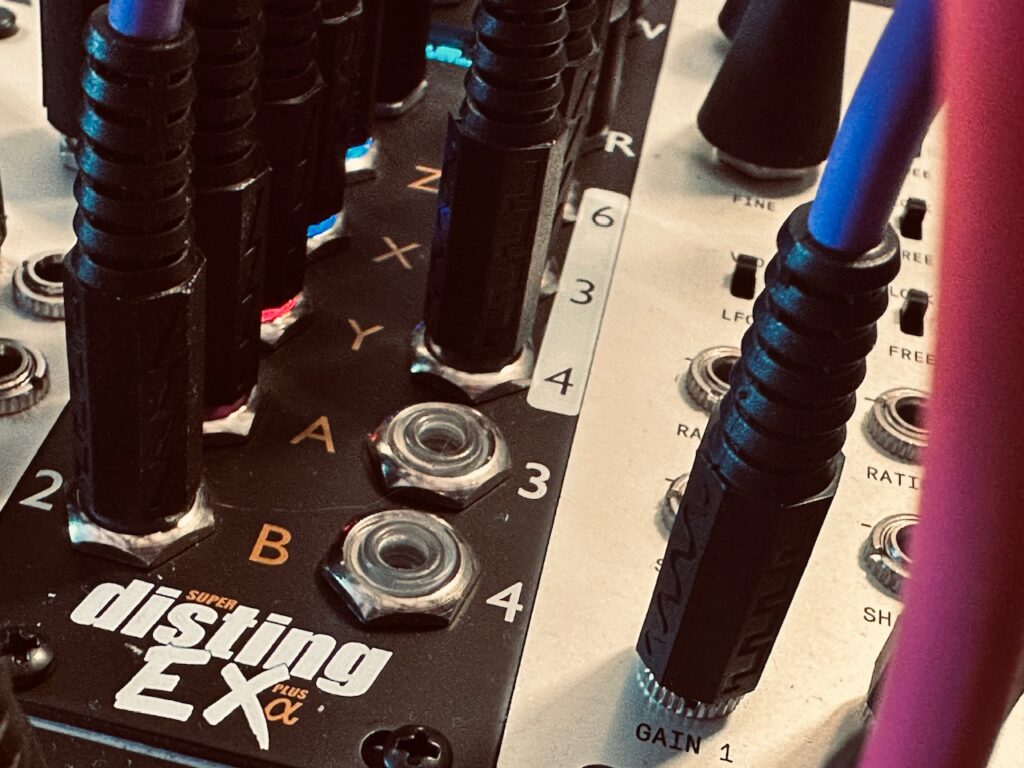
If I’m being honest, this patch was the first time I’ve used the Disting Ex in any algorithm other than the SD Multisample. The Disting Ex too is a deep, highly versatile module, to put it lightly, but I traded away a 1010 Music Bitbox Micro for a Disting Ex because of its capability as a multisample player, specifically that it can play eight simultaneous voices of polyphonic multisamples via pitch CV and gate inputs. No other module can do that in quite the same way. But I’d already used SD Multisample in my first patch on the trip, the Daytime Patch before this one, as well as my test patch before leaving. Every patch I’d made with this case included SD Multisample, and I wanted to try something new with this synth.

Because the patch was lively, I wanted to use a lively sound source for my arpeggios. Quad Operator was already in full use, and Plaits was thumping along as a kick drum, so I knew I needed to find another algorithm in the Disting Ex. If QPAS could self oscillate (without help), and if it could follow v/oct pitch CV, I probably would have used it as the arpeggiator voice either by pinging it (which QPAS does fantastically, as this patch shows), or as a sine wave oscillator through a VCA using the envelopes created by the T12. But QPAS doesn’t self oscillate or follow v/oct pitch CV, so the Disting Ex was the way. I could have chosen a completely unpatched CalSynth Changes, a very excellent MI Stages 1:1 clone, loaded with the latest quimem firmware in Ouroboros (Harmonic Oscillator) mode, but by the time I decided I wasn’t going to use Changes as a modulation source I was already set on using the Poly Wavetable algorithm in the Disting Ex.

Fortunately, Poly Wavetable is very similar to SD Multisample in how it functions. Poly Wavetable can take 3 CV sources and 3 gates and play up to 8 simultaneous voices polyphonically. That said, the weakness of the Disting UI and very small display becomes glaringly magnified when you need to make parameter changes, especially with nearly-50 eyes. You get a slew of options, several dozen, and a very tiny screen with which to navigate and make changes. I would have greatly preferred to control envelopes and such with a dedicated envelope generator outside of the Disting in a VCA or LPG, but I elected to use the internal envelope because I didn’t have any more VCAs to use, much less two of them. The 8 VCA channels (plus VCAs within modules like QPAS and Quad Operator) I brought with me were already in use doing other things, so fumbling through the menu system was the only way. Don’t get me wrong: the Disting Ex is incredibly powerful, and each algorithm is highly customizable. It sounds fantastic, and it can do dozens of operations from polyphonic multisample player to a pitch to CV generator, matrix mixer, or lots of other tasks. The Disting line, but particularly the Ex, is truly is the ultimate Swiss Army knife of Eurorack. Such a broad tool, that is also quite deep, is bound to be awkward sometimes. Since they’re built to do everything, it’s impossible to also have a UI that will match a good workflow for all of the algorithm functionality (perhaps, some might argue, for any of them). That said, the UI manages to be fairly simple to navigate. If you can see it. Most of the options are controlled on the surface level of the menu. You turn one encoder to change options, a second to change a parameter within that option, and click a third to save it.

Having listened back to the recording several times, I definitely wish that I had a pair of LPGs available to me in the case. That attack and intoxicating decay from a LPG would have been just the thing. The arpeggios in the Night Time patch are enunciated, but only just adequately. I never really got to shaping the internal ADSR envelope beyond shortening the release a bit, and the UI is actively hostile to changing while trying to perform. The UI really hindered me there, (I was trying to booty shake, not squint my eyes at a tiny screen trying to optimize my envelope), and that unused Changes was still staring at me with that sad face one gets when everyone except you were invited to the party. I know there are 3rd party screens for the Disting that alleviate the problem, this one came with one when I traded for it, but of the ~2200hp in my synth, my only 1u row is in the Make Noise 4 Zone Bus Case, which is occupied by a CV Bus Mk2, so it’s out of the question unless I decide to get two Distings.

This patch was a lot of fun to build and perform. I hope to patch in this same vein on my full synth soon enough.

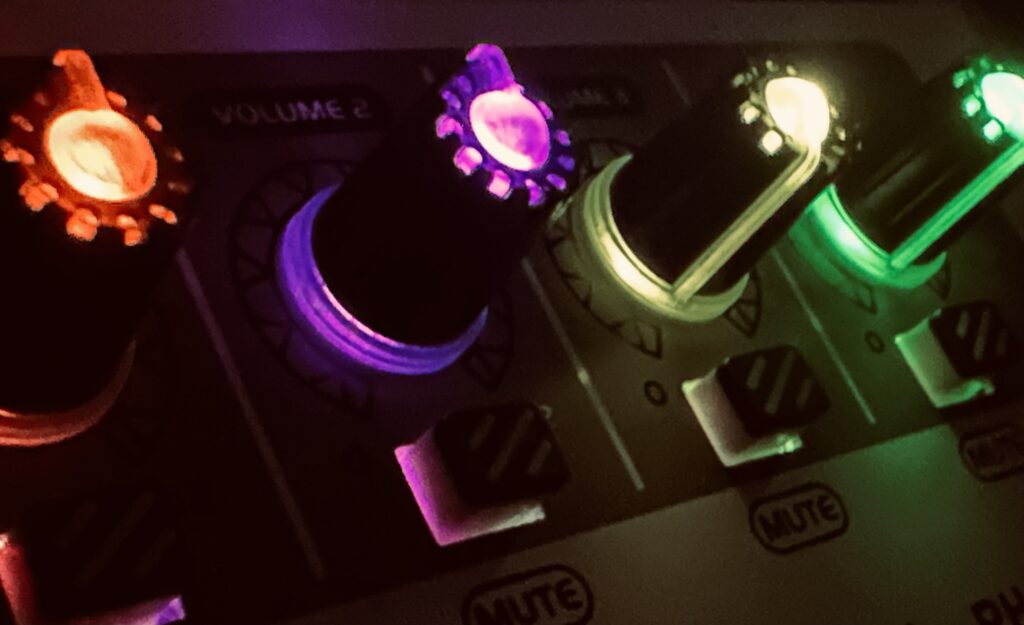
One last tool that I used on this trip that I hadn’t really written much about, and that I bought specifically for this trip, is the Bolanle PH400 4-Channel Headphone Amp. Since the plan was to use this synth with my brother, I wanted a means to have independent volume control. I loathe having to share volume control of headphones, and so decided on a small headphone amplifier. Although the PH400 is certainly not something I’d call studio worthy, I can say that it’s a good piece of kit, and it met all of my requirements. It had to be powered by USB C, small and portable, and it had to have individual control, and it had to sound good or better. I wanted something with both sized headphone outputs for each channel to avoid adapters, and the PH400 has that. Each channel also has its own mute button. As an added bonus, the LED light show is cool. This thing works great.

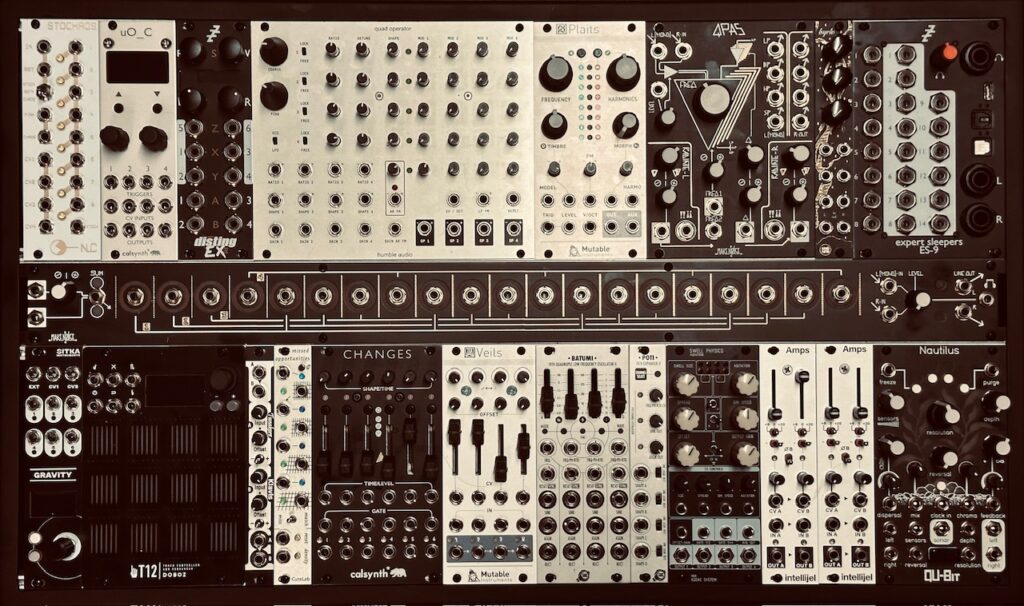
Modules Used (Daytime Patch):
Addac Systems Addac508 Swell Physics
Xaoc Devices Batumi II + Poti II
Humble Audio Quad Operator
Make Noise QPAS
Qu-Bit Electronix Nautilus
CuteLab Missed Opportunities
Expert Sleepers Disting Ex (SD Multisample – LABS Choir)
Mutable Instruments Veils
Intellijel Amps

AUv3 Plugins Used:
Blue Mangoo Stratosphere Cloud Reverb

***

Modules Used (Night Time Patch):
Xaoc Devices Batumi II + Poti II
Humble Audio Quad Operator
Make Noise QPAS
Expert Sleepers Disting Ex (Poly Wavetable)
Mutable Instruments Plaits
Mutable Instruments Veils
Intellijel Amps
Klavis Tweakers
Doboz T12
Qu-Bit Electronic Nautilus

AUv3 Plugins Used:
Blue Mangoo Stratosphere Cloud Reverb


Day 3 – Sailing Through The Clouds

The first night at sea was as eery as I can remember seeing on the water. Like a scene from a dreamworld that was real, but didn’t always seem like it. Like we were traveling between realms. I won’t claim to be some long travelled seafarer, but, having grown up by the ocean, I’ve spent a good amount of time on the water in my life. I’ve been in ocean faring boats on three continents and three oceans from the tropics to the arctic. But one thing I’ve never experienced while on the water is The Marine Layer. I’ve seen fog, even bad fog, but nothing could really prepare me for the enveloping marine layer clouds. It was the kind of dense cloud soup that, in another age, might have been the demise of a ship unable to see any navigation markers whether on the land, sea, or in the sky. The only thing visible in the gloom was the sparkling refraction of the ship’s fog lamps, and the sea rolling off the hull as we slowly made our way through Puget Sound and out to sea. The ship’s fog horns blasting every few minutes, and gentle splashing against the hull 80 or so feet below us, the only things to be heard. The entire experience left a lasting impression.

I spent much of that night and parts of day two scouting the ship for someplace that would be a good spot to whip open a modular synth case later at night. I wanted to be as out of the way as I could, but still in a spot that has adequate electricity to power the synth and a small USB hub connected to my iPad, the Michigan Synth Works XVI, and a small 4-channel headphone amp I bought in a lieu of a passive TRS splitter for using with more than 1 person (I loathe not having individual volume control).. Although I ultimately found a couple of good candidate spots, but this first recording I made during some morning downtime in my cabin before arrival at our first port of call. I wanted to give a full test run of the equipment in my room before lugging it down nine decks, the full width of the ship, and nearly its entire length. The setup is not terribly complicated, but it can be fussy, and I didn’t want to waste time futzing with gear in a communal space.

For this first run of the full use of this synth with all of its accompanying support gear, I wanted to use a familiar patch so as not to become overstimulated if I were to encounter problems with my other gear. I spent the better part of two weeks pouring over a patch with the Addac Systems Addac508 Swell Physics and RYK Algo that I quite enjoyed making, and so decided to go with that same approach using the Humble Audio Quad Operator. The four Swell Physics wave outputs to the four operator VCAs (Gain 1-4) to slowly bring their individual voices in and out with the flow of the ocean. This goes straight to the mixer, operators one and three panned left, with operators two and four panned right, where it’s then sent to a reverb bus using the beautiful Blue Mangoo Stratosphere Cloud Reverb.

Three of the Swell Physics outputs also provided the source for pitch CV used in the second voice. In another bid to patch something familiar, I once again used chaotically generated gates with the NLC Stochaos, alongside Disting Ex’s SD Multisample algorithm, this time using LABS Music Box samples. As in my test patch at home, I again used a tempo modulated Sitka Gravity to have the clock float above and below the base tempo of 72bpm. If I were just a bit smarter, I would have thought to use one of the four wave outputs from Swell Physics rather than a random LFO from Batumi II.

The Toy Piano samples output to the Qu-Bit Electronix Nautilus for some delay and with gradually introduced bit crushing in the feedback path. The delay is set fairly slow, with light modulation to Reversal, Feedback, and Dispersal. In a roughly 50/50 dry/wet mix, the Nautilus outputs go straight to the mixer, and are sent to the reverb bus.

The last portion of the modular is an approximation of the ship’s blaring foghorn. I’m using Plaits in (I think) FM Synthesis mode, using the Doboz T12 touch controller to manually play the note. It’s only used three or four times through the ~7 minute recording.

This patch is the first I can recall making where I’ve used post-production processing rather than playing everything live. This synth is limited, and so is time to create patches. Before I left on the trip I knew that my synth was without one of my staples: a granular processor. Earlier revisions of the case had a Mutable Instruments Beads, but it was eventually lost in favor of something else I can’t remember. I do know that I while I was building the synth I was insistent on several modules having a spot. The Addac Swell Physics, Qu-Bit Nautilus,1 Doboz T12 + 3hp module of choice (I chose the Klavis Tweakers), Expert Sleepers Disting Ex, uO_C, CalSynth Changes (MI Stages), Sitka Gravity, and the Humble Audio Quad Operator were non-negotiable for me, despite a couple of them being large for a case this size. But Beads didn’t make the cut because I found an excellent granular processing plugin for iPad, Fluss, by Hainbach and Bram Bos. It can function as a granular instrument, granular sampler to record and process longer samples, or a live granular processor with a 6 second buffer. Because it’s the behavior that most closely resembles Beads, I’ve only used it in live mode, and I can say that I really like it. Because it’s a live processor Fluss is a good substitute for Beads, and despite being a plugin, it leverages the iPad touch environment well, being a very hands-on, playful interface. Sliders and discs can be flicked around, the effect frozen, manipulation of the three voices, and more are all easily accomplished with touch gestures. Fluss also speaks fluent midi, and can be used with hardware controllers should you want even more manual control.

After recording the modular, I played the recorded file in AUM through an effect bus with Fluss as the plugin, with yet another send from the Fluss output to the Blue Mangoo Stratosphere Cloud Reverb. I mixed the original recording with the granular processing and reverb, and recorded that mix, which is what we have here.

I’ve been using AUM as a final mixer for quite a while with my modular. The way my main synth is set up now, I can’t even listen to it without plugging it into my iPad with AUM. An Expert Sleepers ES-9 is my only output module in that synth. Until recently I’d basically been using it as a very basic mixer. Most of the time it would be a simple stereo input mixed in the synth, primarily via the AI Synthesis 018 Stereo Matrix Mixer, while using one send/return bus to go out to a reverb pedal before final mixing. But as I prepared for this trip, knowing I’d need to use plugins in ways I generally don’t, I started making more intricate mixes, utilizing various sends from several input channels to effects plugins and the output bus. Although I haven’t (yet) recorded multitracks on this trip, AUM is certainly set up to easily to do so. Since I haven’t done much post-processing, I haven’t felt the need to, though that may change as I learn to better leverage a mixed hardware-software environment. I’m not terribly interested in moving in the box, but if a plugin has a touch driven interface that’s playable, like Fluss, there’s no good reason to avoid it since I’m already using AUM as my mixer.

Modules Used:
Addac Systems Addac508 Swell Physics
Humble Audio Quad Operator
Mutable Instruments Plaits
Mutable Instruments Veils
Expert Sleepers Disting Ex (LABS Music Box)
CalSynth uO_C
Nonlinearcircuits Stochaos
Sitka Instruments Gravity
Qu-Bit Electronix Nautilus
Intellijel Amps
Xaoc Devices Batumi II + Poti II
Doboz T12

AUv3 Plugins Used:
Bram Bos / Ruismaker and Hainbach Fluss
Blue Mangoo Stratosphere Cloud Reverb

Modular synth performed and recorded in 1 take in AUM on iPad via the Expert Sleepers ES-9. Granular effects added during post processing in AUM on iPad.

*****

  1. Yes, both the Swell Physics and Nautilus were chosen specifically for their oceanic themes. An early revision of the case also had the Qu-Bit Aurora, which would fit the destination too, but it was substituted out early on during the revision process for something more practical like VCAs or modulation.

Red Orange Yellow Green: A Synth Test Turned Beautiful

While I was testing a synth I built for my brother and me to play while on a family vacation, I wanted to see if I could get something more ambient from what I perceived as a more rhythmic-oriented case. I have a master clock, a sequencer, a chaotic/random gate producer that likes the time grid, all dedicated to staying in time. My brother is more of a shake your booty type of guy and I wanted to bring something he would enjoy too, so rather than chaos and random ahoy, I put in several modules that he could feel comfortable with too. But rather than resign myself to grid based tempos and rhythms from this synth, I ventured to see how I might go about creating something more freeform. Instruments tends to direct their players towards certain ways of doing things. Modules do the same via their UI cues. All modules demand some particular workflow which lends towards different styles as a result of their design. But this subtle push by module makers doesn’t preclude using their designs in ways that maybe they weren’t designed to be used, or in ways they hadn’t considered. Individual case builds likewise push musicians to patch in certain ways.

Since this was a test, I started with a familiar idea and tried to see how I might create an irregular clock in order to use Stochaos to hit the Disting Ex in the SD Multisample mode using the LABS Soft Piano samples. It’s one of my favorite voice patches, and generally it sounds beautiful. Enter the Sitka Instruments Gravity.

The Gravity is a 6hp, 6 output master clock. It doesn’t have the sorts of clocked modulation options that something like the ALM Busy Circuits Pamela’s Pro Workout has, nor does it have the quick, hands on manipulation of the Make Noise Tempi. But it does have a fair few things going for it. It’s a rock solid clock, and easy to manipulate, even at first glance. The UI is intuitive, and its distractions few. Each output has three modes: Clock, Probability Clock, and Sequencer. The clock and probability clock does what it says. The outputs put out short triggers according to a clocked division or multiplication of the master tempo.1 Timekeeping is not exciting, however it is crucial. But the killer app in the Gravity is that its tempo can be modulated by control voltage, a feature not found in every master clock. At this realization I knew just exactly how I was going to get my wonky clock.

After plugging in a smooth random LFO from Batumi II + Poti II and tuning its frequency and amplitude to taste, we had a modulating clock that randomly floats above and below the master tempo. The Gravity gives a numerical option when the master tempo is being modulated, called Range. It’s simply a number that goes up by tens. Although initially I wasn’t sure just exactly what that number represents, the developer noted that it’s a fixed maximum BPM deviation above and below the set master tempo. So if your tempo is set to 80bpm, for example, with a Range of 10, it will swing as low as 70bpm with -5v of CV, and as high as 90bpm with +5v of CV. Clever. Subtle undulations is one thing. Wild tempo fluctuations is something else altogether, and having a defined maximum range built in to the modulation is a really good way of making it easier. This clock was fantastic, subtly shifting faster and slower. Being anticipated, while not being predictable, and never on a strict grid. Perfect.

Although I didn’t need more triggers than what Gravity can supply to ping the Disting Ex, I did want those triggers to extend laterally, never close to anything we could call a pattern. Stochaos once again provides a beautifully timed spread of triggers which form the basis of the piano voice in the patch. It always takes some clock adjustments to get the triggers just so. In this patch I ultimately used a x8 multiplication of that modulated clock with a 20% chance of skipping a beat to drive Stochaos. This kept triggers coming at a reasonable pace for Stochaos to spread the gates through its various outputs, helped by the retrigger setting in the SD Multisample algorithm to “Synth” to keep it from going too cluttered with notes.

For pitch, I used three of the four Swell Physics outputs into Quantermain (in C major). One of the quantizers was set to quantize to all 7 notes in the scale, with the other two set to quantize only to the root, third, and fifth. This turned out to be a wonderful method of getting pitch. The outputs on Swell Physics are all inter-related, and something akin to phased LFOs, only the phasing is more organic. Swell Physics is not a single speed with waves sliding back and forth, but the movement of the ocean, with ebbs and flows that can’t be strictly controlled, and where each wave affects the others. All of their speeds fluctuate, as do their amplitudes. This set of waves allowed for a good spread of notes, with minimal dissonance.

The Soft Piano sample outputs from Disting go to the Qu-Bit Nautilus for some unclocked delay. Feedback and Depth are lightly modulated by the highly attenuated AVG output from Swell Physics, while a highly attenuated saw ramp LFO from Batumi II + Poti II modulates Reversal. The patch starts with no Chroma (Qu-Bit speak for an effect inserted into the delay feedback path), but heavy distortion is introduced later on as the patch heightens. Using the delay feedback line for distortion, as opposed to using distortion before the delay, still allows for the piano notes to sing through quite clear, before being clipped to hell over and again as the repeats fade away.

After going through Nautilus, the signal made its way to the Make Noise QPAS for some light HP filtering. In most situations I would run a hard clipped signal through a LP filter to shave off some of the most egregious harmonics, but for some reason I preferred the HP filtering in this patch (I tried all four stereo outputs before deciding on HP filter), and so I won’t be too harsh on myself for an intentional decision made in the moment. The only modulation is via the 1 < 2 and 3 > 4 gate outputs on the Swell Physics via the CuteLab Missed Opportunities to both !!¡¡ inputs for some occasional shooting stars.

But getting a pretty flow of random piano notes wasn’t the final goal. The final goal was to test the new elements of this case so I’d have a basic understanding of how to use the case in a style I enjoy, and hopefully avoid having to constantly dig through manuals during the little time I’d have to patch on the trip, which brings me to a real beast of a module: the new Doboz T12, a 17hp (😕) touch controller, arpeggiator, and sequencer. I had half-assedly tried to get it going a couple of times over the last couple of weeks, but came up empty both times, so it was time to sit down with the manual and dig in.

At first I was intimidated by the T12. There’s not much on the panel outside of 12 touch plates, a screen, a couple of buttons, and an encoder to give you cues, and the options in the screen are many. But once I got over the initial hurdle of Step 1, the intuitive nature of the screen UI took over, which makes it generally simple to navigate and use. The T12 has 4 modes: a touch controller, an arpeggiator, a very straightforward up-to-32 step sequencer, and a more complex extended functionality step sequencer. Although I certainly want to understand the Complex Sequencer, my aim was to tackle the touch controller (why I initially bought the T12 to begin with), the arpeggiator, and the simple step sequencer.

Despite being a bit overwhelming at first glance, having loads of options in the UI, the T12 workflow is both fast and intuitive. Not only are there the standard pitch CV and gate outputs, but also a secondary CV output for something other than pitch. You can set vibrato, including a delay, gate probability, random note probability, touch behaviors, and many other facets of your sequence quickly and easily. The AUX CV output can send envelopes, slewed gates, secondary raw CV, amongst other stuff. The T12 is a really powerful, highly flexible, and intuitive module that is fun to use. Just don’t forget to save your work in one of the many save slots, or else you’re gonna lose all your shit. Ask me how I know. Fortunately this particular patch is pretty easy to reproduce should I have the need.

For this initial patch I wanted to keep sequencing as simple as possible. A slowly plodding 10 note, repeating sub-bass line via the Humble Audio Quad Operator that would flood the audio and shake the room. I was loosely aiming for a post-rockish feel in the progression. It’s intentionally loud, though not so loud that the piano can’t still be clearly heard. With the wandering clock set to /8, and after a smidge of tuning the individual notes in the sequence to what I wanted, I pretty quickly got what I was after.

Which isn’t to say that the bass line is without issues.

Firstly, I’d like to note that both the high level and super-low frequencies were exactly what I was trying to accomplish. I was looking for film score kind of epic. The kind of bass that rattles walls and that you can feel in your stomach. That said, there’s far too much audio gear, including very high quality audio gear, that has a difficult time reproducing C1 (32.70Hz). My audio monitors, a set of Focus Alpha 80 studio monitors only reach down to 38Hz before the cutoff becomes pronounced. At 32Hz, the tone could still be heard, but not with near the authority it should have. D1 (36.71Hz) had similar issues, although not nearly as marked. By the time we get to E1 (41.2Hz) things are booming, but of the 10 notes in the bass sequence, only 5 can be heard with the vigor I intended, and that’s through a good pair of studio monitors. Fortunately the cans I used to record this patch, a set of GK Ultraphones, and the AirPods Max Bluetooth headphones I use for general listening, have no pronounced problems with reproducing the low C. But if I were to record this patch again, and I’m highly considering it, I’ll pitch the entire piece up 4 full semitones (E1) to avoid that conundrum. It’s one thing for a bass heavy piece to not play through phone, tablet, or laptop speakers. It’s a different sort of problem when high quality studio gear can’t do it. Any system with a subwoofer should really shake the foundation, but you shouldn’t need a subwoofer to properly hear music.

The last voice was a spur of the moment addition to the patch. I didn’t know exactly what, but I knew the patch was missing something. It needed one last final touch. It needed Plaits. Though it certainly has its limitations, Plaits is one of the most versatile and best sounding oscillator modelers available. Everything from kick drums, a scaled down Rings algorithm, and FM, plus more is possible with Plaits. At first I didn’t really know what I wanted, other than it be sparse. The Rings algorithm didn’t really fulfill the role. It took away from the patch as much as it added to it.

But as I made my way through the modes one by one, I landed on the final green algorithm: Vowel and speech synthesis. This would normally be unremarkable, but as it happened, I kept hearing the word “Red.” How the various knobs had been set while testing other algorithms landed me smack at the beginning of the colors of the rainbow. I slowly turned the Morph knob to see what else was hidden there, and found a slew of words. At first I set up modulation of the Morph to cycle through the words quickly. Think Robot Auctioneer. And although this addition certainly moved me in the right direction, it still wasn’t the destination. There were too many words being synthesized too quickly. It was slightly distracting, and not wholly complementary.

After a bit of envelope experimentation, I settled on 4 words: Red, Orange, Yellow, Green, “said” at a slightly slower than “natural” pace, and with a fairly thin tone. This gives the voice an almost sad feel, which I think slightly tempers the optimism and hope found in C major piano alongside an epic bass line. It brings a bit of the non-perfection and often lonely feel of reality back into scope, and that even non-perfection and loneliness can be contained within beauty.

After repeated listens, I know that I wouldn’t send any pitch information to Plaits were I to record this again. I think having it repeat at the same pitch would have an even larger impact, and be more focused.

One last new module I used is the Intellijel Amps VCA. Two of them chained, actually. Although I initially planned and built this case with an Intellijel Quad VCA, I recently realized the power of fully cascading VCAs,2 and decided to replace one of my Quad VCAs with this pair of Amps. Even with the first use I could see the utility in cascading inputs. The ability to patch one input and get out several signals that are related, yet separately attenuated and/or modulated, for use throughout a patch is powerful. Of course multiple related outputs could also be accomplished by patching multiplied copies of the signal into all four VCA inputs, but with cascading inputs we can eliminate at least six patch points and three patch cables. Efficiency is key. Add in ring modulation and signal inversion, and Amps is a powerful tool indeed.

Modules Used:
Sitka Instruments Gravity
Doboz T12
Nonlinearcircuits Stochaos
Expert Sleepers Disting Ex
Humble Audio Quad Operator
Mutable Instruments Plaits
Mutable Instruments Veils
CalSynth Changes (MI Stages) (w/ quimem)
CalSynth uO_C (w/ Phazerville)
Addac Systems Addac508 Swell Physics
Xaoc Devices Batumi II + Poti II
Make Noise QPAS
Intellijel Amps
Qu-Bit Electronix Nautilus
Blue Mangoo Stratosphere Cloud Reverb (AUv3 plugin)

Performed and recorded in 1 take in AUM on iPad via the Expert Sleepers ES-9.

*****

  1. According to the developer, Gravity should (fairly) soon get a firmware update which adds the ability to adjust gate duty size as a prominent feature, rather than only short 15ms triggers. This addition would make the Gravity outputs far more useful as a clocked modulator, and make it able to trigger longer ASD or ADSR envelopes that are determined by gate length. The developer has also noted that MOAR divisions and multiplications of the master tempo will be added.
  2. A fully cascading VCA is one in which all inputs, CV inputs, and outputs are normalized to the following channel until the normalization is broken by a plugged in jack. This configuration allows for a flexible array of both CV and audio patching, capable of complex mixes or routing.
0:00
0:00