One of the beautiful things about eurorack is the many happy accidents that we all run into on occasion. Those times when some combination of conditions present at just the right moment seems to produce something magical. You don’t necessarily know what got you there, but nonetheless, here it is and it’s glorious. Though we may not always know exactly what leads to these enigmatic moments of splendor, there are things we can consider when seeking to be able to use those sounds as part of your artistic arsenal. It’s one thing to hap into something beautiful, however you might describe that term, but it’s another thing altogether to reproduce whatever it is you heard to make that magic an intentional part of your sound. To play it, rather than have it fall in your lap.
A couple of days after Jamuary concluded I made a patch on the Make Noise synth that made me stand up and stare. There was a whisper. An oscillator speaking softly into a filter’s ear, quivering as it tried to muster enough courage to get sound out. It wasn’t unlike bowing a string as lightly as possible, or trying to play a wind instrument as quietly as one can. There was a vulnerability in the voice, seemingly lacking the confidence to speak, or like trying to speak when you’re crying and your lips quiver. There was a wobble that was absolutely intoxicating, and I was set on trying to reproduce that wobble.
When I first set out to try and recreate this sound, I first isolated the conditions of the patch I wanted to emulate. Of course oscillators can’t speak softly. They only know one output level, generally speaking. I documented every patch connection and knob setting from this sub-patch. I verified modulation sources and any peculiarities. I thought about this patch a lot, writing extensively in my Notability patch book, and narrowed it down to three factors. At least theoretically.
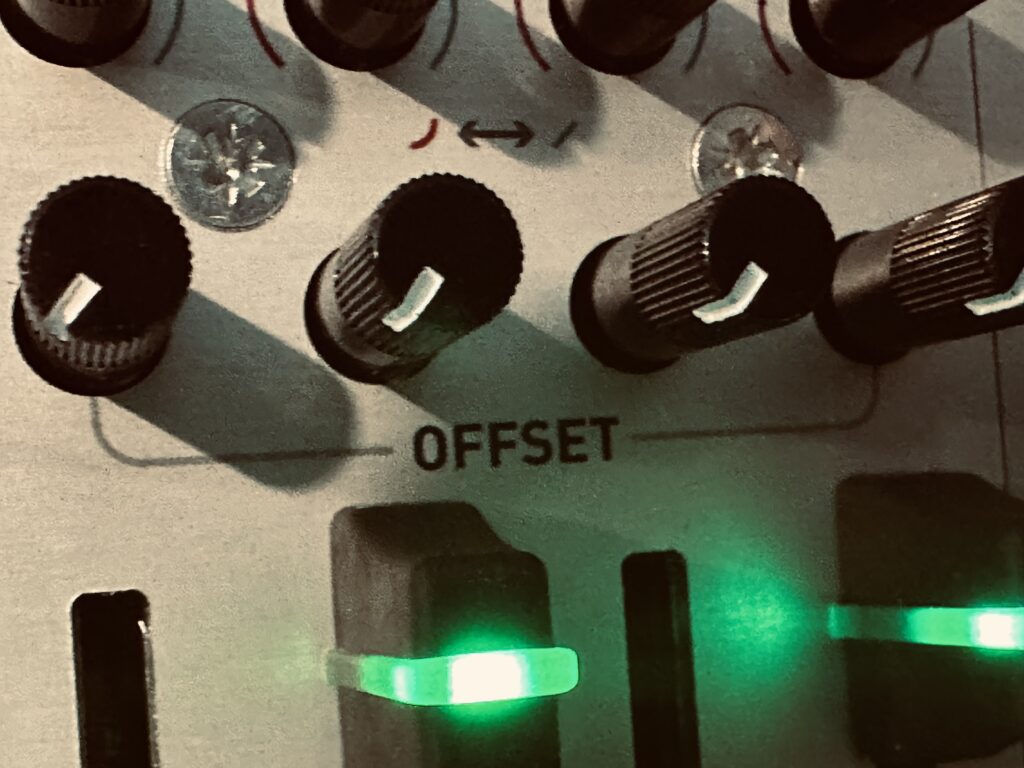
- As low a level going into the filter as possible. On my original patch, I used QPAS as my first filter, and controlled levels with the input VCA knob. I initially did this out of necessity because the other voice in the patch was very quiet by its nature, and when any real level was given to the oscillator going through QPAS it was too loud. I discovered later that night that the lower the level, the better the conditions for interesting wobbles. If your filter does not have input level control, you can use an attenuator or VCA before going to the filter input.
- A filter with some fairly aggressive resonance. It need not scream like a Polivoks, but the resonance needs to be pronounced before it goes into self oscillation. If the resonance is non-linear, it’s even better. I’ve also surmised, perhaps errantly, that a vactrol-based filter would be better suited to this job because of the inherent drag and voltage drift of vactrols. The filter creating pronounced wobble in my Make Noise patch was QMMG, a vactrol-based filter, processing a signal that had already gone through QPAS. I could be wrong, but my experiments trying to reproduce the wobble seem to bear out this conclusion. I don’t have a vactrol-based filter in my main synth, but none of the filters I used in my experiments had the same sort of wobble as that produced by the QMMG.
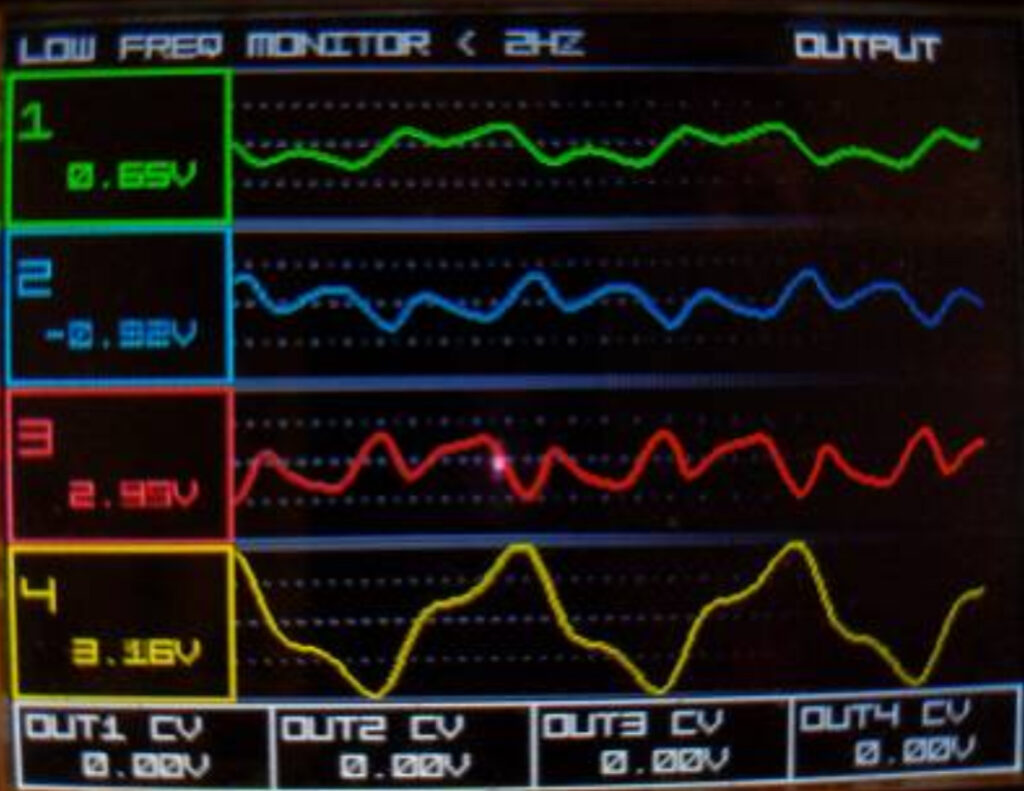
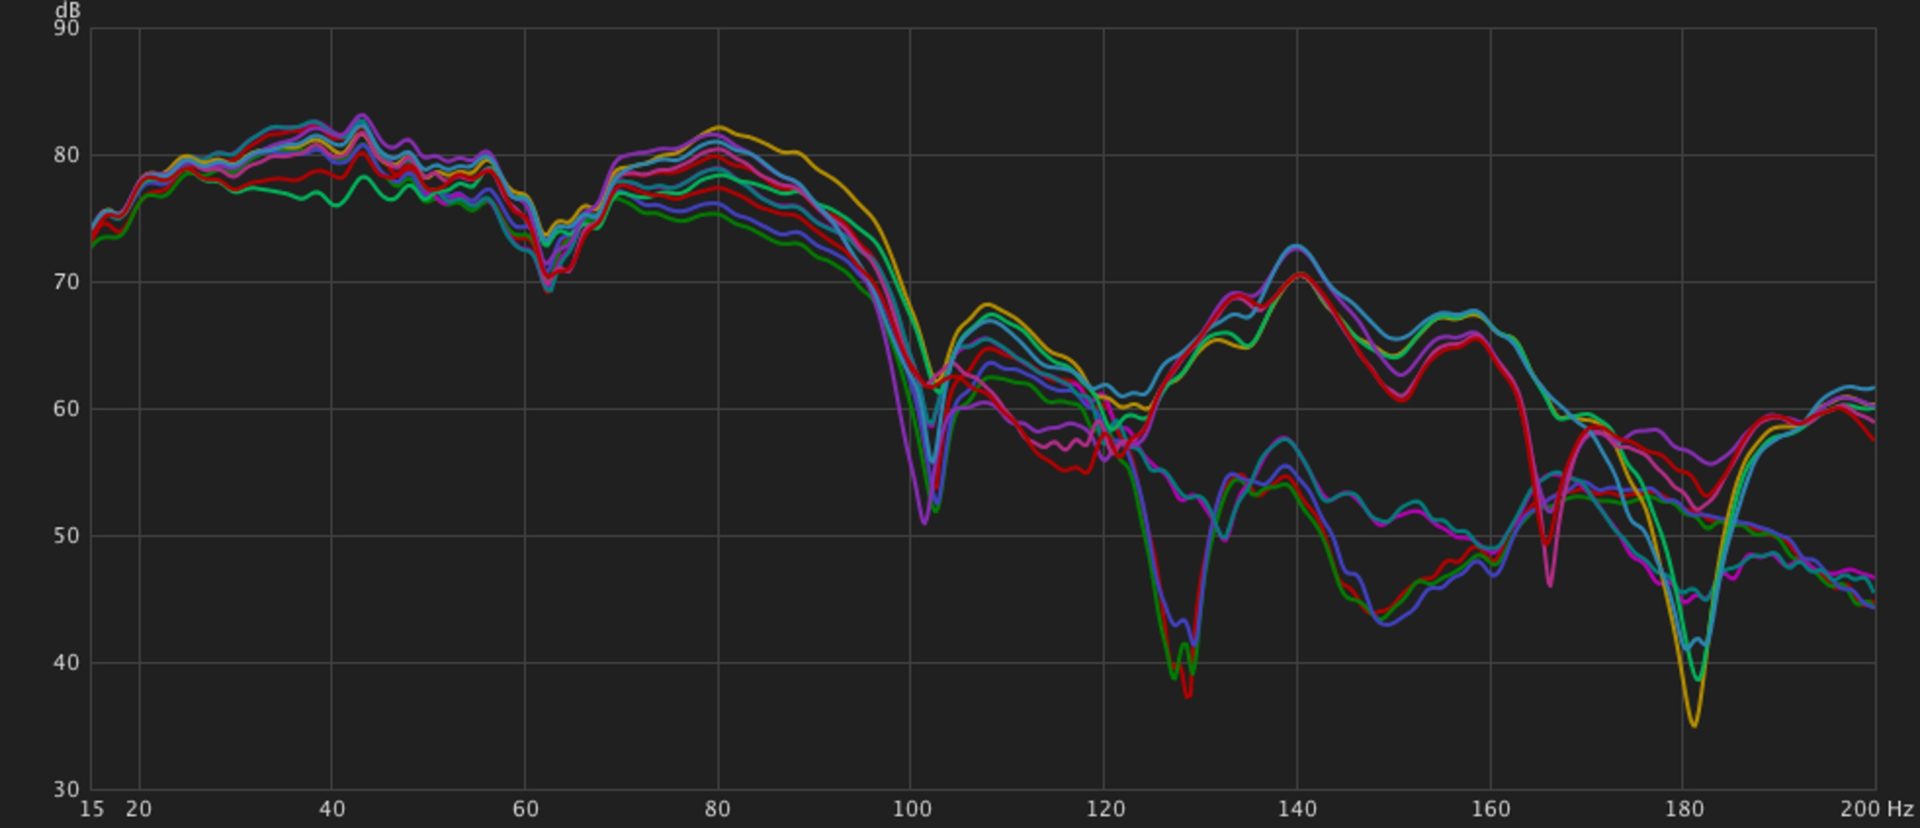
- A slow moving modulation signal that moves the cutoff frequency through the fundamental frequency of the note. I’ve found the slower the better, but there are diminishing returns to that proposition. When you add resonance to a filter, you’re creating a small hump in the EQ curve at the cutoff frequency by feeding it back into the filter’s input. When that cutoff frequency intersects and passes through the fundamental frequency of whatever signal you’re passing through it, you get a small wobble. The resonance itself and the modulator’s frequency and shape can alter that wobble some, and can change its character, as do any curves you might put on your modulating signal.
Of course all of this was theoretical, and much of it still is, even if I’ve received some form of verification via Google AI, and tangible signs that I’m on the right track through my subsequent experimentation.1
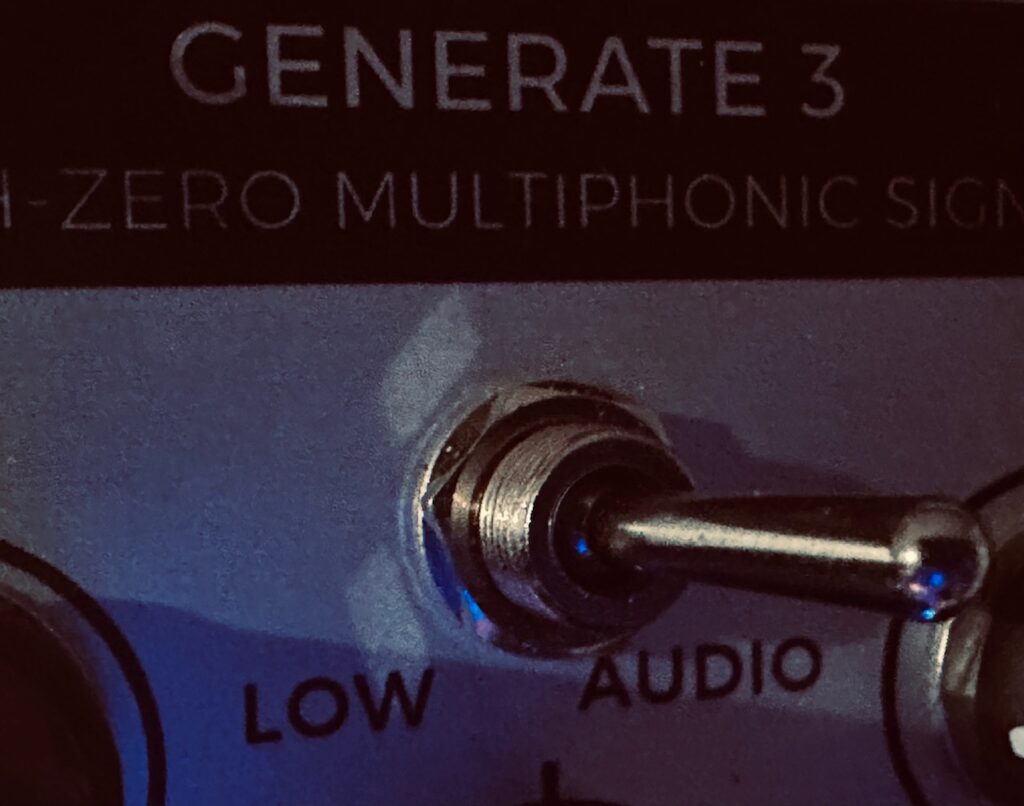
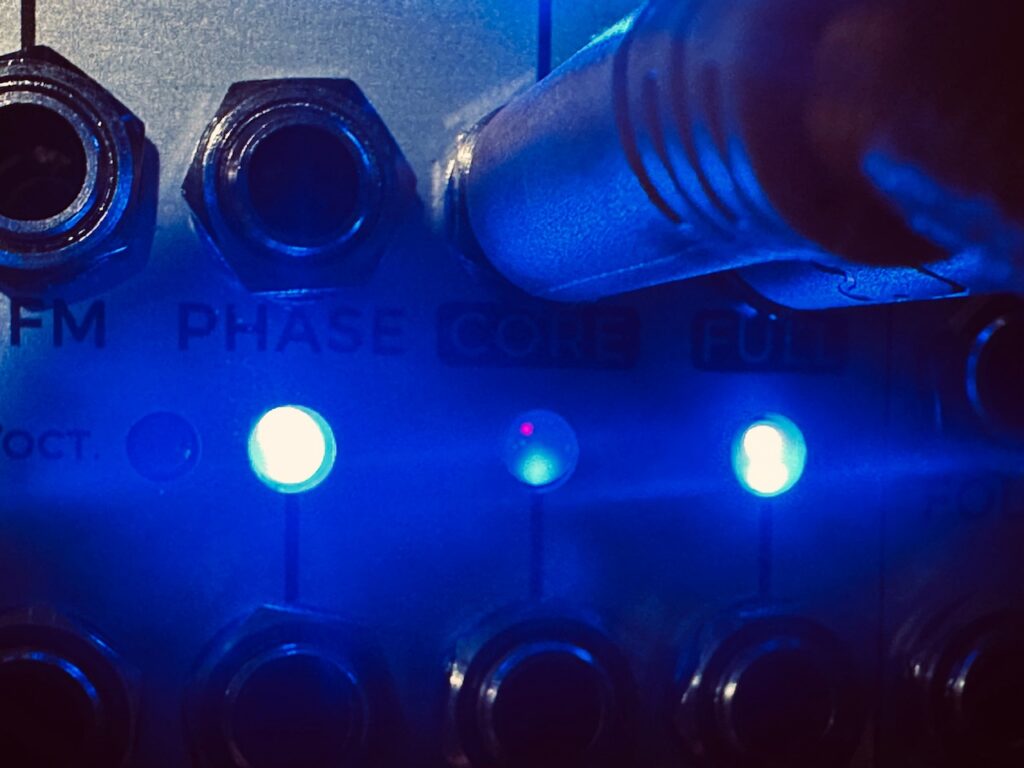
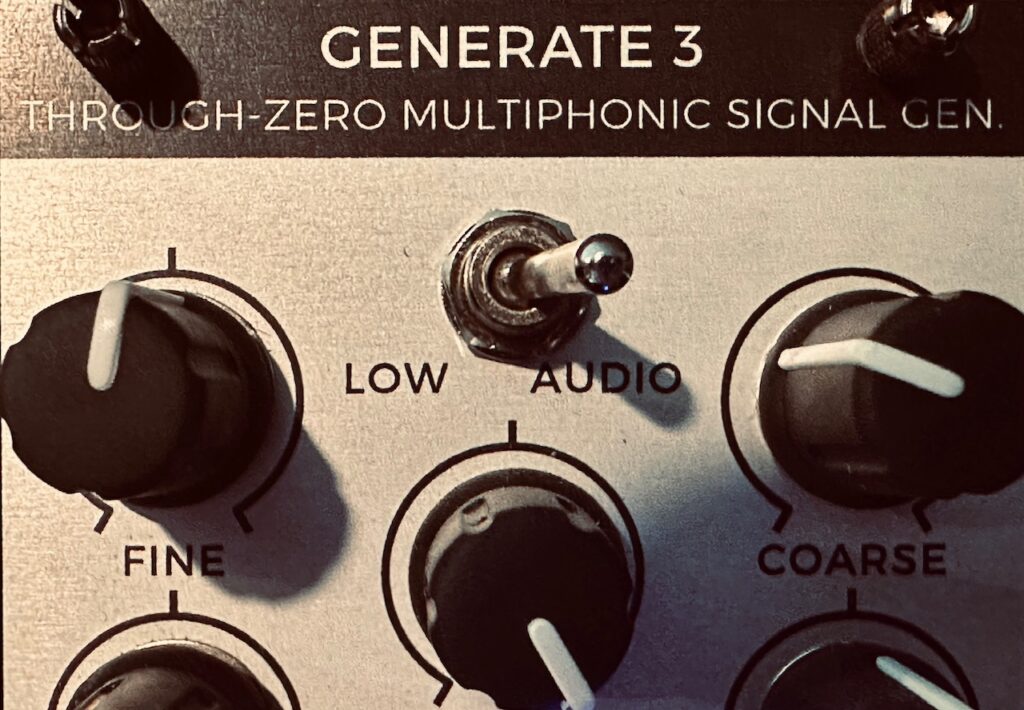
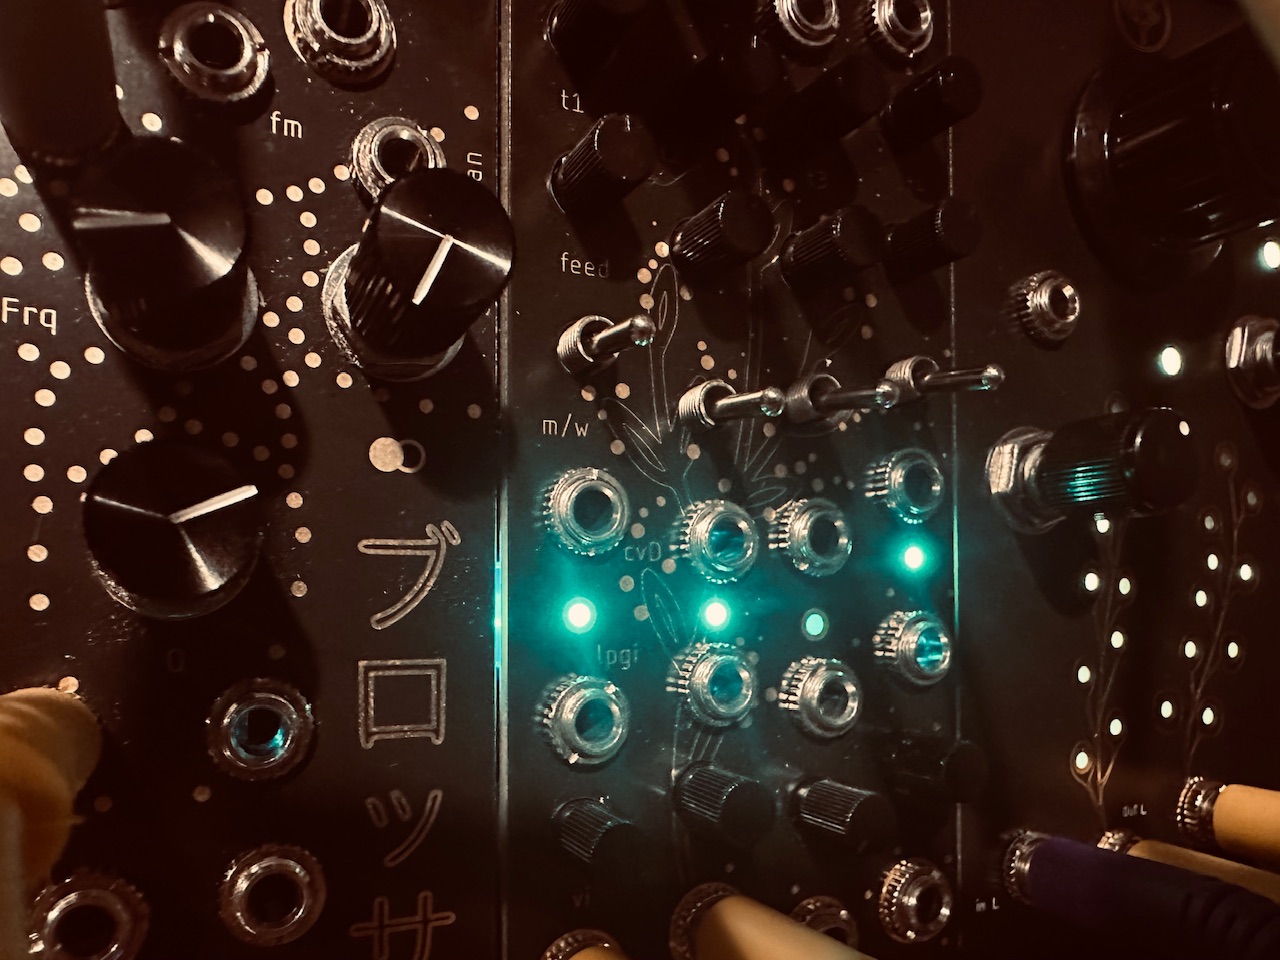
When I set out to make a patch yesterday, my goal was to first experiment with recreating filter wobble through my main synth where I have a plethora of filters of all sorts. My first thought was to experiment wholly within the Frap Tools Cunsa. I can create sine waves with the first filter and still have three filters with which to experiment, all with normalized patching to make things simple. I was pretty quickly able to create some wobble using my three guideposts listed above, but it was very consistent, and exciting as it was to know I was on the right path, I felt that perhaps the Cunsa was simply too polite a filter to get the best results. Abandoning Cunsa, I next went to the Joranalogue Generate 3 feeding Filter 8, but I never felt like I could get anything close to what I wanted. The cutoff was always too high, and I couldn’t tame the harmonics in a way I wanted. So I switched to a single sine wave from Filter 8 feeding the Bizarre Jezabel Seju Stereo, which was okay, but not special, so I went to the Pkhia, which didn’t work very well. I moved on to the Pkhi Mk3, and had a promising start, but it didn’t progress much. Finally I went to the Blossom, a multi-output filter inspired by the legendary Mannequins Three Sisters, and I heard…something interesting. The wobble was there, and had a bit more character than the simple hump like the rest of the filters. I had found the subject for the rest of the day’s experiments. I spent well over two hours exploring different filters, and of those I tried, a simple sine wave into Blossom was definitely the most compelling. I have other filters that I think are good candidates, namely the Verbos Amp & Tone and Instruo I-ō47, but neither of those cases were in the synth when I turned it on. I’m definitely interested in trying those filters, as both have just the right kind of resonance, I think, to be compelling options.
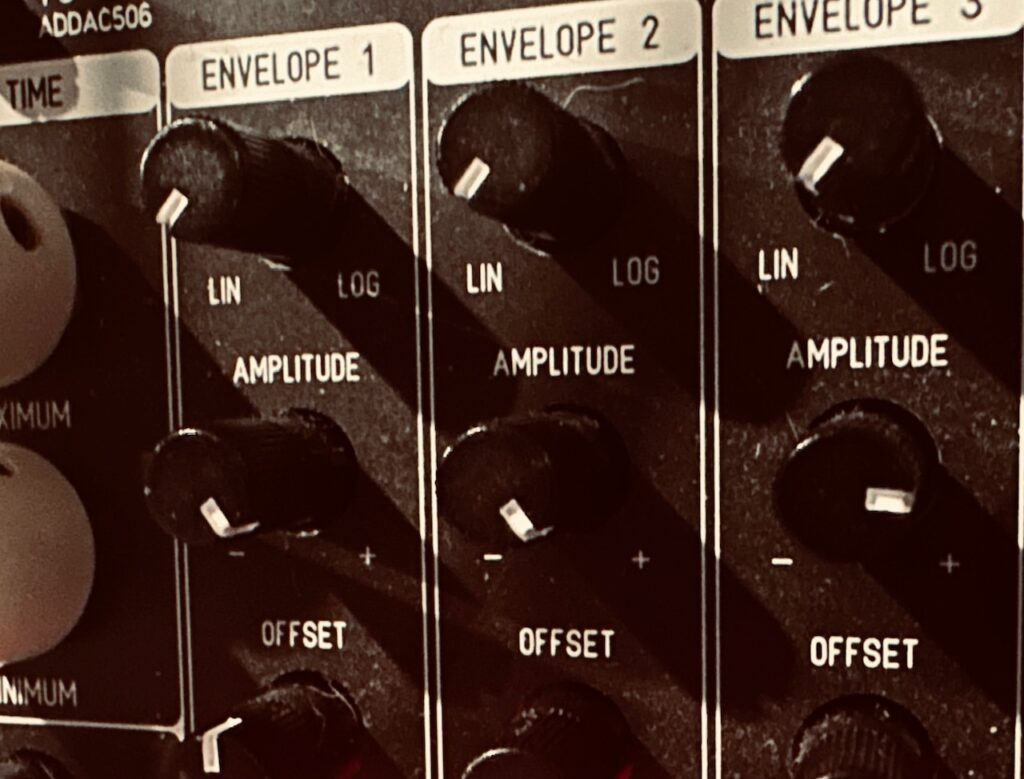
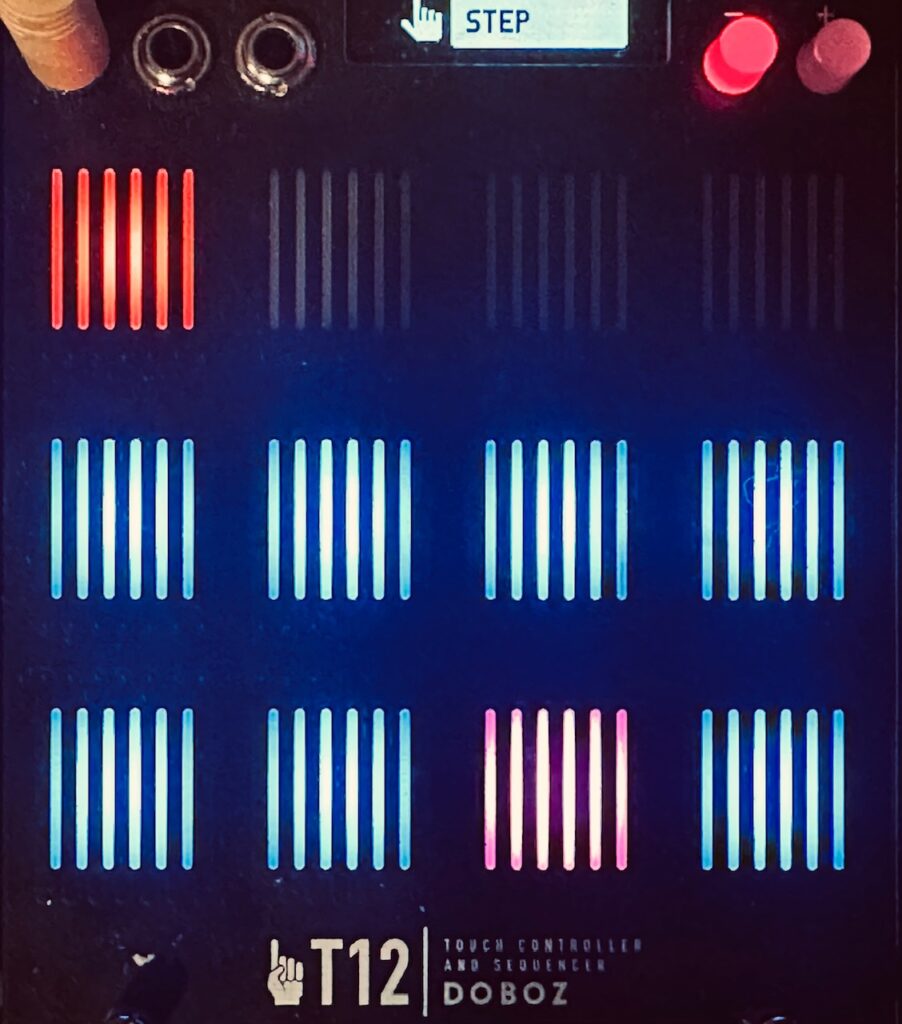
After I’d finalized a base sound I wanted to use for the rest of the patch, a single sine wave into a resonant low pass filter, I worked up a sequence in C Lydian on the very excellent Doboz T12, and went to work. Like the voice used in my Make Noise patch, this voice would also be completely un-gated, sauntering along, only being level modulated in the filter by the slowly moving function of a cycling Contour 1. The cutoff point is set lower than the lowest fundamental frequency so that there would be times when no notes of the sequence come through. Because Blossom doesn’t have level input control, I ran the output of Filter 8 through an attenuator to initially make the sound as quiet as possible while still being (mostly) audible.
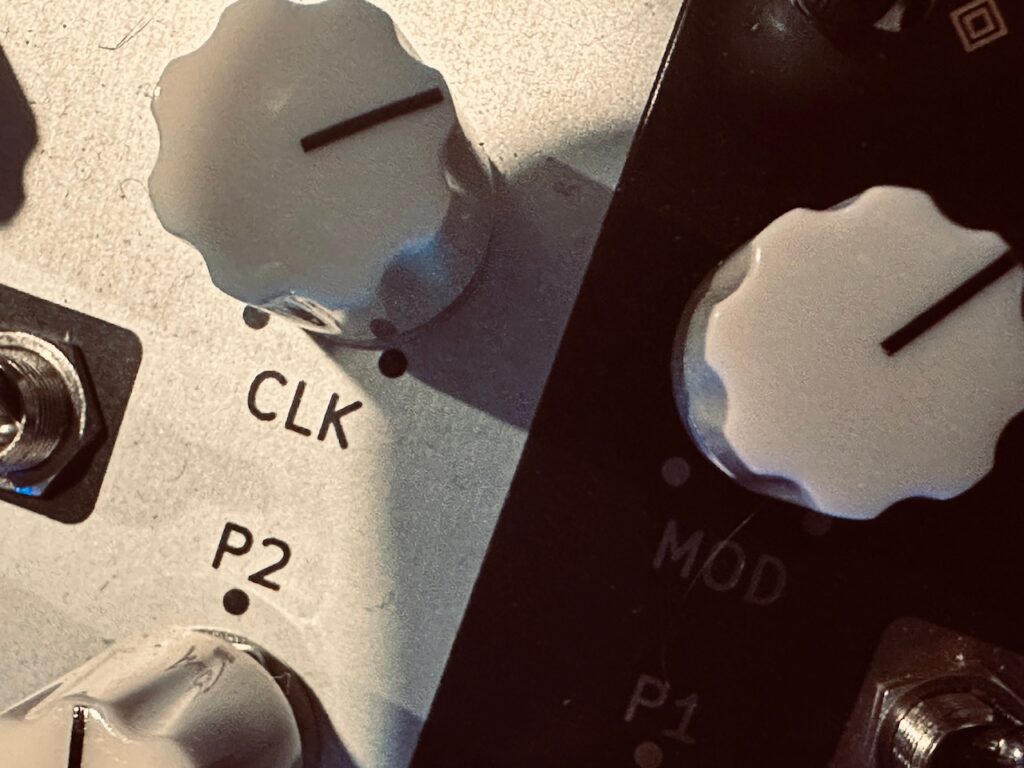
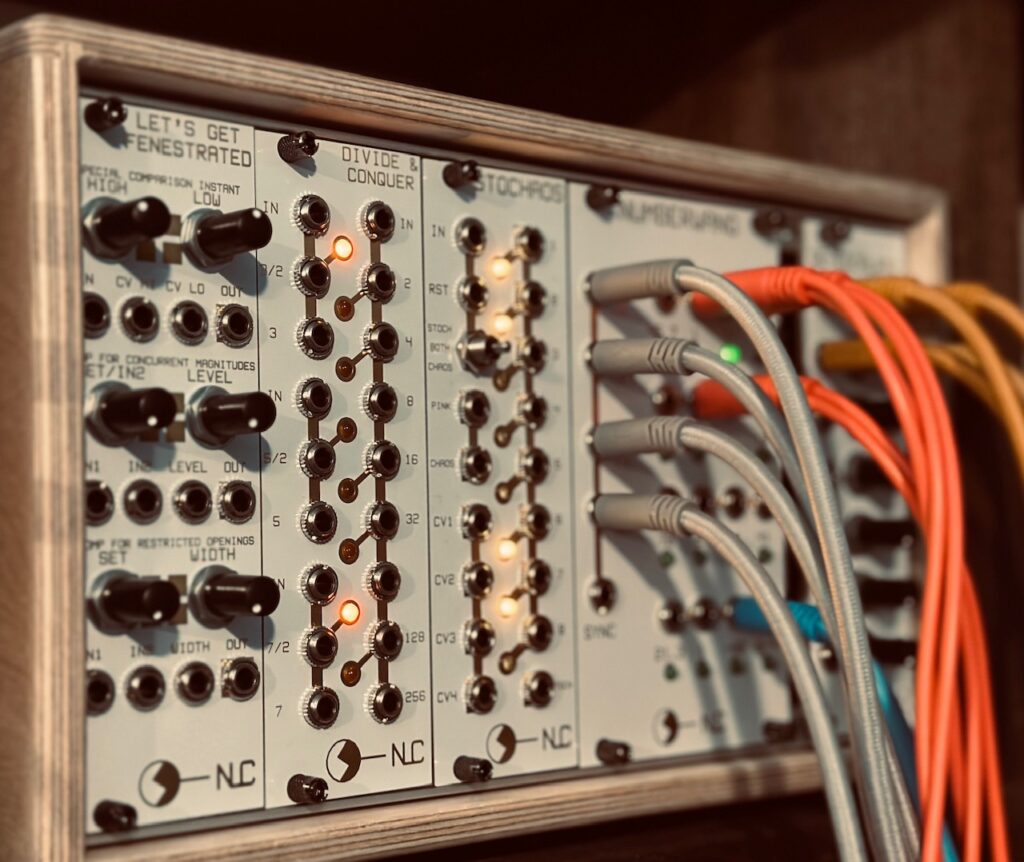
I decided to use a staggered clock. One that is gated by a clock divider, so as to never have continuous repetition. I multed a single x1 clock output from the Sitka Gravity to the Nonlinearcircuits Divide & Conquer in order to create my gate. Because the Gravity is in its infancy, there are several basic things it can’t do. As of now, Gravity’s clock (and sequencer) only outputs triggers, and not gates, so I couldn’t use the duty cycle of a gate output (like those on Pamela’s Pro (and New, and OG) Workout) to gate the x1 trigger that would ultimately go to the clock input on the sequencer. I wanted the clock to start and stop every five beats, and Divide & Conquer was able to provide a gate that enabled that staggered clock for my sequence to follow. The sequence itself is simple. It’s a couple of scale lines going up, with a very low probability (11%) of getting a quantized random pitch within seven semitones (a fifth) of any given step of the sequence. But because the cutoff frequency of the filter goes below the lowest fundamental pitch, the sequence flows in and out and isn’t steady. Notes hold in beautiful ways, and the sequence doesn’t repeat despite being only 16 steps long.


Once through the now occasionally wobbling filter, the audio went straight to the Bizarre Jezabel Mimosa. Mimosa is what I consider to be the most beautiful distortion I’ve heard in any format, short of very high dollar guitar amps. Of course the word beautiful is doing a lot of heavy lifting here, but what I mean is that it can heavily distort something, while still allowing the source to shine. It adds life, even when the dials are pinned. No matter what, you can always let some of the original dry signal through which helps keep shape in the audio regardless of the amount of distortion is applied. From gentle piano notes and sine waves (such as those in today’s patch) to ripping saw clouds Mimosa just does the right things whether using it for some gentle saturation or full on sonic destruction.
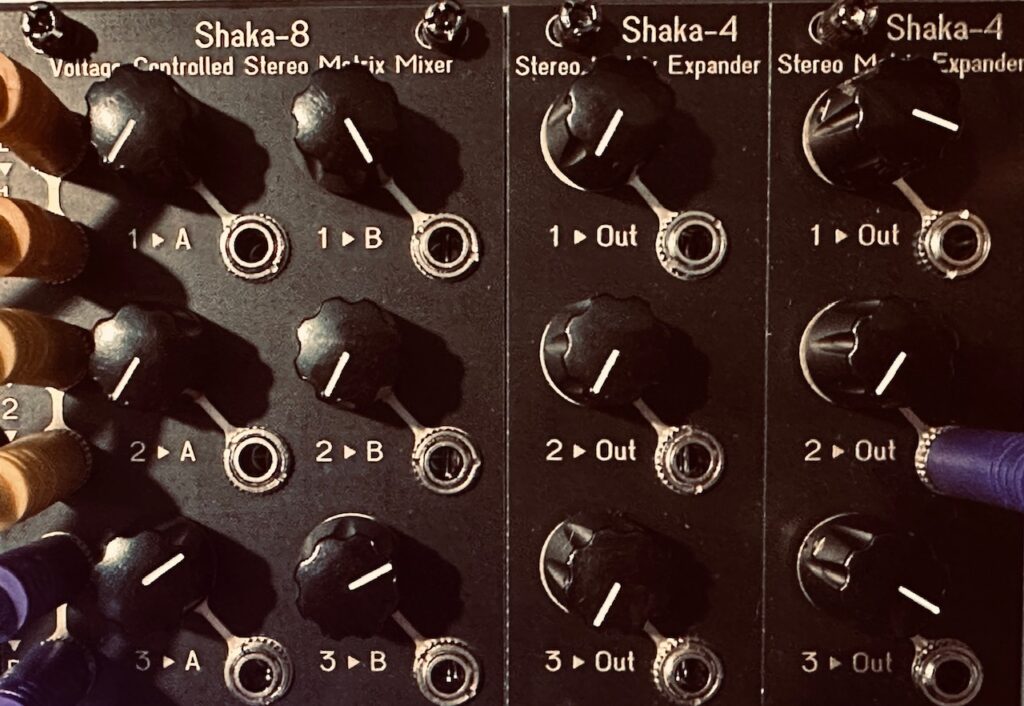
In this patch Mimosa started gently, with both the output volume and distortion amount both turned low. As the piece progressed, gain was adjusted upwards at multiple points. The first place was the original audio signal on the way into the Blossom. This allowed its resonance to growl a bit more rather than wobble. Higher input levels into the filter also mean higher output levels from the filter, and Mimosa is very sensitive to input level. Even at the same knob settings, input level is a crucial determinant of the final sound. Lower levels at the input might just have a bit of coloration or slight crunch, whereas loud sounds will rip or soar. It’s part of Mimosa’s magic. After I adjusted the initial input as loud as I dared, I started to slowly raise the output volume and distortion amount on Mimosa, as well as the amount of wet signal. From gently whispering and quivering to finally finding one’s voice to sing, all from nothing but subtle gain changes along the way. From Mimosa, the audio went to a new addition in the synth; the Addac Systems Addac814 6×6 Stereo Matrix Mixer to be distrusted to several effects.
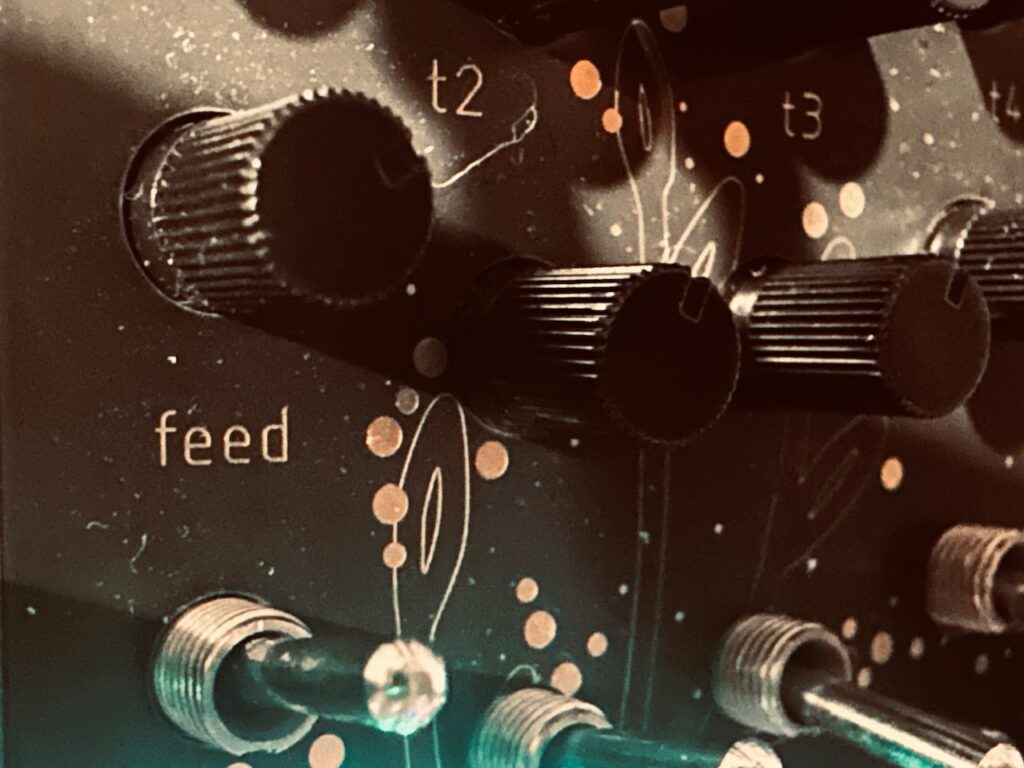
It should be reiterated here that every sound is this patch arises from one single sine wave fed by one simple sequence, with but a single parameter being modulated by a lone triangle function (the filter cutoff). Of course that isn’t the only sound in total. That lone sine wave is repeated all over the place with overlapping delays, looped with four simultaneous digital tape heads and a delay of its own, and reverberated. The first delay, a Bizarre Jezabel Quarté Mk2, mostly added some lovely texture. A bit of a wash of decays in the wake of the melody, its gritty tail disintegrating into nothingness, which added depth and color. Repeats were set to moderately long, with a slow(er) delay time. With the PT2399 delay chips, the longer the delay time, the noisier it will be. The second delay was an Olivia Artz Modular Time Machine, with 4 active taps. It’s clear digital voice echoing the distorted sines near perfectly. Both delays are set to different times which really served to fill out space and maximize this one simple voice with the most basic of sound waves.

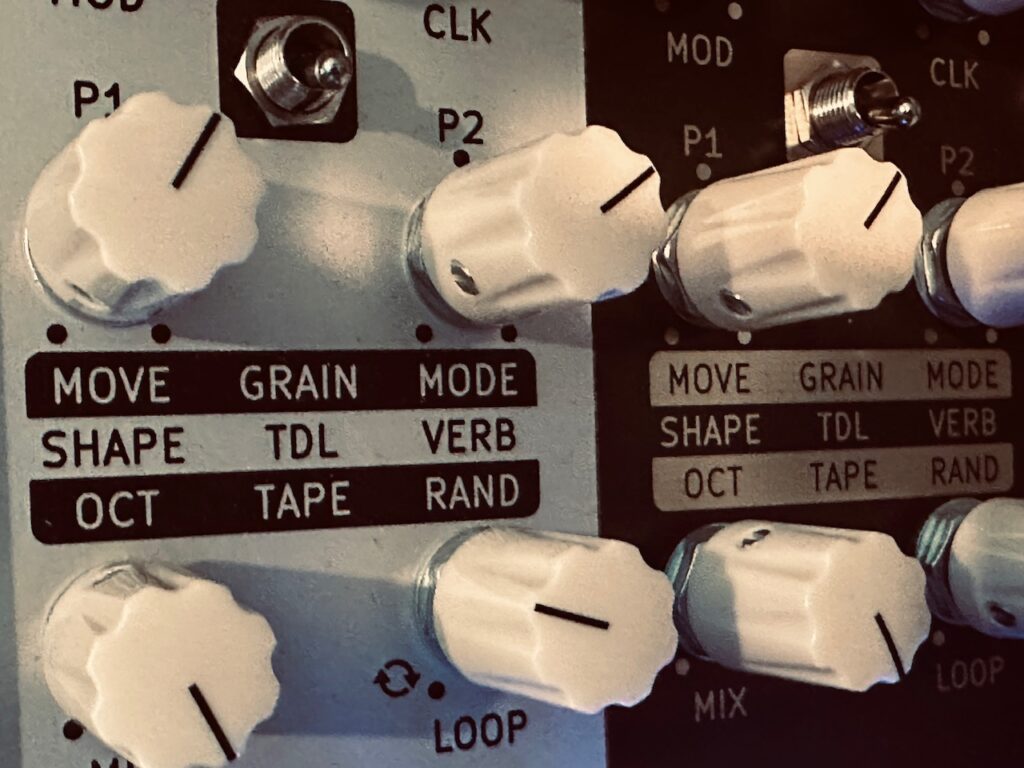
As beautiful as this very simple sequence was, I wanted to see if I couldn’t perform some complimentary embellishments, and decided to once again delve into the Cutlasses Instruments Gloop. I’ve only used Gloop a couple of times, but it’s already captured my attention. Some modules take some time to gel with. Despite some sloppy transitioning in my first couple of uses, I immediately took to Gloop. Its interface is (mostly) intuitive, and it’s a capable looper with some very cool tricks. It’s pretty easy to create compelling loops with Gloop. That said, it does have some drawbacks, at least in its current iteration. Though it’s packed with some clever effects that can be eminently useful with a looper, delay, reverb, and a host of tape-related effects like tape degradation, wobble, noise, and saturation, these effects can only be used on one channel or the other, and not both. Though Gloop has two outputs, it’s not really stereo, but dual mono. Each of the four heads can be panned in a stereo fashion and be used in one or both outputs as if it were a stereo signal, but for reasons I don’t understand the effects can only be used in one output at a time. This imbalance can definitely be a problem when trying to create a consistent stereo field. I was hoping to use the degradation effect, wherein the audio degrades as it would on a tape machine with each successive loop, fading out to nothing after a time. In loopers this is generally simulated by constantly low passing the signal at progressively lower cutoff frequencies in order to gradually roll off the highs. It’s a crucial component of Frippertronics, for instance. Allowing a loop to fade to nothing is also a beautiful way to end a track, and unfortunately I can’t do that with Gloop while using both output channels. In lieu of using Gloop to add tape hiss, I was able to add noise to both channels in the mixer via the very excellent DAW Cassette by Klevgrand, but that was an improvised half-measure. I think I can patch a workaround, but it definitely won’t function in quite the same way. A slow moving negative function into a wide open filter cutoff should get me at least part of the way there. Timing would be an issue. How long should this envelope be? What happens if I get to the end of the function, and I haven’t pressed stop on the recorder? Will the cutoff reset to fully open? That would be bad. But those are problems for another day.
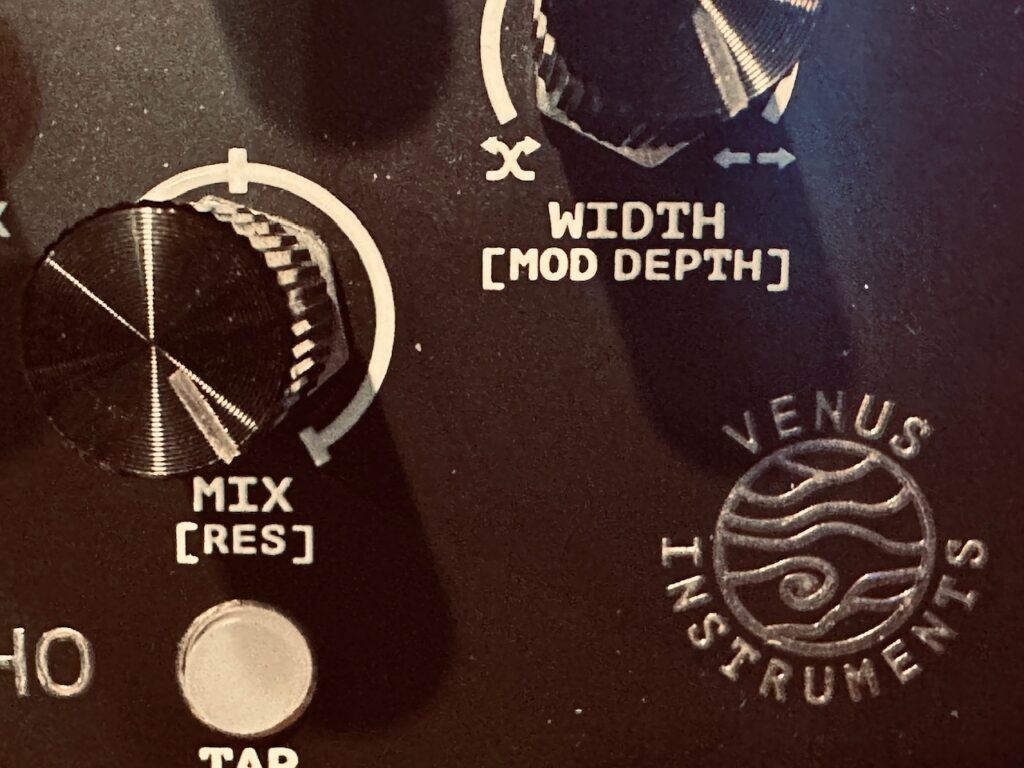
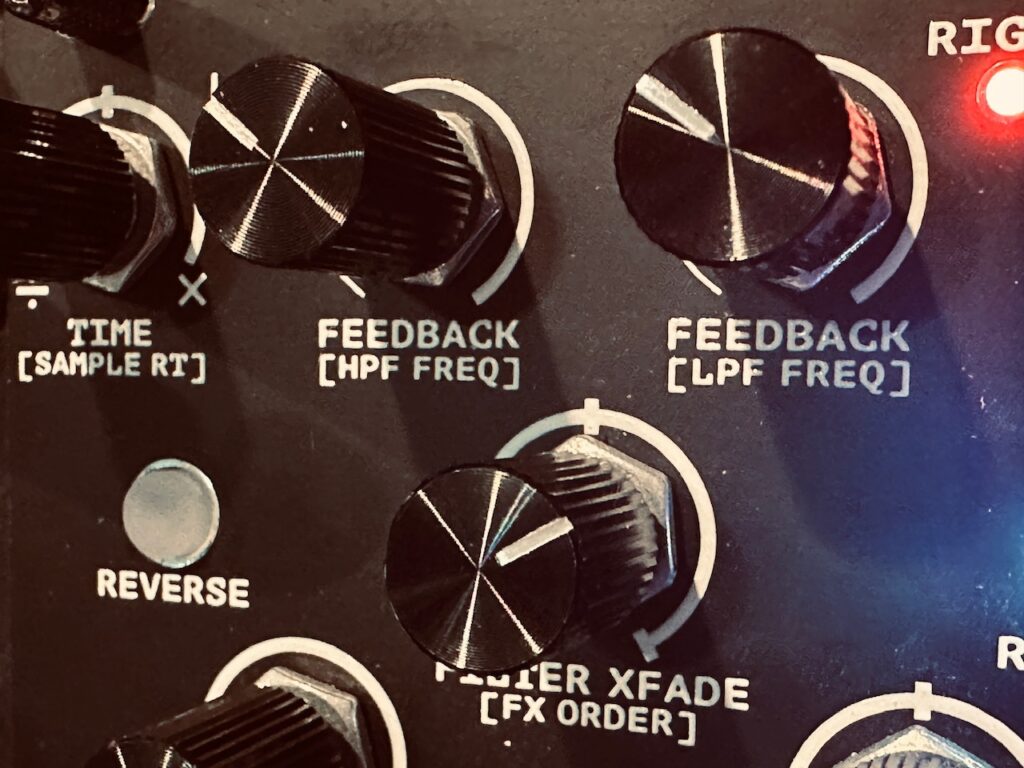
I recorded a length of the sequence to Gloop, then while the sequence continued to play configured the four play heads and slowly started to raise the level on the looper, while lowering the level of the continuously sauntering sequence. Though this transition isn’t perfect, it’s much smoother than in tries past. I would use a crossfader like the WMD AXYS to more smoothly move between the two parts, but because the individual voices were being multitracked separately, I crossfaded in the mixer by hand using the Michigan Synth Works XVI Faderbank CV and Midi controller. The first and fourth heads were hard panned left and right at 2x forward and 4x in reverse respectively, while heads two and three were panned in the middle at 1x forward and .5x forward. I manually played the loop size and location within the loop of all four heads until it I manually faded out the hard panned parts before fading out the base melody and its half speed sibling. But not even Gloop was without its own dedicated delay, the ever-excellent Venus Instruments Veno-Echo. I used a x4 output from Gravity, with a /3 clock division set in Veno-Echo, which gave me a dotted eighth note delay, an always interesting pattern.
Both voices were mixed together in AUM and sent to the Walrus Audio Slöer using the Rain algorithm with almost no diffusion, and the clock speed at its slowest, adding to an already textured outcome. A medium long decay and high modulation finish off the track.
Modules Used:
Sitka Gravity
Nonlinearcircuits Divide & Conquer
Doboz T12
Joranalogue Filter 8
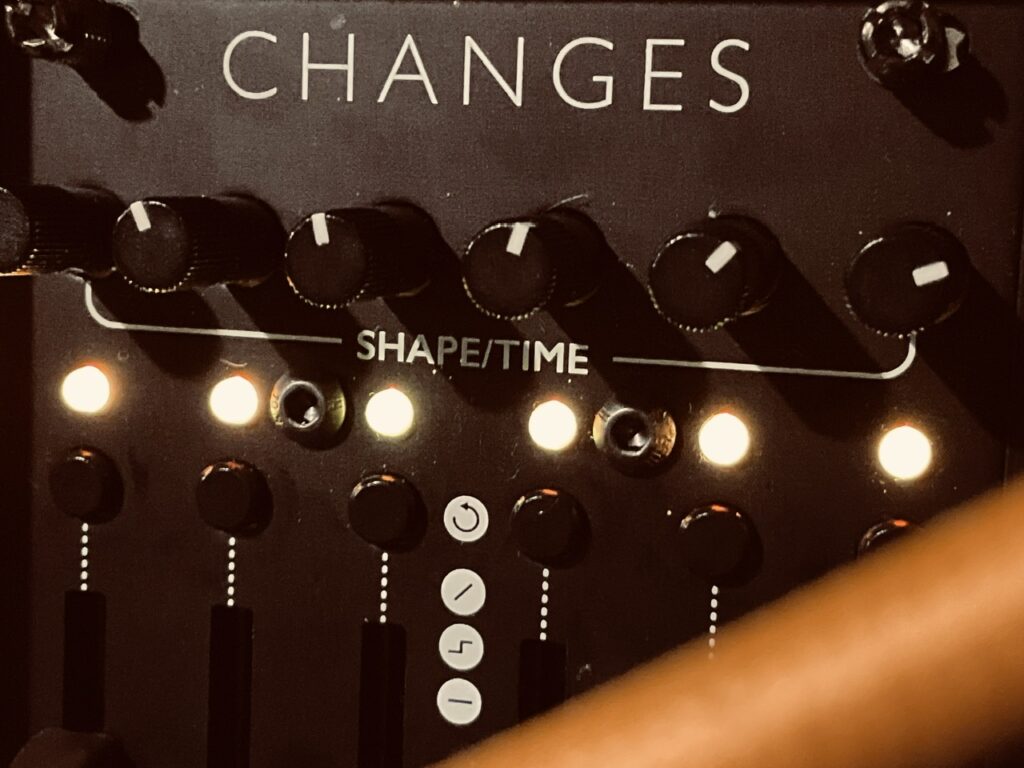
Joranalogue Contour 1
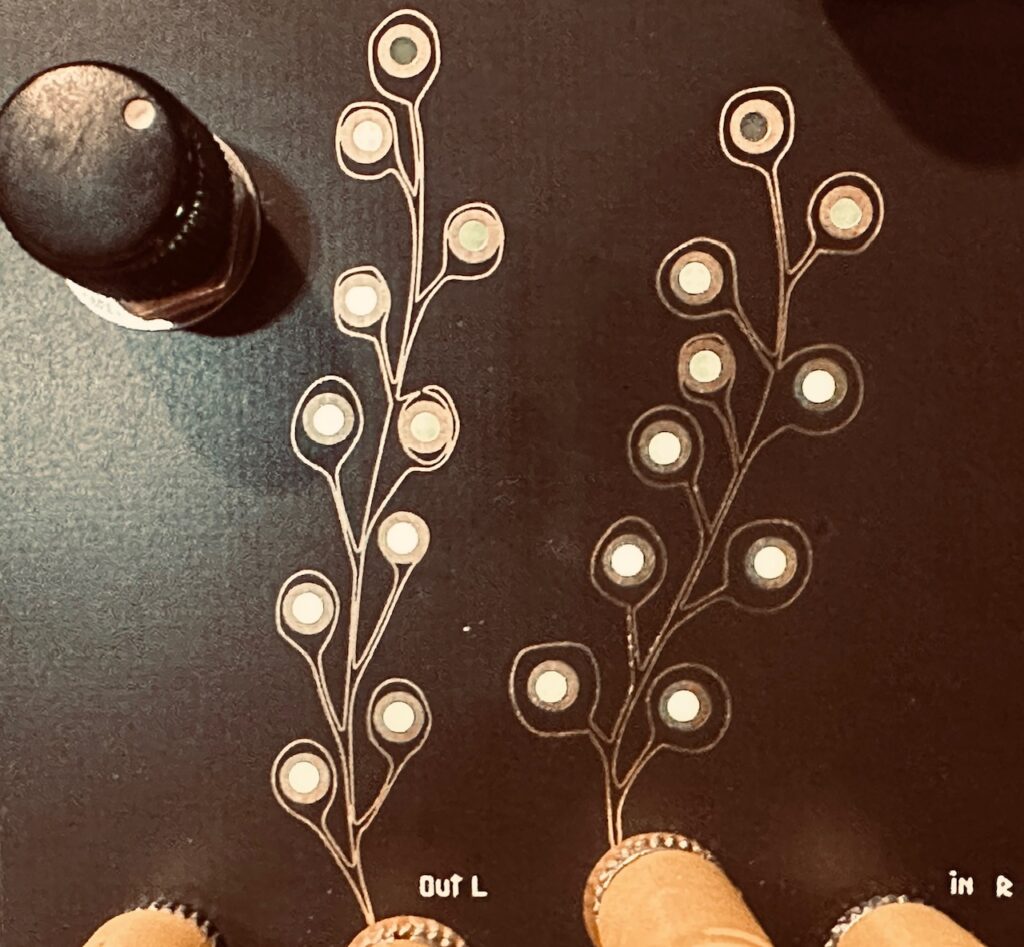
Bizarre Jezabel Blossom
Bizarre Jezabel Mimosa
Bizarre Jezabel Quarté Mk2
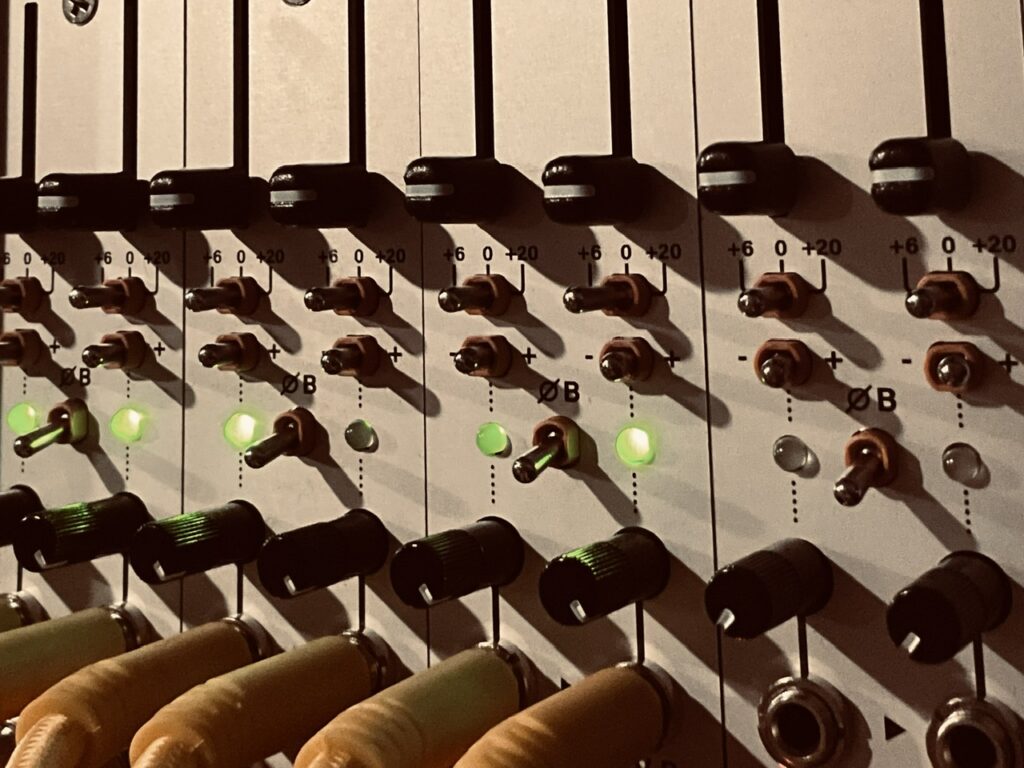
Addac Systems Addac814 6×6 Stereo Matrix Mixer
Olivia Artz Modular Time Machine
Cutlasses Instruments Gloop
Venus Instruments Veno-Echo
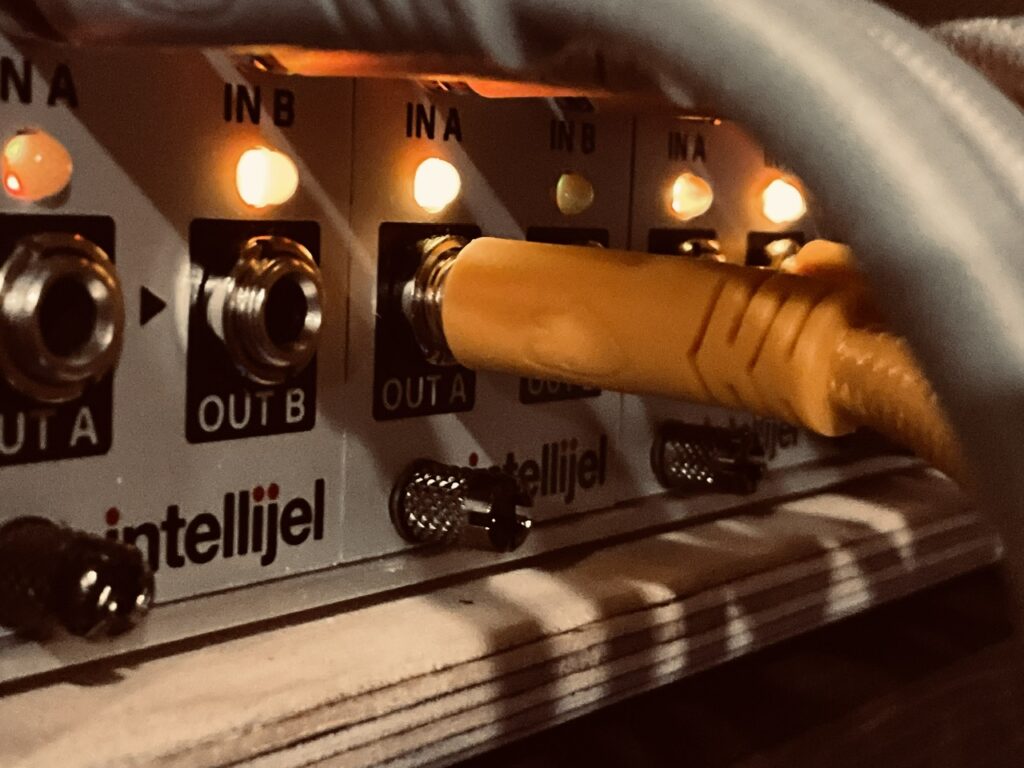
Intellijel Amps
ST Modular SVCA
Knob Farm Ferry
Outboard Gear Used:
Walrus Audio Slöer
Software Used:
Klevgrand DAW Cassette
Toneboosters TB Equalizer 4
Improvised and recorded in one take on iPad in AUM via the Expert Sleepers ES-9.
- I put very little stock in the accuracy of AI at this stage in its development. However, it stated the same three conditions I had independently surmised, and so choose to engage in a bit of sweet, sweet confirmation bias. ↩︎