What Are We Even Doing Here?

As a result of acquiring both the Synthesis Technology E370 and the Flame Instruments 4VOX, after also getting the Humble Audio Quad Operator and RYK Modular Algo earlier in the year, I’ve been stringing together a series of chord-based polyphonic patches using various forms of slow modulation to control the volume of each chord tone. From standard LFOs to chaos, and stochastic functions to ocean wave simulations, I’ve tried at least a dozen of this style of patching over the last several months. Some of these have used static chords that don’t really move anywhere. Different notes of a chord come in and out chaotically (in most cases), but the chord itself doesn’t change. Others are based on the harmonic series, where only one pitch change of the master oscillator affects all of the individual harmonics resulting in chord changes. All of those were composed using chaos or random as a pitch source. But, with one exception, it wasn’t until this patch that I used the NOH-Modular Pianist with real intent and composed a chord progression to move the piece along. To set a mood and provide some tension and relief with harmonic motion in addition to volume and timbre changes. And this time I went big with using all eight CV outputs, rather than just four.

The NOH-Modular Pianist is an interesting module. It promises a world of harmonic movement in an environment where using chords isn’t a simple proposition. Polyphony in Eurorack is equipment and labor intensive. Each separate note of a chord requires its own separate oscillator, function generator, and VCA, at minimum. and requires its own discrete signal path. That’s a lot of patching for what is an easy task in a DAW or by using keyboard-based synths. It’s a lot of tuning (and re-tuning); lots of signals to tweak, and lots of modulation to account for. Before the Pianist, ways to get this sort of advanced polyphony was hard to come by. You could use a MIDI > CV converter, which has its own challenges, or else by painstakingly programming a pitch sequencer note by note, which requires a level of music theory knowledge that most don’t possess.1 MIDI > CV converters require careful calibration, and there are few sequencers with more than just four channels. But the Pianist is different.

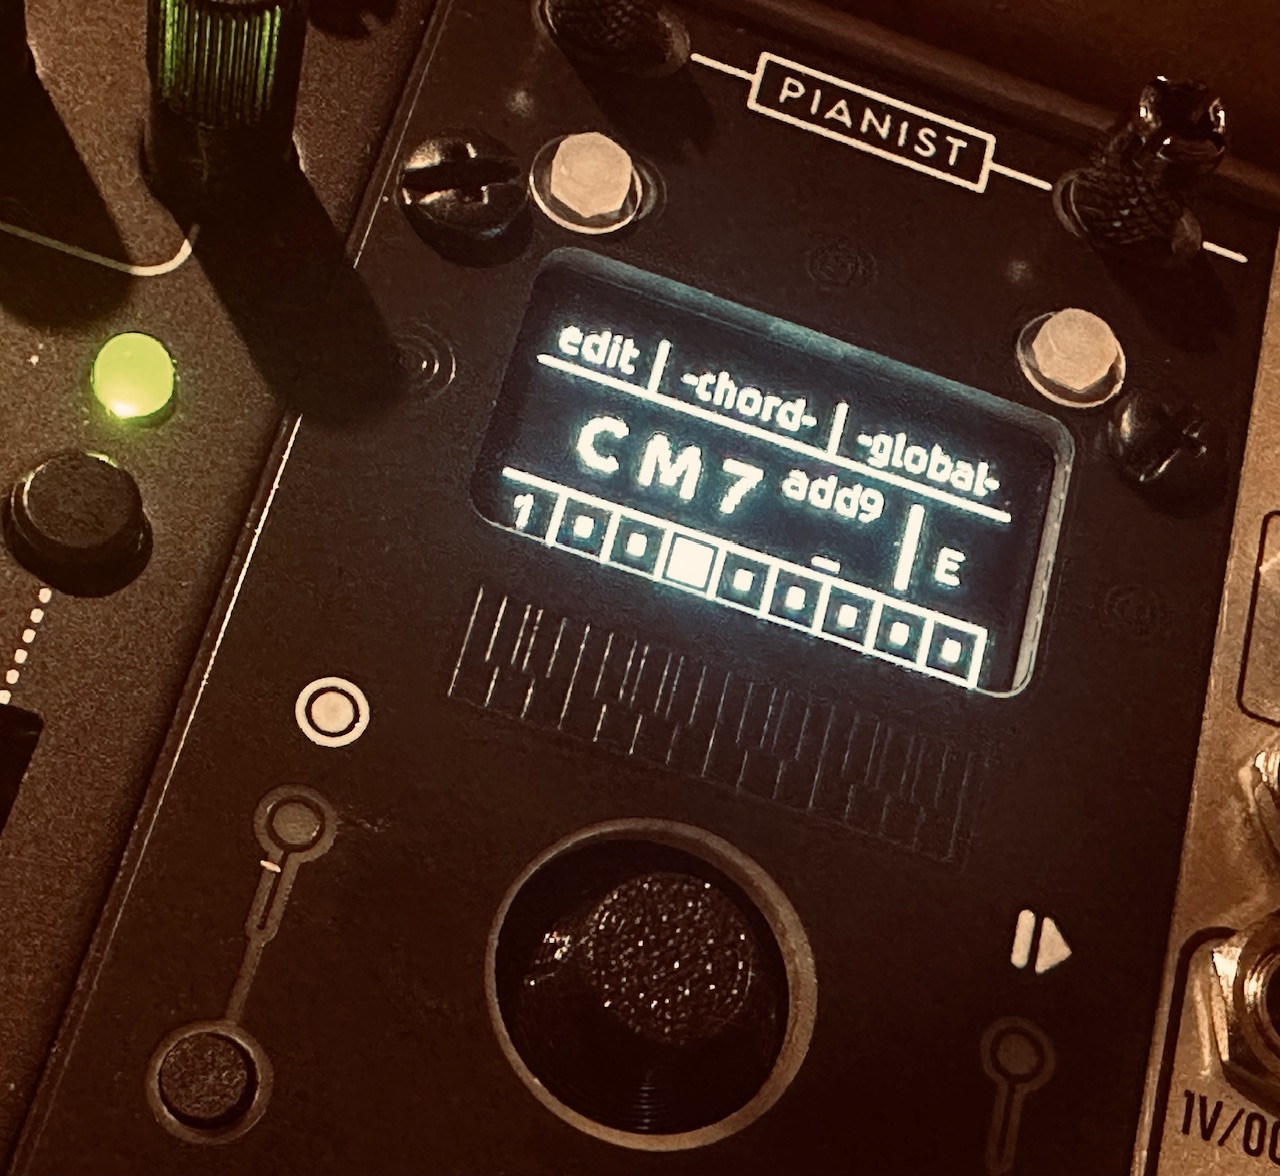
Rather than programming chords note by note, Pianist uses standard western music shorthand for identifying chords, and the module does the rest. When you program it to play a CM7 chord, for instance, it knows to send out pitch data for C E G and Bb. It’ll even repeat chord notes in a different octave if no color tones are used. You can add two chord extensions beyond the 7th, called Colours in the Pianist, or use chord inversions to designate the third or fifth as the bass note in the chord. If a up to six note chord can be played on a piano, it can be played by the Pianist.
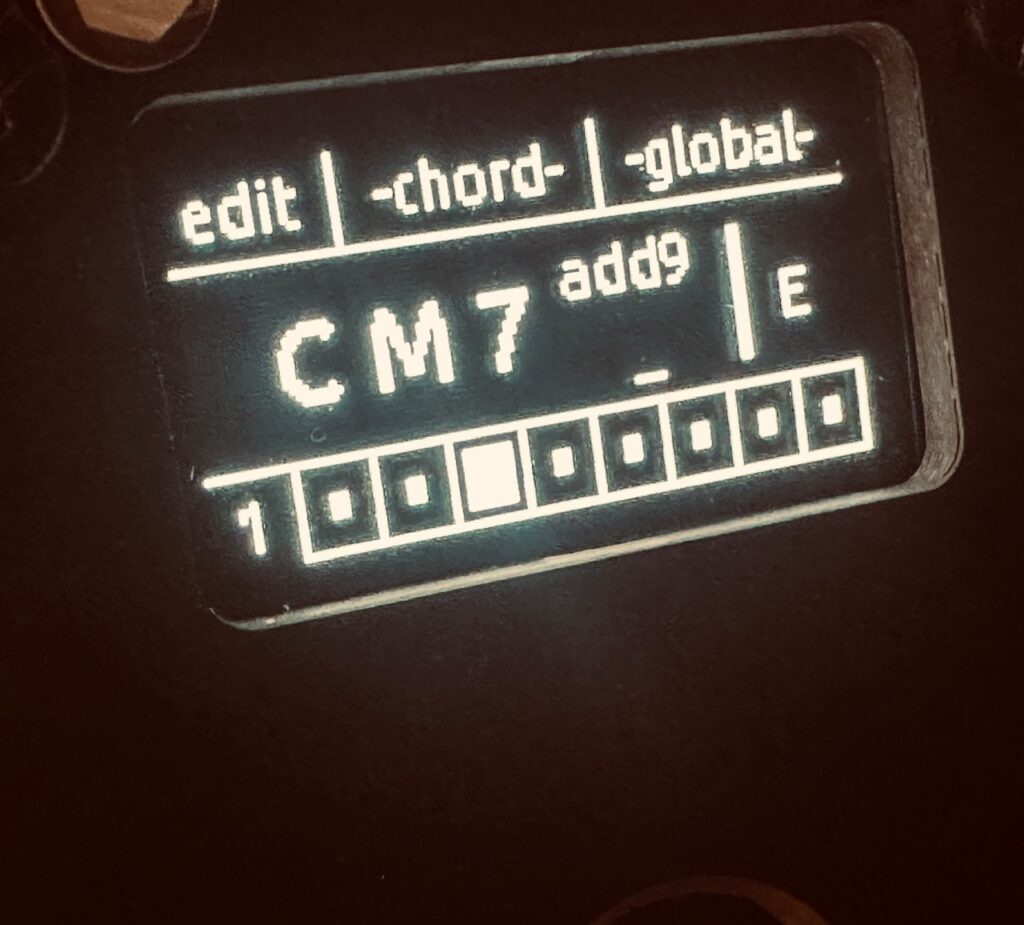
Users can freely enter chords from scratch in Free mode, or, to make the job even easier, set it to Scale mode and choose only from chords within your chosen key. The scale can be set to Major, Minor, or any of the modes2 and Pianist does the rest. So, for example, if a user in Scale mode were choose A Major as the scale, Pianist would present you with only AMaj, Bmin, C#min, DMaj, EMaj, F#min, G#dim, the diatonic chords in A Major, in order to facilitate easier chord progressions for theory novices. As long as your oscillators are tuned, your chords will be in key. Nifty. For those who want to use chords outside of a key, or if your composition isn’t really in a specific key, Free mode allows for creating chords from scratch. Virtually any chord is possible (up to six notes). In both modes, harmonic complexity is simple, with up to two color tones available, and made even simpler in Random Gate mode where each gate received will add random colors automatically, and choose colors that make harmonic sense within that chord. The workflow in creating chord progressions is intuitive. I was quickly making fairly complex progressions with repeats and skipped chords with ease.

Though Pianist is a boon to those of us seeking access to polyphonic 12TET harmonic movement in our Eurorack patches, it does have its weaknesses. Though you can move notes up and down in octaves to create chord depth, it’s done in a haphazard way. Rather than setting each note for the exact voicing you’re looking for, you have to rely on functions Pianist calls Shift and Spread in order to get full, rich chords that don’t clutter a particular part of the audio spectrum, but it’s not exactly clear how that affects the chord as a whole. I can hear changes, but can’t always identify them. Easy variety, however, can be achieved when the Gate mode is set to Spread. No chord will be voiced exactly the same which creates intrigue.

The calibration for the module, at least in Version 1.0, is straight funky. This patch uses eight discrete oscillators. While tuning I sent a C from Pianist to set a baseline. But in order for the oscillators to play the C being sent, they each had to be tuned to G, which I found odd. The newest firmware, 1.2, addresses tuning and scales in a way that version 1.0 does not, which is a great improvement by all accounts, even if I haven’t used it yet to note any changes. Since I’m using Pianist in Free mode in this patch, however, there wasn’t a compelling reason for me to upgrade, though I certainly will now that I’ve finished recording it, even if I have an aversion to the upgrade processes of most digital modules.

The screen has a lot of information, and not a lot of room. However, navigation is still reasonably simple and the information on the screen laid out such that it’s not hard to read. It’s easier to read and use than many far more established modules like the Disting Ex, Kermit Mk3, or uO_C, even if there isn’t a lot of screen real estate. The interface is super easy to navigate using the mini joystick/push button. Version 1.2 is reported to have an even more streamlined navigation and menu system. Though altering global settings like the Scale, Gate or Spread behavior requires some menu diving which is never fun, programming chords decidedly does not. It’s a point and click operation made easy with the joystick, all done on one level. Move the cursor to what you want to change, click, move the joystick to the desired value, and click. Done.

A major issue with version 1.0, which may have been changed, is that it always boots up with the first saved sequence. Unless you save your progression to one of the user slots, you will lose your work if the module power cycles. If you don’t have much in your progression, or it’s a super simple that’s no problem. But if it’s long or has a lot of direction you might be losing a lot. Ask me how I know. 😕
Pianist has its own clock that will change on each beat, along with a clock output to trigger envelopes or some other event as chords change. But it also has a clock input, which will move along the chord sequence with every rising edge like any standard step sequencer. Being that I rarely use a steady clock, I haven’t tried the internal clock, and have instead used clocks created by chaos or some other irregular source. This patch used a fairly complicated sub-patch in order to derive the chord changes. I didn’t want haphazard pitch changes in the midst of notes actively being played, but only when nothing was being heard. Finding an approach for this was time consuming, and although there are probably (certainly?) other methods that would work as well, I settled upon an approach using two comparators, one analog and one digital.

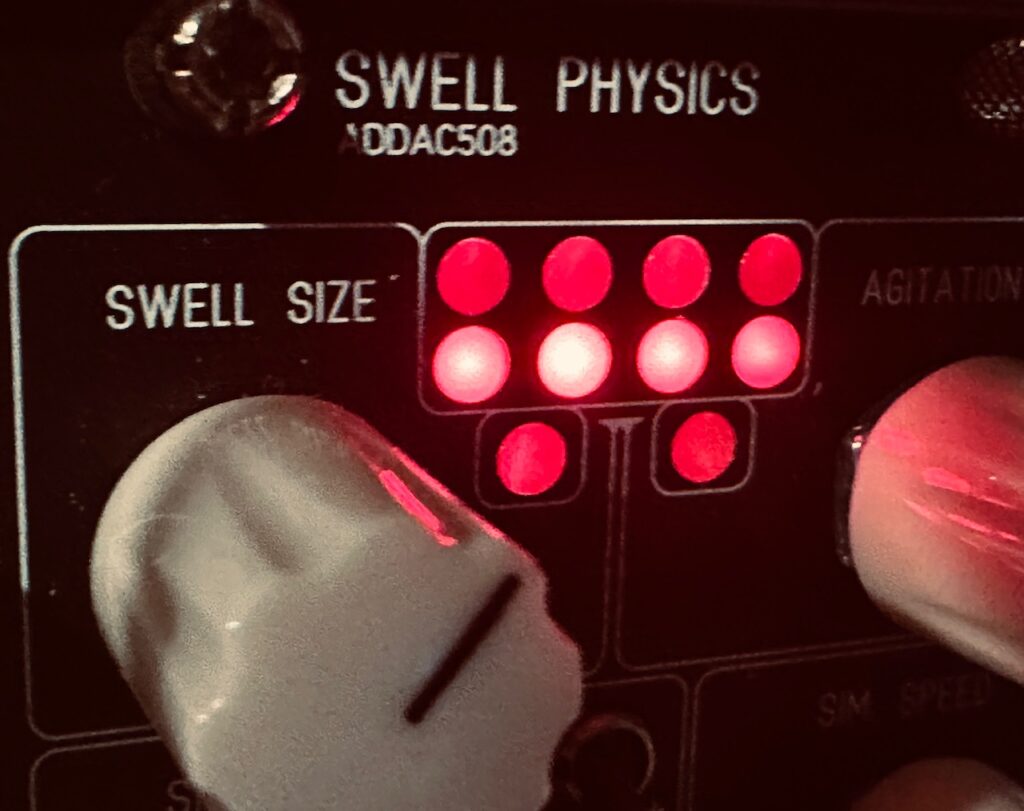
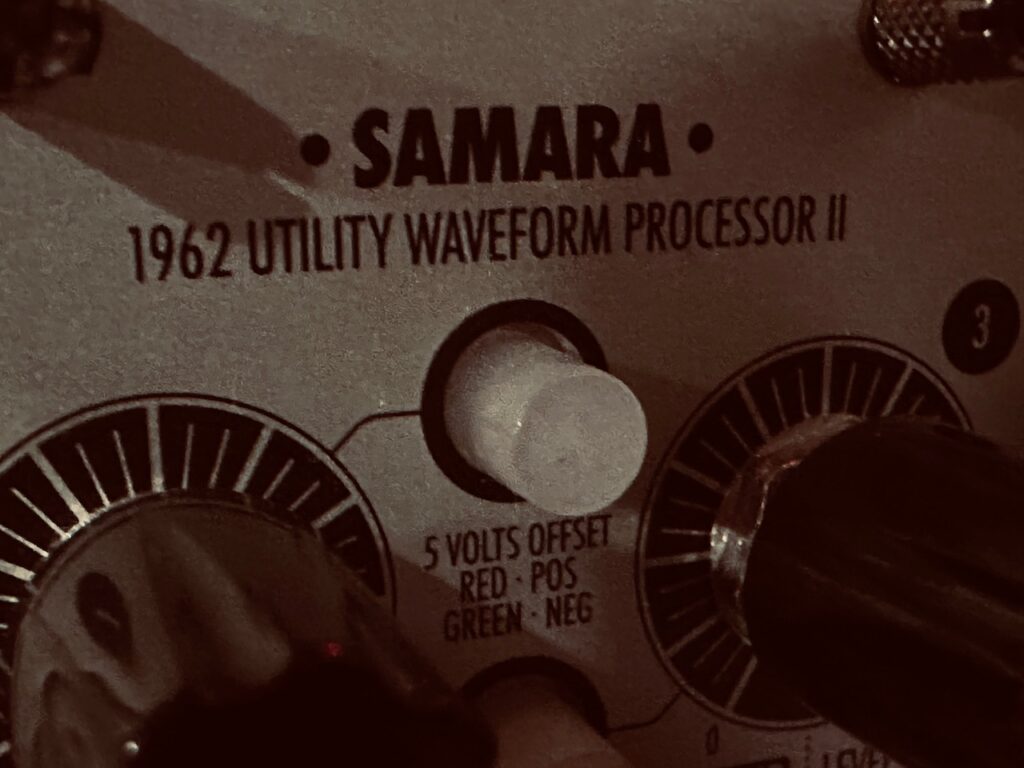
The four waves from Swell Physics first went to the Xaoc Devices Samara II. Samara compares all four inputs, and outputs the Maximum signal (AKA Analog OR). Being that these four waves were controlling the volume of the individual chord tones, it occurred to me that once the Maximum signal went below 0v meant that all four parent signals were below 0v, which meant no volume at all from the chord voice. This is exactly when I want to trigger the next chord in the sequence. I then sent that Maximum signal from Samara II to a digital comparator, the Joranalogue Compare 2, with its compare window set to anything below 0v. So once that Maximum signal went below 0v, it would spit out a gate that would trigger a chord change in Pianist.
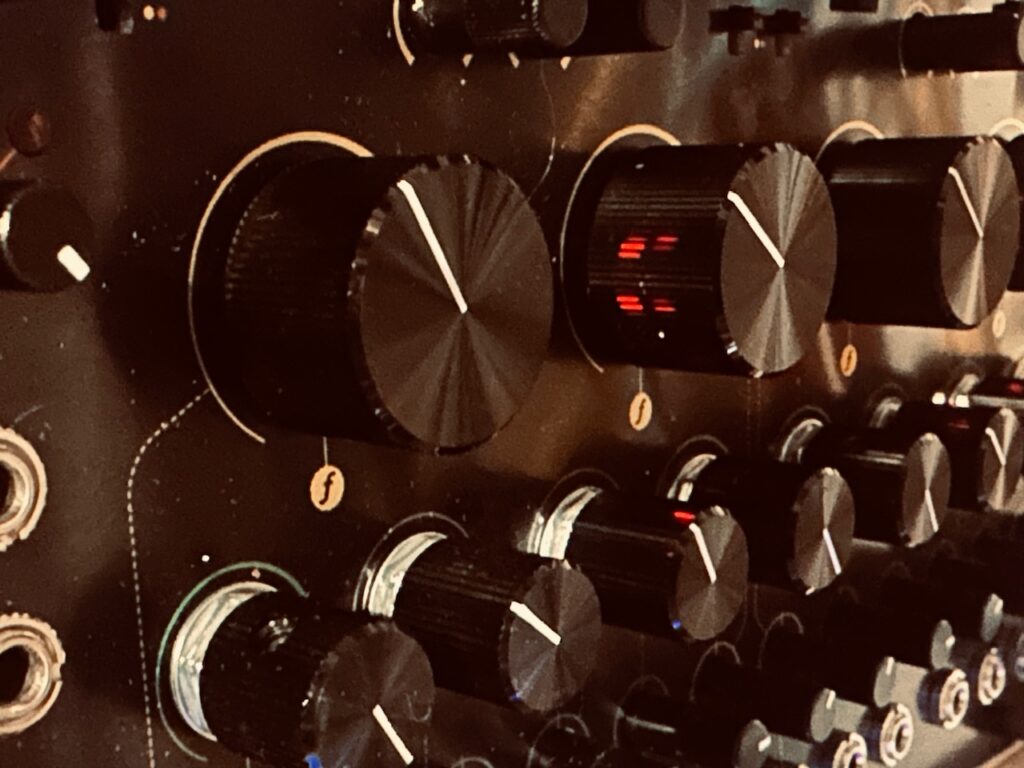
The eight chord tones created by the Pianist went to eight different oscillators. The root, third, fifth, and seventh (or fifth if there is no seventh) form the base of the chord and all go to one of the four Flame Instruments 4VOX oscillators, while the color notes and two additional root notes, one that follows chord inversions and one that does not, all go to a self-frequency modulated Frap Tools CUNSA, where each filter is set to self oscillate, and pinged in a Natural Gate.

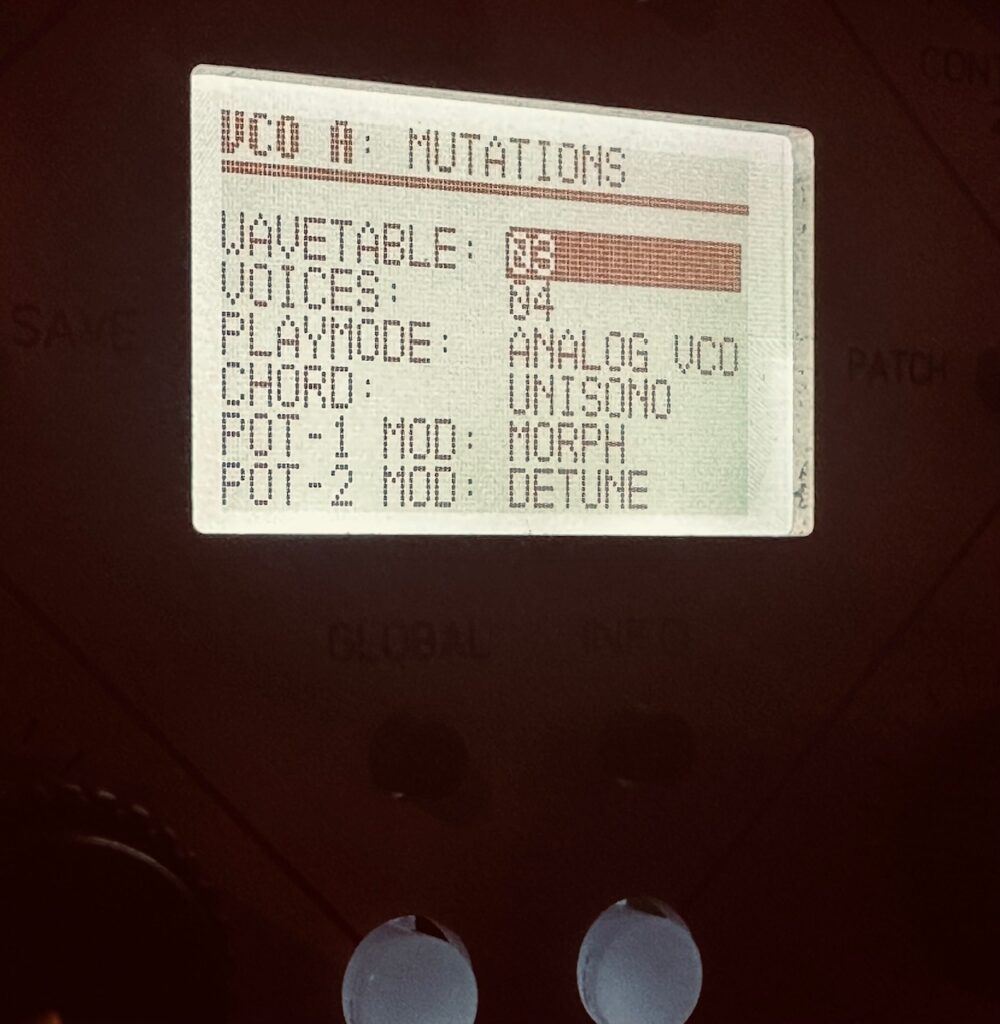
The Flame 4VOX has been around a long time. My brother, a house sound engineer, producer, and DJ who’s been into Eurorack a long time, lusted for one long before I even knew what Eurorack was. It’s a fully polyphonic, wavetable oscillator beast, split into four sections of up to four oscillators each. Each oscillator can create detuned swarms, chords, or be unison. Each oscillator can be controlled by v/oct CV or midi, and is fully polyphonic with its own output. It really was a very advanced piece of gear for its time. It still is, even if it hasn’t been updated in several years and is showing its age. There are two pots and two CV inputs per oscillator that can control several parameters including scanning the wavetable, detuning, amplification, and more. It has internal VCAs to control volume, but I did not like how they functioned at all, and opted to use external VCAs, which worked to my benefit allowing me to modulate two wavetable parameters rather than the volume and only one parameter. There are also separate FM and reset/sync inputs per oscillator, along with its individual output. Even if CV-able options seem to be limited, virtually every facet of the 4VOX can be addressed via midi, although I haven’t used it with midi at all. It’s a very powerful oscillator bank that can cover lots of ground.
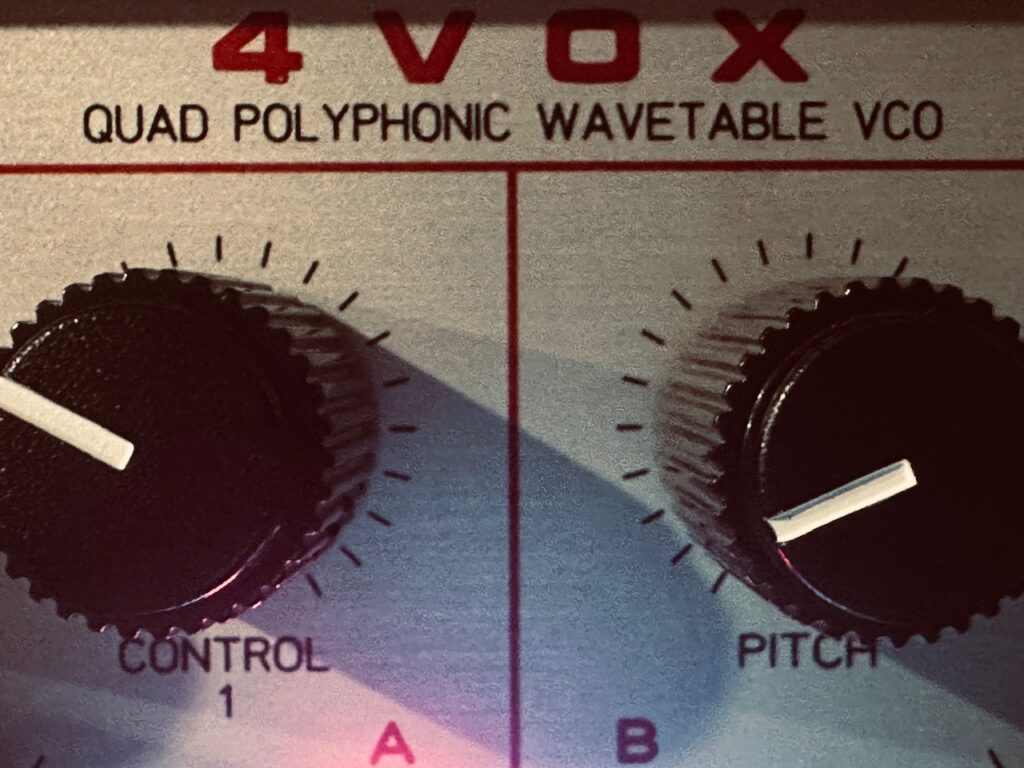
Although I wouldn’t say programming the 4VOX is difficult, it’s not as easy as most more modern interfaces. The screen is bare bones with low resolution and a slim viewing radius. The encoder is a little weird. You have to push it down and turn CCW to move downward in menus, while you simply turn it CW to change parameter values inside the menu. As a unit, it’s impressive. There are lots of options, plenty of stock wavetables to choose from, and it sounds good, but it shows its age. Upgrading firmware is a laborious process with modern computers. Although you can install your own wavetables, the processes to convert them to the right format and get them loaded can be a nightmare, particularly if you’re a Mac user. All of the computer-side software is a decade or more old, and workarounds are sometimes needed. I’m not a “I need to load my own wavetables” kind of guy, and my unit came to me with the latest update, but if I were that guy or my unit hadn’t already had the latest firmware, it would not be an easy task. I’ve had similar problems with older gear before3, and they’re no fun.

The 4VOX forms the base of the chords, brought in and out by the four waves from the Addac508 Swell Physics. The sound is both powerful and delicate, with each quadrant set to four slightly detuned, unison oscillators, each one being slightly modulated by the Nonlinearcircuits Frisson. Although I was pleased with the 4VOX’s performance, the Synthesis Technology E370 is a better overall option. Although the E370 is also based on nearly decade-old technology, it’s still a better user experience. The screen is in color, fully customizable, bigger, and gives more information. The stock wavetables are a gold standard. The software UI is easier to navigate using a more standard encoder. The physical UI is also far better arranged. With the 4VOX, the screen is in the middle of the module, knob locations are not symmetrical, and are more difficult to wiggle once everything is patched up. The E370 has everything laid out very neatly. The screen is on the far left, I/O on the far right, with knobs in the middle, leaving more than enough room to wiggle. It’s really a premium user experience. The only advantages the 4VOX has are its price, size, and complete polyphonic midi capabilities. The 4VOX has always been less expensive than the E370, and that remains true on the secondary market. However, the price differential on the used market is much closer than their respective MSRPs, as the E370 can be purchased for well under 50% of the original retail cost. The price difference on my units, both purchased used within a week of one another, was $100. The size, however, cannot change, and in that regard the 4VOX has the E370 soundly beat. At 29hp the 4VOX is still large (and odd hp 😕), but it’s dwarfed by the massive 54hp E370. It’s the massive size, however, that makes the E370 such a pleasure to wiggle.
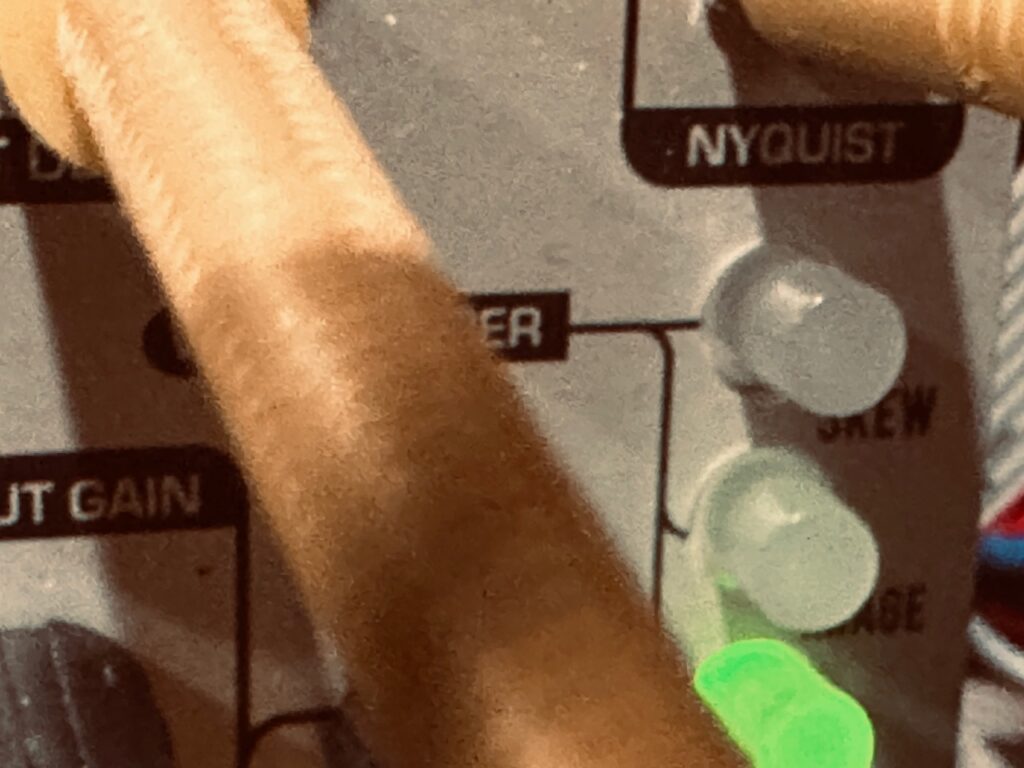
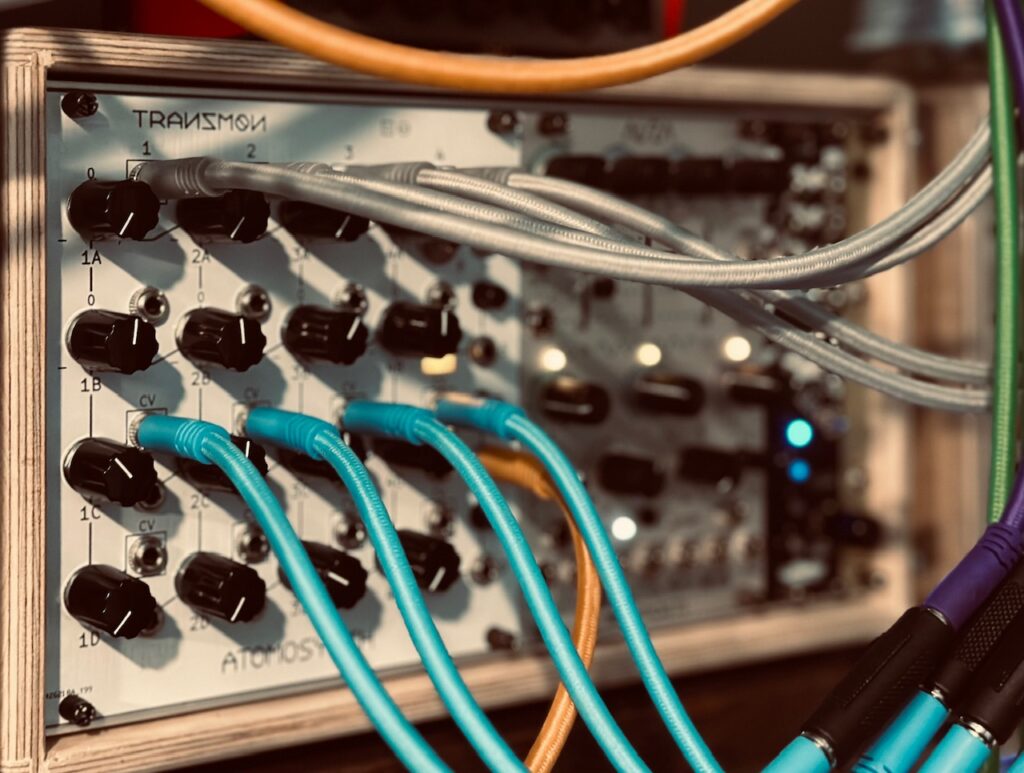
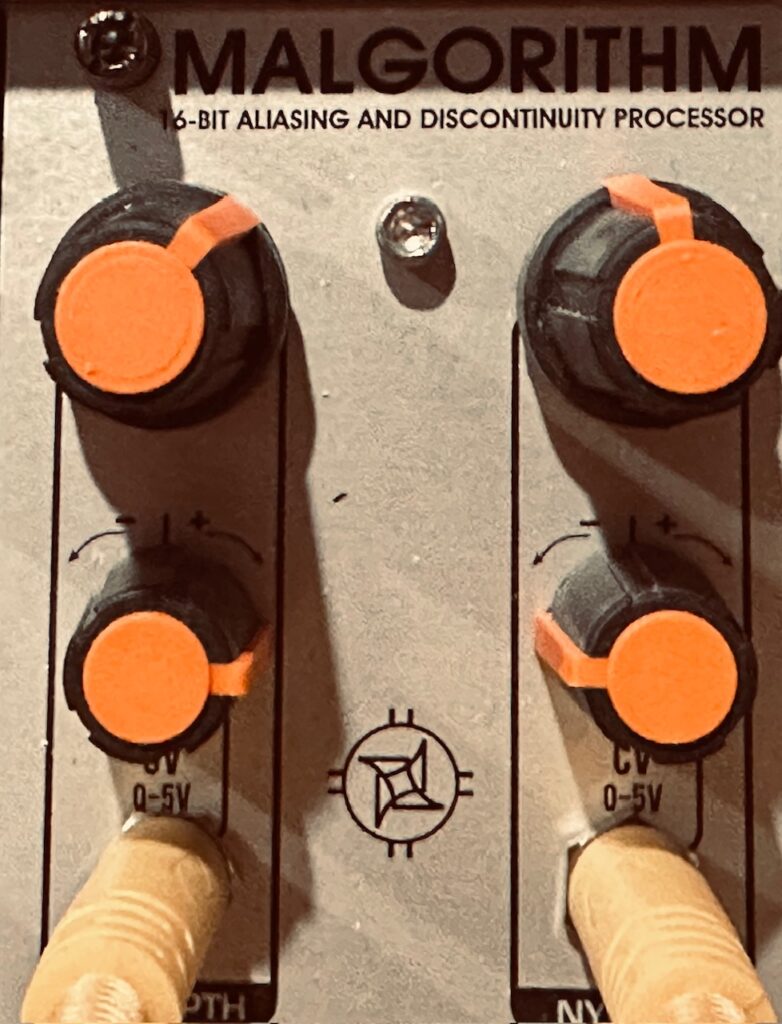
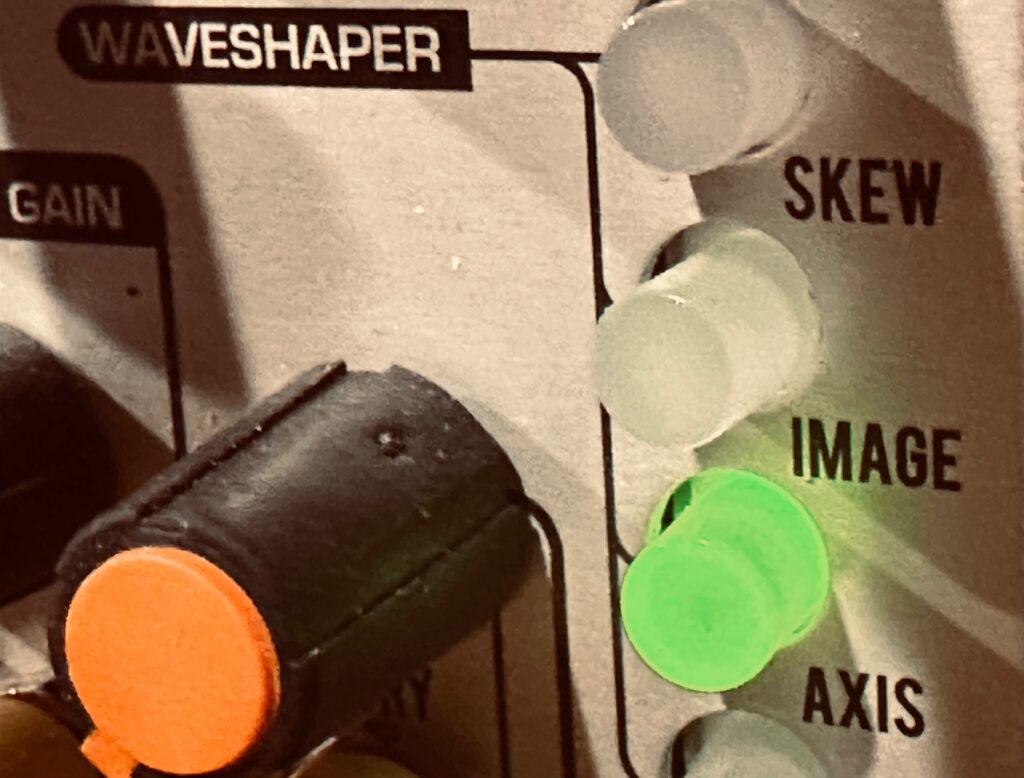
Once mixed to mono in the Atomosynth Transmon, the 4VOX chords went through the venerable Industrial Music Electronics Malgorithm MkII, a powerhouse FSU-type module with bit crushing, sample reduction, and various types of waveshaping available to have anything from subtly crunchy through completely mangled audio at the output. Using Malgorithm was an absolute treat. Most of the lo-fi effects I tend towards are of the vintage variety, tape sounds, record pops, etc, vs just slightly old sounding digital artifacting, so it was a different sort of experience. On any other day I likely would have chosen distortion in this role, but the day I started this patch I precipitously chose to go with a different kind of dirt. And it was perfect. I was still able to get some nasty distortion via the “Axis” waveshaper (whatever that does), with the bit crushing and sample reduction playing a slowly increasing role. It’s starts clean, then moves to understated digital artifacting, and finally waves of full blown destruction, ending clean once again. One aspect of Malgorithm I enjoyed was the interaction between input level and the waveshaping. It responds similarly to tube distortion circuits, where the harder you drive the input, the more distortion there will be ranging from just barely there to outright obliteration. Each of these waveshaping circuits has three different levels, red, orange, and green, and all of them have their own character. These waveshapers can even interact with each other for nuking your audio from orbit if that’s what you want. I rode faders on the very awesome Michigan Synth Works XVI to control both the input level as well as the wet/dry mix in order to provide a performative aspect to this patch. Both the bit crushing and Nyquist parameters were modulated by the Addac506 Stochastic Function Generator, with a fairly wide range of both rise and fall times between medium and long. Each of the parameters were set to moderate crunchiness with the knobs, with their modulation moving towards a full-resolution signal. This created an absolutely amazing effect from the sound of dying batteries to the fabric of the universe being unzipped and sewn back together. I would highly recommend Malgorithm to anyone, but you’d have to find one first.
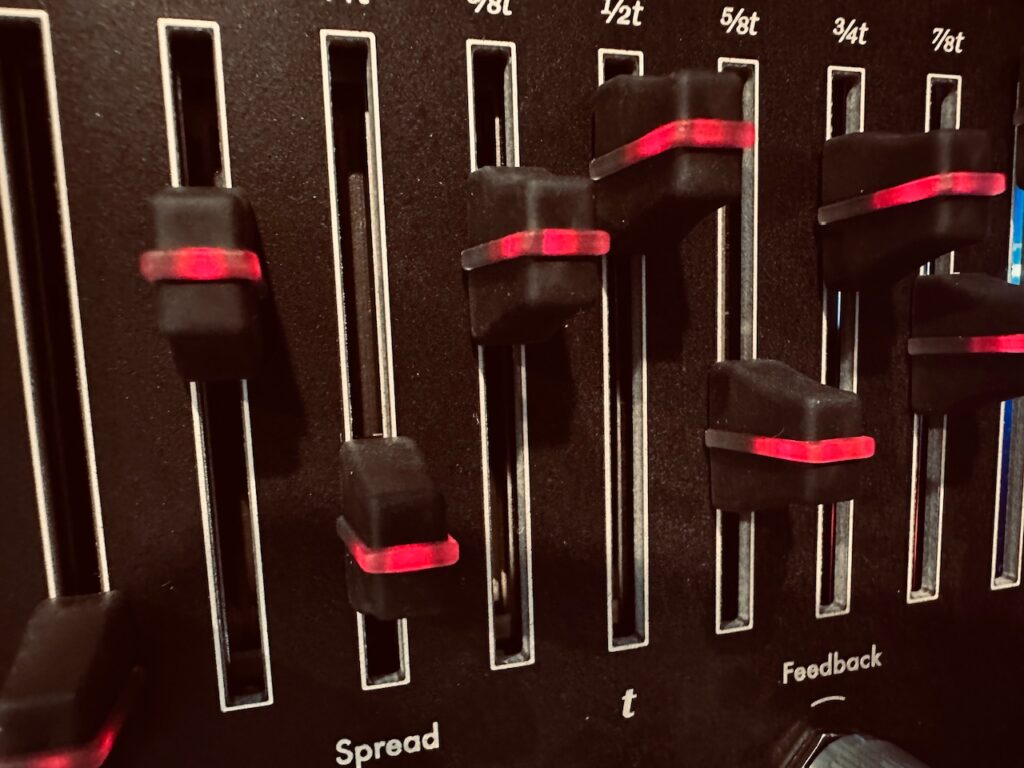
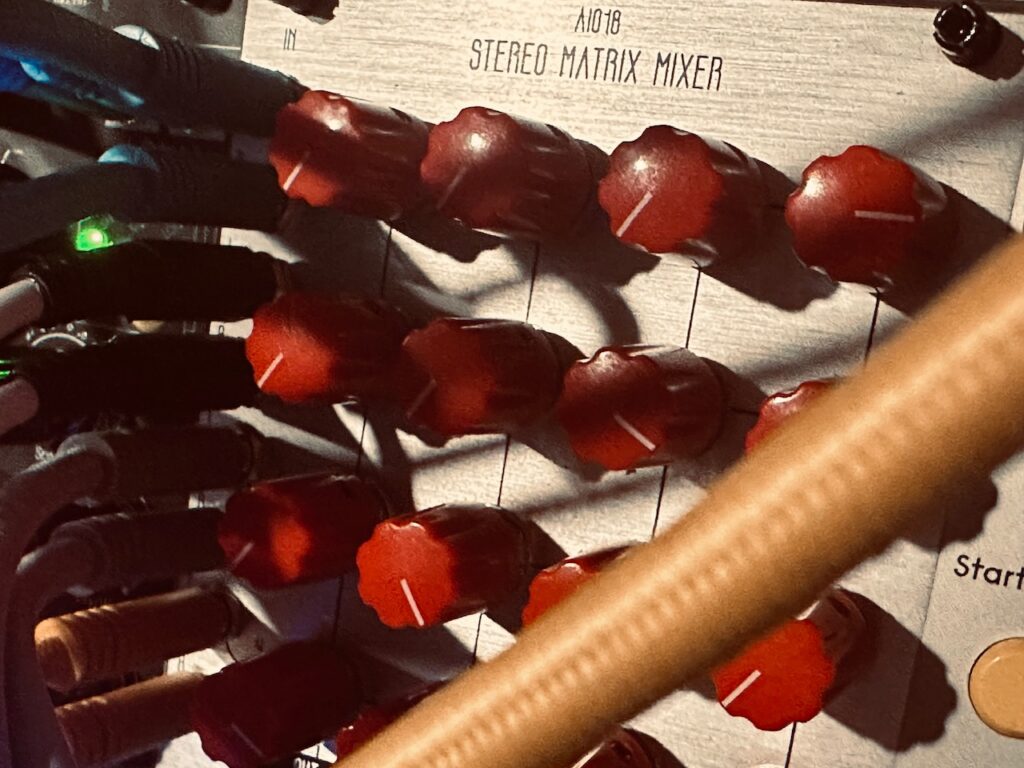
Once through Malgorithm and into the stereo matrix mixer, these now buzzy chords went to the Holocene Electronics Non-Linear Memory Machine, with a very light perfect fifth shimmer in the feedback loop. I initially went with a full octave shimmer, but decided against it as it was too prominent and spiraled too far out of control too quickly. This created a very subtle sheen on the chords that isn’t noticeable much of the time, but is a nice effect nonetheless. Feedback and Spread were both modulated by attenuated versions of the Average output from Swell Physics.4

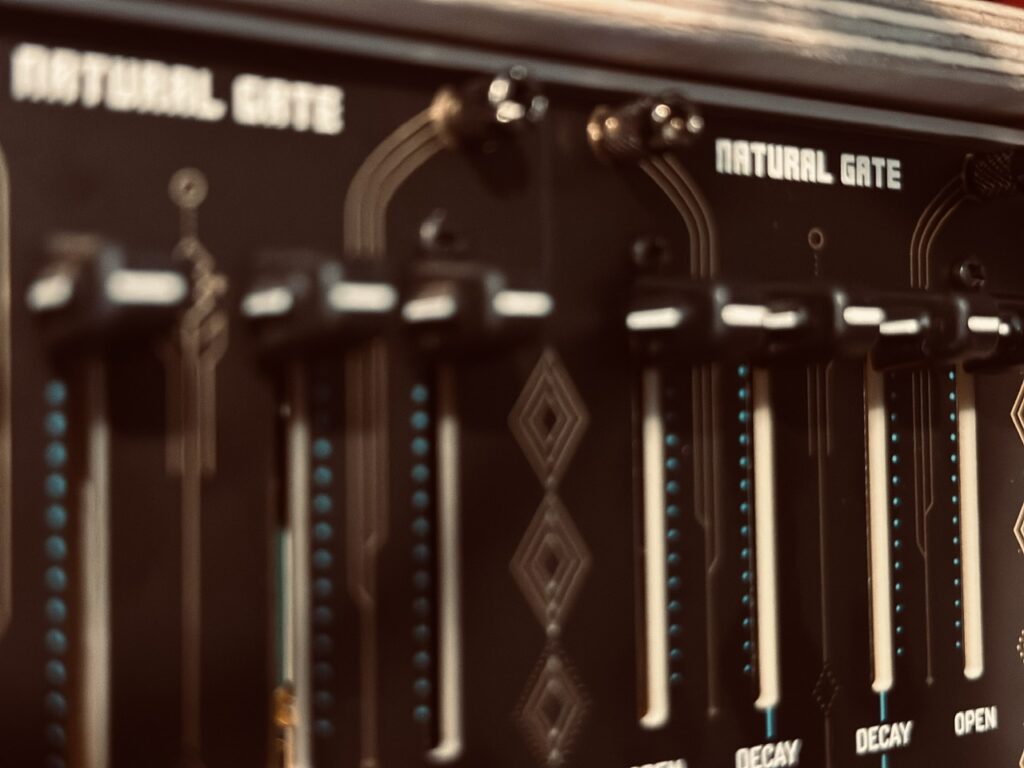
The color tones of each chord were all sent to the mighty Frap Tools CUNSA, a quad filter extraordinaire, and pinged in a pair of Rabid Elephant Natural Gates. Though I was tempted to use the simple sine waves from each LPF output, I later decided to use the HPF output as a means of each oscillator frequency modulating itself in order to add some harmonics, which worked a treat. In retrospect, I could have simplified the patch significantly had I pinged CUNSA itself instead of running the output to Natural Gate, but I chose the Natural Gate route because Natural Gate.

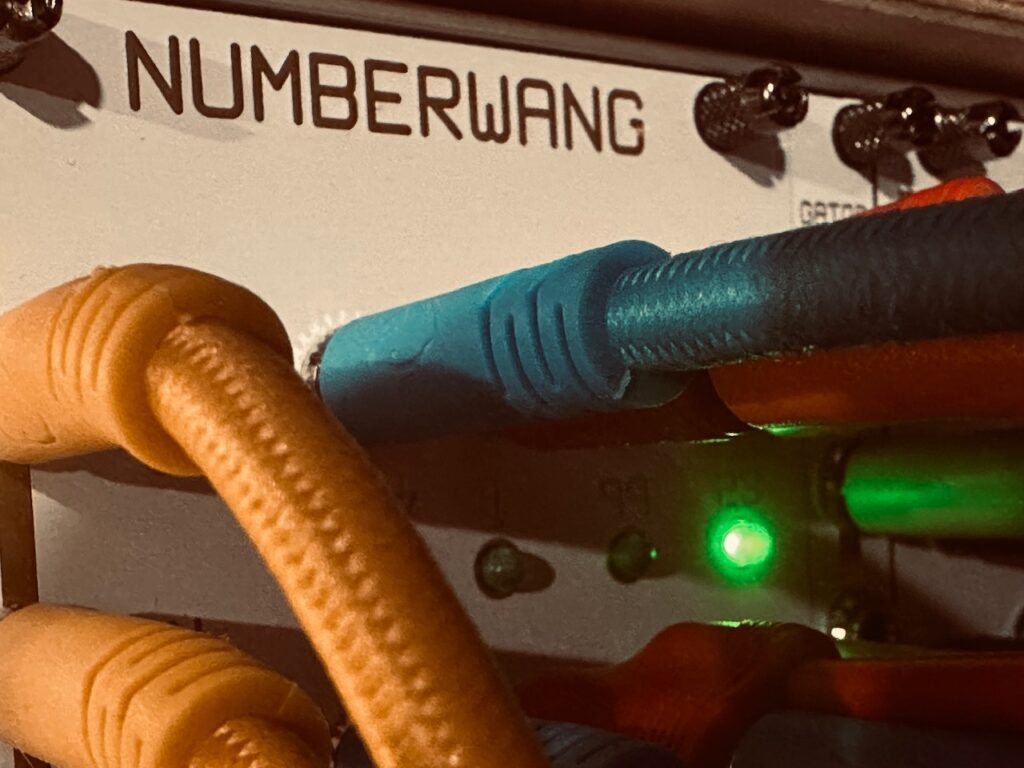
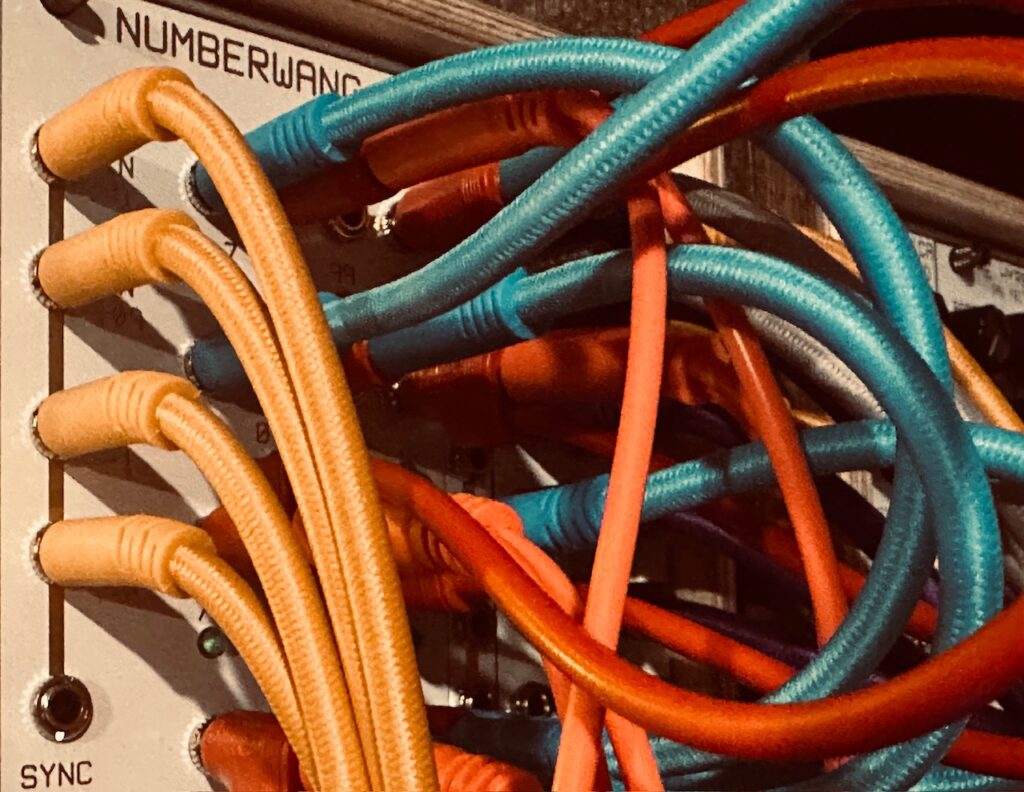
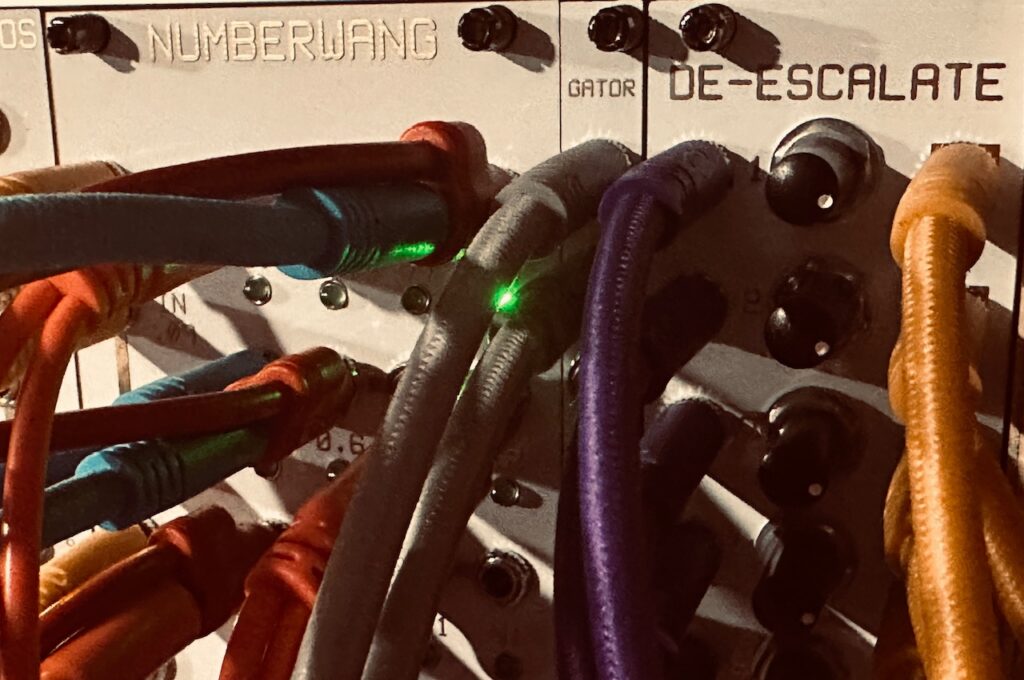
Using a patch technique I’ve used often, the gates that pinged the Natural Gates were created by running the four waves from Swell Physics into the Nonlinearcircuits Numberwang. But rather than simply choosing four gate outputs, I ran several Stackcables so that each strike input on the Natural Gates were each derived from three Numberwang outputs. This filled in space much better. The notes are still sparse, but they’re triggered at a much better pace using three gates each rather than just one. These notes fill out chords in interesting ways. They’re very short, but combined with delay and reverb, those colors hang around long enough to create intrigue in the overall sound without being intrusive.
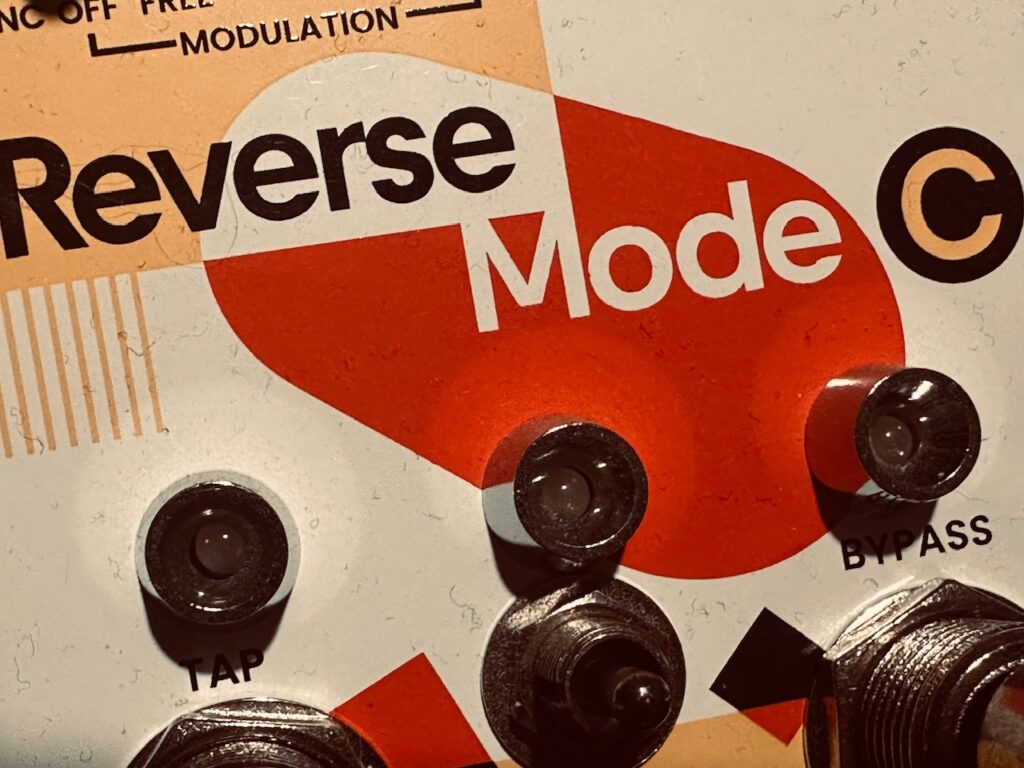
These notes were sent to what is becoming one of my favorite delays, the Chase Bliss Audio Reverse Mode C, a re-imagining of one of the modes on the legendary Empress Effects Superdelay. Although it certainly does standard stereo delay stuff, it excels at being a quirky sort of delay, able to output normal delays, reverse delays, and octave up reverse delays, by themselves, or in a mix. Mixing delays creates a beautiful sound space of echoes bouncing all around the stereo field, at different speeds and octaves, which is an incredible aural treat. I haven’t yet learned to properly modulate the Reverse Mode C, but that’s a function of not having a firm grasp on midi. As I figure that out, things ought to get very interesting, with different sorts of delays fading in and out in very creative ways.
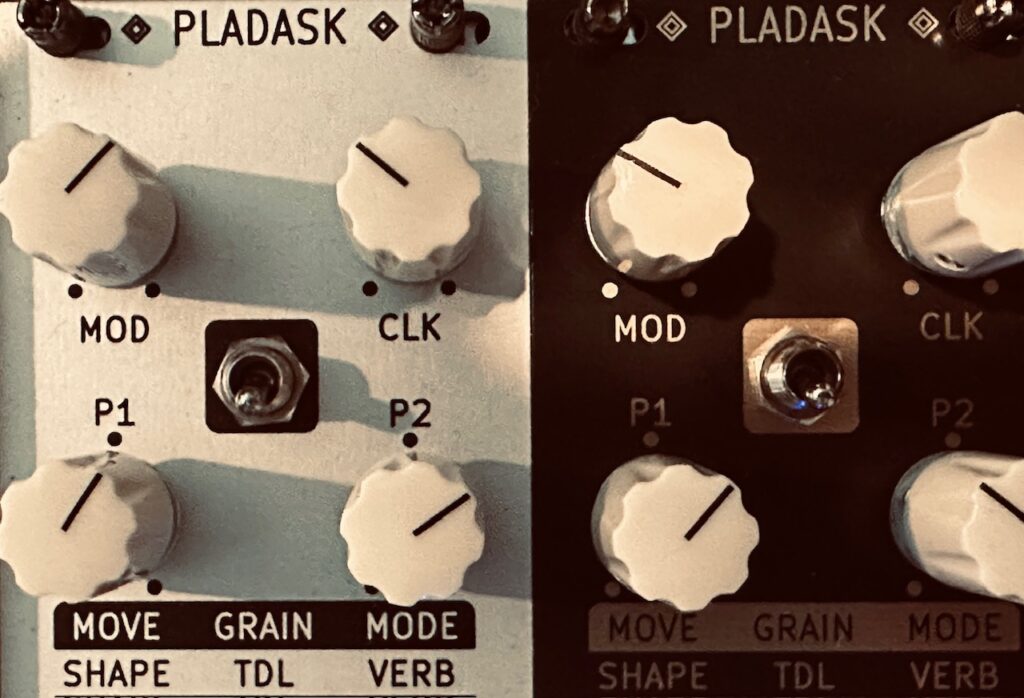
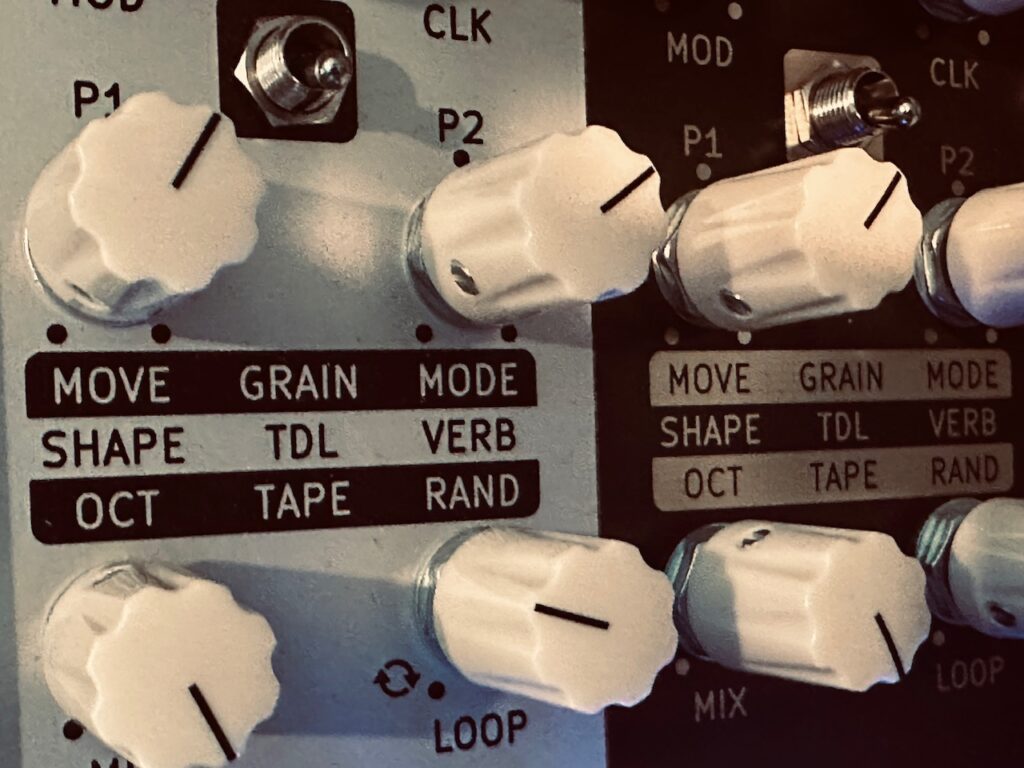
The last synthesized voice in this patch is the Good and Evil Dradds as an effects send, sending both the chords and ornamental color notes for some granular action. The Dradd(s) outputs went to separate EF-X2 tape echoes with different settings. Ever since getting a second Dradd, I’ve been infatuated by what I can do with them, and this patch may be the best result yet. Both were set to Tape mode with similar P2, but different P1 knob positions, with the P1 parameter on both being modulated by an attenuated version of the Average output on Swell Physics. The Dradds, in some ways, steal the show. They create all sorts of movement in the stereo field and fill the space between chords and color notes in ways that keep the piece from becoming still. They’re the wake left after a large swell passes by. The bio-luminescence after a crashing wave.

The spoken voice is a set of three samples that were triggered in Koala on the iPad. Triggers emanated from the gate outputs on Swell Physics combined in the new Nonlinearcircuits Gator, sent to the Joranalogue Step 8 and then the Befaco CV Thing and converted to midi notes that were sent to trigger Koala samples on the iPad. It took me a while to figure this one out, though it worked exactly how I envisioned. Gates from Swell Physics were combined in Gator, which triggered Step 8. Each of the first three steps sent its individual gate output to a different CV Thing input. This ensured that the three samples were always triggered in the correct order. The samples themselves were then sent to a new collaborative delay plugin, Moon Echo, by AudioThing and Hainbach.. Moon Echo is a modeled simulation of bouncing sound off the moon, and has a very distinct character. The delay was set to fully wet, and has a delay of about 2.5sec, though that changes depending on the day. The moon is not at a fixed distance from the earth, and the plugin reflects that. By “pinging” the moon upon startup, you will get the current distance to the moon, and a new delay time down to five decimal points (1/100,000 of a second). Fucking cool.

One thing I did differently with this patch paid off high dividends, and will absolutely become a staple in my recordings. I’ve been patching for a few years, but am still an absolute novice at standard studio stuff. Mixing, EQ, compression, and everything else in that sphere evades me. I’ve used some very basic EQ in the past, but really only on the final output, which, as I’ve discovered has several drawbacks. This patch was the first I’ve ever recorded using EQ, the highly regarded Toneboosters TB Equalizer 4, on individual channels as they were being recorded. The chords, ornamentals, and reverb send received EQ that greatly improved the sound quality, even if it could still be better. I did, however, neglect to put EQ on the Dradds, which proved to be a mistake, as there is a very occasional pitch that pierces through in what can’t be far from dog whistle frequencies. It’s not eardrum busting, but I can hear it, and it annoys me. I didn’t catch that behavior when recording, and never EQ’d it out. That said, it was also the first time I’ve recorded a modular patch in separate multi-tracks, including the chords, ornamentals, Dradds, spoken voice, reverb return, and the mixed stereo signal (presented here). I can go back and make changes or additions should that be something I want to do, or send the parts to someone else for mixing and mastering should I ever choose to release it.

Overall I’m very pleased with this patch. It was originally composed in a different key and completely different chord progression, and for a special group of online friends. The chord progression I used in this recording wasn’t composed, as such. At least not by me. I asked ChatGPT for a “sad progression, yet with a sense of hope.”5 I asked for it to be more sad, and it changed key from Amin to Dmin, and ended in a non-diatonic chord (DMaj), which I found a wonderful “choice.” Then, as a means to test the Pianist, I asked for several chord extensions and inversions, and ChatGPT complied, giving us what we have in the recording.
Modules Used:
Addac Systems Addac508 Swell Physics
Addac Systems Addac506 Stochastic Function Generator
Flame Instruments 4VOX
Frap Tools CUNSA
Frap Tools Falistri
AI Synthesis 018 Stereo Matrix Mixer
Atomosynth Transmon
Industrial Music Electronics Malgorithm Mk2
Holocene Electronics Non-Linear Memory Machine
Pladask Elektrisk Dradd(s)
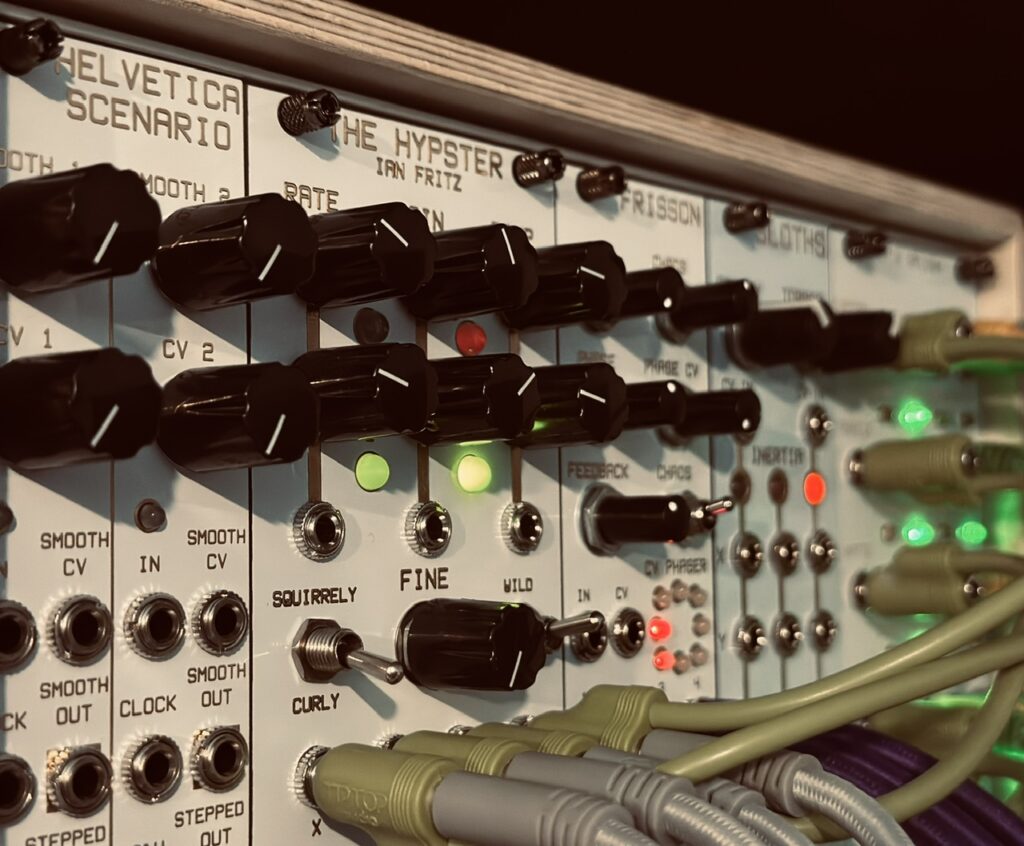
Nonlinearcircuits Numberwang
Nonlinearcircuits Frisson
Nonlinearcircuits De-Escalate
Nonlinearcircuits Gator
CuteLab Missed Opportunities
Rabid Elephant Natural Gate
Joranalogue Compare 2
Joranalogue Step 8
NOH-Modular Pianist
Befaco CV Thing
Intellijel Amps
Xaoc Devices Samara II
ST Modular Sum Mix & Pan

Outboard Gear Used:
Echofix EF-X2
Chase Bliss Audio Reverse Mode C
Walrus Audio Slöer
Michigan Synth Works XVI

Plugins Used:
AudioThing x Hainbach Moon Echo
elf audio Koala Sampler
Toneboosters TB Equalizer

Improvised and recorded in 1 take on iPad in AUM via the Expert Sleepers ES-9.

  1. I studied music performance in college, and have a decent grasp on music theory. The last 30 years, however, have pared that knowledge down to basics. I’m certainly no expert, but I can read chord charts and identify chord notes, even if I have to think for a second. ↩︎
  2. Dorian, Phrygian, Lydian, etc ↩︎
  3. The Humble Audio Quad Operator I purchased did not have the latest firmware update, and the internal VCAs all bled badly. I was unable to install the latest firmware with a modern Mac. I was fortunate to have an older one available to me that I was able to use. ↩︎
  4. There are no fewer than seven modulation points in the patch that are all modulated by an attenuated version of the Average output from Swell Physics. ↩︎
  5. This was literally the first time I’ve ever considered purposefully using AI for anything. ↩︎
Made Noise – Sketch 3

I always seem to find myself both perplexed and captivated by my Make Noise case. Because it’s a relatively small system that’s also a walled garden, modules are limited. I’ve always scoffed a bit at the idea that a small case can spurn on creativity in a way a big case can’t. That it forces you to make deliberate choices and patch in new ways to get the most of what you do have. But with my Make Noise case that’s at least partially true. I’m not sure whether it’s the Make Noise ethos or the small case, but I find myself having to really think through patches. Even normally basic tasks, like mixing, can be a logistics challenge while patching. There are a finite number of jacks to plug, and a static few modules to work with.

After a short hiatus, the Make Noise case is back in order and with a couple of new additions. I needed the case for a travel synth, and I’ve been crazy busy since my return. I made a trip to Asheville and had a really great day at the QMMG in-store event, and I recorded a couple of tracks on the main synth and another on my new Make Noise 0-Series setup since, but I’ve straight procrastinated wrestling with the shitty M2.5 screws and sliding nuts Make Noise uses with their cases.1 Post-trip I also decided, after seeing rack rash on a couple of the travel synth modules from being screwed in without washers exactly once, that I was going to wait until I received longer screws and nylon washers to mitigate any further scratching issues. Rack rash isn’t the end of the world, but being that I move modules in and out quickly, I like for them to retain resale value, especially when it comes to factors I can control.

Once I got the case assembled I went to work. Not on creating a beautiful patch to share with the world (even if I do think the results are beautiful), but on seeing just exactly why QMMG generates the hype it does. How does it ring? Beautifully. How does it squelch? Loudly. How does it sweep? Lovely. How does it bleed? Perfectly.

I set out to re-create one of my favorite patches that encourages vactrol bleed, allowing subsequent pitches of a sequence to be heard after a step has been passed, and before the vactrol has had the time to close the gate of the LPG. These notes aren’t being gated, but sneak through at an audible level anyways as a byproduct of the slow vactrol response. Walker describes these bled notes as “[N]ot ghosts, exactly, because they have yet to exist. They’re more like premonitions or ideas; bulbs casting light on possible futures inscribed in the sequence.” Although I’ve written about this technique before, and use it often, I couldn’t resist using it with the new QMMG. I wanted to hear the vactrols for everything they are, not try and cover them up or hide their true nature. After all, Tony Rolando allegedly has said that the vactrols are the heart of QMMG, and it bleeds. It’s the module’s logo. Vactrol bleed is at the center of QMMG’s identity, and I wanted to hear it.

From Make Noise’s QMMG In-Store event flier.

There are also 3 other voices in the patch. The first is a moderately modulated QPAS, pinging quietly in the background, sounding beautiful as ever. The second is the sine wave of the first DPO oscillator ring modulating the second sine oscillator of DPO in the modDemix. It only hits very infrequently, and is NOT passed through a LPG, but a VCA so that it does not ring past the current step. The third is a ripping bass part that absolutely does not fit with the rest of the patch in any way. What I was attempting did not work. Instead, I got a killer bass sequence that is contemporaneously always staying the same, yet always changing at the same time. This bass line is created with the STO’s Variable Shape output into QPAS in LP mode, with a completely ungated sequence on the X channel, which is clocked by alternating outputs on Tempi. Both of the clocks used were run at different rates, as well as having stops in Rene at different rates.

This patch is not perfect. It’s not even very good. But it’s a peek into the process understanding of how QMMG works, while trying to have a little fun at the same time. I also inadvertently learned a new bass technique for my patching library. If I were to expand on this patch, I’d certainly unmarry the bass part from the rest for its own track, but other problems exist too.

The delay is too forward in the mix. With the initial sequence and its premonitions, QPAS’ pinging, and ring modulated sine waves all going through the delay, it got very busy in the mix, sometimes obscuring the bleeding vactrols of QMMG, which was the entire point of the patch in the first place. I also ran into an inherent problem with using DXG, even as just a mixer. I’ve had my fair share of complaints about the DXG’s inability to not mix. I feel like it’s an extremely important piece of gear in the history of modern Eurorack, but with some serious flaws. It’s the first stereo LPG in existence (as far as I can tell), and made by the LPG legends at Make Noise who made Optomix (two versions), QMMG (two versions), LxD, MMG, RxMx, Dynamix, and the brilliant transistor-based LPG in the Strega, yet despite its importance and lineage DXG is a tragically imperfect piece of kit. As a LPG mixer, it raises and lowers both the volume and the harmonic content of the input simultaneously, more closely mimicking how sounds work in nature. As a sound gets louder, there is more higher harmonic content. As that sound gets softer, it loses harmonic content. And that’s great when you want to create sounds, but when you mix already created sounds together you generally want to control the volume, while leaving the harmonic content intact at every level. The DXG doesn’t allow you to do that. I noticed this phenomena most directly when trying to mix a full wet Mimeophon return signal on Ch 1 from with the dry signal on Ch 2 using its send outputs. Because I didn’t want what amounts to a 50/50 dry/wet mix, I wanted my repeats much softer than the dry signal, the repeats from Mimeophon were not only quieter (good) when patched through the DXG, but also near bereft of its upper harmonic content (very bad). All that pretty Color and Halo being added in Mimeophon, shat upon by the DXG. Although I was able to mitigate this problem by patching the output of the full mixer, rather than only the Ch 2 send output, to Mimeophon, and patching it as an insert using Mimeophon’s mix control rather than as an AUX send with a full wet return as originally intended, this necessary workaround seems to greatly minimize the utility of the Ch 2 send outputs. Traditionally, one would patch the dry signal to Ch 2, the Ch 2 send outputs to Mimeophon with its outputs patched back to Ch 1, and mixed with the original dry signal at the mixer’s sum output. However, losing valuable harmonic content from Mimeophon’s output when I only want to lose volume makes that a far less than ideal use case scenario for me. They work great as mixers, but only if you want to mix inputs at relatively even, loud levels.

Overall I’m pleased with the patch. Not the outcome, per se, but that the process of patching taught a couple of valuable lessons about the gear I’m using so that I might better use it in the future. The QMMG sounds fantastic, both as a LPG and a filter, and I’m slowly learning how to control the Final output of the DPO. Not every patch will turn out well, and that’s okay.

Modules Used:
Tempi
Rene’ V2
DPO
QPAS
STO
Maths
QMMG
Function
Wogglebug
modDemix
Mimeophon
DXG
X-Pan

Performed and recorded in 1 take in AUM on iPad via the Arturia AudioFuse.

  1. I’m clearly a Make Noise enthusiast, but that by no means makes their products perfect. There is no good excuse for sliding nuts and un-washered M2.5 screws in an otherwise premium case. ↩︎

Drifting Numbers

Most of the time in modular synthesis drift is bad. Musicians all over will do whatever is necessary to mitigate drifting clocks or rhythms. Module makers of all sorts include resets specifically for the purpose of realigning the outputs to an incoming clock with the explicit goal of avoiding drift. Maintaining time is crucial in any beat driven track. Except when it’s not. And it’s this rhythmic drift that I wanted to explore in this otherwise beat driven patch.

It’s no secret that I like chaos. I use it for modulation or as a clock in most patches. I generally don’t expect or even desire steady clocks when I use chaos, but I also don’t generally produce beat driven compositions, and when I have I’ve tended towards uniform clocks and on-beat rhythms like most people. But today I wanted to explore a beat driven patch that uses chaos as its driving force. Rather than fear the drift, I endeavored to lean into the inherent wandering of chaotic signals while using them as lead in creating the rhythms. What I got is a wonderful dance of rhythms that want to be in line, but just can’t quite maintain their focus to make it last the whole way through. A set of rhythms that are mostly on the grid, but that occasionally drift before finally meandering their way back to the beat, like an ADHD dad in a grocery store. What we hear is the beauty of chaos in real time.

A few months ago I emailed Andrew at Nonlinearcircuits to ask for a module recommendation. I had lots of CV producers, but outside of sequencers, a clock divider, and EOR/EOC gates on function generators, I didn’t have many modules that can produce a plethora of gates. Although he had a couple of module recommendations, none came more highly suggested than Numberwang. “It’s like Let’s Splosh, but for gates” were his exact words, and I was sold. Whether using regularly timed signals like LFOs or cycling envelopes, or irregular signals like chaos or random, I’d have a gate creation machine that would be directly related to the signals feeding it.

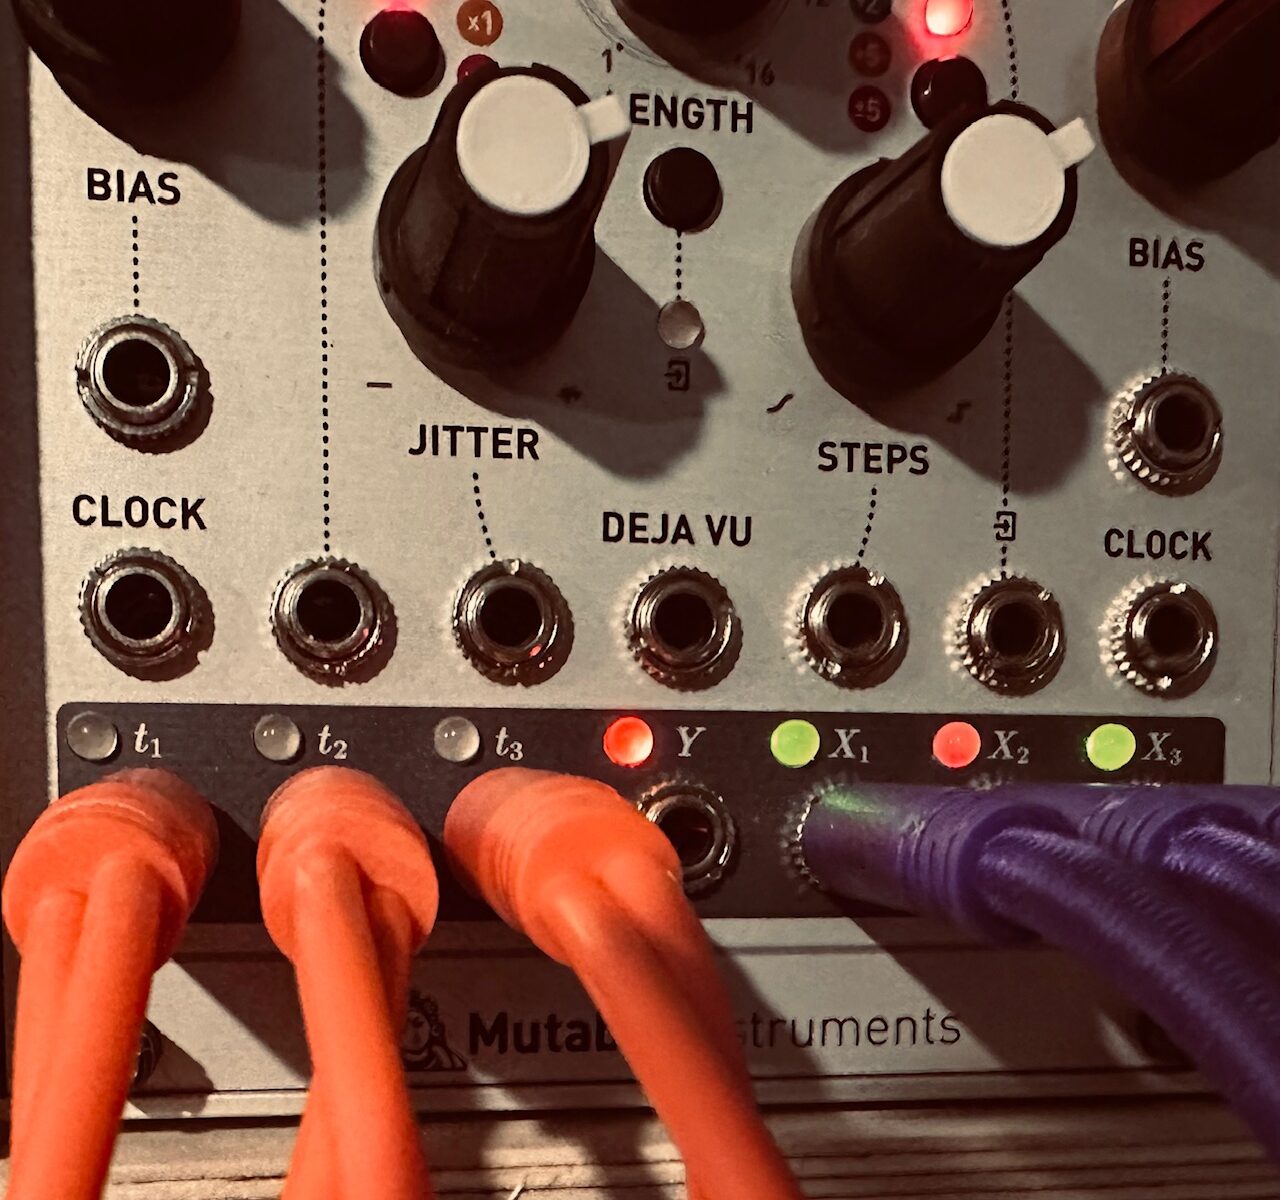
Although I wasn’t sure how this experiment in chaos-driven rhythms would turn out, I knew I could get at least one of the waves to be in time. NLC’s The Hypster has 3 controls (frequency, gain, and damping). As explained in the Build Guide, “Damping keeps the circuits in the range of useful, somewhat regular modulation signals. As we’ll see later, more damping leads to more regular sine-like oscillations.” The guide goes on to show that although the signals are not exactly what we’d call uniform, if we use a good mixture of both both gain and damping, at least one of them will be regular(ish). Regular enough to drive a beat from. What I heard while using Natural Gate to tune the regularity of the incoming gate, saw via Numberwang’s copious blinkenlights, and with my metronome confirmed it.

With Natural Gate pinging away on my down beat, it was time to find those drifting rhythms I was after, hoping that the chaos feeding Numberwang wasn’t too far dampened and too regular. But things proverbially fell in line all too quickly. After trying several outputs on Numberwang in order to get the perfect four beat sequence, I found it. Beat one of the gate sequence is always on time, at the blazing tempo of 53bpm. This is also the beat that controls the kick and hats (using Pam’s as a 2x clock multiplier). Gates two, three, and four drift slightly. And not in that weird, timely way that slightly out of sync clocks drift and realign,1 but in a more organic way that both speeds up and slows down around that base tempo while being on grid most of the time. It’s a playful game between the clock and its trailing rhythms, not unlike three dogs drifting around its steadily paced owner on a nice walk in the afternoon.

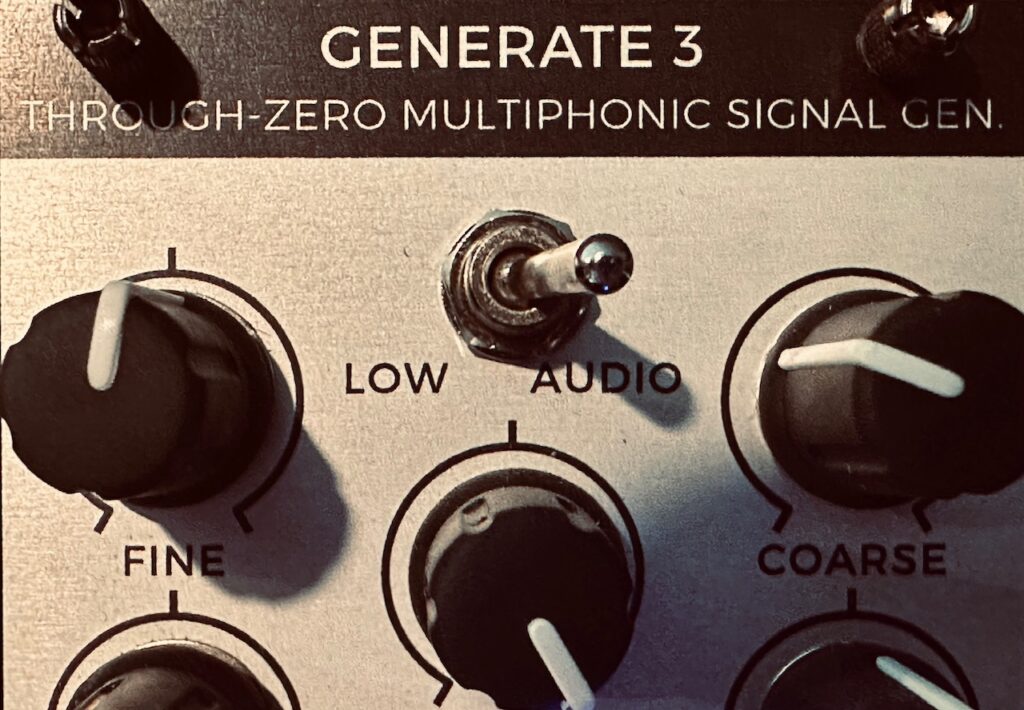
Now that I had a good gate sequence, I needed some pitch to go with it. This patch uses four outputs from the Joranalogue Generate 3 as the main sound source. All four of the outputs (odd, even, full, and core) have very different sounds and timbres, and are up to two and a half octaves apart,2 each patched to a Natural Gate input. But even though I was only using a single pitch sequence for four separate parts, I knew I wanted that pitch to be derived from the same source as my rhythms. I wanted as much of the patch as possible to be driven by those four original chaos outputs. Using a mult, I ran the same four The Hypster outputs used to create my gate sequence in Numberwang to Let’s Splosh, and randomly chose four outputs that were then mixed in the Atomosynth Transmon before making its way to Quantermain for quantization (E Japanese), and finally to Generate 3’s v/oct input. These four Let’s Splosh outputs were modulated in this very excellent voltage controlled matrix mixer via four outputs from the Nonlinearcircuits Frisson. Using four mixed sources for pitch allows for some easy flexibility when trying to add variety. A twist of any of the knobs on the mixer will give a different result in the final pitch sequence. The pitch change was being clocked in Quantermain by one of the unused Numberwang outputs, along with all four notes in the sequence at the Natural Gates’ “Hit” inputs. Once the “Open” parameter on Natural Gate was closed to give the notes definition outside of pitch and timbre changes at about 1:30 in, those same gates also triggered four envelopes on a pair of Frap Tools Falistris to modulate the “Open” parameter and give each note just a little more punch and space.

But Let’s Splosh wasn’t finished doing its part at deriving the pitch sequence, as 10 other outputs were used to modulate various parts of the patch. From subtle changes in the hi hat’s envelope decay, to modulating the “Even”, “Odd”, and “Fundamental” CV inputs on Generate 3 that are constantly changing the timbre of each note produced, and both P1 and P2 CV inputs on both Pladask Elektrisk Dradds used in the patch, Let’s Splosh, and the four signals that feed it, are all over this patch. In total 14 of the 16 Let’s Splosh outputs were used, spreading out remnants and recombinations of those four original chaos signals throughout the entire patch. The only independent module in play that isn’t being driven by those four original chaos signals is the NLC Frisson, which plays a somewhat minor role in modulating direct descendants of those four original chaos signals in getting a pitch CV.

From here the patch is relatively simple, mostly with the sequence running through various effects. The most obvious effect is the ever-wonderful Olivia Artz Modular Time Machine. The taps on the delay combined with feedback can take a very simple four note sequence and turn it into any rhythm I can imagine, and plenty others I can’t, even if the one in this patch is rather unimaginative with all of the taps active, though at different levels. But it’s not just some ornamental delay that I was after either. It’s the Time Machine, when juxtaposed against the steady kick drum, that fully reveals the chaotically drifting rhythm. It’s the key to the entire endeavor. The sequence is only four notes long, and all four notes are quick plucks in Natural Gate. There isn’t much musical information to go on, despite the pains taken to create the patch, and it’s the Time Machine that helps bring that very simple sequence to life. With Time Machine, the slightly out of place notes in the sequence are given a chance to wander. It exposes the frolicsome ebb and flow of chaos for all to see.

Another accompanying effect used in the patch is the always beautiful Rossum Electro-Music Panharmonium. I’ve found Panharmonium to be indispensable in my patches, and have written about it before, as it allows me to fill sonic holes in a very organic way, using the main driver of the composition as its muse. Pitching the Panharmonium up or down to suit my needs, I can fill gaps in the frequency spectrum, or avoid the clashing of instruments in a particular spectrum. I also frequently use it for its excellent ability to fill space, especially in patches that are otherwise sparse, and since it follows its input directly, it’s always harmonically related. In this patch I pitched Panharmonium down an octave using cross faded sines, and ran it through the Bizarre Jezabel Mimosa as an insert, adding progressively more and more distortion as the piece progressed, with it running full wet, though not full distortion, by the end. This creates a bed of pads for these meandering rhythms to float through, while filling space in the frequency spectrum. It helps create texture, and gives the composition some weight.

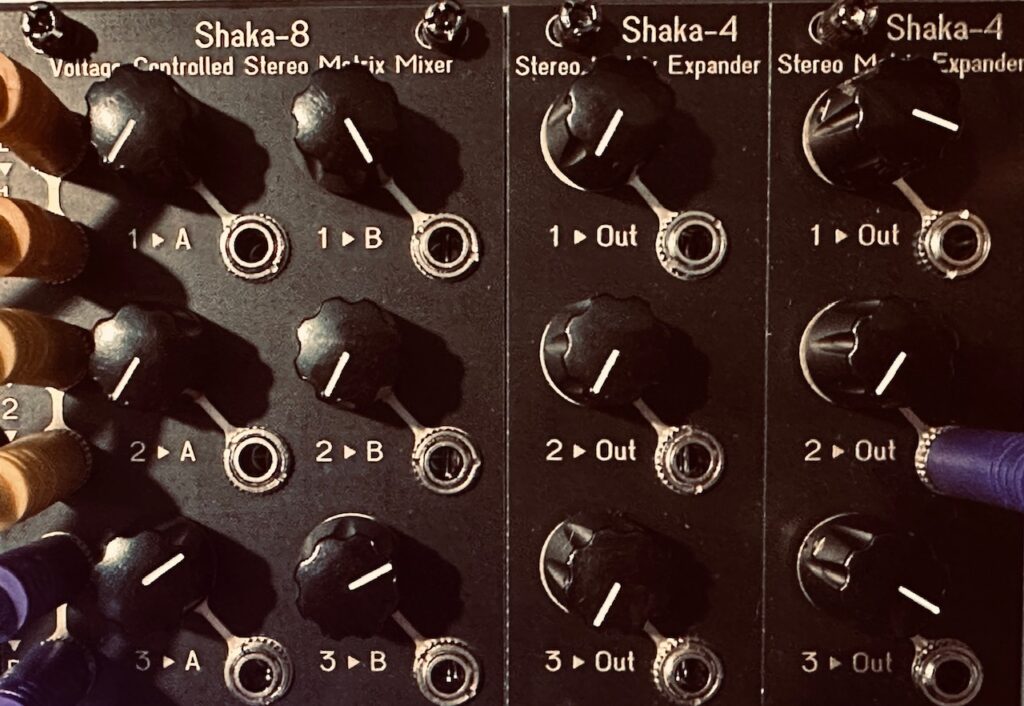
A pair of Pladask Elektrisk Dradds also made an appearance, even if it didn’t really work out. Using the dry sequence and its many repeats from the Time Machine, my first thought was to fade the granular outputs of the Dradds in and out. Something to add some ornamentation to the patch, but without being prominent. It sounded great when I was setting it up, but is barely audible for most of the patch. Which brings me to the new SetonixSynth Shaka modular voltage controlled stereo matrix mixer.

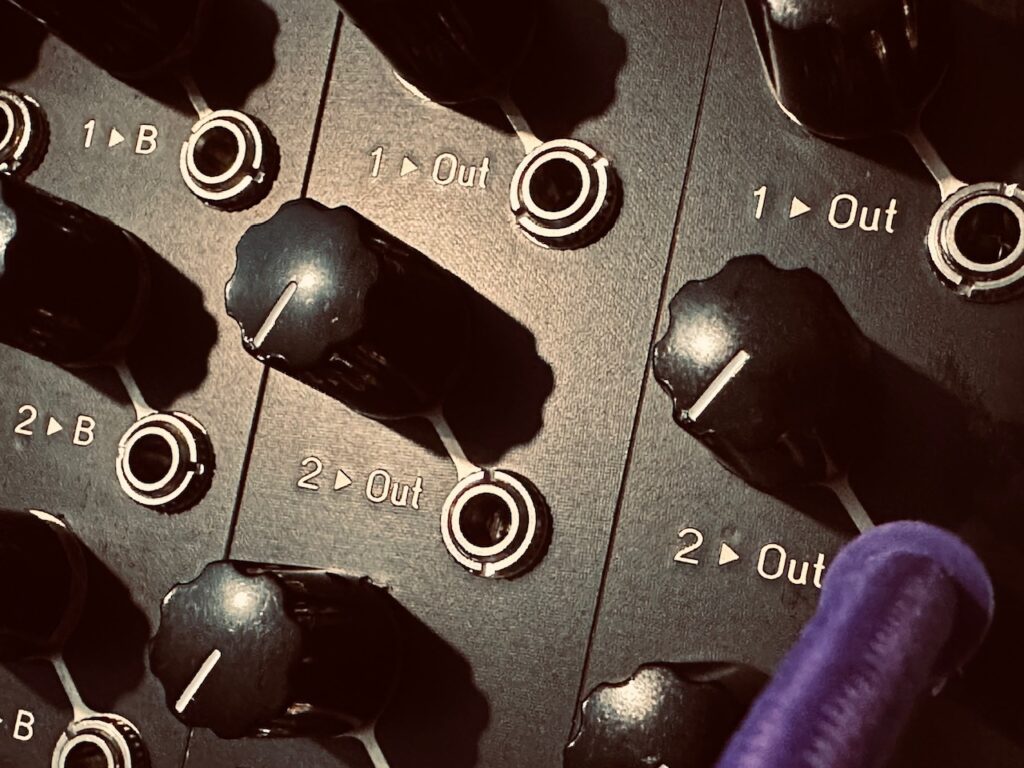
It’s also no secret that I really like the AI Synthesis 018 Stereo Matrix Mixer. It fundamentally changed the way that I patch and how I go about composing pieces from the moment it was first installed. It opened up a lot of opportunities for how I enjoy patching in modular. I’ve used it in literally every patch since it went in the case. It prompted me to buy the also excellent Atomosynth Transmon voltage controlled matrix mixer. When SetonixSynth announced earlier this summer that they would be releasing a voltage controlled stereo matrix mixer, I knew I was going to get it. I quickly joined the pre-sale mailing list which would give a goodly discount on the first units sold. As soon as I got the email with a link a couple of months later, I went ahead and purchased a Shaka 8 and two Shaka 4 expanders for a four input, four output voltage controlled stereo matrix mixer. There’s the very real possibility that I purchased the first one sold once that link went live. As soon as I got it, it went in the case. I used it in my first patch after putting it in, though I didn’t use any voltage control, opting to see just how close it is to the AI Synthesis on an even playing field. It sounded great. Like the AI Synthesis, the Shaka system is made foremost with high quality sound in mind. But I did notice that the exponential nature of the volume control was unlike anything I’d used before. There’s no sound output until you get to about noon on the dial, and it moves up rather quickly from there. According to the developer, at full attenuation, the output is at -100dB, while it’s still a remarkable -50dB with the dial at noon, maxing out at unity gain (8v) at full clockwise. Adding CV up to 10v can output your signal at +20dB. But that leaves just half a knob twist to dial in the level of each node, making fiddling with knobs a must, and the need for precision is paramount, especially if you’re to perform with it. I won’t say I had trouble dialing in good levels with the knobs. It was easy enough, even if that meant paying much closer attention to a simple process than I normally might.

But once I decided to try and use CV control with this patch, I was stymied by the exponential nature of the level control. I’ve never used an exponential VCA before. All of mine are either linear, or somehow switchable between linear and logarithmic. I was trying to do relatively simple things that I’ve done since my very first patch, like using a cycling envelope to open and close a VCA, and I simply couldn’t figure it out. My first thought was that since the VCA is fully open at 8v, I’d send an 8v envelope in the CV input for a channel and everything would be right with the world. Only it wasn’t. With an 8v envelope from Zadar and the knob at full CCW, I got virtually nothing from the output. I would hear the two Dradds granular-ing away for perhaps two seconds of a 20 second envelope. I couldn’t get any sound at all until the envelope was higher than 6v. I was stumped, with no idea what the problem was, much less a solution. I tried adding some offset with the knob, but that only led to blowing the signal out quickly. I never did find a good solution, hence the sparse appearance of the Dradds.

But hope isn’t lost. In the Shaka thread at Modwiggler, I noted my frustration and was given a couple of tips by the developer. He admits that using CV will take some adjustments to how one might normally patch a VCA. In his last response to me he noted, “With such a slow moving LFO, your best bet is probably to attenuate it more into the range you want. The full attenuation of this module is -100dB, the maximum allowed by the VCA it’s using, so at 10 o’clock it attenuates by -65dB and at noon it attenuates by -50dB. Depending on the input signal that is still a lot of attenuation, so is probably where you want to start for many applications.” He further goes on to say that having silence was his goal at full attenuation, noting that it was the largest concern from testers during development. Having had mixers and other gear that bleeds audio where it doesn’t belong, whether in an output or via crosstalk between separate channels, I can’t say that I blame him. If it’s not a vactrol based device, it shouldn’t ever bleed.

That said, this needed conditioning of CV before going to a VC mixer seems to be trading one hurdle for another. A voltage controlled mixer is desired so that you don’t need separate VCAs to manage signal levels. They’re built right in. That’s a highly desirable feature, especially with stereo signals. But if I need a VCA, or an attenuator, to condition my CV for use in the mixer CV inputs, I’ve simply traded out the reason why I need a VCA pre-mixer. It’s a side step, when the point is an improvement. An external VCA is an external VCA whether it’s used for note shaping before a mixer or envelope attenuation in order to shape the note in the mixer. Add in the relative complexity of having to carefully attenuate and shape the CV alongside meticulous knob placement on the mixer itself so that the CV functions in the way you think it should, and I’m not yet convinced that this particular implementation a real step forward. I’m not yet ready to give up on the Shaka system. It’s a very powerful idea that could bring yet another boon to my patching in the same way the AI Synthesis 018 did over a year ago. But if these VCAs don’t function like virtually every other VCA I regularly use, and CV preparation is more of a chore than simply using a VCA for note shaping before the mixer, I’ll have to re-evaluate its place in my rack.

Unfortunately I was unable to get good CV control over the Dradds’ level, and it only peeks through seldomly, and for only a short time. Fortunately my inability to get good CV control over the Dradds wasn’t a crucial part of the composition, and despite its absence, the patch sounds great.

The last part of the patch couldn’t be simpler. The kick drum is a simple filter ring with the Frap Tools Cunsa. The same envelope used to hit the filter input is also used as FM to give the drum a bit more punch. The hats are just as simple, using white noise from Sapel that is patched through Cunsa using a HP output. The VCA in Cunsa is hit by an envelope with a very lightly modulated decay to introduce some difference. Something between a fully closed “tic”, and a very slightly opened “pshh.” Both envelopes are clocked originally from that same regular downbeat of the four step sequence, but it’s patched through Pamela’s Pro Workout. Both outputs are at a 2x multiplier, with the hi hat output being shifted 50% to be on the offbeat.

Overall, this was a really fun patch to make. I had an idea that I was able to bring to fruition, despite some difficulties with a new piece of gear. I’ll keep working with the Shaka system until I either conclude that it’s better than the AI Synthesis 018, or I’ll sell it and wait for the next alternative.

Modules Used:
Nonlinearcircuits The Hypster
Nonlinearcircuits Numberwang
Nonlinearcircuits Let’s Splosh
Nonlinearcircuits Frisson
Nonlinearcircuits De-Escalate
Atomosynth Transmon
Joranalogue Audio Generate 3
Rabid Elephant Natural Gate
SetonixSynth Shaka 8 + 2x Shaka 4
Rossum Electro-Music Panharmonium
Olivia Artz Modular Time Machine
Bizarre Jezabel Mimosa
4ms Shaped Dual EnvVCA
Xaoc Devices Zadar
Schlappi Engineering Boundary
Frap Tools Falistri
Frap Tools Cunsa
Frap Tools Sapel
Intellijel Amps
Pladask Elektrisk Dradd
Knob Farm Ferry
Pamela’s Pro Workout

Pedals Used:
Vongon Ultrasheer

Performed and recorded in 1 take in AUM on iPad via the Expert Sleepers ES-9.

  1. Or how how the turn signal in your car will drift in and out of time with music or another car’s turn signal. ↩︎
  2. As explained in the Generate 3 manual, “[The Core output] is the 10 Vpp triangle wave output straight from Generate 3’s VCO core. Also note that it is at half the frequency of, so one octave below, the fundamental output, and thus can be used as a sub-octave signal” The manual continues on to note that the “Even” output is a saw wave at twice the frequency of the fundamental, the odd is an octave and a half higher (beginning on the 3rd harmonic), and the “Full” wave being all harmonics, including the fundamental. ↩︎

Piano Mist

There’s a patch that caught my ear in the days after a recent shoulder surgery while I was stuck in the recliner hopped up on pain killers, and looking for every distraction I could find in the synth-based slice of the internet to keep my time occupied. Unfortunately for my wallet during this time, I happed upon Tom Churchill’s excellent tutorial demos on the Xaoc Devices Odessa and Sofia (which led to an entire new Xaotic Dreams Subsystem). Stazma’s (AKA The Junglechrist) demo of the Verbos Harmonic Oscillator (particularly how it pairs so beautifully with the Multi-Delay Processor) led me on similar path with Verbos.

But it was one patch in particular that I kept coming back to which had me captivated. Over and over I’d listen to it, allowing its peace to wash over my ailing mind and soothe my temporarily excruciating existence. As I watched I would try to make out through an oxycodone fog what was happening, hoping that as soon as I was able I could create something like it. I took notes as best I could, and I traded my BitBox Micro so that I could acquire a Disting Ex. Although BitBox Micro is capable of playing polyphonic multisamples, and is a fantastic module in its own right, it can only do so with MIDI, and I needed to use CV and gates.

My first foray with this patch was a mess. The basic framework was more or less built out, but lots of things were off. My first problem was a horribly calibrated Disting Ex. Its pitch was wildly off, and nothing was in tune despite receiving carefully calibrated pitch CV. Once that was fixed things were much better, but I still had far too many dissonances that weren’t at all what I was looking for, and I wasn’t sure how to fix it. I couldn’t get the speed to something I felt was just right. I couldn’t get a satisfying note distribution. I wasn’t at all satisfied with it. I recorded it, but every time I’d listen back, I’d hear mere flashes of my goal disappear into a dark cloud of dissonance. Each listen prompted me to revisit the idea.

I’ve made over a dozen other modular recordings since that first try. Jamuary was productive. Not a single one of them attempts to use polyphonic multisampling. Not a single one of them uses Marbles or Disting Ex (in any capacity). I’d stepped away from it. During that time, when I would take a few moments to think about the patch, I gained some perspective, as well as some newfound patching knowledge and experience with the various patches I was making at the time. I was now better prepared to revisit this piano patch with a fresh take.

I knew that one of my initial problems to solve was that the original patch had too many notes available for CV to address. My first attempt at this patch was in C Major, and I left all 7 notes of the scale available between C1 and C5 to all 3 CV inputs. Marbles spits out randomly generated pitch CV and gates from its X and T outputs, which goes to the 3 CV and gate inputs on the Disting Ex, via Quantermain in the Micro Ornament and Crime. Despite having quantized pitch CV, using the maximum number of notes meant that any number of dissonances can happen at any point. Nobody wants to hear E juxtaposed with F, or any other dissonant intervals, with any regularity. Particularly not when there can be several dissonances occurring simultaneously. It’s harsh, when I’m looking for smooth.

Along with a key change (C Major to C Minor) I also made adjustments such that each pitch CV input would only generate particular notes of the scale, and not all of them. This change made dissonances few and far between, which meant those dissonances were now artistic tension that would quickly resolve to something more pleasing, and not a stream of clashing notes that barrel into one another, overtaking the piece. I made some minor adjustments to the Rate and Jitter controls on the Mutable Instruments Marbles to get a more satisfying pace and amount of sloppiness in note instantiation. I also tweaked the note distribution to get something resembling a bell curve in pitch generation. More notes in the middle of the range than at either extreme. Super low and piercingly high notes are good for effect, but not as a matter of regular course throughout a piece. These notes are generated randomly, but the process still needs well set boundaries in order to remain interesting. Unfettered random is every bit as boring as a fully repetitive pattern.

Now that I had a stream of piano notes I was content with, it was time to address the FX, which is what would make this piece interesting. The piano sets the path. The FX create the atmosphere around that path. During my first attempt at this patch, I tried to keep FX to a minimum. Some reverb courtesy of the Mutable Instruments Beads, followed later by its granular synthesis engine. The FX were sparse, but not really in a good way. The piece was empty and cluttered at the same time. Octave repeats spiraling off almost uncontrollably, awkwardly filling in empty space and becoming unruly when note generation temporarily sped up. It was a mess. A mess so bad, in fact, that I simply stopped recording out of frustration, and pulled the patch apart.

This time I started with the reverb. Although the FX is what would be most interesting about this piece, I knew I wanted to have the reverb set based on how it sounded with just the piano notes. I wanted a massive open space. Something between a huge cathedral and space. There needed to be bounds, but they needed to be pretty far out there. I had initially chosen to use the Vongon Ultrasheer for the reverb, but in a last minute decision decided to use the Oto Bam with its Ambient algorithm. Some adjustments to the size and decay, along with a bit of modulated chorus adjusted in the Bam, and we were set. In retrospect, I wish I had added even more chorus to lofi it up, or that I had used the Ultrasheer with some randomly modulated vibrato, but I’m still quite pleased with the result.

But what next? I had bad memories of out of control granular repeats, so decided to forego using it in favor of delay. I knew I wanted some reverse delay (because if it doesn’t have reverse delay is it even ambient?), but all reverse delay all the time quickly became taxing, its zips easily taking over the soundscape. So I decided to work on panning technique which would gradually move the source piano sounds between 2 different delays using 2 different sorts of repeats. The technique isn’t hard, even when adapting it to a full stereo signal. You can find the patch diagram here. These 2 delays are mixed, creating seamless transitions between 1 delay and the other. Very cool. I got movement and gradually changing variation. As one delay fades out, the other begins to fade in. Pretty much exactly what I wanted.

But even with gradually shifting between 2 wholly separate delays, the reverse delay was still a bit over-prominent, which meant that I needed a method to turn the reverse function on and off. Chaos to the rescue. After some tweaking to various facets of my clock, the delays were sorted. But there was still something missing.

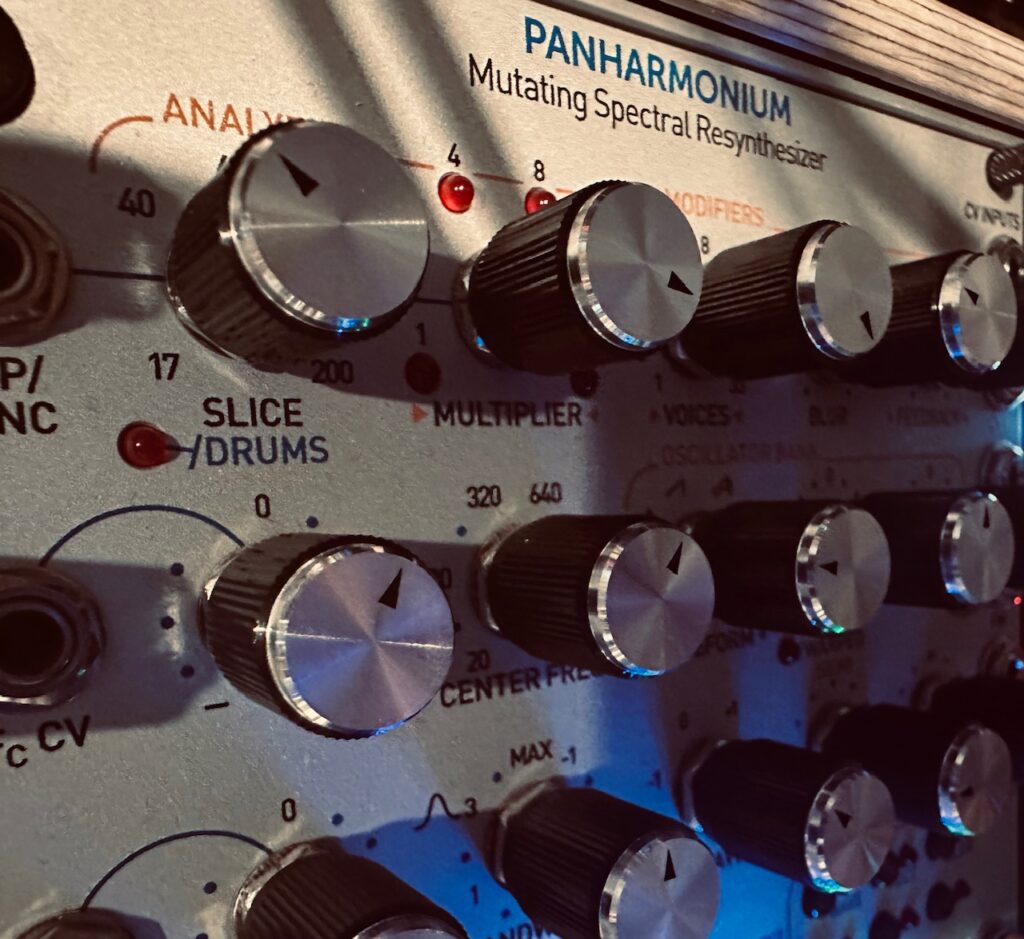
I’ve had Panharmonium for a long time. It was one of my first large Eurorack purchases, and I definitely didn’t have the modular chops to use it effectively. In fact, I’d had a very hard time getting anything nice sounding from it. I could never seem to find the right analysis interval, and a couple of other settings really mystified me, resulting in what I can only describe as sonic sludge. A glob of abruptly shifting dissonances that sounded terrible. It was nothing like what the many YouTube demos promised were all there to be unlocked.

After watching a video titled “How I Use My Rossum Panharmonium (Part 1)” by Baséput I noticed something. The source he used is fairly sparse. I had been using full melody lines as a source and it hadn’t worked out at all. He was using the granular-like output from Morphagene as a source, which is fairly sparse, and had a beautiful result with just a couple of knob twists. Depending on your settings, just a second of a Morphagene output could hold an entire piece’s worth of sonic info. With that info in mind, I decided to use the mixed delays as my input into Panharmonium. A few more tweaks to the delays to give me shorter repeats, plus an octave up on one of them, and I felt like I had good sonic ingredients for Panharmonium to shine.

And it worked. Despite never having anything special from Panharmonium before, I was greeted almost instantly with exactly the sorts of sounds I’d always imagined making with it. In just 1 patch the Panharmonium turned from a module I had listed for sale into one I doubt I’d ever get rid of. The results are an almost choir-like accompaniment, which gives the entire piece an ethereal feel, which was pretty much what I was going for. More on this to come.

Modules Used:
Mutable Instruments Marbles
uO_C
Expert Sleepers Disting Ex
ST Modular SVCA
Holocene Electronics Non-Linear Memory Machine
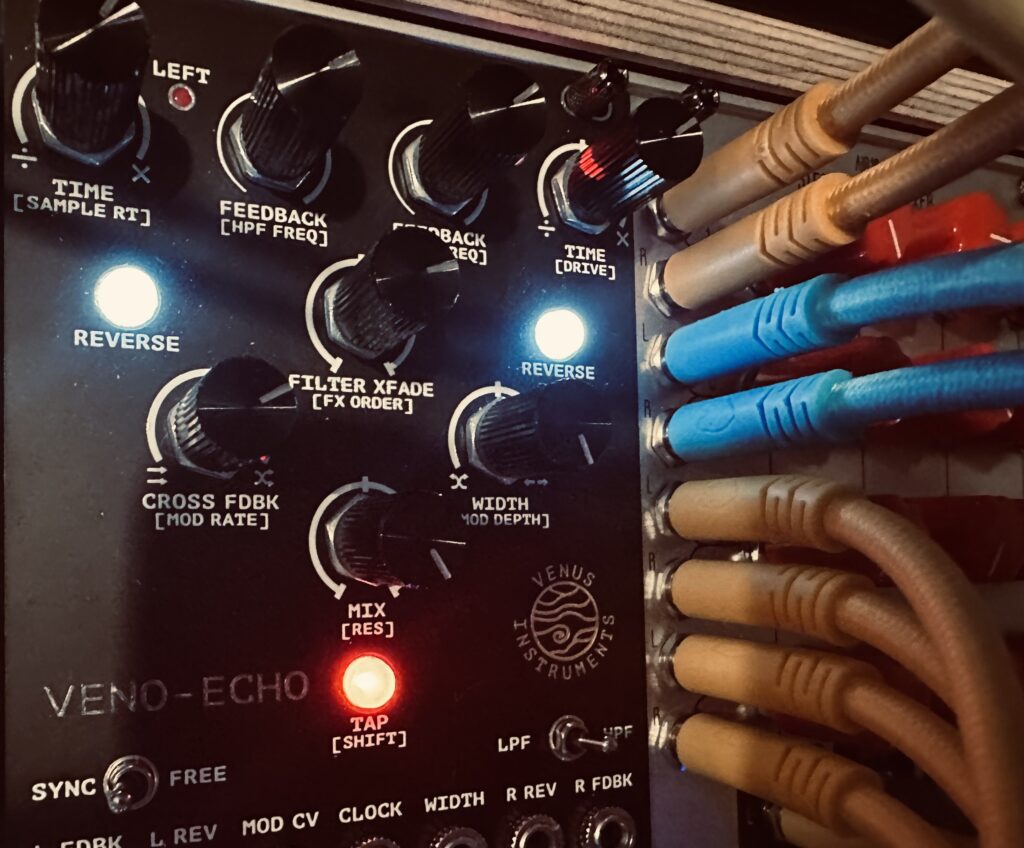
Venus Instruments Veno-Echo
Rossum Electro-Music Panharmonium
AI Synthesis 018 Stereo Matrix Mixer
Nonlinearcircuits The Hypster
Nonlinearcircuits Triple Sloth
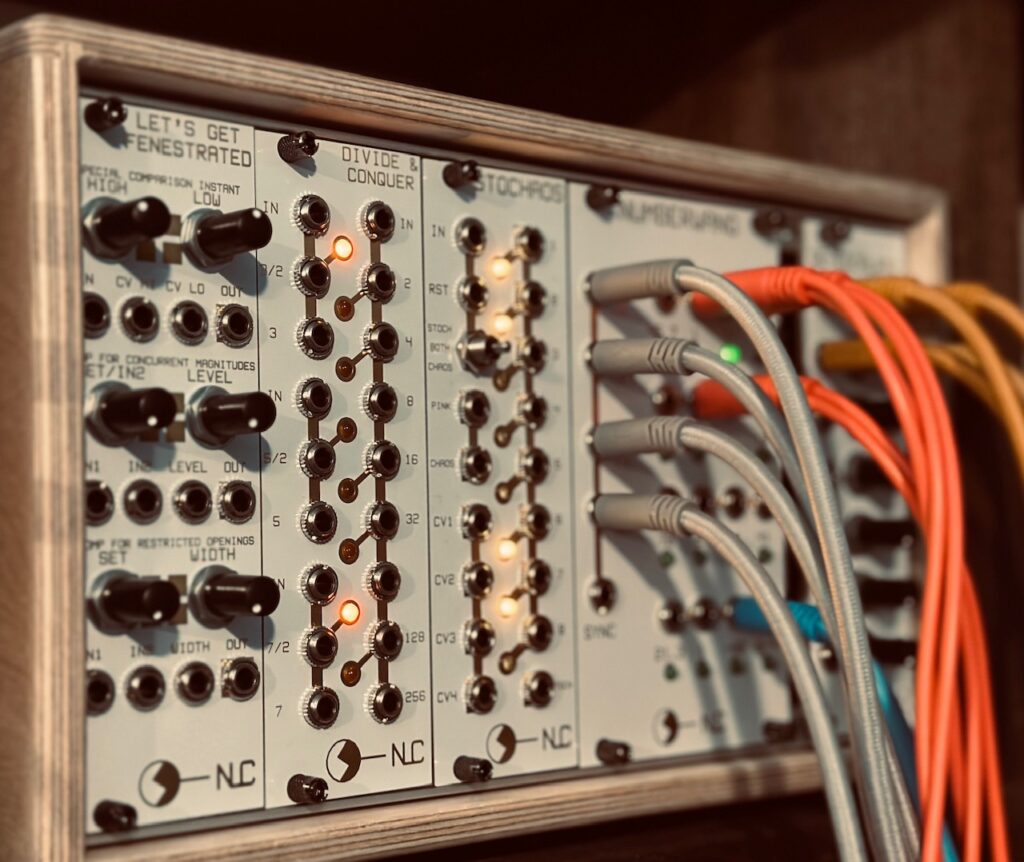
Nonlinearcircuits Divide & Conquer
Nonlinearcircuits Stochaos
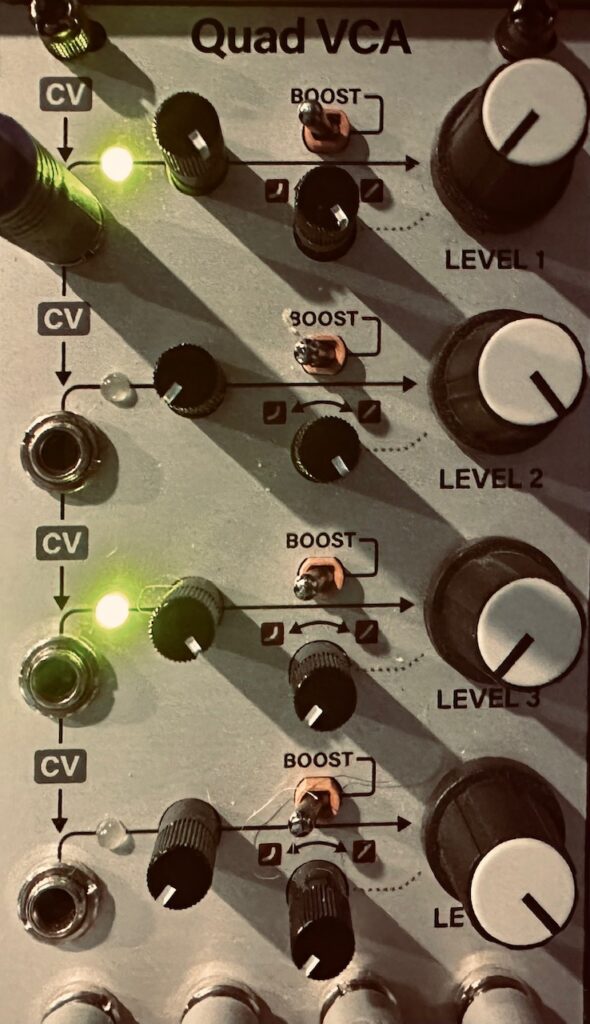
Intellijel Quad VCA
Xaoc Devices Warna II
Xaoc Devices Zadar
Knob Farm Ferry
Oto Bam

Performed and recorded in 1 take in AUM via the Expert Sleepers ES-9.

Pinging Filters in Stereo

Pinging filters in one of my favorite modular patches. You can get lots of different tones, creating very LPG-ish sounds with beautiful ringing decays, booming drums, or melodic clicks and chirps to color your modular masterpiece.

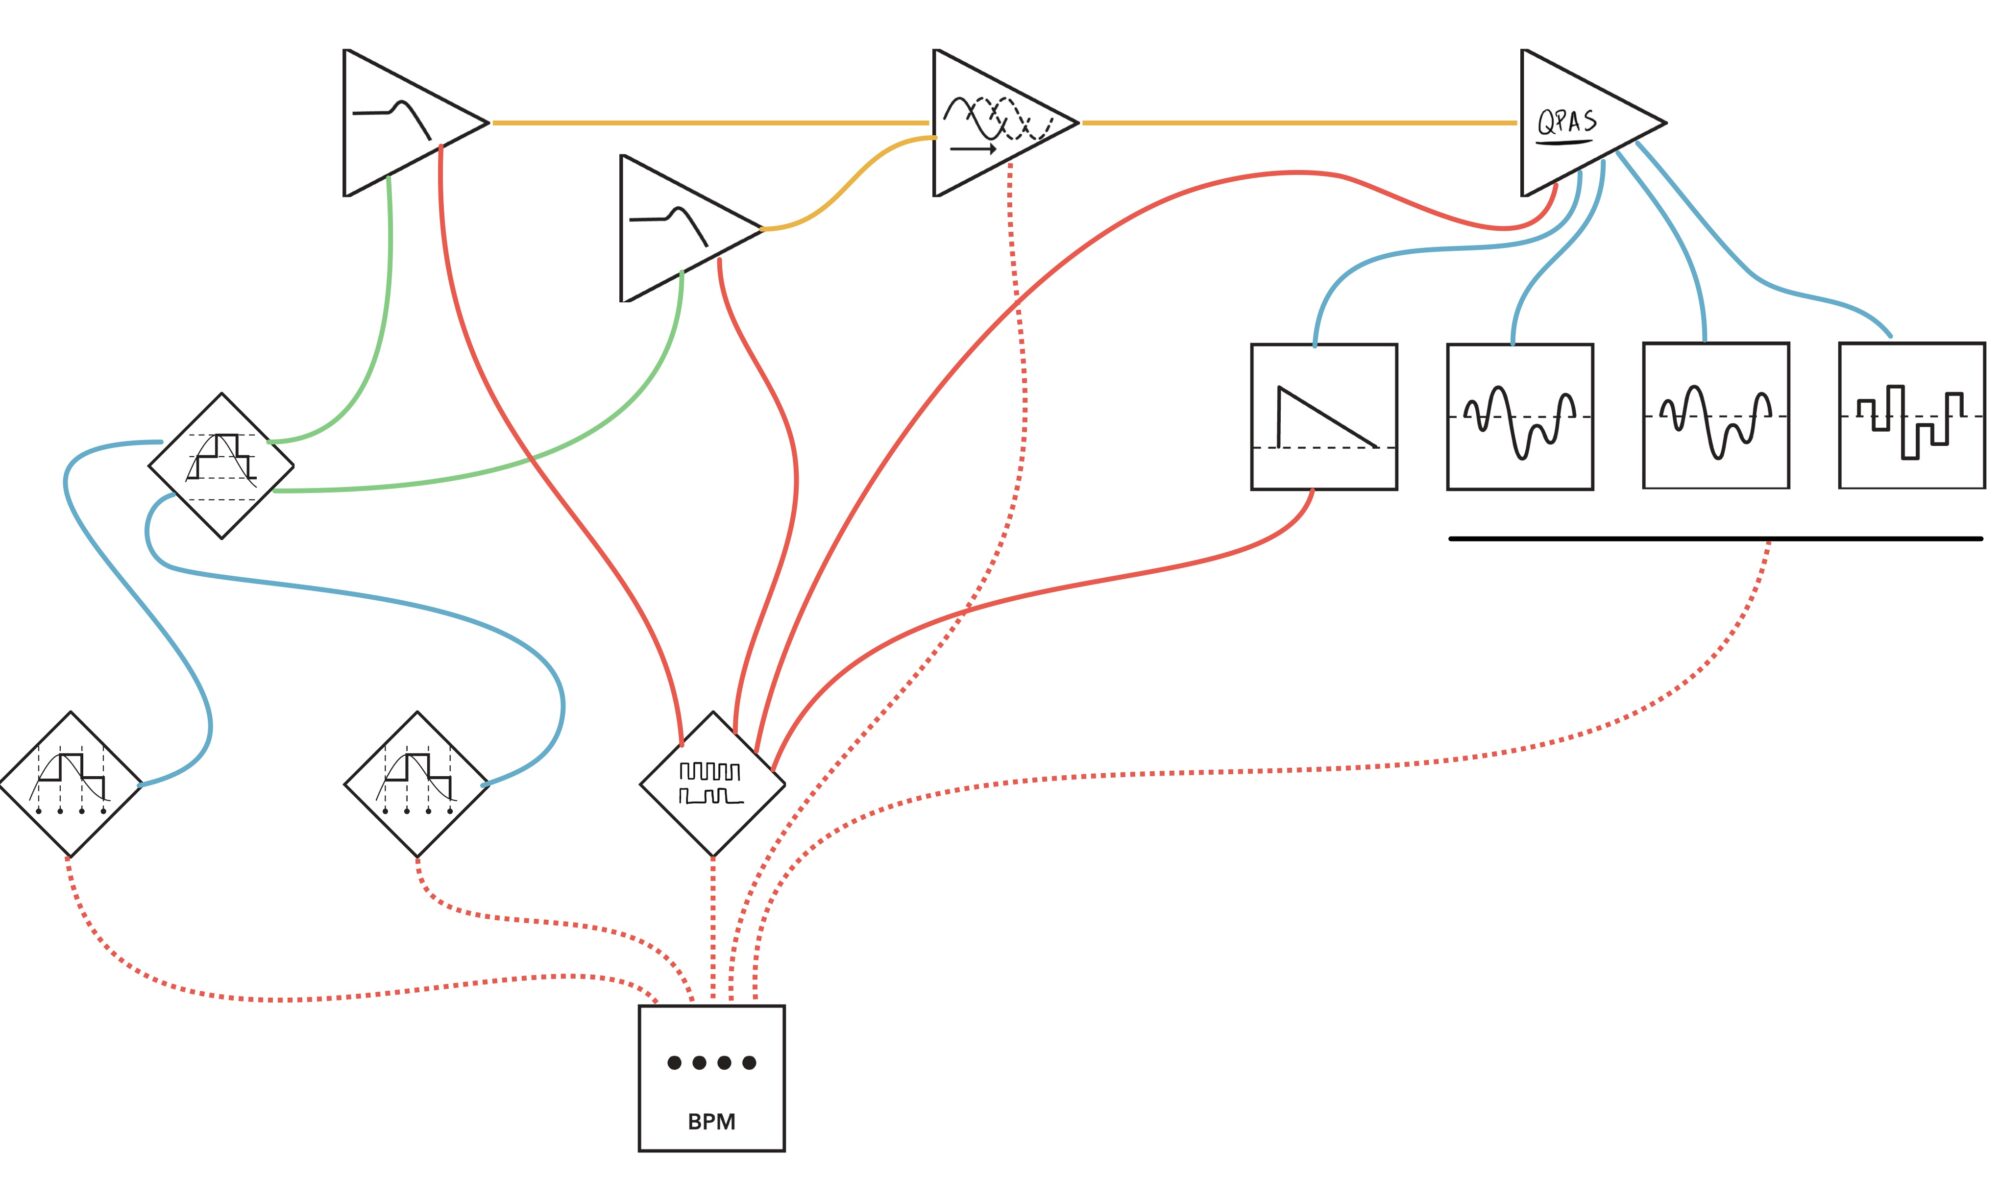
The traditional way to patch a filter for pinging is really simple. Set the resonance on your filter on the verge of self oscillation, run a trigger or gate into the INPUT of your filter, get some pitch CV into the v/Oct input or the filter cutoff CV input. Now patch the output of your filter to your output (or through any effects you might want), and you’re in business. But there’s an inherent problem in many modern filters when patched in this way.

Pinging filters.
Traditional pinging patch.

Oftentimes the input will ping on the rising edge of your trigger, then click on the falling edge, which is not ideal. No one wants clicks in their music, except when you do, so we need a work around.

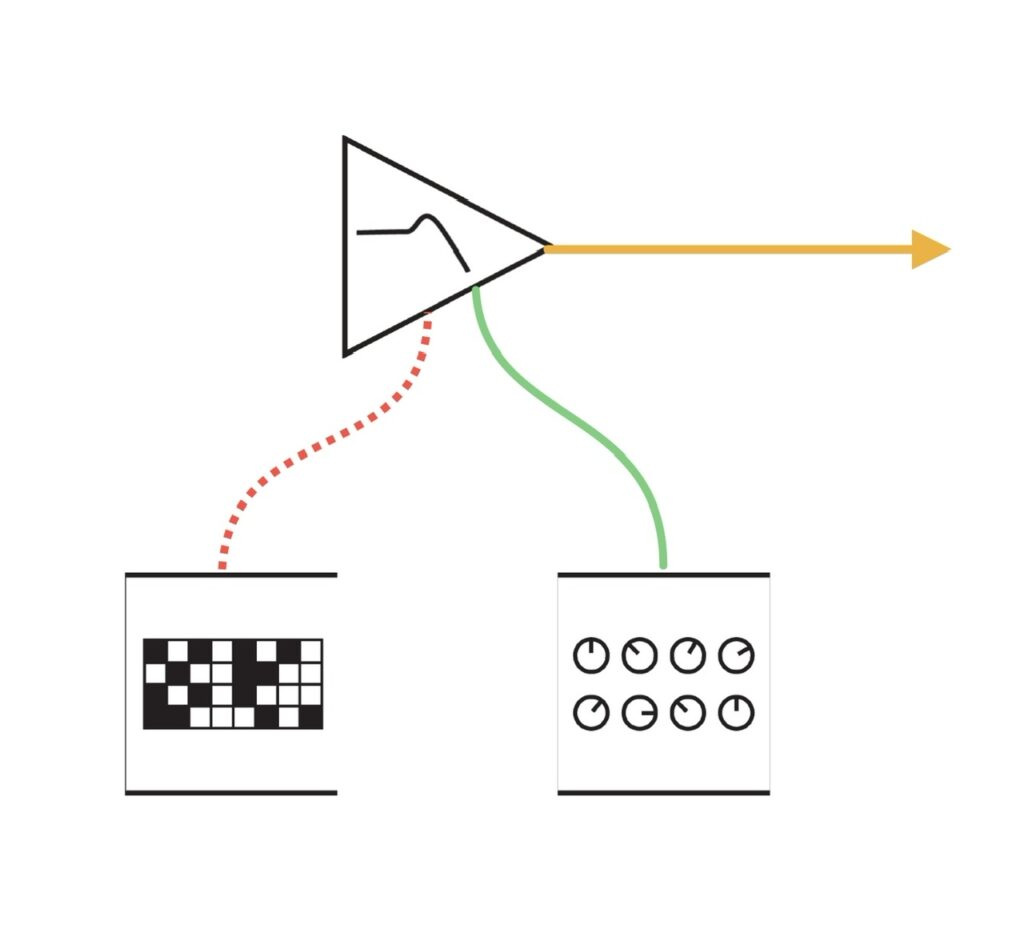
Some filters, in an effort to mitigate the click problem, have a “Strike” or “Ping” input meant for gates and triggers. The Joranalogue Audio Designs Filter 8 and INSTRUō I-ō47 are 2 examples, as well as the 2 filters I used in this patch.

No “Ping” input? No problem.

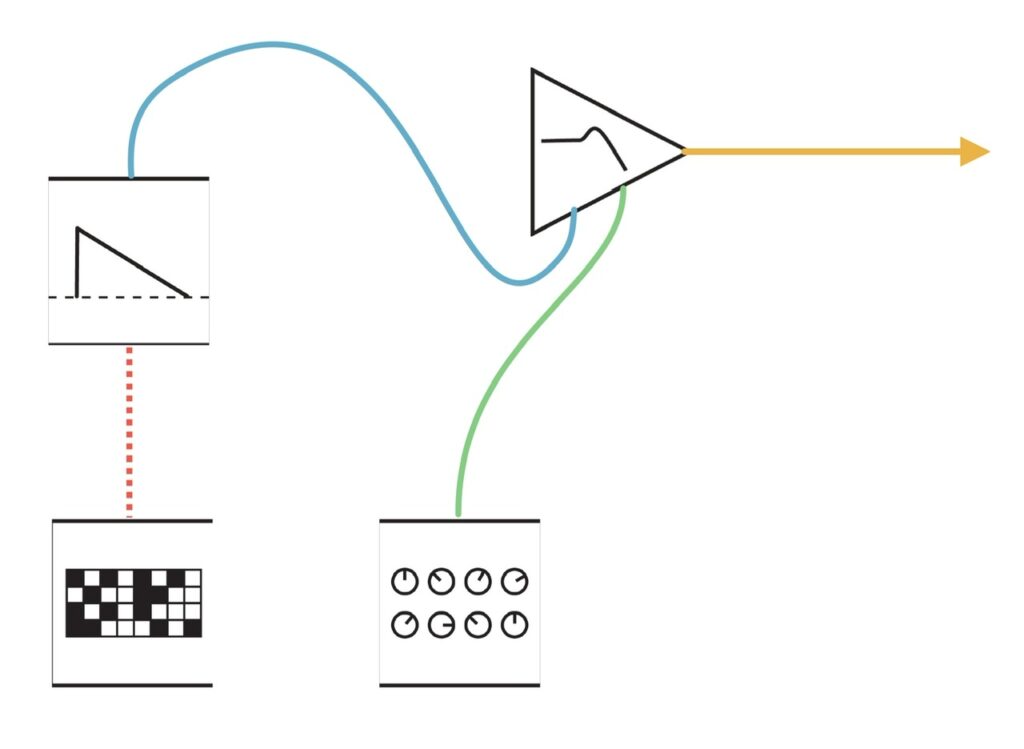
For filters without a dedicated input for pinging, simply patch your trigger or gate to an envelope generator with a snappy envelope. A very fast (or even no) attack and a short decay work well. Adjust the decay of your envelope and the resonance on your filter to affect the tail of the ping. It may take a bit of fiddling, and a little can go a long way, but your perfect tail is in there. Hopefully. Patch the filter output to your output module, and on every trigger you’ll hear a new note.

Make Note: Some filters are better pingers than others. Some don’t process v/oct well, or maybe the resonance is too finicky to get the ping you’re lusting after, so if you don’t like what you get with your first choice, move on to another. That said, most filters should work well.

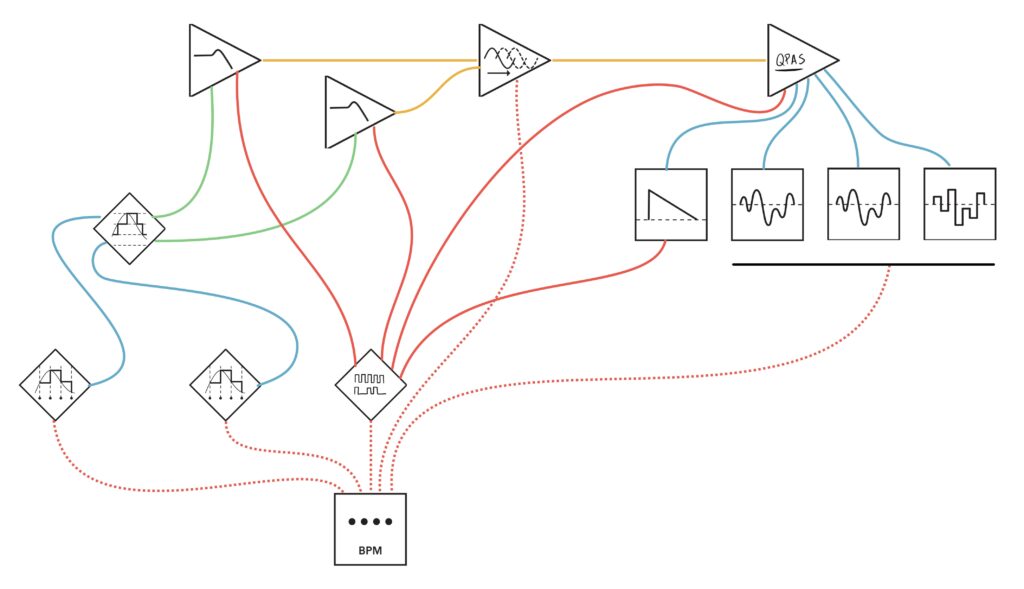
But this post isn’t about just pinging a filter. It’s about doing it in stereo. And while I could tell you that this method is possible with just 1 filter (it totally is), this patch uses 2 independent filters for pinging, and a stereo filter for effect.

We start, as we most often do, with the clock. In this patch, we have the clock feeding 2 separate S&H generators, which will put out unrelated, random CV sequences. Both of these sequences then go through a pitch quantizer before being sent to the v/oct inputs on the filters. The sequences may be different, but we at least want them in the same key (unless you really like dissonance) for aural continuity. The clock also sends a trigger to a random gate skipper, which will allow only a subset of those triggers to pass through, ensuring that the 2 filters never receive the same beat sequence, providing stereo movement and depth. The gate skipper also send triggers to the final stereo filter, and an envelope generator, which is also modulating the filter. Yet another clock signal is sent to the delay to ensure our repeats are in time. The final clock signal is being sent to yet another Random Generator so that it can provide modulation to the final stereo effects filter.

Once triggered, the filters will send their quantized pings to a delay (pings seem to beg for delay), before moving on to the final stereo filter before going to the output. Listen to the result below!

Modules Used:


ALM Busy Circuits Pamela’s New Workout (Clock)
CuteLab Missed Opportunities (Random Gate Skipper)
Frap Tools Sapél (Random)
CalSynth uO_C (Pitch Quantizer)
Joranalogue Filter 8 (Pinging Filter)
Instruō I-ō47 (Pinging Filter)
Make Noise Maths (Envelope Generator)
Make Noise QPAS (FX Filter)
Make Noise Wogglebug (Random)
Venus Instruments Veno-Echo (Delay)

eleaf · Filter Pinging

0:00
0:00