During one Jamuary patch, I had the pleasure of using the Alexandernaut Fugue Machine Midi sequencer extraordinaire. I enjoyed it so much that I sought a MIDI > CV converter so that I could bring that particular brand of magic into my synth. Sequencing is easily the most challenging part of eurorack for me. I’m quickly learning that, at least in the immediate term, “battleship” sequencers and me don’t work well together. The options are oftentimes overwhelming and programming them can be a constant exercise in frustration. When you’re trying to play a polyphonic patch, these frustrations compound as the patch gets more and more complex. Of the large sequencers I’ve used René v2 is easily my favorite. I find it to be the most intuitive sequencer I’ve used. The sequencer in the Doboz T12 is also easy to catch on, and the Verbos Voltage Multistage is ultra-simple. But I’ve done nothing but get my teeth kicked in by some of my larger sequencers. Frap Tools USTA, Oxi One, and 4ms Catalyst Sequencer in particular. Perhaps it’s the lack of effort with learning them, or that I simply quit on them too quickly, but nothing kills a moment like manual digging in the midst of a patch. Fugue Machine, even if it’s walled in its own very small box, is but one of many tools that make sequencing much less of a chore, and can help spark the creative drive to explore more advanced sequencing. Fortunately, there are good ways of leveraging MIDI tools in Eurorack.
I searched for a couple of weeks for my ideal MIDI > CV converter. My main consideration was for sequencing polyphonic patches, so it needed to have at least four channels of pitch CV, gates, and velocity. There are several options. One of the more compelling options is the Der Mann Mitt Der Maschine DROID. It’s a CV generating and processing powerhouse that can do almost anything that can be done with CV, including MIDI > CV conversion. I even have a DROID, and it has a killer feature set. If you can program it. It turns out that I can program DROID. It’s not terribly hard, even if I still do it by hand rather than using the GUI tool to create patches. But DROID would take more space, and would only be useful in this capacity, needing all eight CV outputs for pitch and velocity CV. So I kept searching, and finally settled on the relatively new Befaco MIDI Thing V2. I already have and use the Befaco CV Thing CV > MIDI converter and find it good at its job, even if the screen is not fit for middle-aged eyes. It’s only 6hp, and can sit right next to the CV Thing.
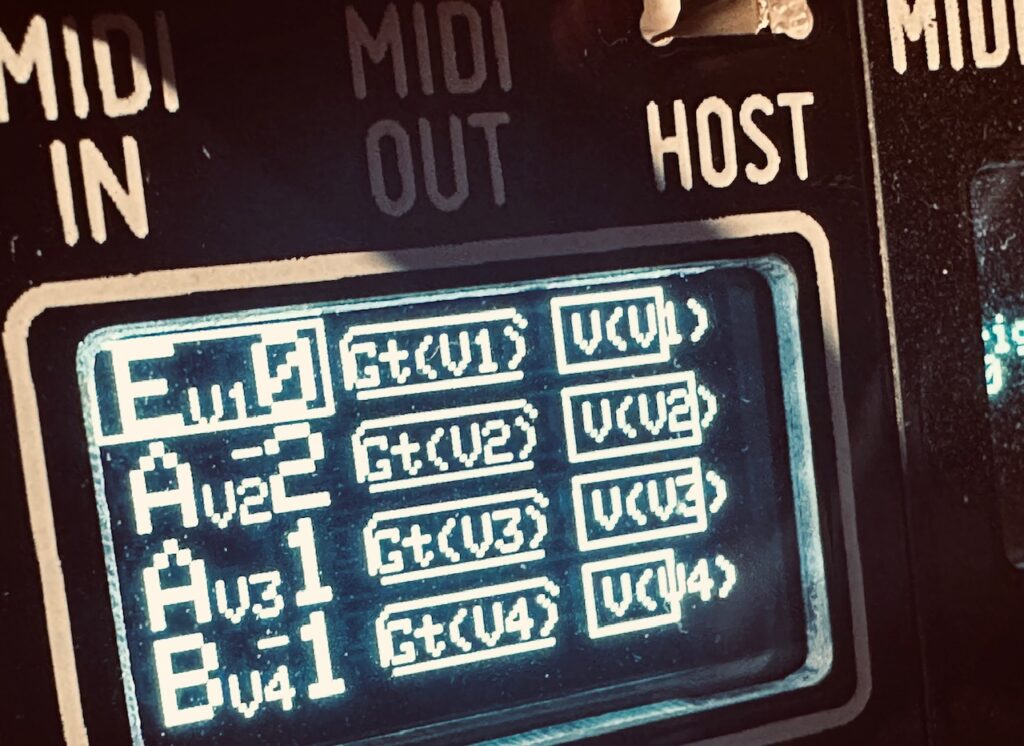
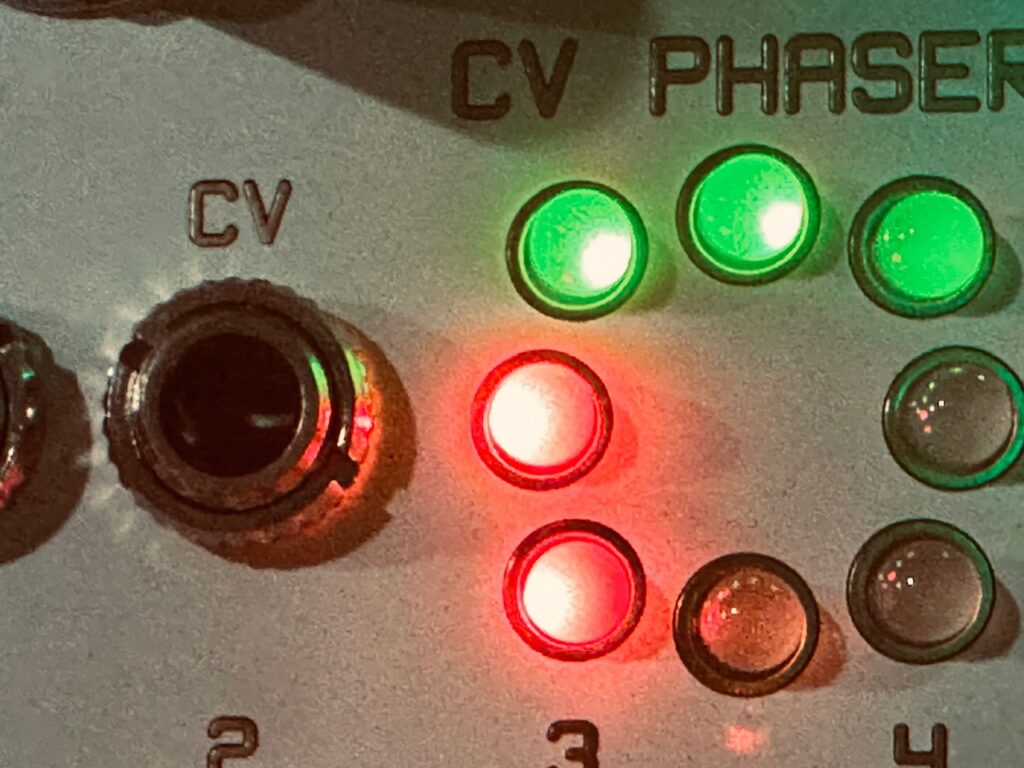
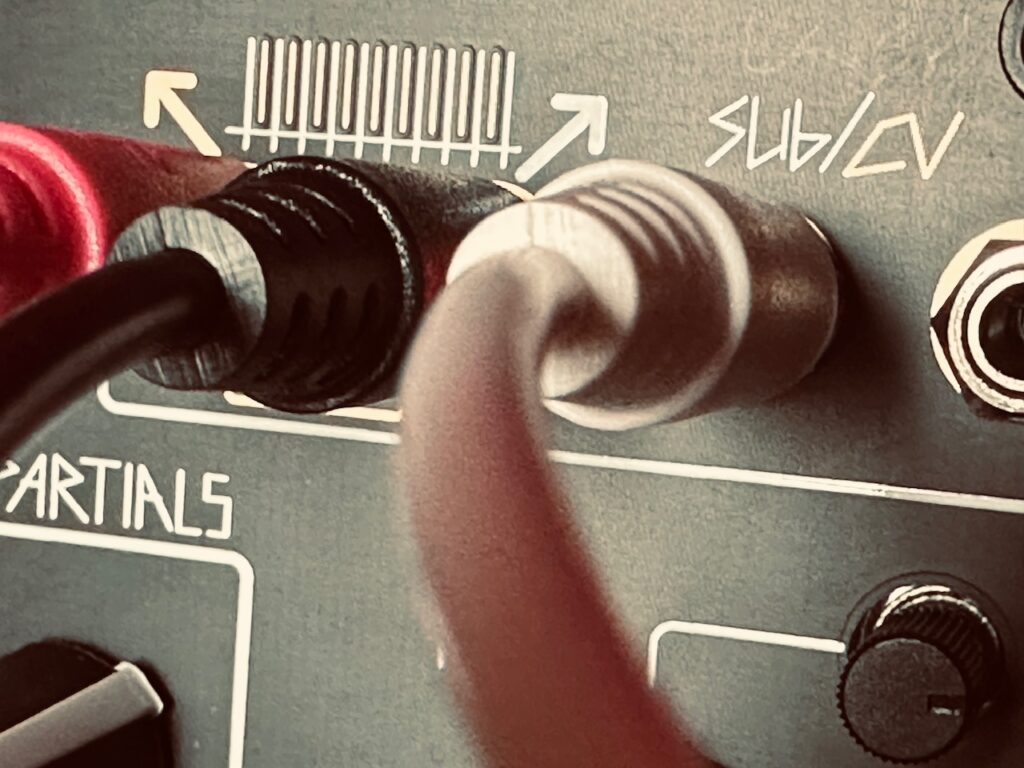
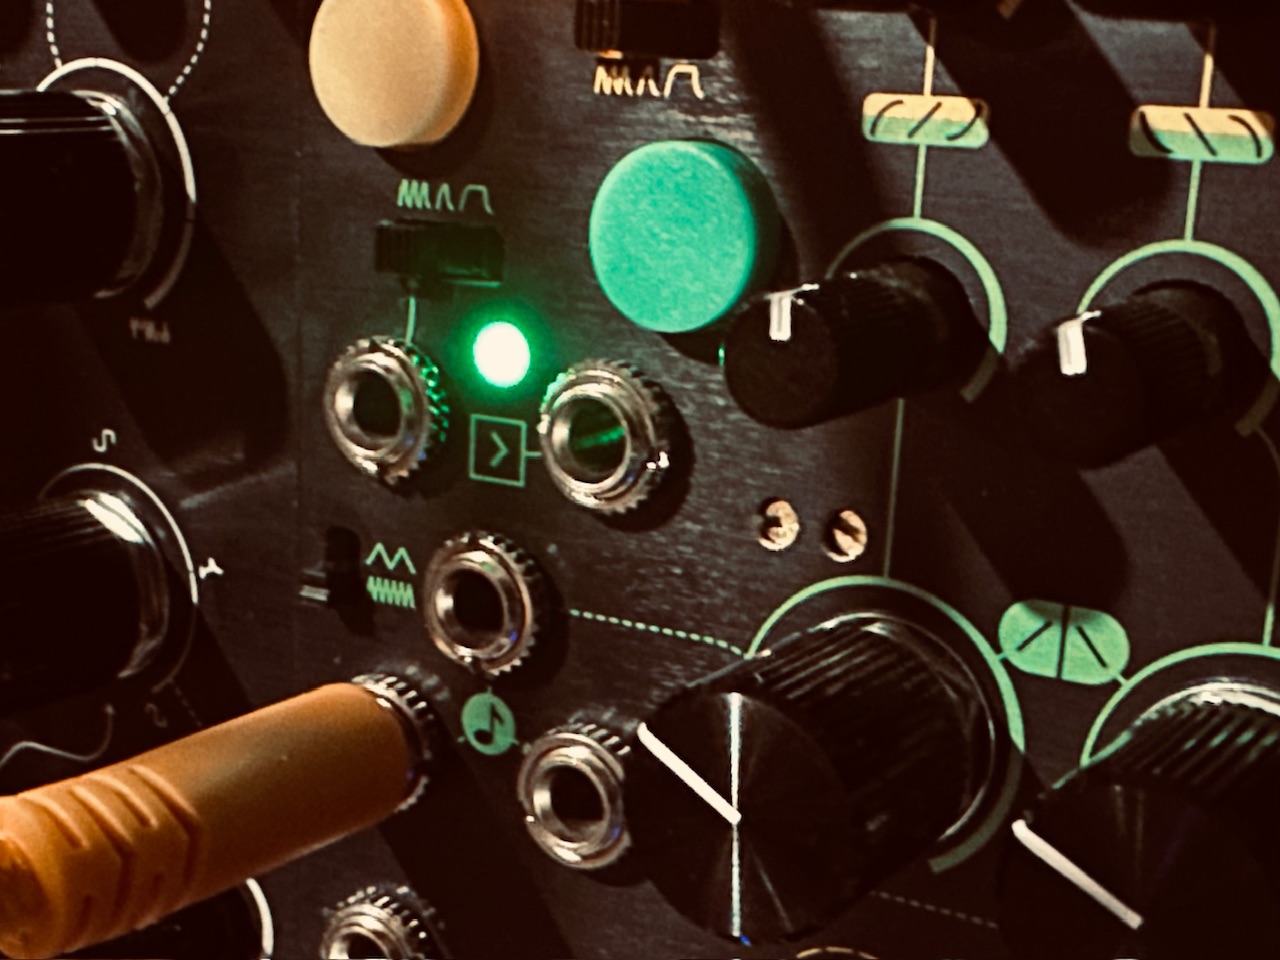
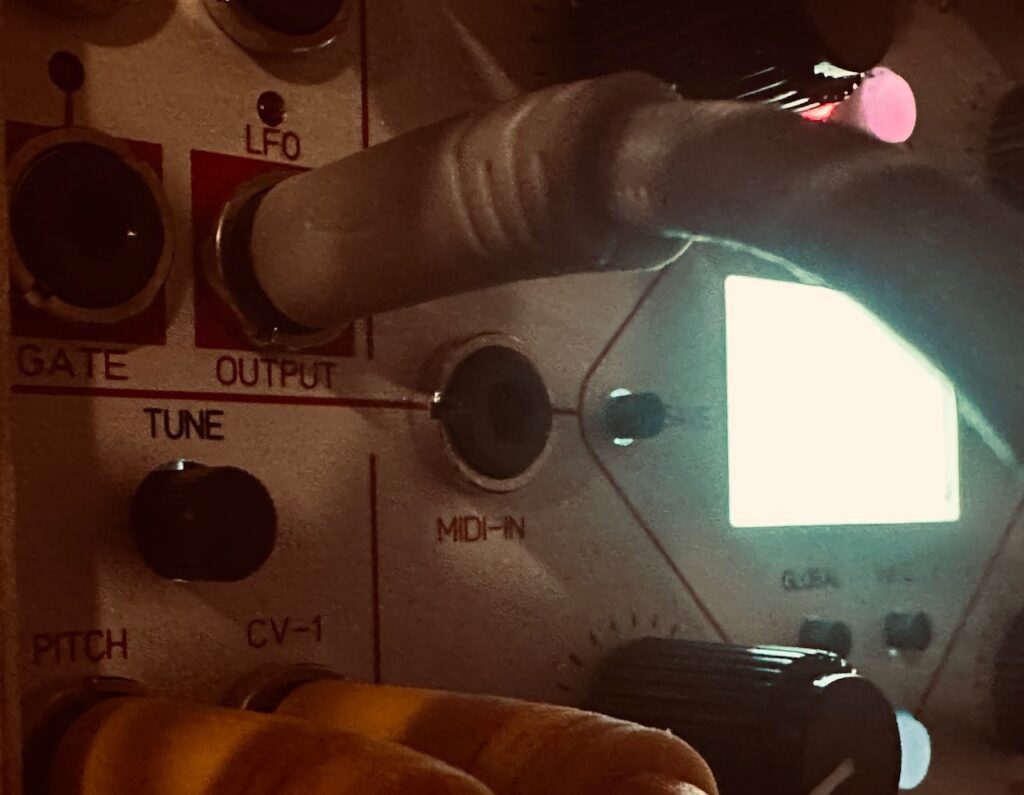
One of the MIDI Thing’s features is that it has 12 outputs. Exactly enough for four voices worth of outputs, and what’s more is that the exact configuration for my initial intentions with MIDI > CV conversion is already saved as a preset, or Pre-Def in Befaco-speak, for quick and easy input and output configuration. I simply set the MIDI Thing to “Predef 2: Multi Timbric” in the Global Menu and it automatically set the incoming MIDI channels to 1-4 and preconfigured the outputs. Pretty slick. Since I was already in for a lot of patching, I opted to forego using the velocity outputs. That wasn’t a step I was terribly interested in today. I wanted pitch CV and gates to trigger envelopes, and by golly that’s what I got after spending less than one minute in the MIDI Thing configuration screen.1
Once I had my MIDI routed in the AUM MIDI Matrix, and properly set MIDI ”Predef-ed” in the MIDI Thing, I fired up Fugue Machine. Since I was testing the functionality of the MIDI Thing and how that would work with a modular system, I wasn’t overly worried with an elaborate, or even original, sequence, and just used one of the included presets. Although I had played with the sequence length and transposition while running through the patch before recording it (which was all supremely cool), I simply forgot when I improvised the recording. I was more preoccupied with timing each channel, the levels of each oscillator, and crossfading the ending. As a result, this recording is a repetitive sequence. It doesn’t repeat exactly because of the modulation, but there’s no variation in anything other than oscillator timbre.
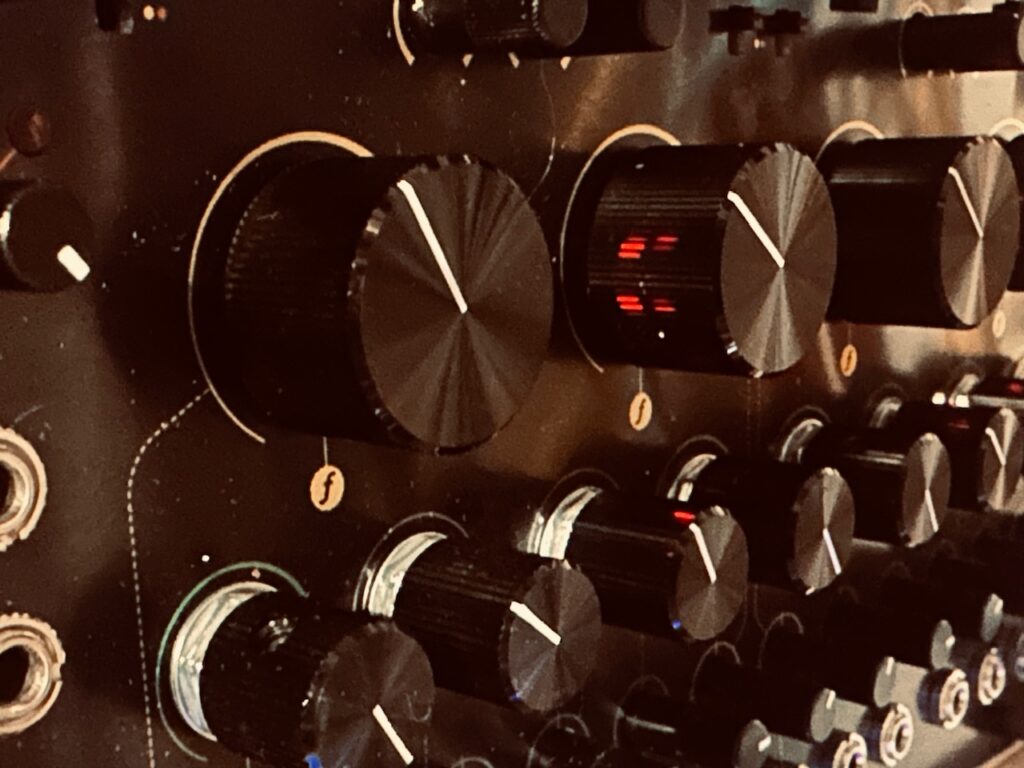
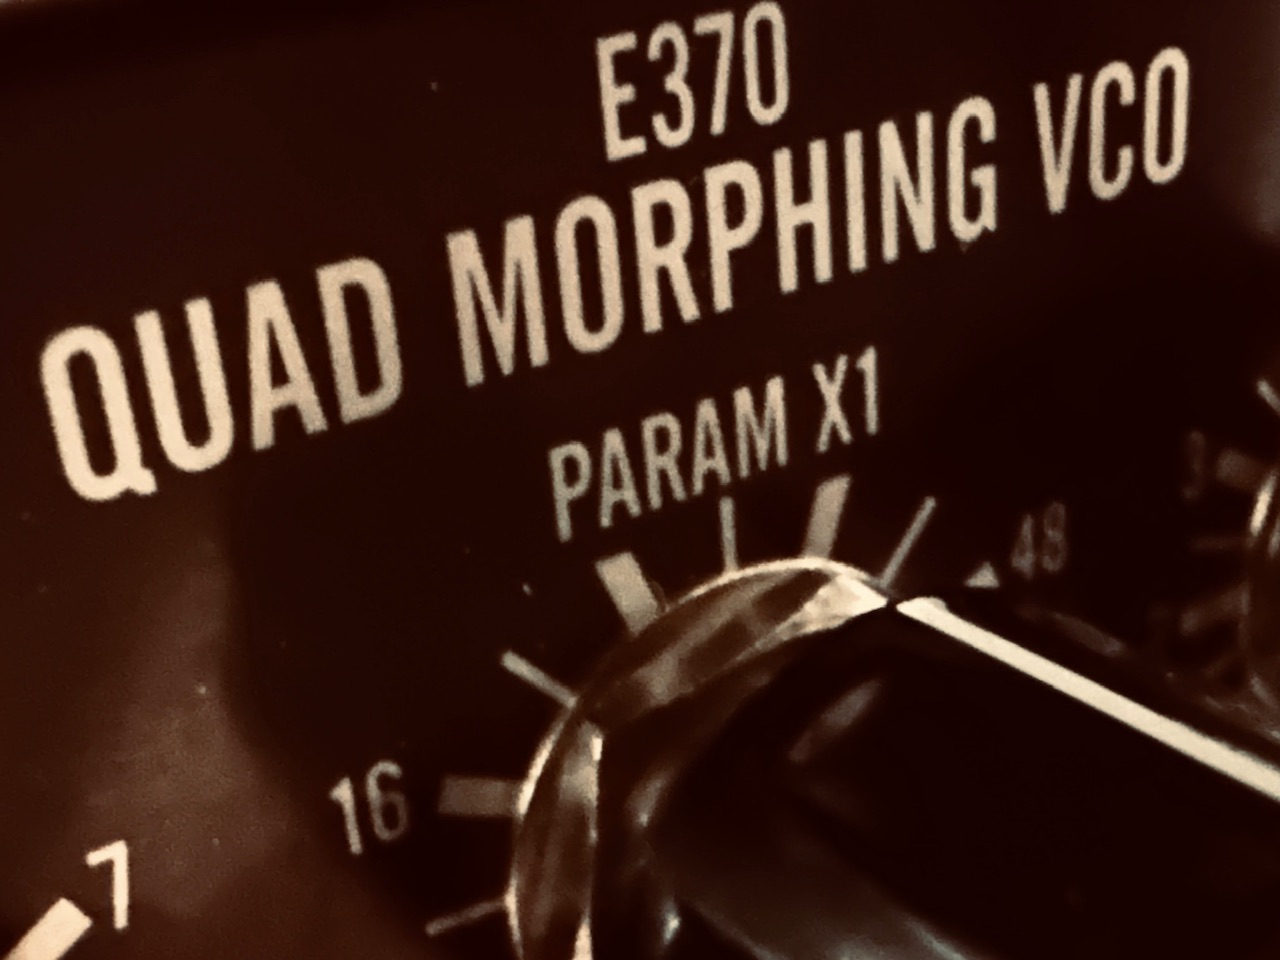
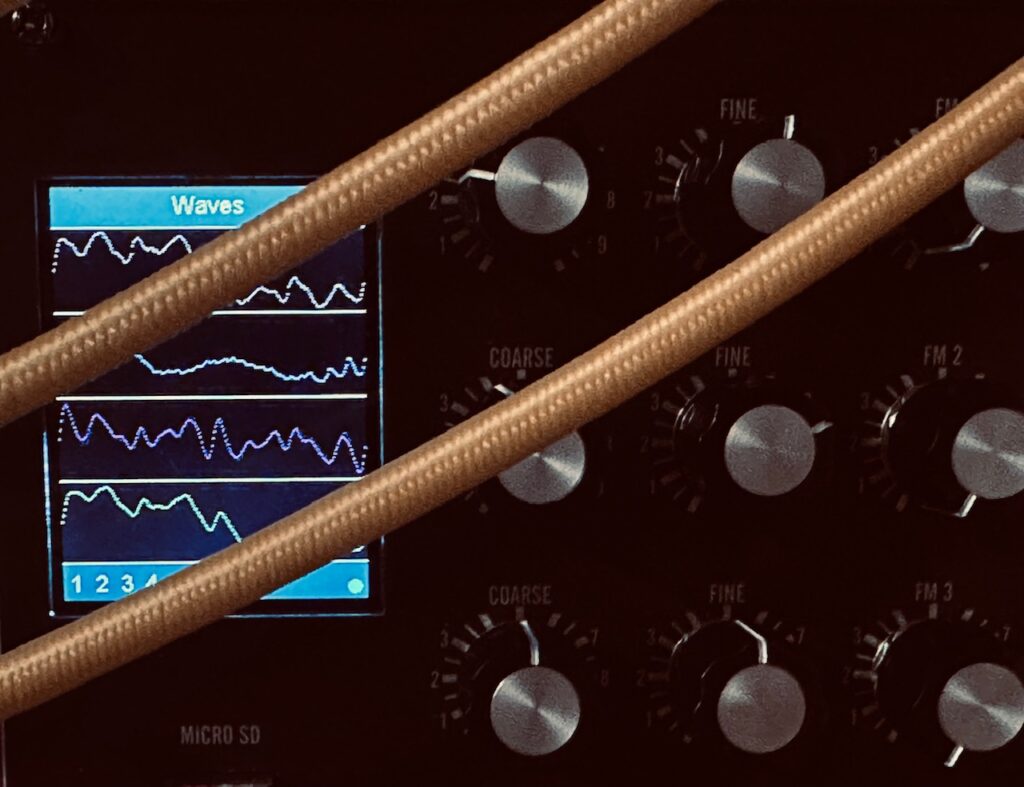
For oscillators I chose the always excellent Synthesis Technology E370, with a User-Loaded Wavetable titled NOV that was left from a previous owner. Thanks, dude. It’s pretty outstanding. Tuning each oscillator to unison (in Morph X/Y mode), I ran each of the pitch outputs from the MIDI Thing to the v/oct inputs. I followed that up by using the eight outputs of the Nonlinearcircuits Frisson to modulate both the X and Y parameters of each wavetable for all four oscillators. This constant timbre changing caused by the modulation also causes dramatic volume changes as waves morph in and out of more and less prominent waveforms in the table. I initially wanted something glitchy, and turned Glitch on HIGH with Interpolation Off for each of the four channels, and while it was cool, it didn’t fit at all in with the overall tenor of the sequence itself. The tonality is too “positive”, being in the key of A Lydian, and the sequence too upbeat. I suspect it would work fantastically on slower, more drone-ish material.
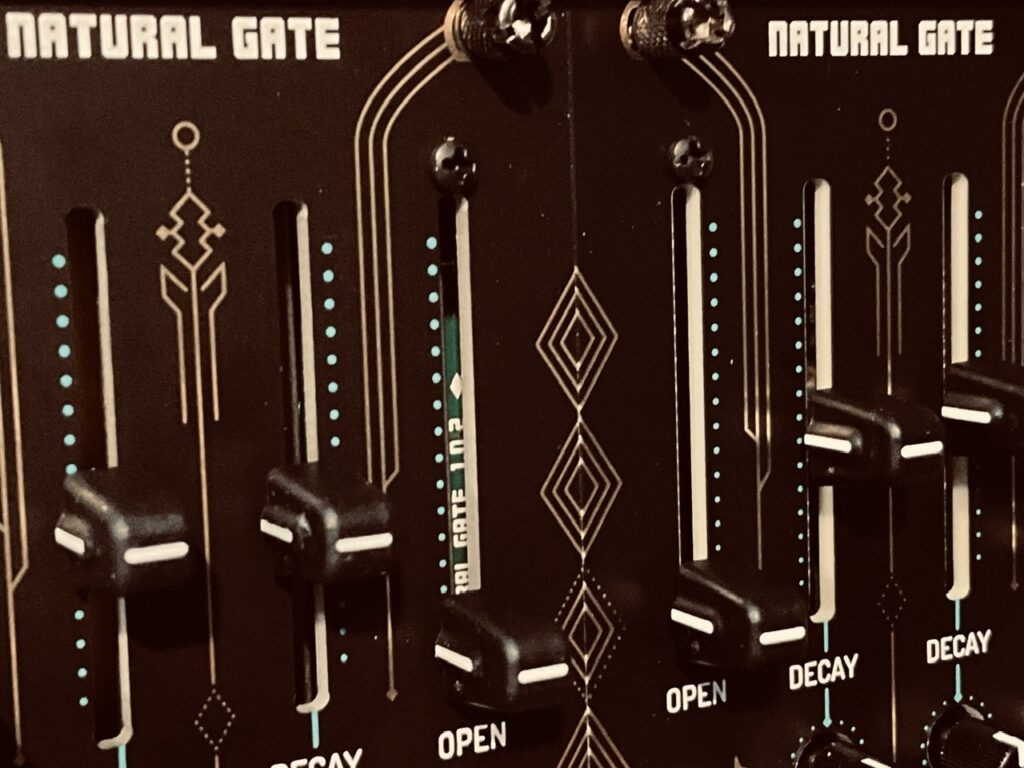
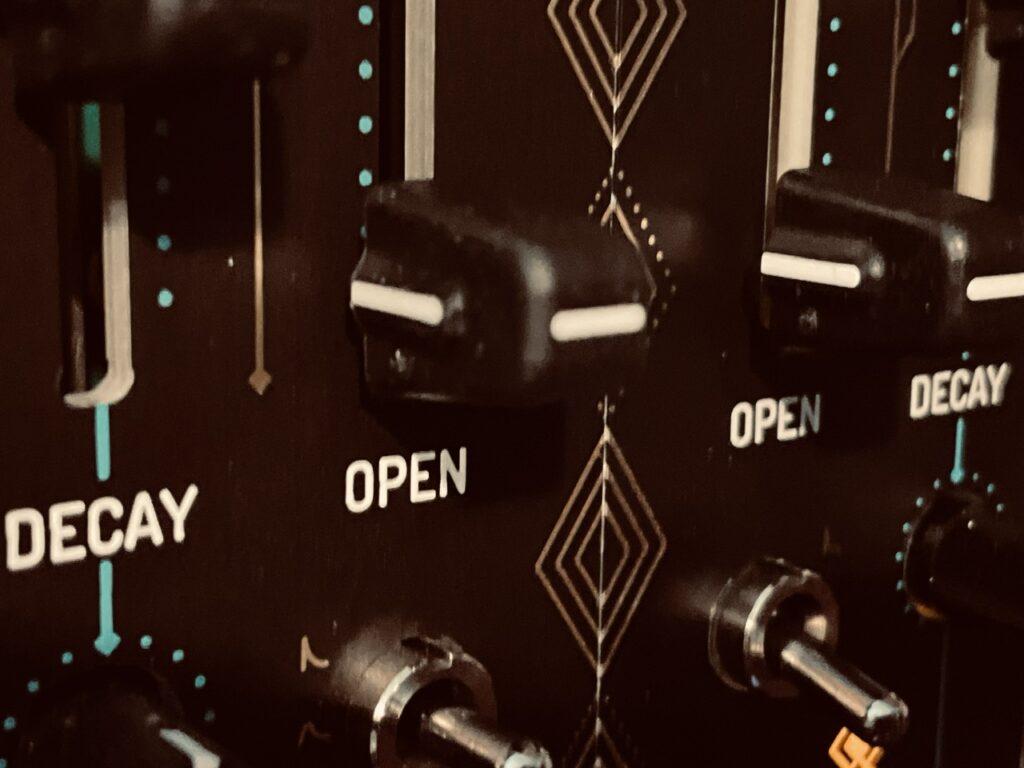
After I routed the pitch CV and modulation, I ran the gates to two Frap Tools Falistris for some enveloping. In addition to being enveloped at the Control inputs, three of the four gate outputs were also multed to the Hit input on one of two Rabid Elephant Natural Gates to provide some beautiful pinging of these ever-changing tones coming from the E370. All four channels were processed through Natural Gate, but only three were pinged. The bass note was only enveloped. In this process I made a grievous oversight. While Falistri is a perfectly good tool for this job, particularly the pluckier notes, more defined shaping with a ADSR would have really served the slower voices well. It so happens that I have perhaps the most advanced ADSR generator in Eurorack, but I didn’t even think to use it, and when I did, I was way too deep in the patch to re-patch and reconfigure the envelopes, so I let it go.
To be honest, I was expecting hurdles to cross, but I was surprised when it all just worked. CV did what it’s supposed to do. Gates did what they were supposed to do. Everything was perfectly in tune and on time.
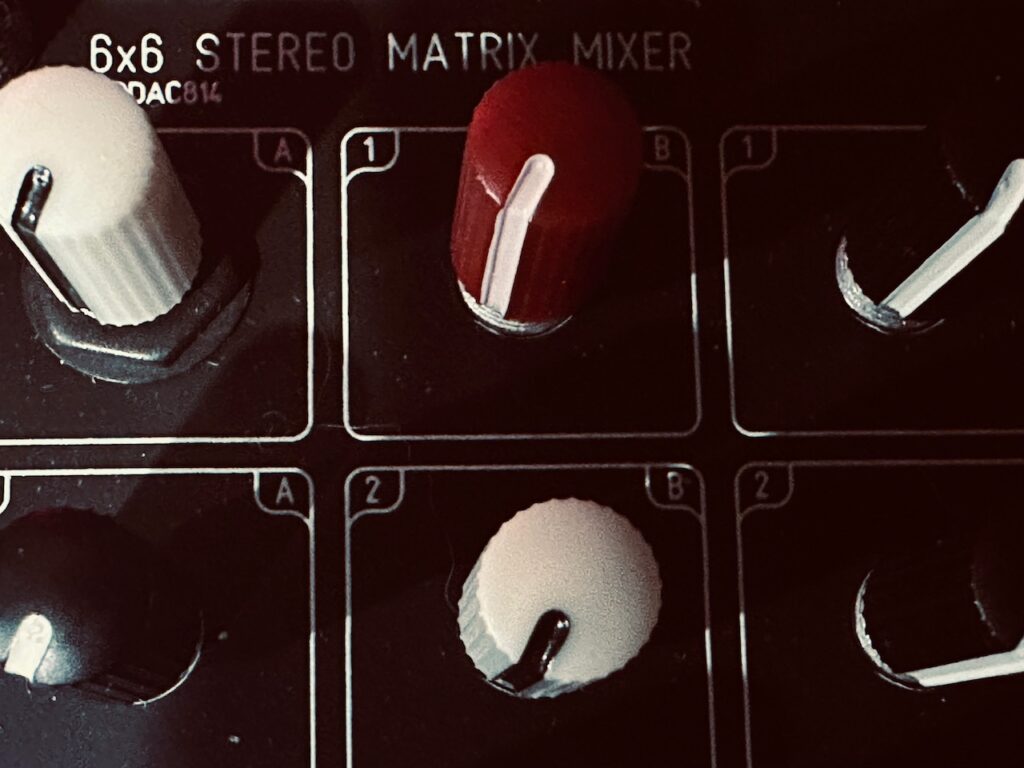
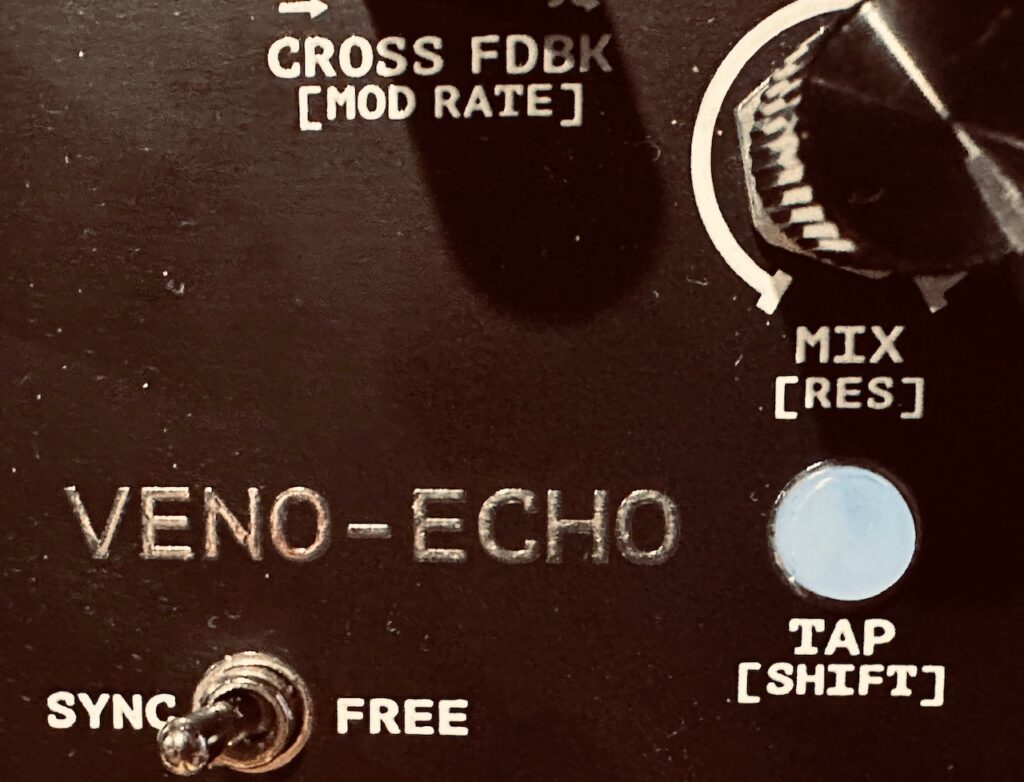
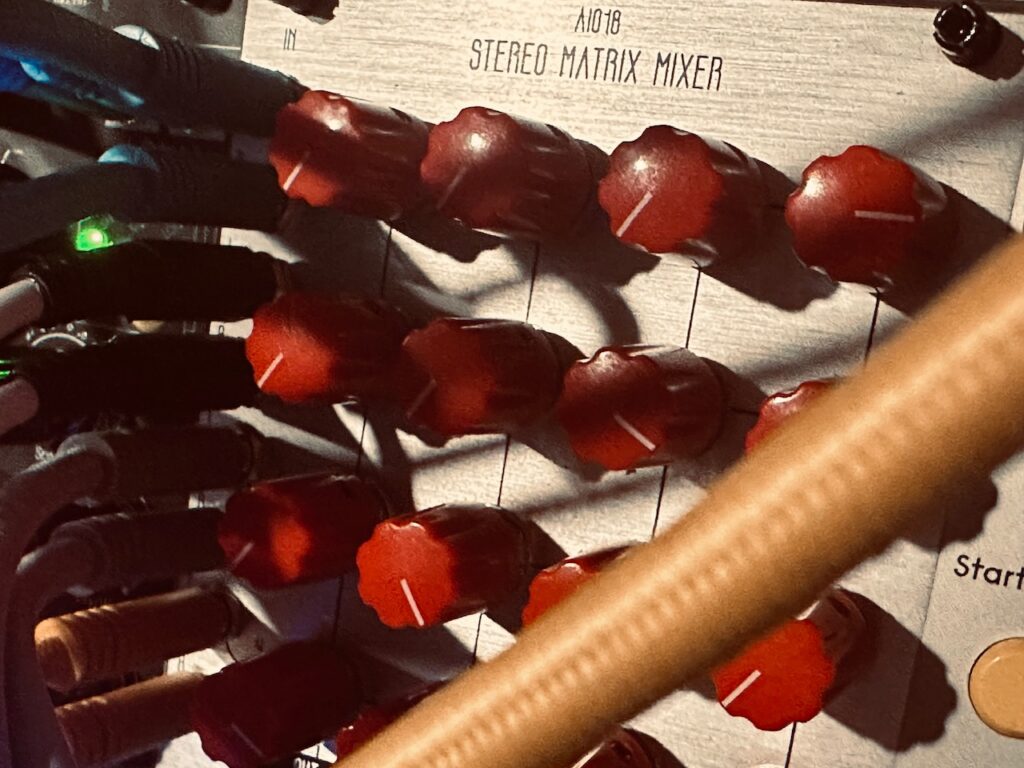
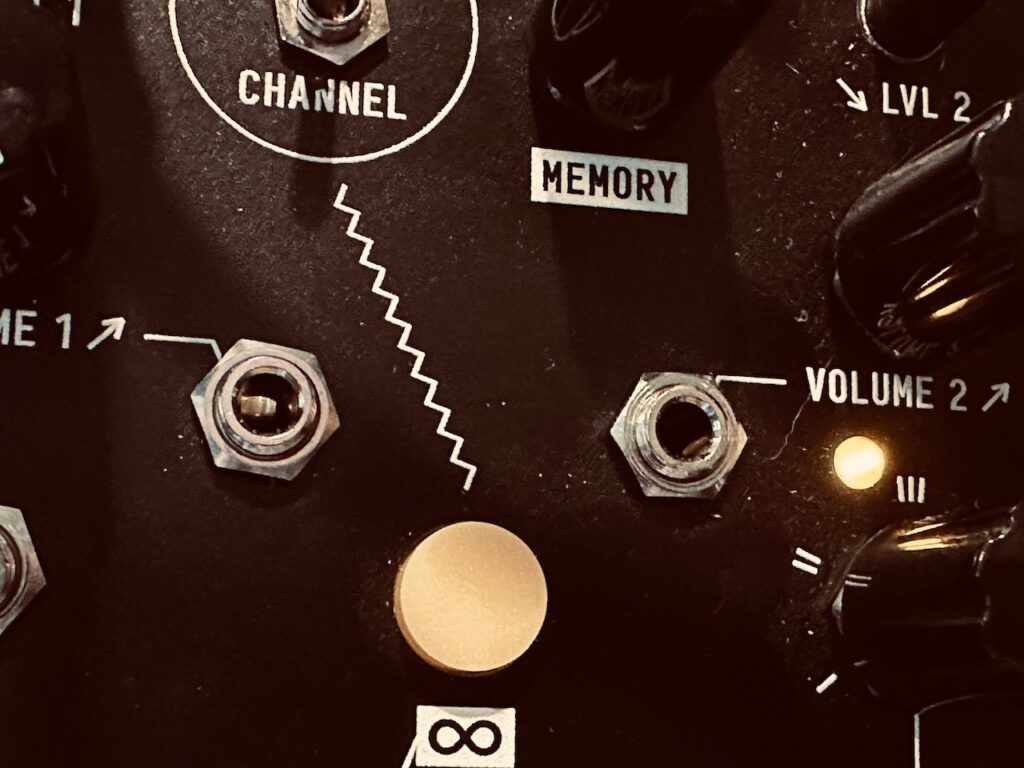
Once the notes were created in their respective Natural Gate, all four outputs went to the ST Modular Sum Mix & Pan. While three of the four channels were panned to mono, the fastest moving and highest pitched voice was being slowly panned in the stereo field. The stereo output was then routed to the Addac814 6×6 Stereo Matrix Mixer, and sent to the Venus Instruments Veno-Echo. To ensure a solid clock for the delay, I used the now-defunct (or at least unavailable in the United States according to the App Store – which would seem weird) CoVariant Clock AUv3 plugin, which converted the MIDI clock in AUM to CV and sent it out an ES-9 output as an analog clock. I’ve never really sought to use a MIDI clock as the master clock outside of the iPad. I’ve certainly never used it as the master clock in a Eurorack patch. But this clock was flawless, likely to due CV being generated directly at the source, minimizing switches and pass-thru cabling or USB MIDI jitter. Hopefully CoVariant remains a working plugin in iOS for a while to come as there are currently no other direct MIDI > CV clock converters on the iPad. Veno-Echo was set at x2 on both sides with similar feedback just shy of noon. I also added a smidge of drive in order to enhance the sample reduction I put in the feedback loop. Veno-Echo, with its cross-feedback and width parameter, really can create an enormous stereo field
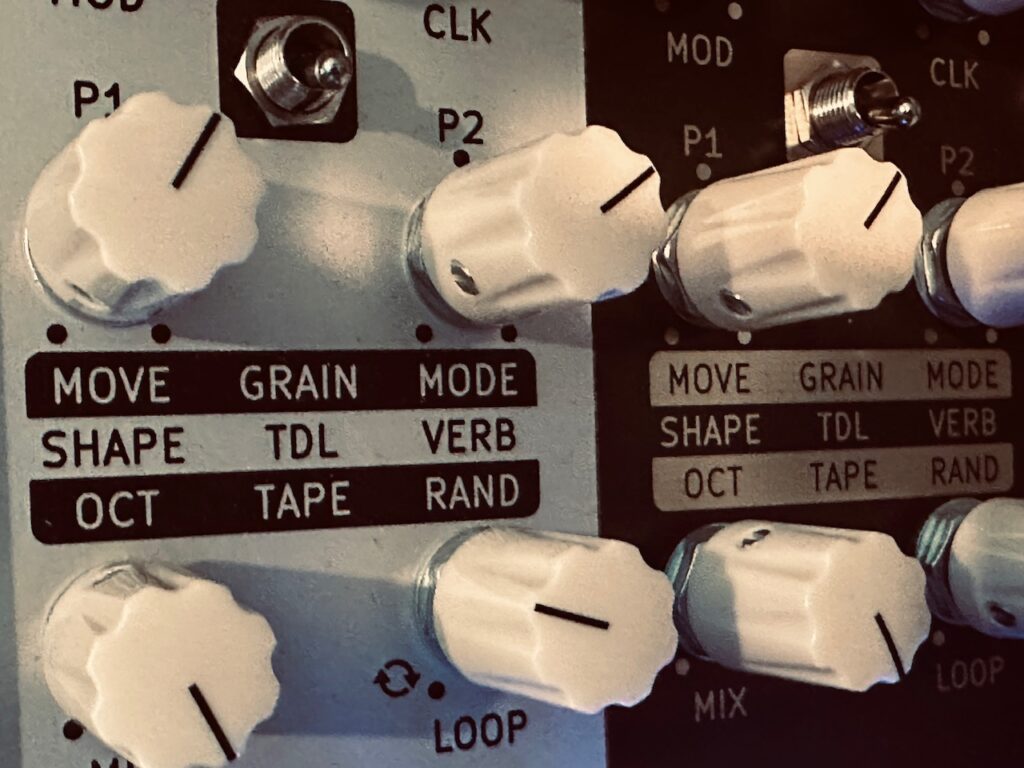
And so can the Dradd(s). It’s no secret I’m absolutely smitten by dual Dradd(s). Despite this infatuation, my first instinct was to patch in Beads, but Beads just didn’t really have what I was looking for today. At least I couldn’t find it. But the Dradd(s) did. In fact, I had to decide between two modes which both had something very cool to offer. I ultimately chose the Tape mode because the octave up was too much to resist. I slowly started to fade out the oscillators once the Dradd(s) were at full volume, and allowed its magic to guide the rest of the recording, fading out in a glorious wash of the Rain algorithm on the Walrus Audio Slöer.
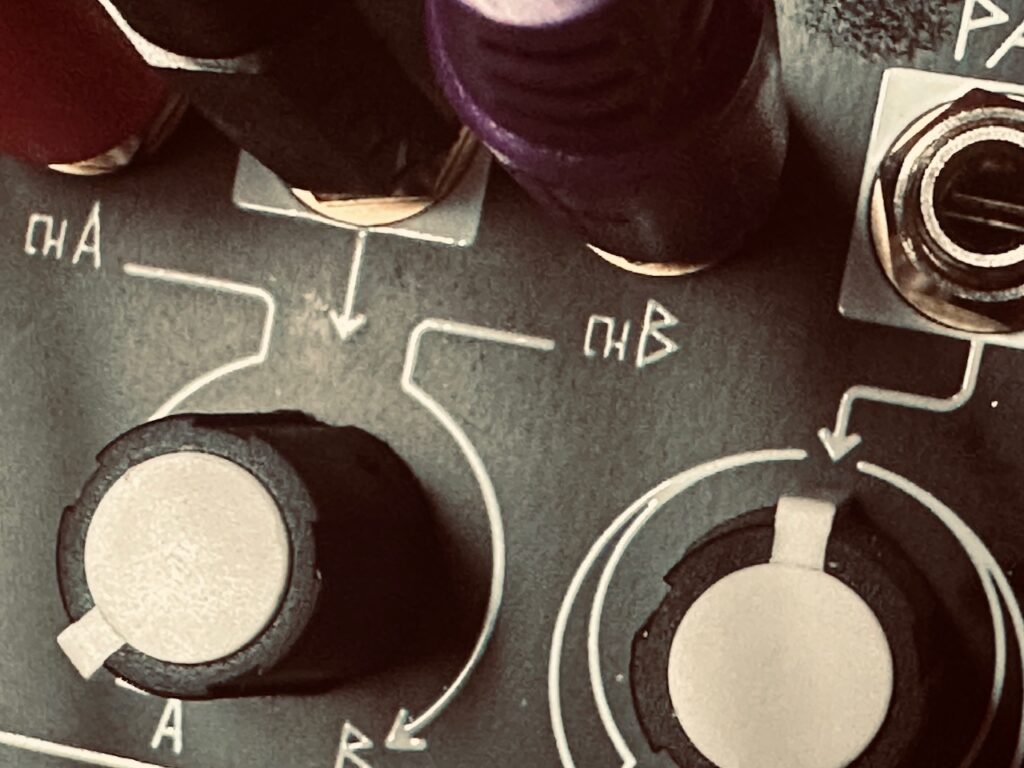
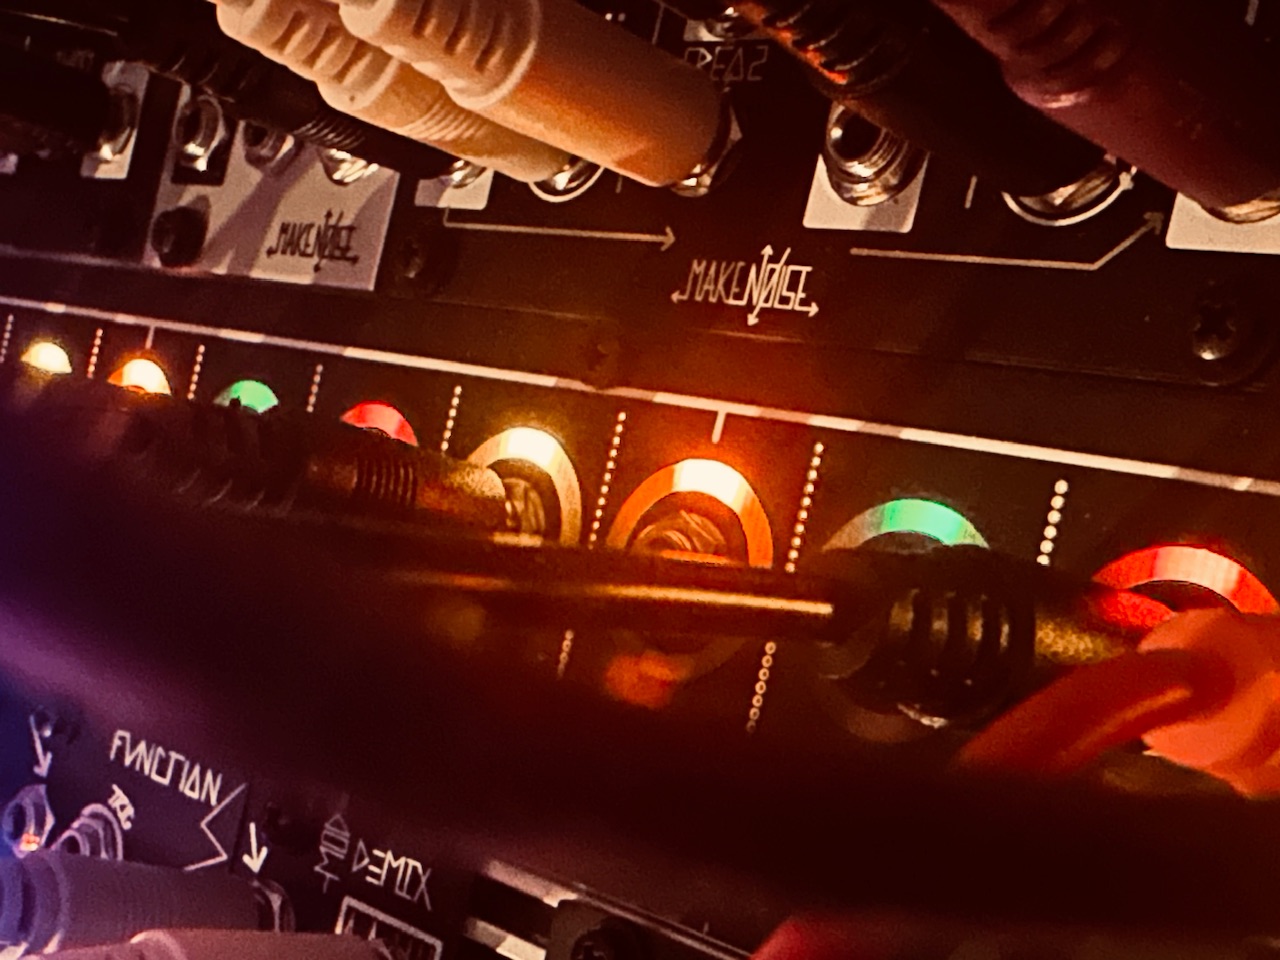
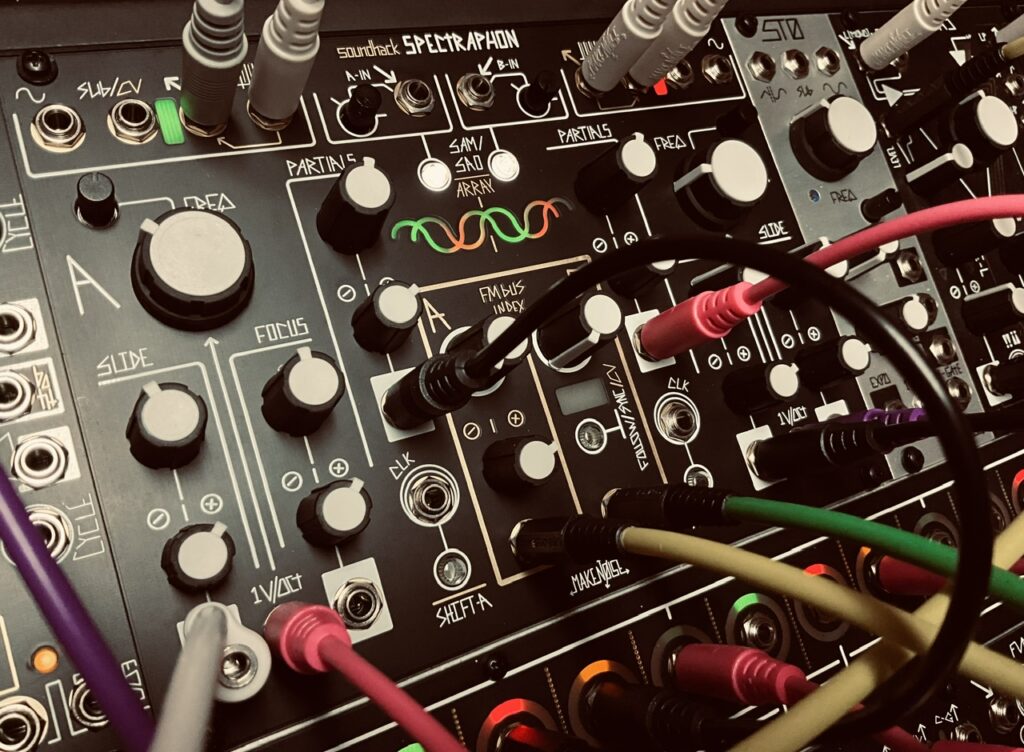
When I turned on my Make Noise synth tonight, I had anticipated some more experimentation with filter wobble. I had both QMMG and QPAS right in front of me, and so far in my brief experimentation, these two filters had been the best at it. And I did do some of that. It was the first thing I did for about 30 minutes. But, as it so often does, the patch sent me in a different direction. It’s still a delicate patch, but not in that kind of way.
This patch won’t get the full patch breakdown, but I’ll lay out the basic framework.
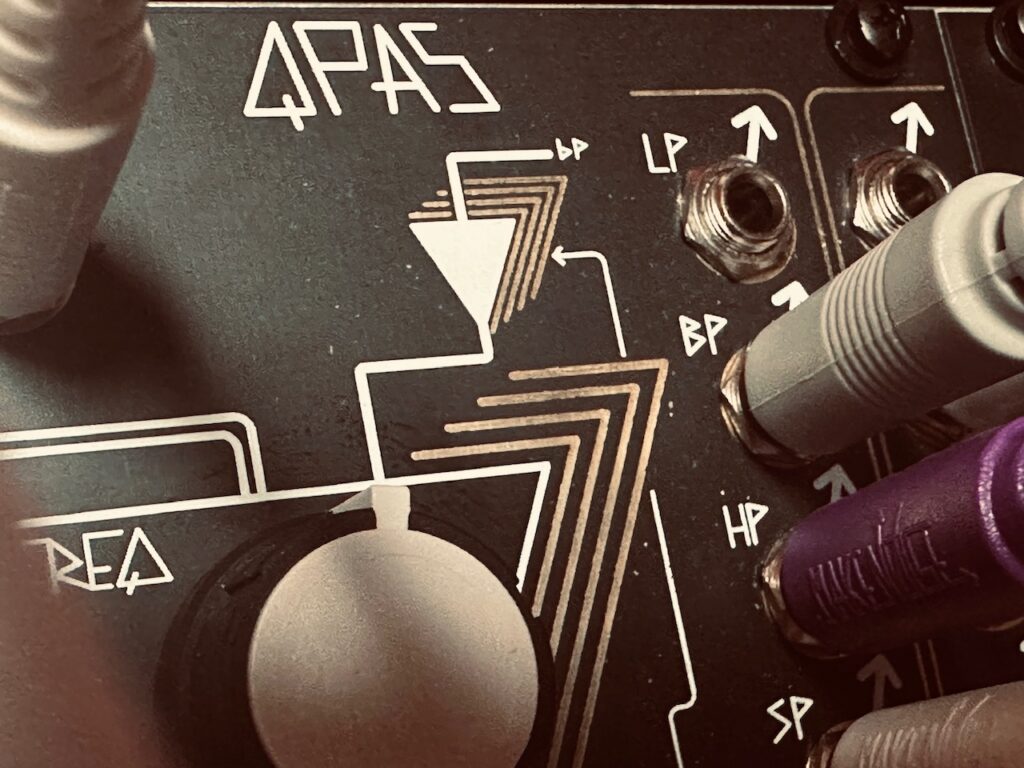
René X Channel > Spectraphon B (stereo outputs) > QPAS (Smile Pass 😁) > X-Pan Spectraphon B (Sub) > QMMG Ch 2 (LPG) > QMMG Ch 1 (VCA) > X-Pan The recording starts out with only the QPAS outputs, before bringing in the LPD’d version. Both are crossfaded once the LPG’d version is brought in. The resonance, particularly on QPAS, got a smidge out of hand, but nothing ear screaming or offensive.
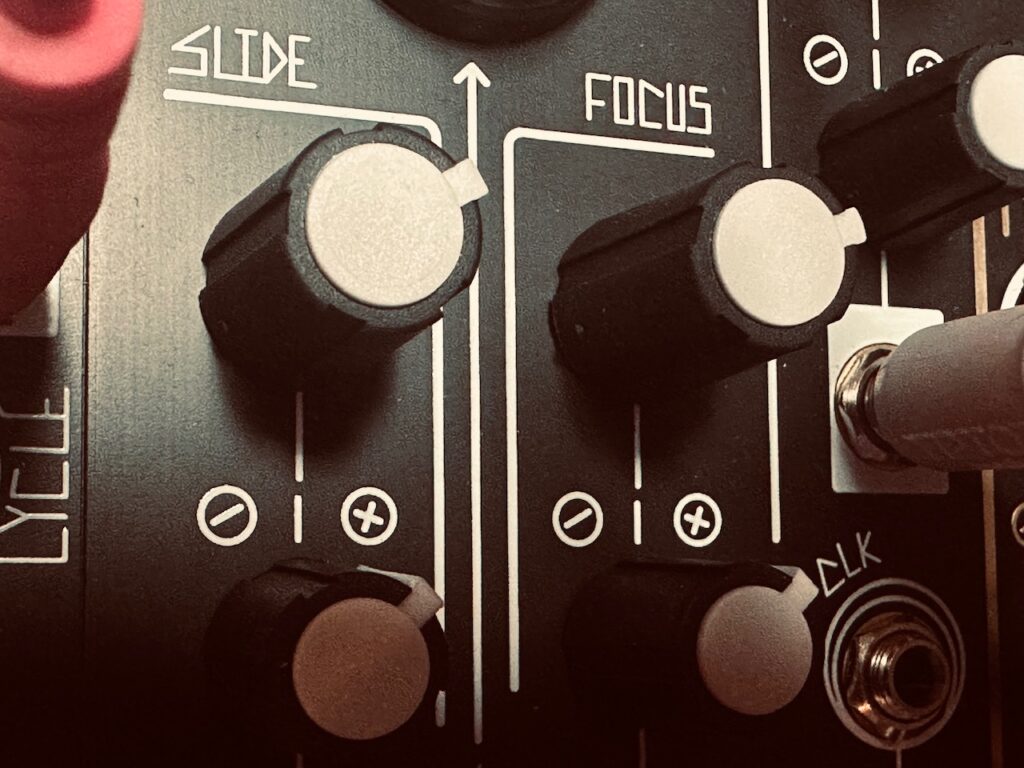
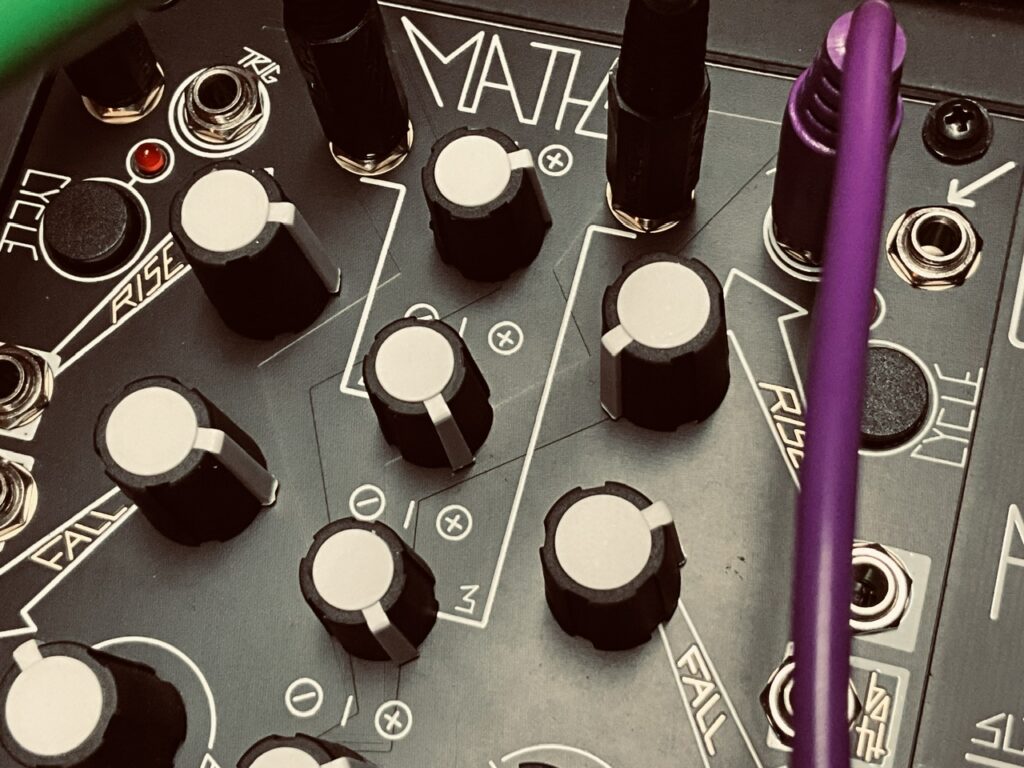
René Y channel > Spectraphon A (stereo outputs) > QMMG Ch 3 & 4 (LPF) > X-Pan (Aux) This is the slower, lower voice that was brought in last. Spectraphon’s A side Focus and Slide were modulated by Wogglebug. Once bright in, this voice was only level controlled by the cutoff of the filter in QMMG. I slowly brought up the envelope amount in Maths to open it further and further.
X-Pan (stereo outputs) > Mimeophon > Output
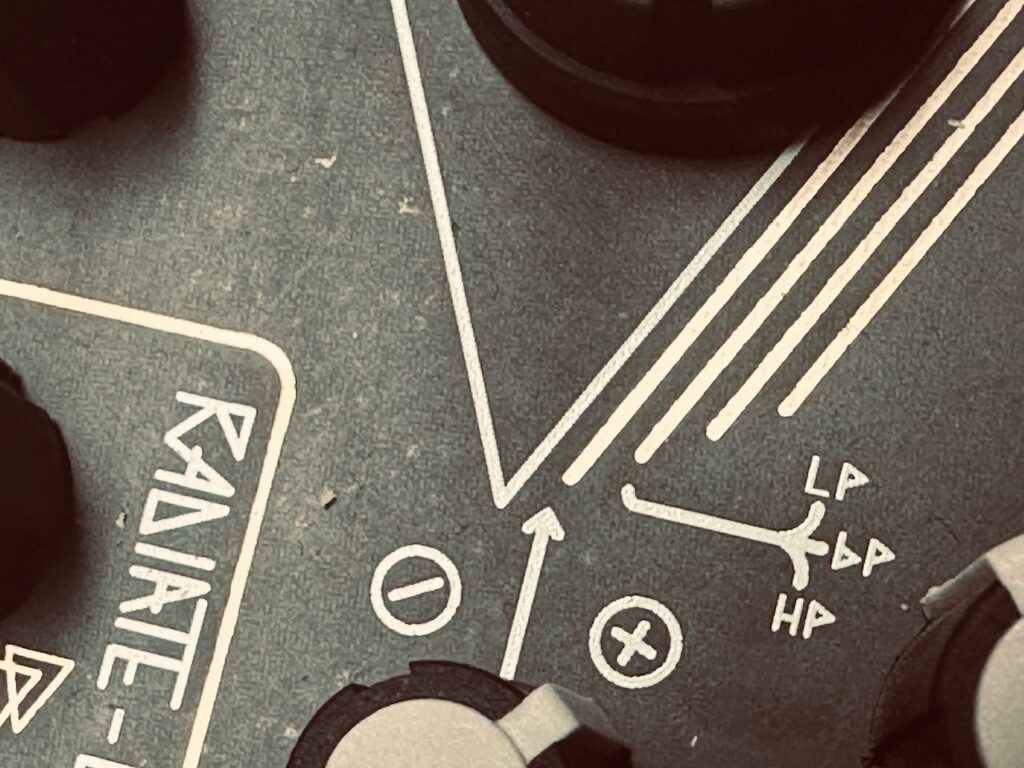
Maths is doing a lot of work, modulating the filter cutoff of both Both QPAS and QMMG, Radiate on QPAS, controlling the envelope level to the QMMG in LPG mode, as well as the crossfading of the continuous playing sequence and the pinged one. I need to find a better way to activate the crossfader. Since I was using a copy of a Maths Unity output in both of X-Pan’s Crossfade CV inputs, I couldn’t just attenuate it to 0v then introduce the crossfading by turning a knob. So I inserted the cables when I was ready to introduce the voice. You can hear that little fumble as that voice is brought in.
I used a reverb send from my mixer to the Maneco Labs Otterley Reverb for some reverb (duh) as well as a touch of granular treatment.
When I finished Jamuary I was resigned to taking time off before patching again. Jamuary was exhausting, and I’m tired. I wasn’t sure how long it might be before I patched again. It turns out the answer was “immediately.” By 10pm on February 1st I was bored, and so decided to put something together on the iPad for fun. I had no intention to record it. I was just playing around with a few things to see how they work. The same thing happened on the 2nd. I started to watch a YouTube video, and decided that I’d rather just do a patch on the synth that was sitting not eight feet from me than watch someone else do one. And so I did.
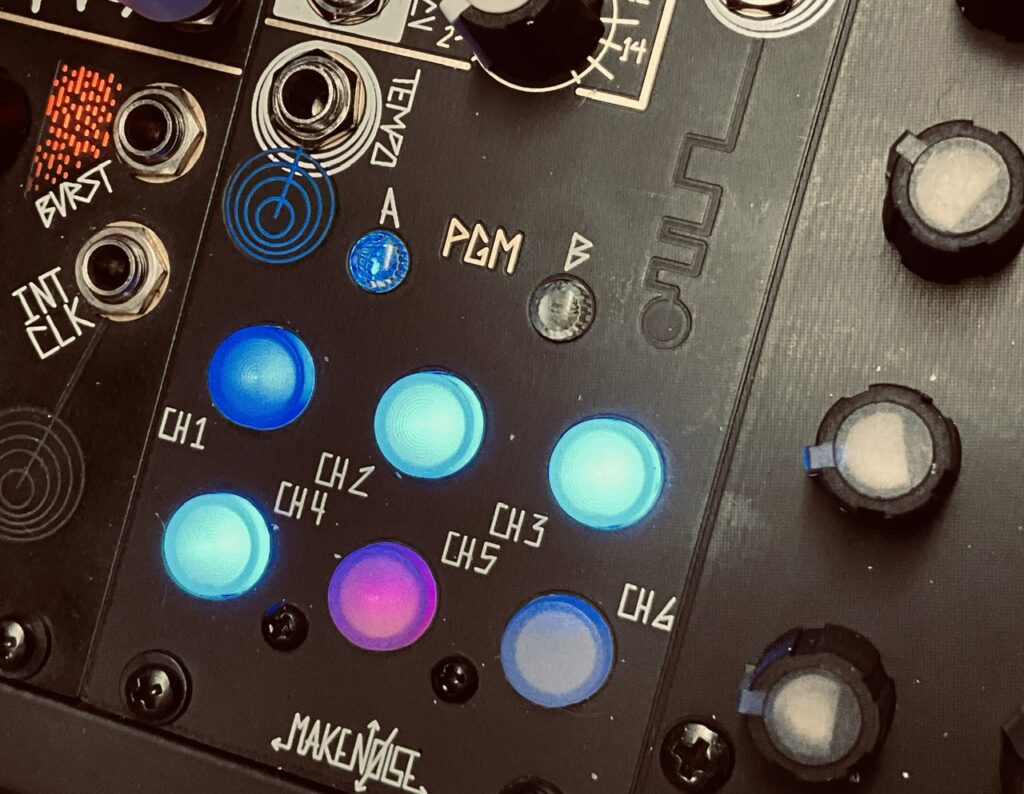
The patch started with Tempi. The base tempo was ~60bpm:
Channel 1 (x1) > Mimeophon
Channel 2 (x1) > René X Clock
Channel 3 (x2) > René Y Clock
Channel 5 (/5) > René X Mod
Channel 6 (/7) > René Y Mod
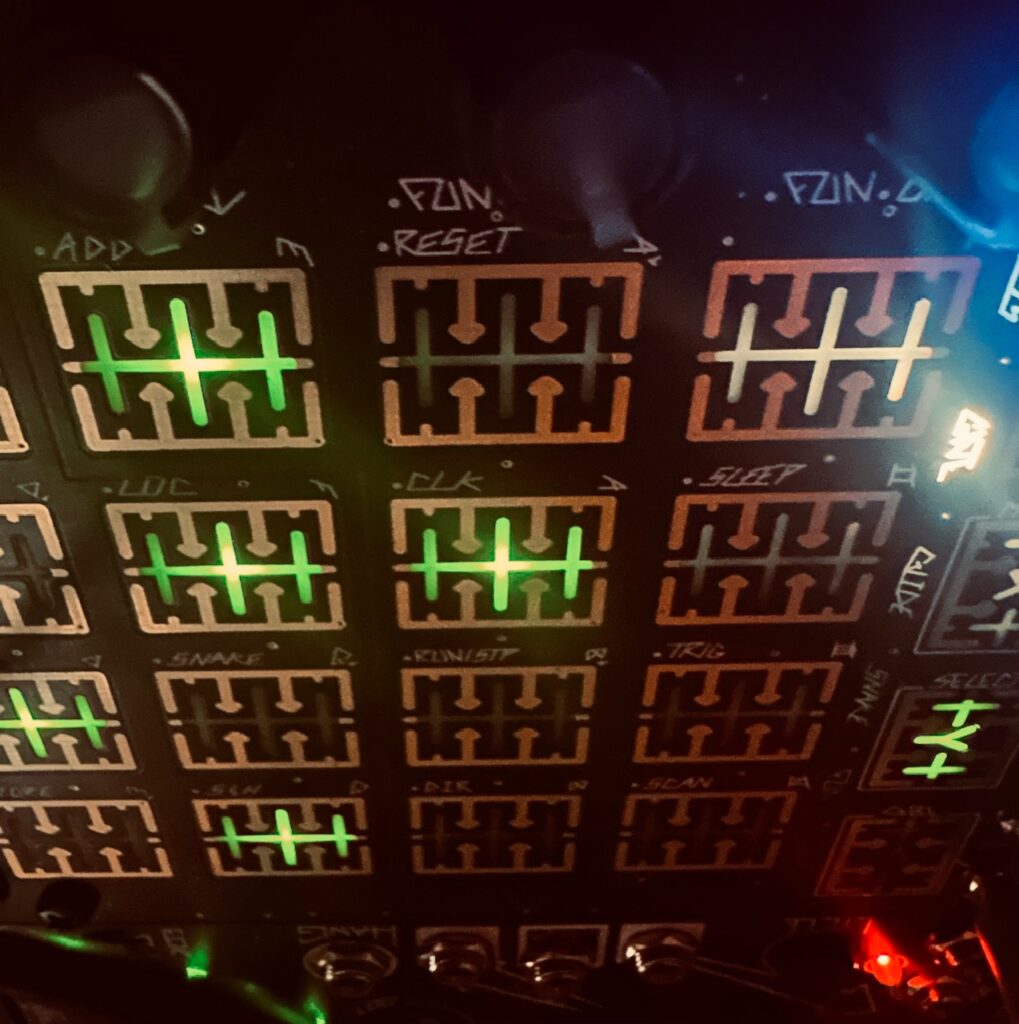
René received the clocks and Mod gates from Tempi on both the X and Y channels. Mod on both channels was set to Start/Stop on the Fun page. When the gate is low at their respective Mod inputs, the sequence moves forward, when it’s high, it stops. Since all four clocks are at different times, there is no continuous repeating pattern, each channel starting and stopping every bar and change. Gates and Access were adjusted for both channels throughout the performance to guard against becoming stagnant. René controlled all four voices in the patch, using just two oscillators, Spectraphon and STO. As far as I know, the scale is in C Lydian, but it sounds like I may have neglected to make the key change between C Major and C Lydian in one (or more 😬) of the channels. It doesn’t happen often, but we get a hint of dissonance on occasion.
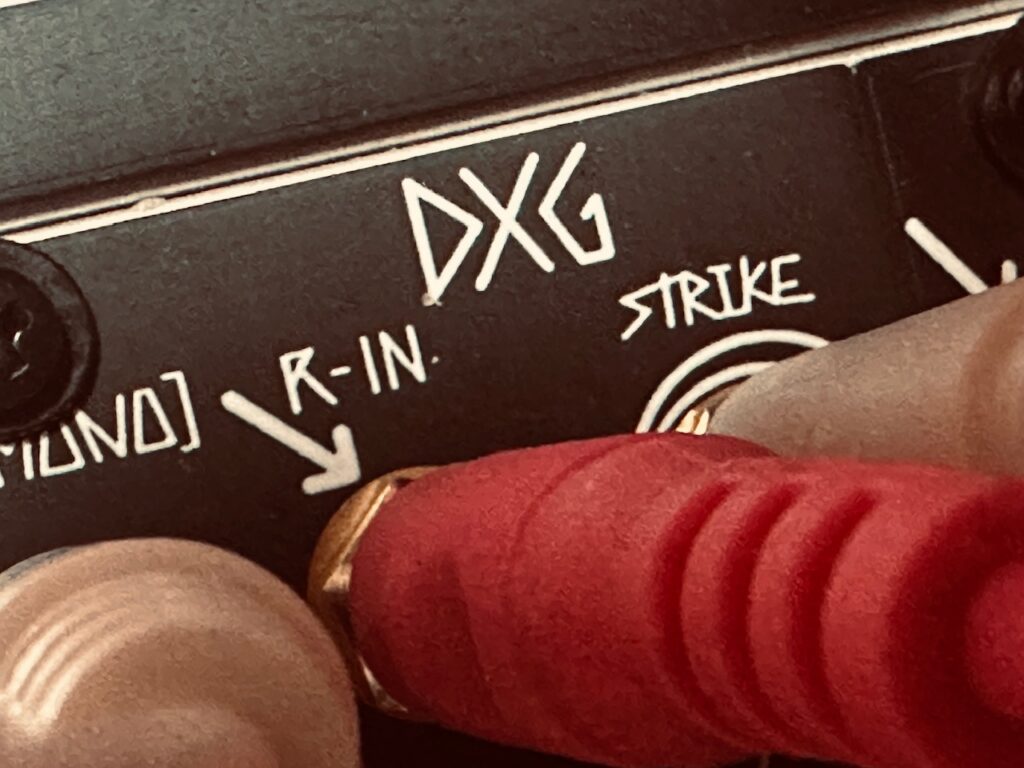
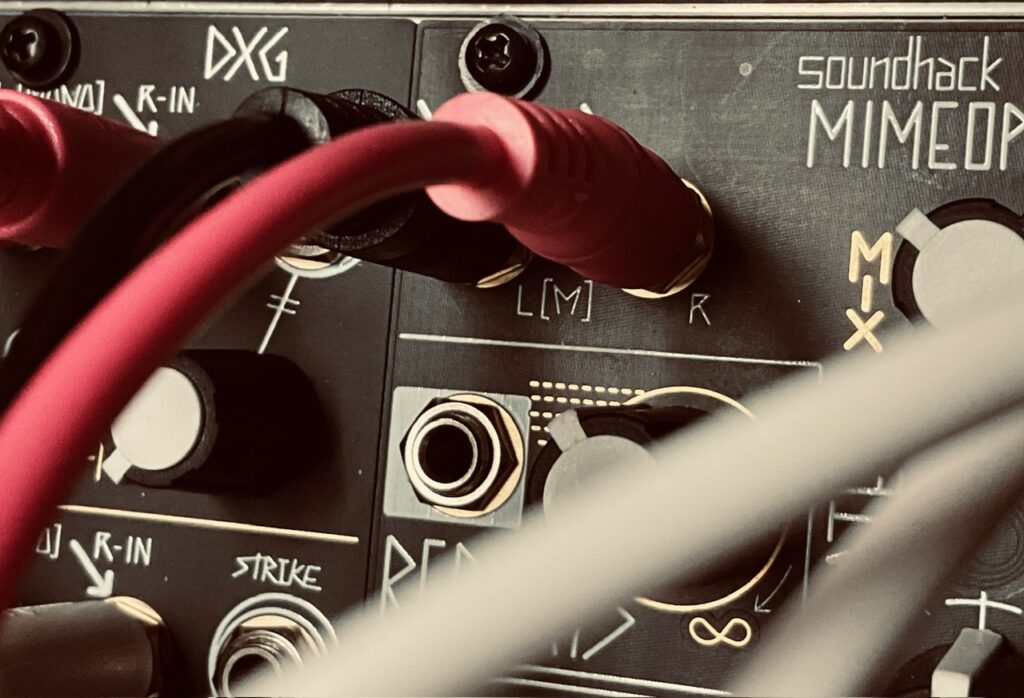
The X Channel sent pitch CV to Spectraphon’s A side, and the trigger from the X Gate output to DXG’s Channel 1 Strike input. The Y channel was routed similarly to Spectraphon’s B side and DXG’s Channel 2 respectively. These two oscillators form the first voice, comprised of fairly sparse pings in the DXG. The mixed outputs from Spectraphon A and B were sent to DXG in a way to remain discrete left and right with their separate gate patterns. When you plug something into the Left input on any DXG channel, it normalizes to the Right channel and becomes a mono signal at the output. In order for the Left (mono) input to remain in the left channel only, a dummy cable should be plugged into the Right input. This dummy cable breaks the normalization, and will send audio at the Left channel input to only the Left channel at the output. I plugged Spectraphon’s A side Mix output into DXG’s Left input on Channel 1, along with a dummy cable in the Right input. Spectraphon’s B side Mix output went to DXG’s Right input on Channel 2. This kept the A side pings on the left side of the stereo field, and the B side pings on the right for a delightfully stereo experience of pings and echoes.
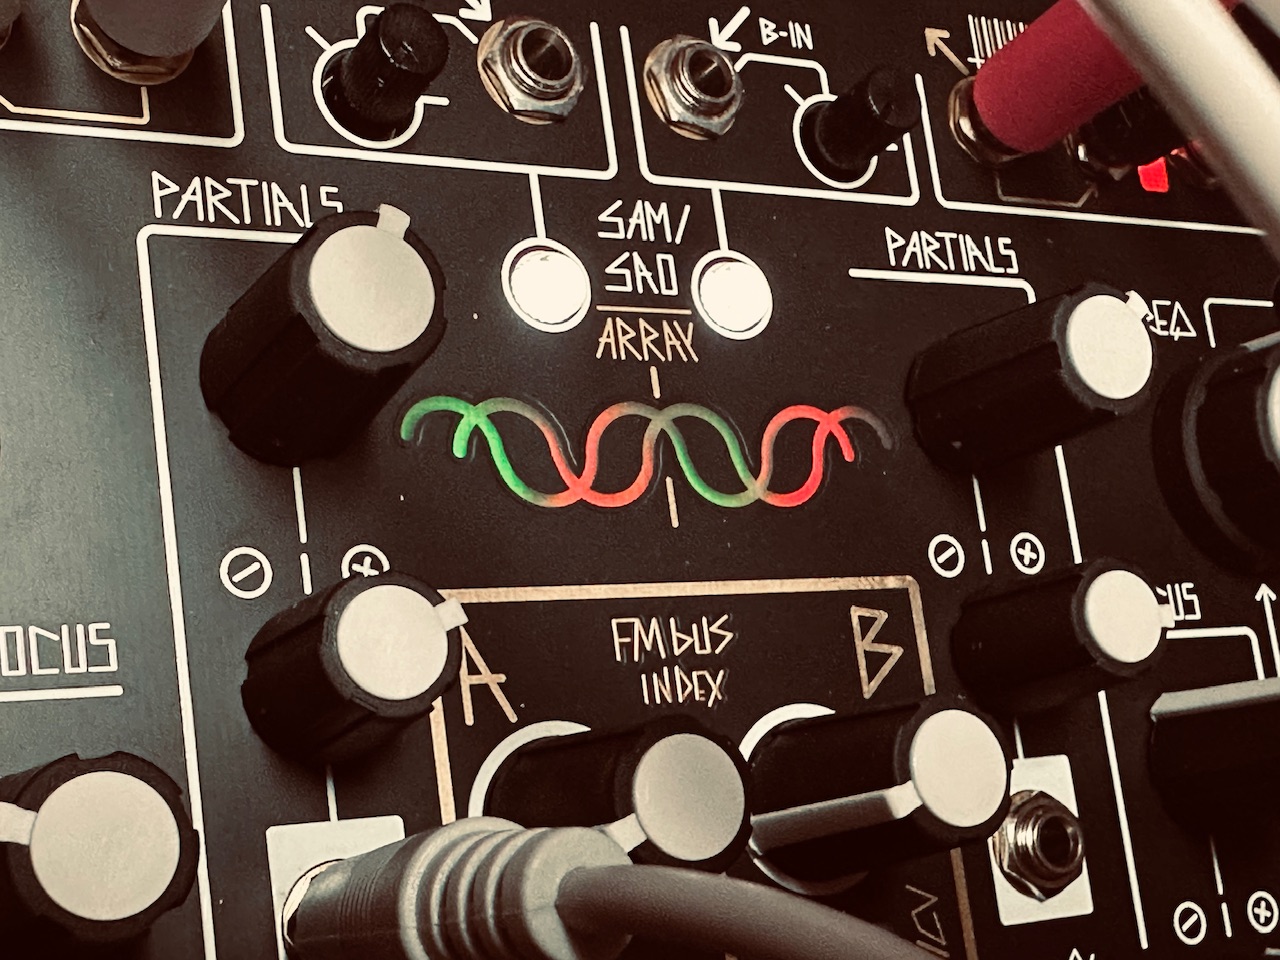
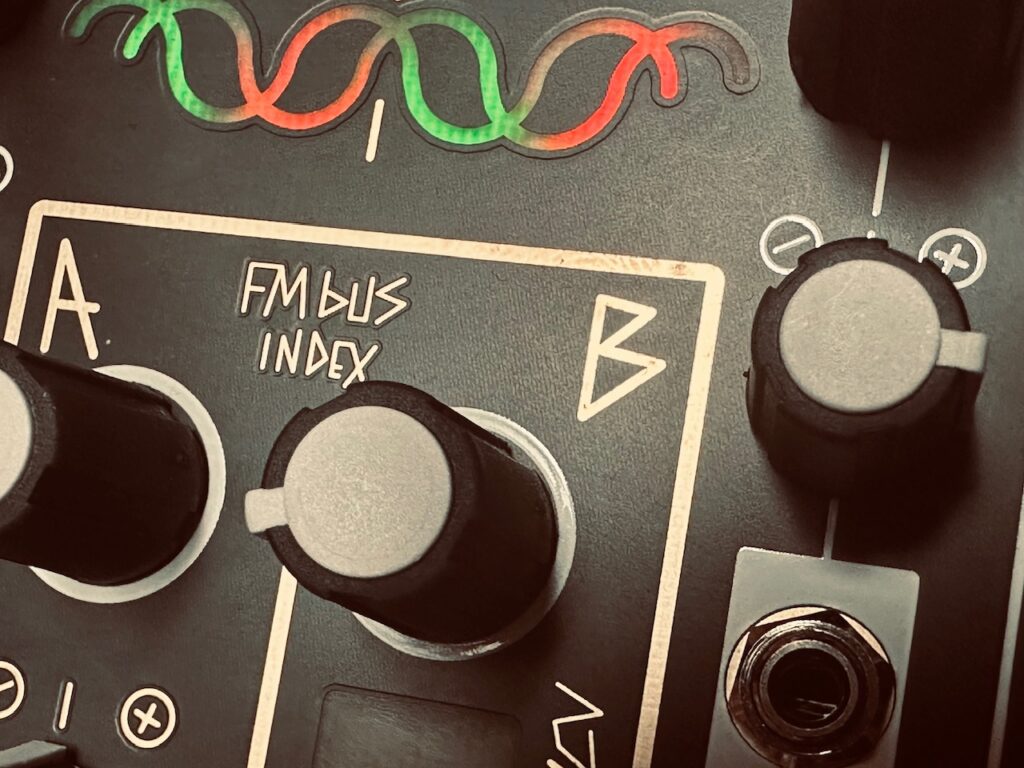
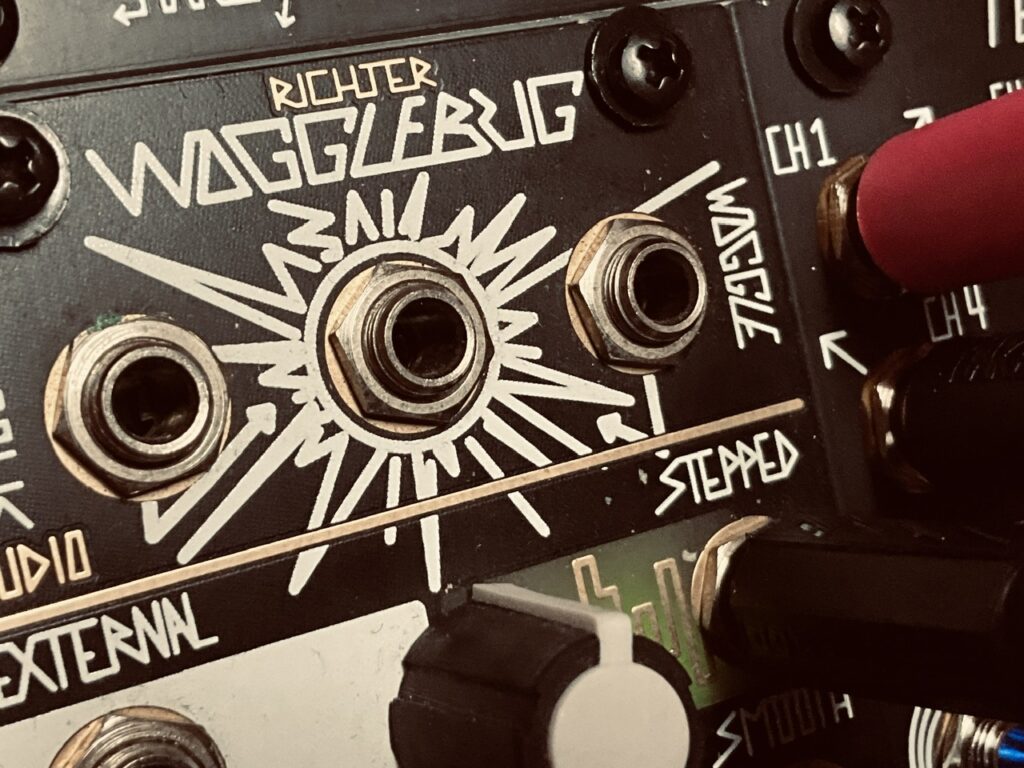
Both sides of Spectraphon were tuned to C one octave apart. Spectraphon was modulated in three places, but only moderately. The A Side Focus and Slide were modulated by a Maths envelope and Wogglebug’s Stepped outputs respectively. The B Side Slide was modulated by the Maths OR output. The slight modulation helped to have subtle timbre changes on the pinged notes, some brighter and others darker. Both sides also FM’d each other slightly. The FM Bus Index for both channels were around 8:30 on the knobs. There’s some FM, but not very much at all. Just enough to give notes a kind of bounciness once struck in the LPG. One really nice feature of the Spectraphon’s FM capability is that its sine waves always stay pure in order to avoid the problems associated with cross-modulating oscillators. No matter how much one might FM Side A, its sine wave can still modulate the B side with a clean sine wave rather than one that is FM’d. Most oscillators, once they become carriers, are useless as modulators. Not so with Spectraphon where both oscillators can be both modulator and carrier oscillators at the same time. Very nifty.
René’s Cartesian Channel performed an identical role with STO and QMMG as the X and Y channels with Spectraphon and DXG. I wanted something well above the predominant audio register in the patch. High pitched tings and drips, in the same manner as the Spectraphon pings, only even more sparse. These were designed to be ornamental notes, not the star. The Cartesian Channel CV output sent pitch CV to STO’s v/oct input, and its trigger output went to Channel 2 of QMMG for similar pinging with the Cartesian trigger. The STO’s sine output was used to keep the notes with as soft a texture as I could with pings. One interesting difference between using the QMMG and DXG as a LPG is that QMMG’s decay, at least my QMMG’s decay,1 is noticeably longer on higher pitched notes than the DXG when pinged with a trigger. In the DXG, higher pitched notes are sometimes just barely blips. This sort of behavior is generally expected with just about every LPG because of how they filter the upper harmonics. But through the QMMG, those high notes are seemingly longer. It’s certainly a result of the those juicy QMMG vactrols, and a good argument for keeping vactrol LPGs around, cadmium eaters be damned. These pings in the QMMG were mixed in with the Spectraphon A and B side pings via the Aux input in the DXG.
After I worked up the pinging I was after, I knew I wanted something more, but it had to be complementary and juxtapose itself against the very delicate pings. I was in a stream of consciousness-like trance when building this patch, and so even though I’ve documented all of the final patch connections for the entire patch, I’m not exactly sure what thought process led me to how I was going to fill in the space in a graceful way. A bit of experimentation, some clever routing, and tinkering seemed to be the answer.
I first decided I wanted to use QPAS. I’m not sure how I decided on it being heavy filtering, but I knew I needed the voice to be subtle so as not to overtake light pinging happening in the stereo field. I sent Spectraphon’s A side Sine wave to the L input on QPAS, and the B side Sub output to QPAS’s Right input. The trick was to have both oscillators filtered by QPAS, yet remain separate in the outputs. QPAS essentially became a dual mono filter with shared controls.2 The frequency knob on QPAS, for most of the performance, was moderately low, around 10 o’clock on the knob, though it was being modulated by an unsync’d Wogglebug’s Smooth output, while both Radiate knobs were being modulated by the Woggle output.
QPAS’ Left and Right outputs would become completely separate voices, unfettered by any gating or enveloping, being tamed and shaped only by the filter cutoff(s) and resonance(s) before going straight to the output. Because these outputs weren’t being gated or enveloped, they were always present, moving along with their respective pitch sequences from René, Spectraphon’s A side following the X Channel, and the B side following the Y channel. I remember really liking the sound of the voices and the feel they added, but struggled to find a solution to these sequences droning along overtaking the pings. The answer was simple: only send as much volume to QPAS’ inputs as is absolutely necessary, and allow the resonance to do some of the lifting. It’s a delicate balance between not being audible and drowning out everything else; the output needed to be always present, but delicate enough to not use all of the space in the sonic field.
The Right Low Pass and Smile Pass outputs went straight to X-Pan Channel 2 A and B inputs where they were crossfaded and slowly panned across the stereo field (by the same cycling envelope). This melody carried a mostly present sequence from the Y channel, though quite muffled by the filter and constantly swirling with the crossfading, and smoothed out with resonance, then copious amounts of Mimeophon with Halo. From the time it was introduced, this Y melody is omnipresent, filtered to various degrees, and allowed to drift through the stereo field.
The Left outputs is where the routing became a bit of voodoo. I know what connections led to this sound, but I’m not sure I understand the mechanisms that led to the result. It was a sine wave playing a sequence heavily filtered by QPAS,3 and then very heavily filtered again by QMMG. The Left Low Pass and Smile Pass outputs were routed first to QMMG channels 3 and 4. I tried all four modes, but only the Low Pass mode gave me the specter of a ghost lightly singing in the background, occasionally wavering and trembling as the pitch of the input, slowly moving filter cutoff, and resonance interacted with one another. When the voice was introduced, the filter on QMMG was completely closed, only being modulated by a cycling Maths envelope. Resonance started at about 8:30 on each knob. I slowly added more resonance, then more again, before also slowly raising the cutoff. By the time I hit stop on the recording, both the cutoff and resonance for both channels were at about 1 o’clock on the knobs. It sounds as if it’s a feedback patch, though, outside of the copious amounts of resonance in the QPAS and QMMG signal paths, tamed by the controlled input into QPAS, there is no feedback patching.4 These two outputs from QMMG were crossfaded in X-Pan, so that the sound constantly drifted and resonated in interesting ways. This led to wavering cries that occasionally had a smidge of growl enough to resonate through the Mimeophon in an incredibly beautiful way.
This voice, although the most subtle and delicate, as well as the least present, is by far my favorite part of this patch. It brings the patch to life. It’s one of the coolest sounds I’ve gotten from any patch. When I first heard that sound I stood tall and stared straight at the QMMG as if to ask it to teach me its wizardry. It was the first time I’ve looked at the QMMG as an instrument; as something more than a set VCAs, LPGs, and filters, with a mix output.
All four voices were mixed in the X-Pan, and sent to the Mimeophon for some delay-ification and Halo, the soft noise of the Mimeophon cushioning the edges in subtle ways.
Like so many patches I made during Jamuary, this patch is an open testament to a cohesive Make Noise system being a fluid instrument. It’s an absolute pleasure to play.
One small issue I had, which reinforces my desire for a couple of VCAs than can boost levels before going to the ES-9, was that the recording was ultra-quiet. The pings are very quiet, which necessitated a low volume for everything else in the patch. I needed to add a full 12.5dB in post in order to bring my peaks up to ~ -12dB in AUM.
Each QMMG will have a different response because of the natural variability of vactrols. Make Noise does a great job of matching vactrols in an individual unit as closely as possible, but there are (sometimes noticeable) differences in the decay length between different units. This is the same for all vactrol-based LPGs. ↩︎
Definitely a first time using QPAS in this way. ↩︎
Filtering a sine wave is about as pedestrian a job as a filter can do. It’s normally unremarkable as filters thrive on upper harmonics. ↩︎
If the input level was much louder, I’m confident the resonance, particularly in QMMG, would have been screaming. Both filters have a very pronounced resonance that can run away quickly. ↩︎
Long day at work so this will be a quick and dirty patch notes….
The Make Noise system has my back again.
QPAS pinging away. Sequenced and pinged by René. Smile Pass and Bandpass outputs both sent to X-Pan and crossfaded, although I don’t know there’s much difference between them in the output. Spectraphon supplied both ring modulated and FM tones. For FM tones, Spectraphon A is on left, Spectraphon B on right. They are tuned an octave apart. Both mixes enveloped by a Fall modulated Maths functions in DXG.
Both QPAS and Spectraphon had every CV input modulated by…something. Wogglebug, René, Maths, Tempi, Maths Functions, the OR and SUM outputs on Maths, and just about anything else I could find.
Everything mixed in DXG and sent to Mimeophon for some delay and a decent amount of Halo. Had a little too much fun using the 0-Coast Slope output to modulate Mimeophon’s uTime CV input.
Kick was created by the 0-Coast. A steady clock from Tempi triggered the Contour on the 0-Coast. The Contour output was attenuated and sent to the v/oct input to give the kick some punch. The kick is dry in the mix.
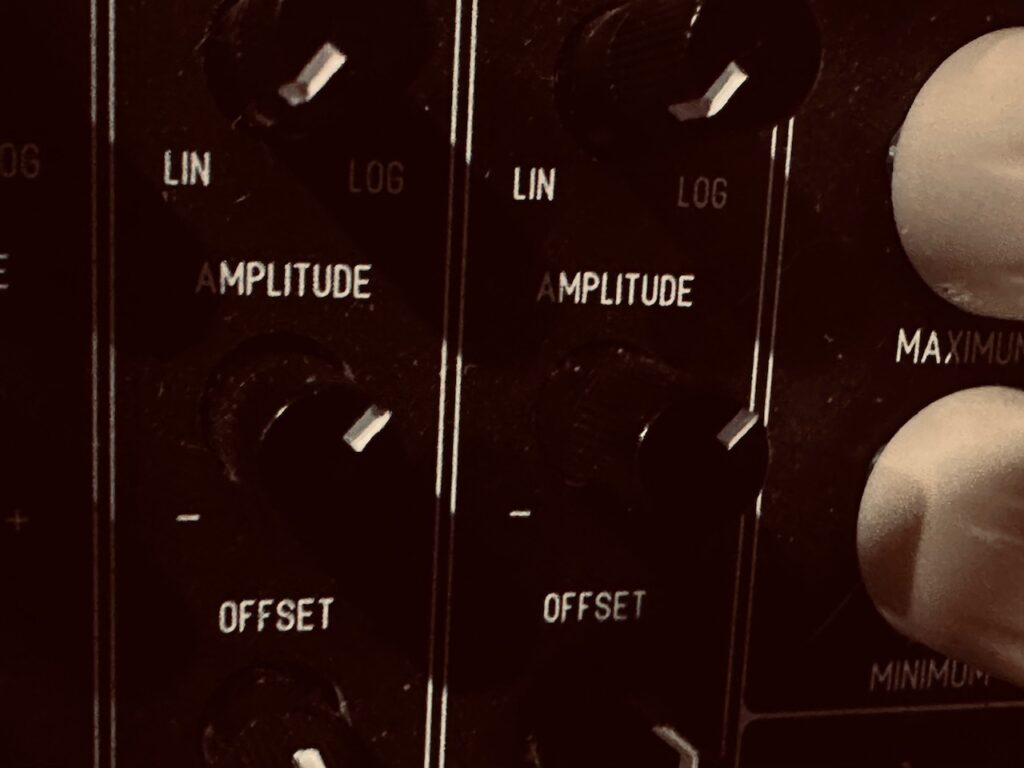
I set out today to experiment with exactly two things: a dynamic trigger patch technique suggested by none other than DivKid, and a new stereo wavefolder that I haven’t used nearly enough. It started off as a simple patch, that turned into a beast.
Dynamic triggers are interesting. Normally a trigger’s amplitude doesn’t matter. Most triggers simply cue other modules to do whatever it is they do. But some drum modules, filters, and LPGs thrive when fed with dynamic triggers because it allows individual hits to be different volumes, which brings an interesting dimension to LPG pings. There’s variety; a variance that adds character and drama.
The patch itself isn’t that difficult. The key is to both attenuate and offset noise, and use that in a VCA CV input. In a thread about Dynamic Triggers on Modwiggler, DivKid writes,
It’s also good to remember (for all of us, I know I need a reminder sometimes) that CV utilities are our friends. Offset and attenuation would get you a long way. So rather than fully random. Take a CV utility and use an offset of say 3V (roughly) and then mix in the noise but attenuated and you’ll have a series of values that are hovering and dancing around the offset. Musically and sort of “humanised” around that offset.
Although it sounded easy enough, I asked, on his Discord server, to elaborate, and he confirmed that the patch is as easy as I imagined it would be:
Trigger > VCA input
Offset/attenuated noise > VCA CV input
If you have a VCA with both level bias/offset and CV attenuators (like the Intellijel Amps, Quad VCA, or many others), simply patch the trigger to the input, set the offset to taste (3V, for example), and set the CV attenuator to taste. If you set it at around 1V, you’ll have triggers between 2-4V. The more attenuated the noise, the closer the triggers will be to the offset level. However you do it, it’s a dynamic treat.
I did this patch times four, using four copies of a Frap Tools Sapel trigger, each patched to the CuteLab Missed Opportunities for probability processing before going to the Intellijel Amps in order to be dynamically controlled by the offset and attenuated noise. Amps made this patch much easier because it has CV inputs that normalize, which means I only needed to use a single patch cable to feed all four channels doing trigger processing.1
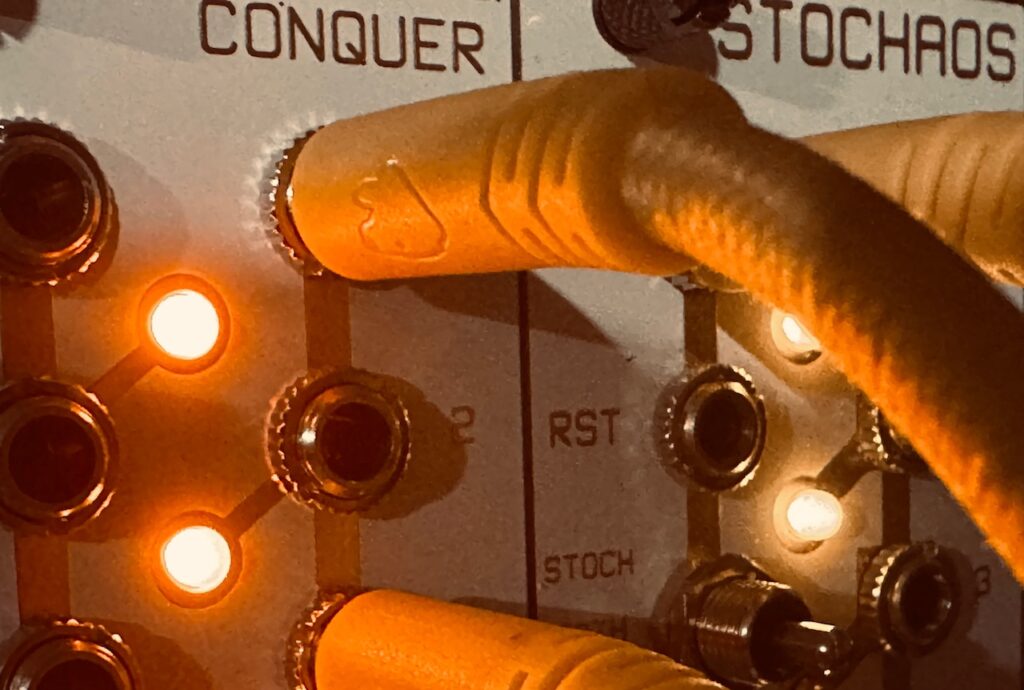
These now dynamic triggers pinged four Rabid Elephant Natural Gates, which does register dynamic triggers, where I used four Frap Tools Falistri generators as oscillators before being mixed and sent to the Venus Instruments Veno-Echo.2 There are a lot of patch cables, with plenty of mults and Stackcables throughout. Triggers were flying everywhere in the patch. From Sapel to Missed Opportunities, Amps to Stochastic Function Generator, and Ornament & Crime’s legendary Quantermain quad quantizer algorithm. And that’s just to create notes. Other triggers went to the Nonlinearcircuits Divide & Conquer and Stochaos (to trigger its rather excellent stepped CV outputs), Veno-Echo, and Calsynth Changes, which modulated a lackluster kick and the very very cool Optotronics Stereo Lockhart Wavefolder.
The wavefolder was surely the high point in this patch for me. I really only understand how half of it works, but it’s ultra-fun. It adds harmonics in really interesting ways, fed by sharp envelopes to each side from a Calsynth Changes, triggered by a Calsynth Twiigs quad Bernoulli gate based on the Mutable Instruments Branches. This creates some exceptionally cool stereo movement that I’ll have to explore more of.
I also used the Industrial Music Electronics Malgorithm Mk2 for part, which was cool, but was overshadowed by the wavefolder once it was added.
I actually used all eight VCAs in my Amps chain to dynamically control four triggers and four snappy, stochastic envelopes from the Addac506 Stochastic Function Generator which were patched to the Natural Gates’ Control CV inputs. ↩︎
I meant to mix these down in a slightly stereo orientation, but I simply forgot to turn the pan knobs. 😕 ↩︎
I hit record on the patch at 11:56pm EST. It counts. A even longer day at work than yesterday, but I was able to make it in time.
I started tonight with another feedback patch, but was completely uninspired, so went to a Make Noise Jam. René v2 is an incredibly good sequencer for live jamming. I’m not very good at sequencing, but René doesn’t care. It just works and things flow freely. Spectraphon is exceeding all expectations at this point. It sounds friggin’ good.
The quick and dirty….
X Channel controls Spectraphon A Odd/Even outputs in QMMG Channels 1 and 2.
Y Channel controls Spectraphon B Odd/Even outputs in QMMG Channels 4 and 3.
C Channel sends pitch to QPAS, which is pinging away to a steady clock, but it’s input is faded in and out by a cycling Function via its VCA.
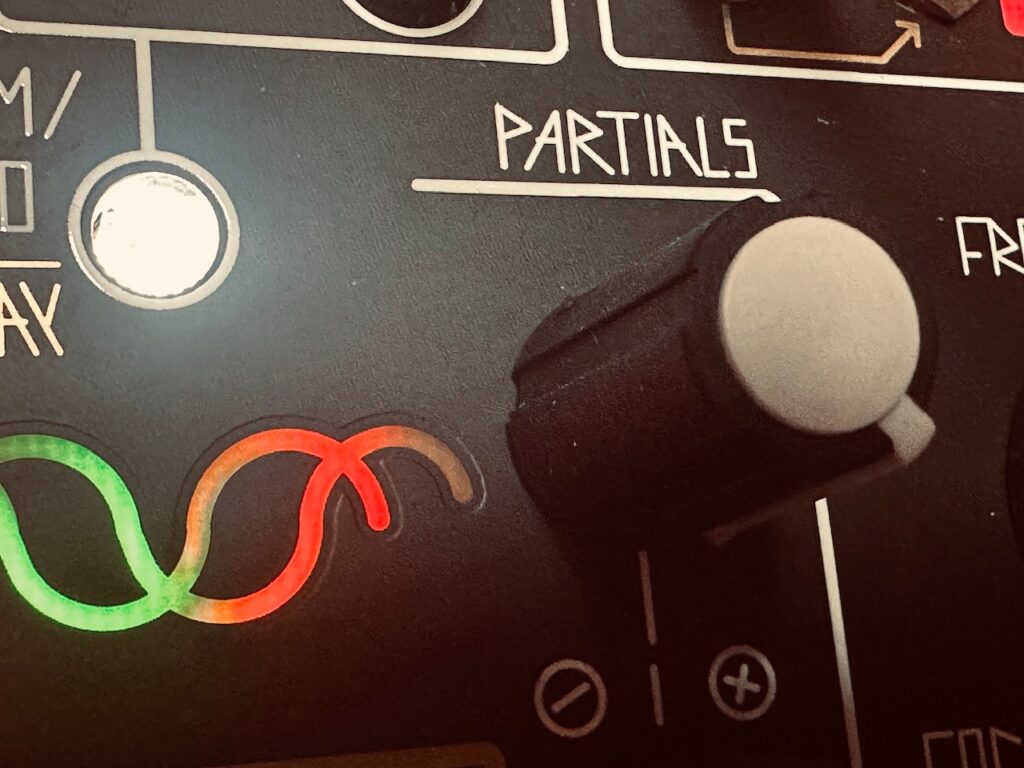
Wogglebug, Maths, and the other Function do some modulation to Partials, Slide, Radiance L and R, and QPAS’ Frequency.
All three voices mixed in DXG and sent through Mimeophon, then the Maneco Labs Otterley Reverb.
This patch was really fun and making it exemplifies Make Noise’s strengths as instrument designers. The cohesiveness of the modules as a set, and the physical UI are really conducive to just jamming out and having fun.
As a result of acquiring both the Synthesis Technology E370 and the Flame Instruments 4VOX, after also getting the Humble Audio Quad Operator and RYK Modular Algo earlier in the year, I’ve been stringing together a series of chord-based polyphonic patches using various forms of slow modulation to control the volume of each chord tone. From standard LFOs to chaos, and stochastic functions to ocean wave simulations, I’ve tried at least a dozen of this style of patching over the last several months. Some of these have used static chords that don’t really move anywhere. Different notes of a chord come in and out chaotically (in most cases), but the chord itself doesn’t change. Others are based on the harmonic series, where only one pitch change of the master oscillator affects all of the individual harmonics resulting in chord changes. All of those were composed using chaos or random as a pitch source. But, with one exception, it wasn’t until this patch that I used the NOH-Modular Pianist with real intent and composed a chord progression to move the piece along. To set a mood and provide some tension and relief with harmonic motion in addition to volume and timbre changes. And this time I went big with using all eight CV outputs, rather than just four.
The NOH-Modular Pianist is an interesting module. It promises a world of harmonic movement in an environment where using chords isn’t a simple proposition. Polyphony in Eurorack is equipment and labor intensive. Each separate note of a chord requires its own separate oscillator, function generator, and VCA, at minimum. and requires its own discrete signal path. That’s a lot of patching for what is an easy task in a DAW or by using keyboard-based synths. It’s a lot of tuning (and re-tuning); lots of signals to tweak, and lots of modulation to account for. Before the Pianist, ways to get this sort of advanced polyphony was hard to come by. You could use a MIDI > CV converter, which has its own challenges, or else by painstakingly programming a pitch sequencer note by note, which requires a level of music theory knowledge that most don’t possess.1 MIDI > CV converters require careful calibration, and there are few sequencers with more than just four channels. But the Pianist is different.
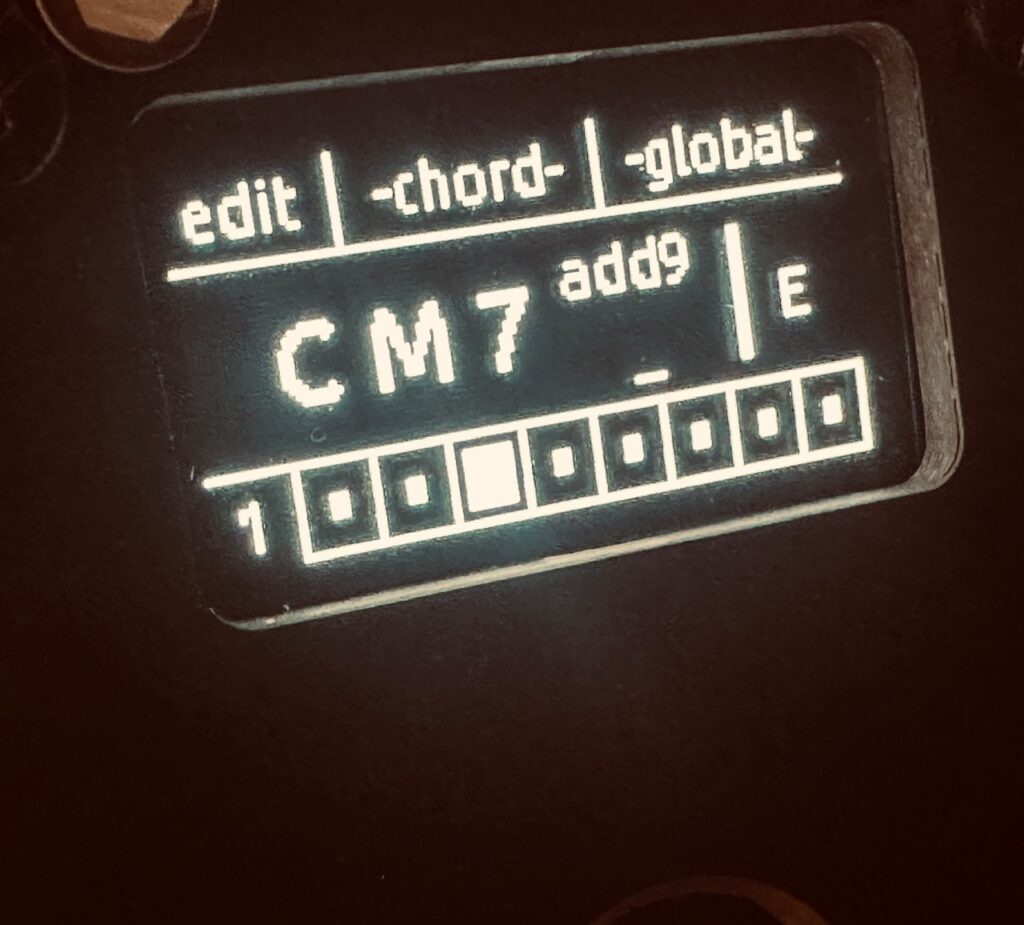
Rather than programming chords note by note, Pianist uses standard western music shorthand for identifying chords, and the module does the rest. When you program it to play a CM7 chord, for instance, it knows to send out pitch data for C E G and Bb. It’ll even repeat chord notes in a different octave if no color tones are used. You can add two chord extensions beyond the 7th, called Colours in the Pianist, or use chord inversions to designate the third or fifth as the bass note in the chord. If a up to six note chord can be played on a piano, it can be played by the Pianist.
Users can freely enter chords from scratch in Free mode, or, to make the job even easier, set it to Scale mode and choose only from chords within your chosen key. The scale can be set to Major, Minor, or any of the modes2 and Pianist does the rest. So, for example, if a user in Scale mode were choose A Major as the scale, Pianist would present you with only AMaj, Bmin, C#min, DMaj, EMaj, F#min, G#dim, the diatonic chords in A Major, in order to facilitate easier chord progressions for theory novices. As long as your oscillators are tuned, your chords will be in key. Nifty. For those who want to use chords outside of a key, or if your composition isn’t really in a specific key, Free mode allows for creating chords from scratch. Virtually any chord is possible (up to six notes). In both modes, harmonic complexity is simple, with up to two color tones available, and made even simpler in Random Gate mode where each gate received will add random colors automatically, and choose colors that make harmonic sense within that chord. The workflow in creating chord progressions is intuitive. I was quickly making fairly complex progressions with repeats and skipped chords with ease.
Though Pianist is a boon to those of us seeking access to polyphonic 12TET harmonic movement in our Eurorack patches, it does have its weaknesses. Though you can move notes up and down in octaves to create chord depth, it’s done in a haphazard way. Rather than setting each note for the exact voicing you’re looking for, you have to rely on functions Pianist calls Shift and Spread in order to get full, rich chords that don’t clutter a particular part of the audio spectrum, but it’s not exactly clear how that affects the chord as a whole. I can hear changes, but can’t always identify them. Easy variety, however, can be achieved when the Gate mode is set to Spread. No chord will be voiced exactly the same which creates intrigue.
The calibration for the module, at least in Version 1.0, is straight funky. This patch uses eight discrete oscillators. While tuning I sent a C from Pianist to set a baseline. But in order for the oscillators to play the C being sent, they each had to be tuned to G, which I found odd. The newest firmware, 1.2, addresses tuning and scales in a way that version 1.0 does not, which is a great improvement by all accounts, even if I haven’t used it yet to note any changes. Since I’m using Pianist in Free mode in this patch, however, there wasn’t a compelling reason for me to upgrade, though I certainly will now that I’ve finished recording it, even if I have an aversion to the upgrade processes of most digital modules.
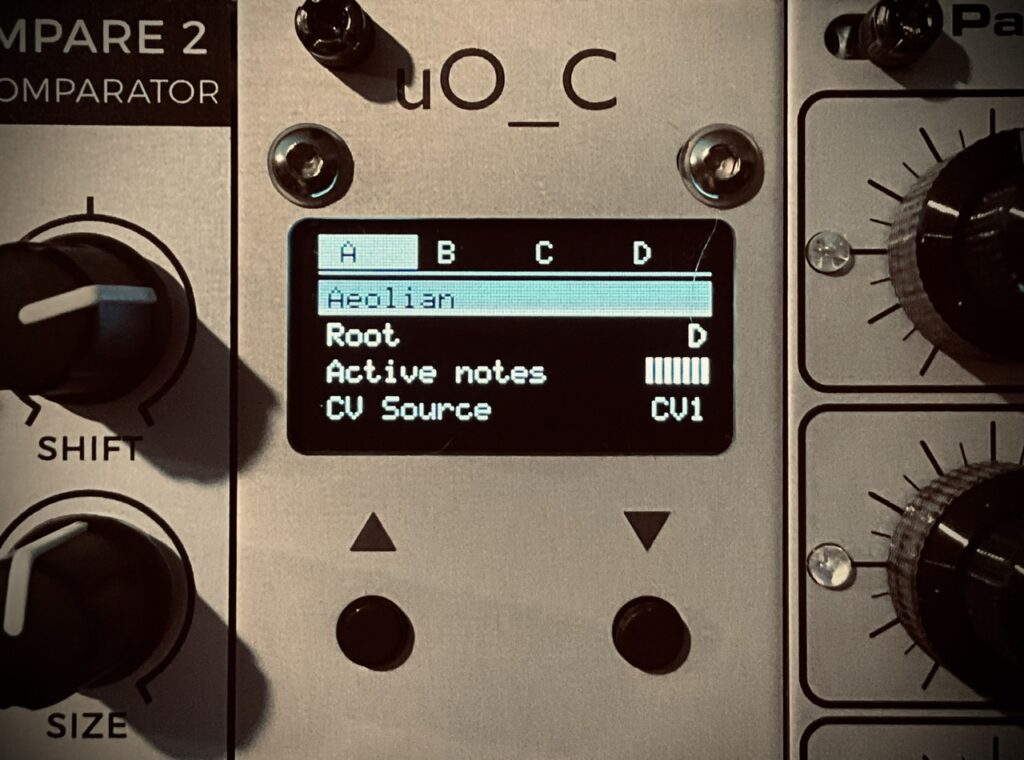
The screen has a lot of information, and not a lot of room. However, navigation is still reasonably simple and the information on the screen laid out such that it’s not hard to read. It’s easier to read and use than many far more established modules like the Disting Ex, Kermit Mk3, or uO_C, even if there isn’t a lot of screen real estate. The interface is super easy to navigate using the mini joystick/push button. Version 1.2 is reported to have an even more streamlined navigation and menu system. Though altering global settings like the Scale, Gate or Spread behavior requires some menu diving which is never fun, programming chords decidedly does not. It’s a point and click operation made easy with the joystick, all done on one level. Move the cursor to what you want to change, click, move the joystick to the desired value, and click. Done.
A major issue with version 1.0, which may have been changed, is that it always boots up with the first saved sequence. Unless you save your progression to one of the user slots, you will lose your work if the module power cycles. If you don’t have much in your progression, or it’s a super simple that’s no problem. But if it’s long or has a lot of direction you might be losing a lot. Ask me how I know. 😕
Pianist has its own clock that will change on each beat, along with a clock output to trigger envelopes or some other event as chords change. But it also has a clock input, which will move along the chord sequence with every rising edge like any standard step sequencer. Being that I rarely use a steady clock, I haven’t tried the internal clock, and have instead used clocks created by chaos or some other irregular source. This patch used a fairly complicated sub-patch in order to derive the chord changes. I didn’t want haphazard pitch changes in the midst of notes actively being played, but only when nothing was being heard. Finding an approach for this was time consuming, and although there are probably (certainly?) other methods that would work as well, I settled upon an approach using two comparators, one analog and one digital.
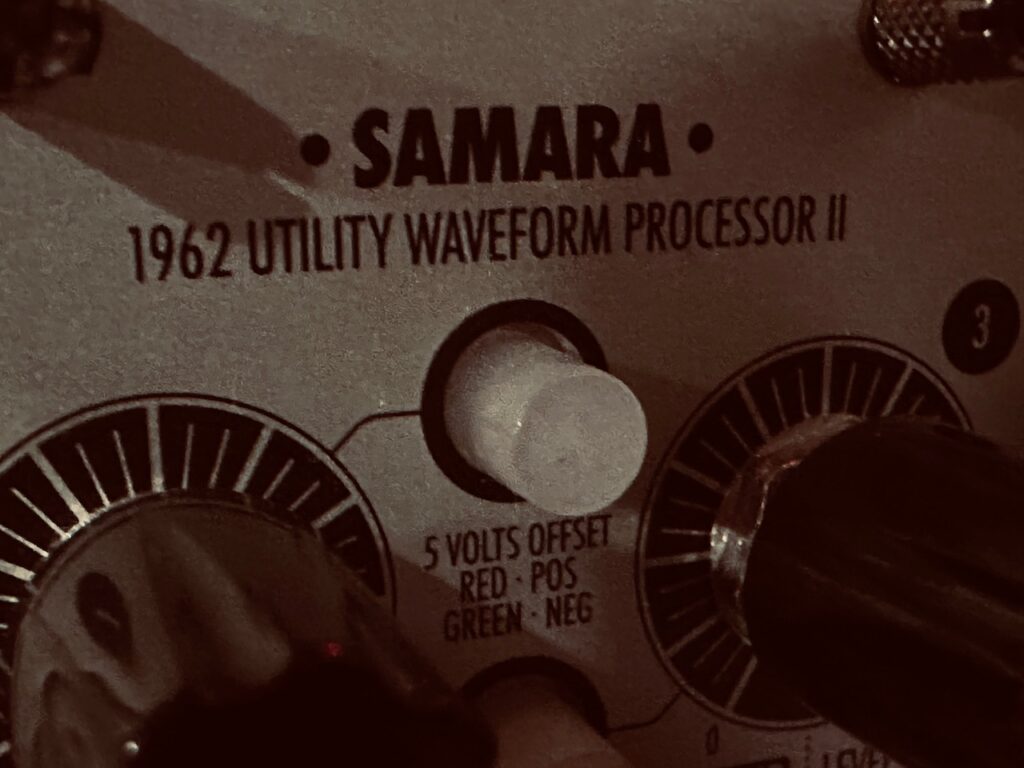
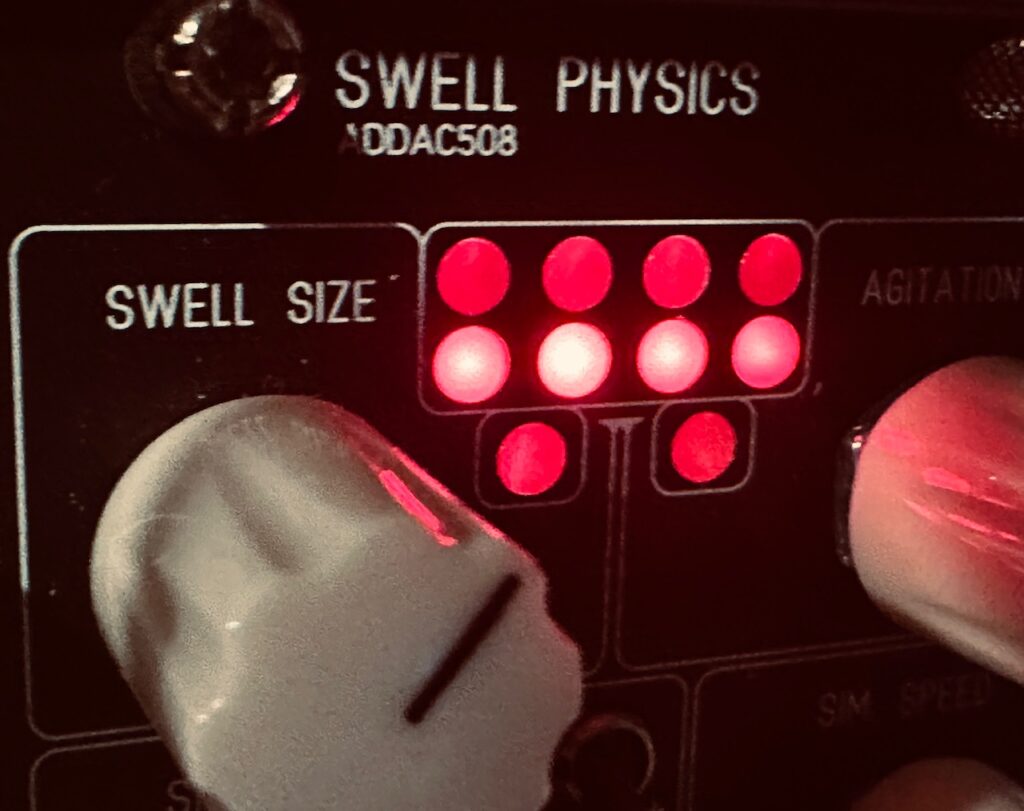
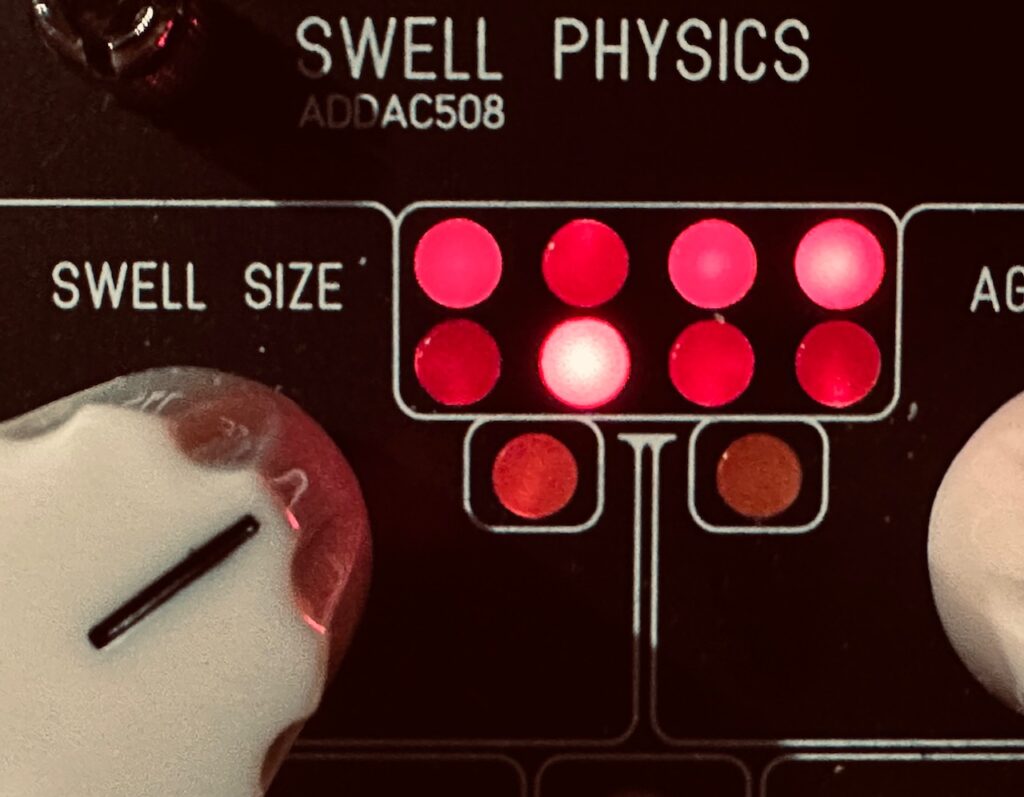
The four waves from Swell Physics first went to the Xaoc Devices Samara II. Samara compares all four inputs, and outputs the Maximum signal (AKA Analog OR). Being that these four waves were controlling the volume of the individual chord tones, it occurred to me that once the Maximum signal went below 0v meant that all four parent signals were below 0v, which meant no volume at all from the chord voice. This is exactly when I want to trigger the next chord in the sequence. I then sent that Maximum signal from Samara II to a digital comparator, the Joranalogue Compare 2, with its compare window set to anything below 0v. So once that Maximum signal went below 0v, it would spit out a gate that would trigger a chord change in Pianist.
The eight chord tones created by the Pianist went to eight different oscillators. The root, third, fifth, and seventh (or fifth if there is no seventh) form the base of the chord and all go to one of the four Flame Instruments 4VOX oscillators, while the color notes and two additional root notes, one that follows chord inversions and one that does not, all go to a self-frequency modulated Frap Tools CUNSA, where each filter is set to self oscillate, and pinged in a Natural Gate.
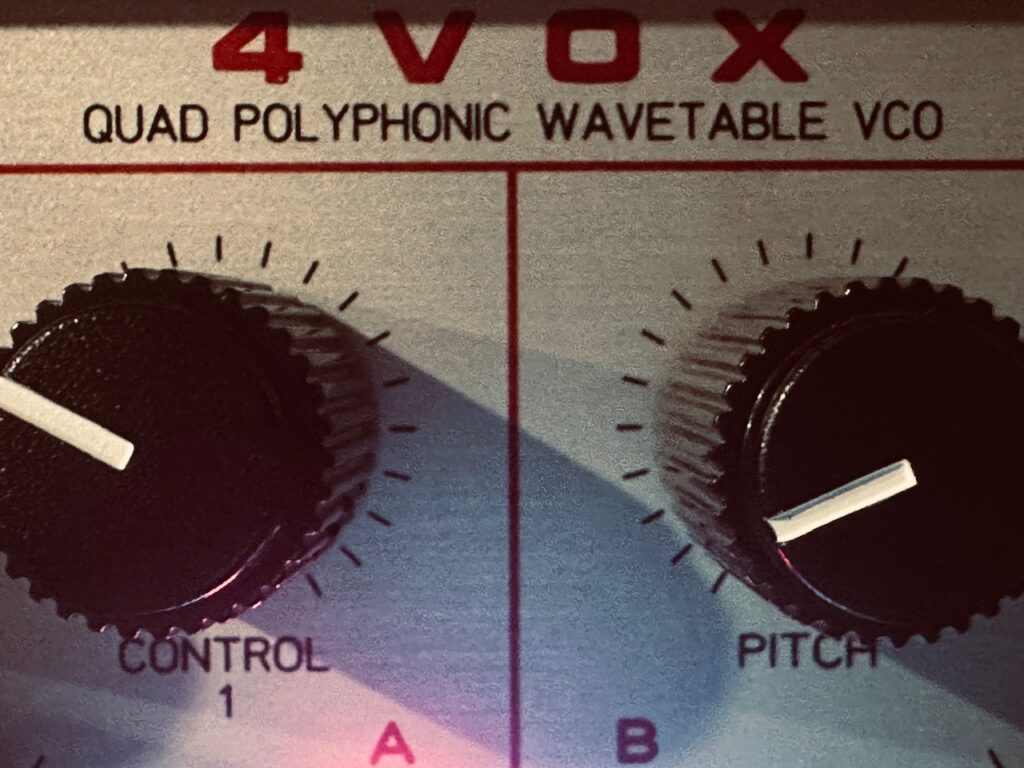
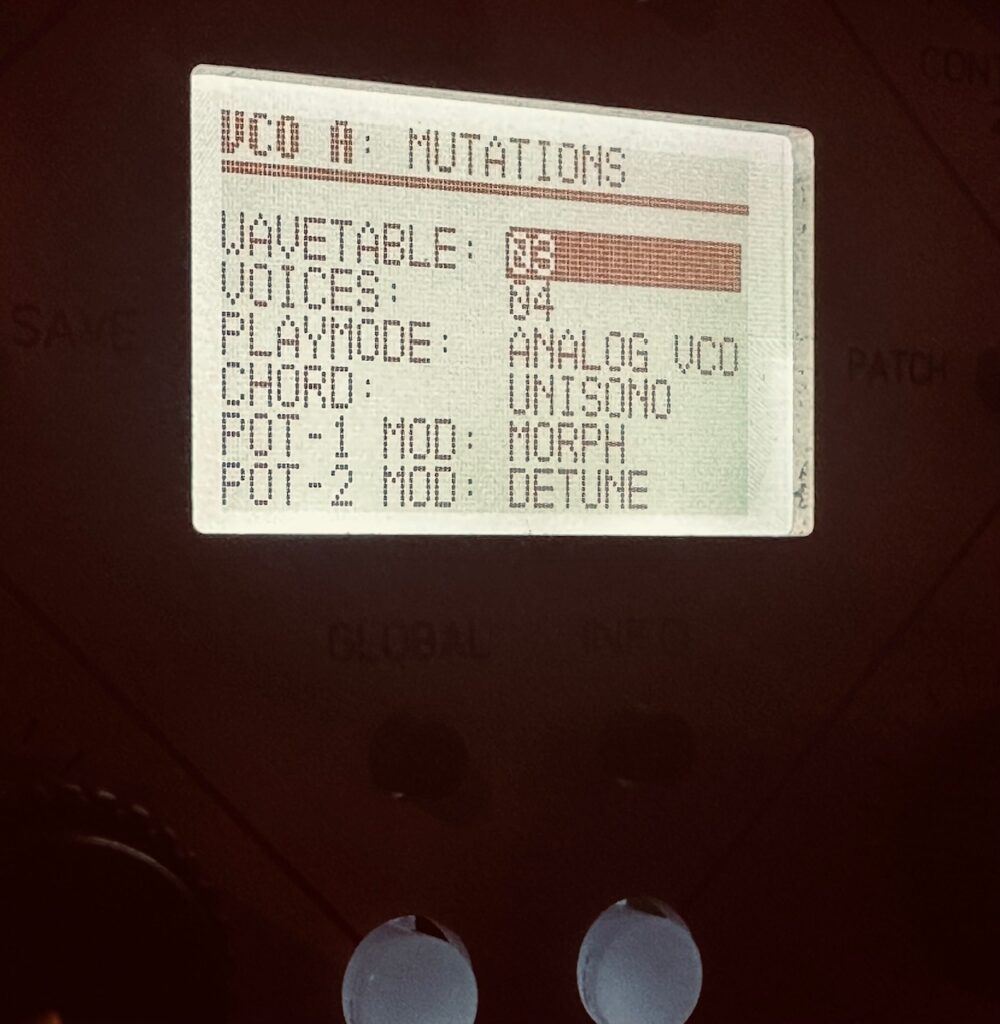
The Flame 4VOX has been around a long time. My brother, a house sound engineer, producer, and DJ who’s been into Eurorack a long time, lusted for one long before I even knew what Eurorack was. It’s a fully polyphonic, wavetable oscillator beast, split into four sections of up to four oscillators each. Each oscillator can create detuned swarms, chords, or be unison. Each oscillator can be controlled by v/oct CV or midi, and is fully polyphonic with its own output. It really was a very advanced piece of gear for its time. It still is, even if it hasn’t been updated in several years and is showing its age. There are two pots and two CV inputs per oscillator that can control several parameters including scanning the wavetable, detuning, amplification, and more. It has internal VCAs to control volume, but I did not like how they functioned at all, and opted to use external VCAs, which worked to my benefit allowing me to modulate two wavetable parameters rather than the volume and only one parameter. There are also separate FM and reset/sync inputs per oscillator, along with its individual output. Even if CV-able options seem to be limited, virtually every facet of the 4VOX can be addressed via midi, although I haven’t used it with midi at all. It’s a very powerful oscillator bank that can cover lots of ground.
Although I wouldn’t say programming the 4VOX is difficult, it’s not as easy as most more modern interfaces. The screen is bare bones with low resolution and a slim viewing radius. The encoder is a little weird. You have to push it down and turn CCW to move downward in menus, while you simply turn it CW to change parameter values inside the menu. As a unit, it’s impressive. There are lots of options, plenty of stock wavetables to choose from, and it sounds good, but it shows its age. Upgrading firmware is a laborious process with modern computers. Although you can install your own wavetables, the processes to convert them to the right format and get them loaded can be a nightmare, particularly if you’re a Mac user. All of the computer-side software is a decade or more old, and workarounds are sometimes needed. I’m not a “I need to load my own wavetables” kind of guy, and my unit came to me with the latest update, but if I were that guy or my unit hadn’t already had the latest firmware, it would not be an easy task. I’ve had similar problems with older gear before3, and they’re no fun.
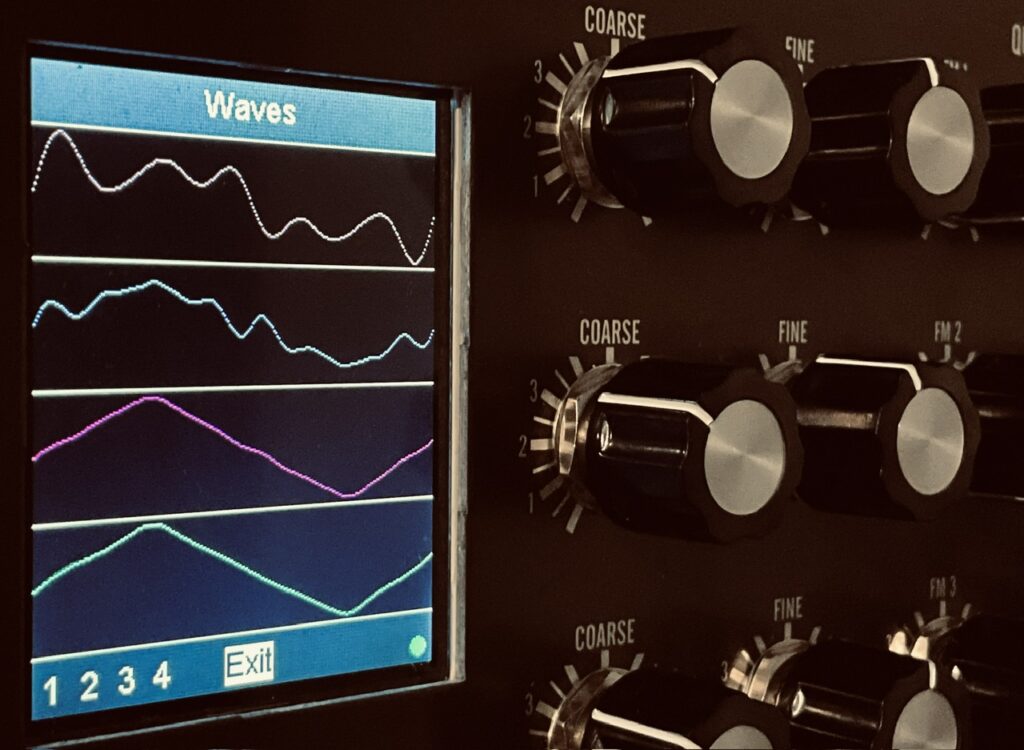
The 4VOX forms the base of the chords, brought in and out by the four waves from the Addac508 Swell Physics. The sound is both powerful and delicate, with each quadrant set to four slightly detuned, unison oscillators, each one being slightly modulated by the Nonlinearcircuits Frisson. Although I was pleased with the 4VOX’s performance, the Synthesis Technology E370 is a better overall option. Although the E370 is also based on nearly decade-old technology, it’s still a better user experience. The screen is in color, fully customizable, bigger, and gives more information. The stock wavetables are a gold standard. The software UI is easier to navigate using a more standard encoder. The physical UI is also far better arranged. With the 4VOX, the screen is in the middle of the module, knob locations are not symmetrical, and are more difficult to wiggle once everything is patched up. The E370 has everything laid out very neatly. The screen is on the far left, I/O on the far right, with knobs in the middle, leaving more than enough room to wiggle. It’s really a premium user experience. The only advantages the 4VOX has are its price, size, and complete polyphonic midi capabilities. The 4VOX has always been less expensive than the E370, and that remains true on the secondary market. However, the price differential on the used market is much closer than their respective MSRPs, as the E370 can be purchased for well under 50% of the original retail cost. The price difference on my units, both purchased used within a week of one another, was $100. The size, however, cannot change, and in that regard the 4VOX has the E370 soundly beat. At 29hp the 4VOX is still large (and odd hp 😕), but it’s dwarfed by the massive 54hp E370. It’s the massive size, however, that makes the E370 such a pleasure to wiggle.
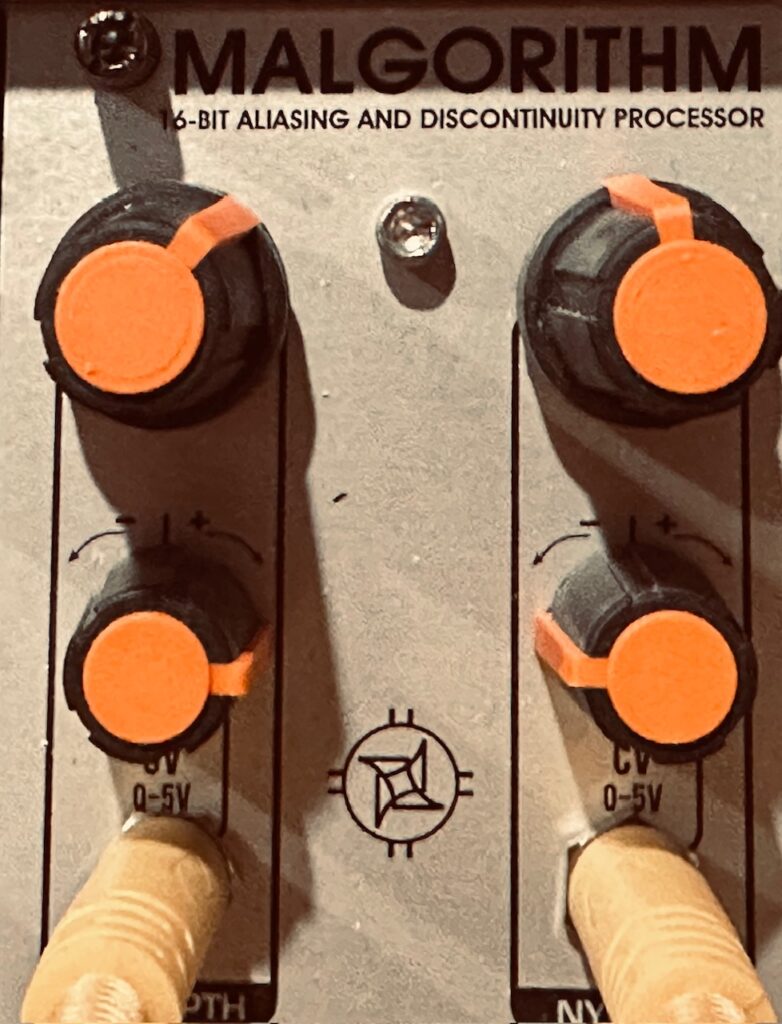
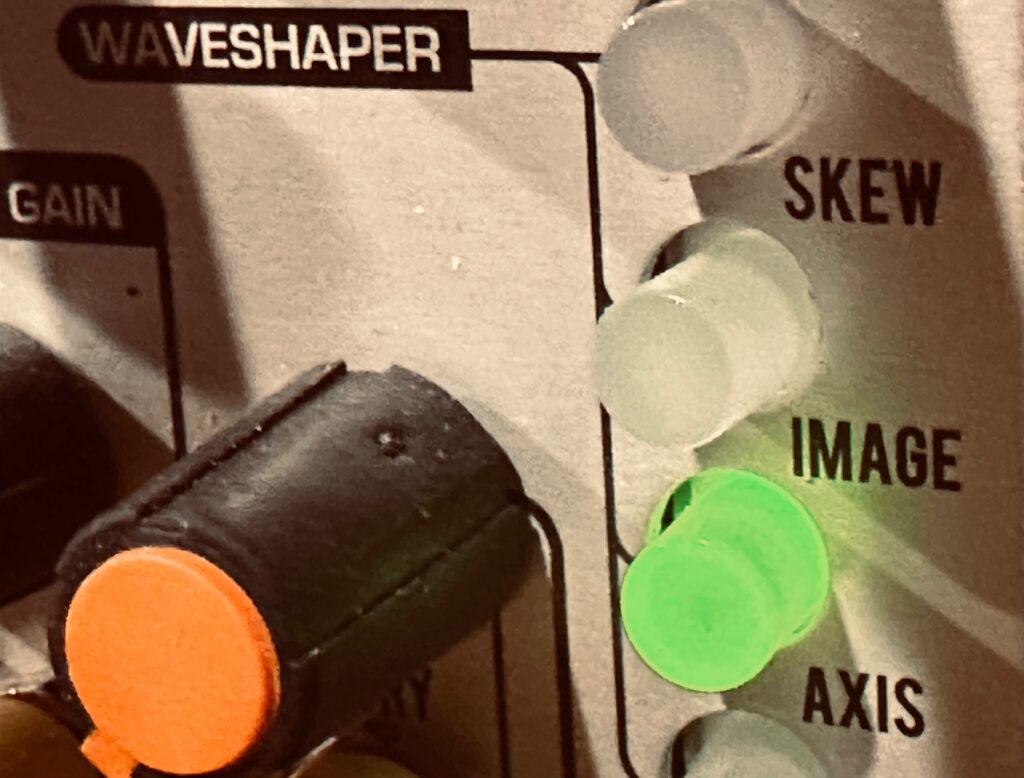
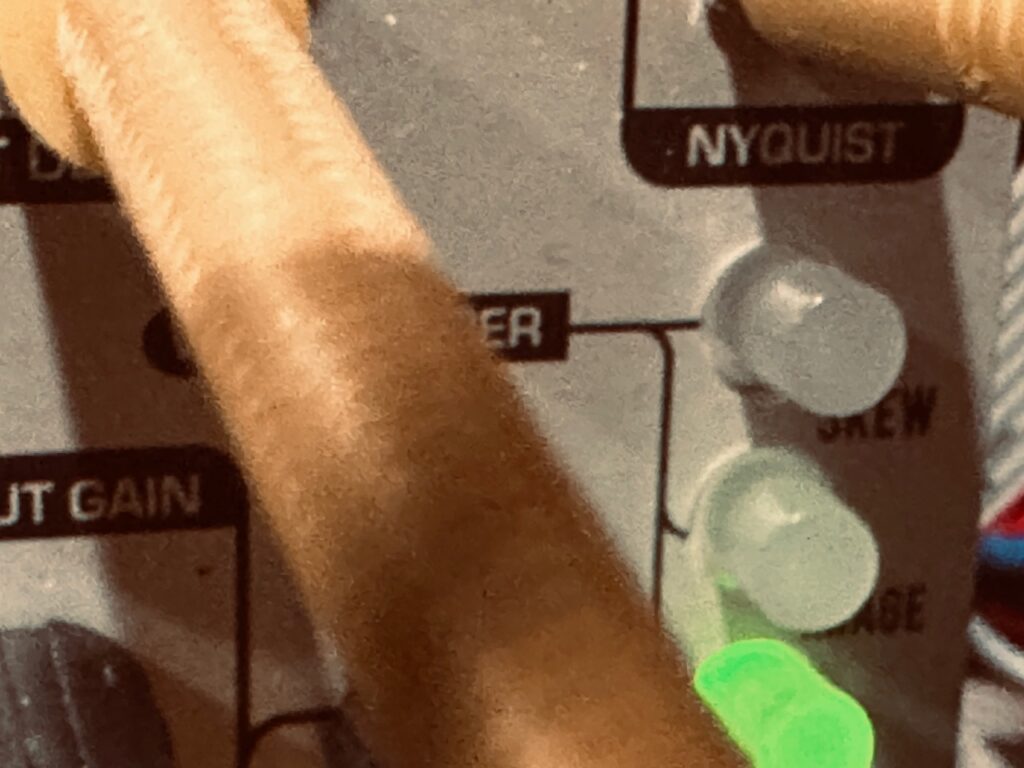
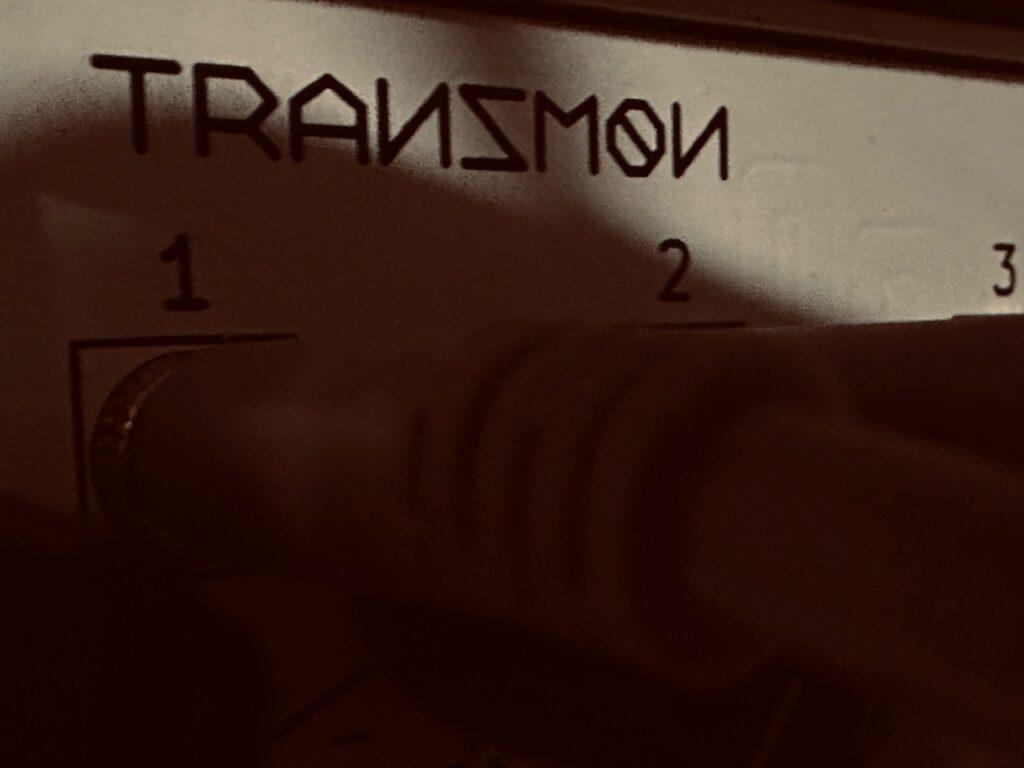
Once mixed to mono in the Atomosynth Transmon, the 4VOX chords went through the venerable Industrial Music Electronics Malgorithm MkII, a powerhouse FSU-type module with bit crushing, sample reduction, and various types of waveshaping available to have anything from subtly crunchy through completely mangled audio at the output. Using Malgorithm was an absolute treat. Most of the lo-fi effects I tend towards are of the vintage variety, tape sounds, record pops, etc, vs just slightly old sounding digital artifacting, so it was a different sort of experience. On any other day I likely would have chosen distortion in this role, but the day I started this patch I precipitously chose to go with a different kind of dirt. And it was perfect. I was still able to get some nasty distortion via the “Axis” waveshaper (whatever that does), with the bit crushing and sample reduction playing a slowly increasing role. It’s starts clean, then moves to understated digital artifacting, and finally waves of full blown destruction, ending clean once again. One aspect of Malgorithm I enjoyed was the interaction between input level and the waveshaping. It responds similarly to tube distortion circuits, where the harder you drive the input, the more distortion there will be ranging from just barely there to outright obliteration. Each of these waveshaping circuits has three different levels, red, orange, and green, and all of them have their own character. These waveshapers can even interact with each other for nuking your audio from orbit if that’s what you want. I rode faders on the very awesome Michigan Synth Works XVI to control both the input level as well as the wet/dry mix in order to provide a performative aspect to this patch. Both the bit crushing and Nyquist parameters were modulated by the Addac506 Stochastic Function Generator, with a fairly wide range of both rise and fall times between medium and long. Each of the parameters were set to moderate crunchiness with the knobs, with their modulation moving towards a full-resolution signal. This created an absolutely amazing effect from the sound of dying batteries to the fabric of the universe being unzipped and sewn back together. I would highly recommend Malgorithm to anyone, but you’d have to find one first.
Once through Malgorithm and into the stereo matrix mixer, these now buzzy chords went to the Holocene Electronics Non-Linear Memory Machine, with a very light perfect fifth shimmer in the feedback loop. I initially went with a full octave shimmer, but decided against it as it was too prominent and spiraled too far out of control too quickly. This created a very subtle sheen on the chords that isn’t noticeable much of the time, but is a nice effect nonetheless. Feedback and Spread were both modulated by attenuated versions of the Average output from Swell Physics.4
The color tones of each chord were all sent to the mighty Frap Tools CUNSA, a quad filter extraordinaire, and pinged in a pair of Rabid Elephant Natural Gates. Though I was tempted to use the simple sine waves from each LPF output, I later decided to use the HPF output as a means of each oscillator frequency modulating itself in order to add some harmonics, which worked a treat. In retrospect, I could have simplified the patch significantly had I pinged CUNSA itself instead of running the output to Natural Gate, but I chose the Natural Gate route because Natural Gate.
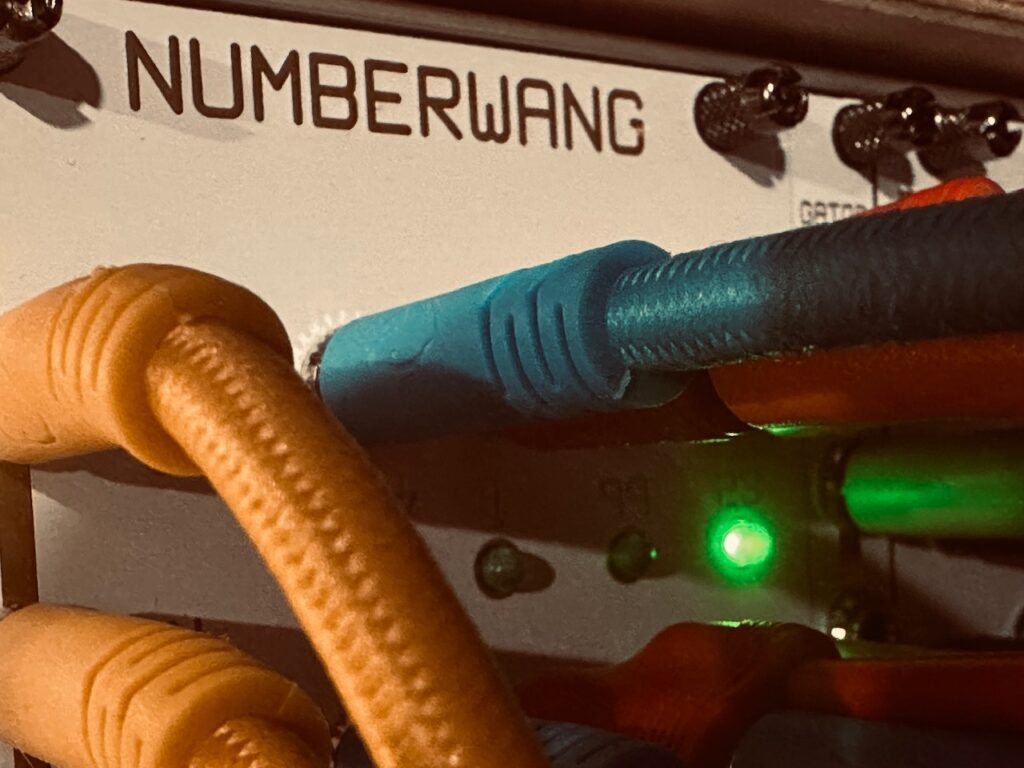
Using a patch technique I’ve used often, the gates that pinged the Natural Gates were created by running the four waves from Swell Physics into the Nonlinearcircuits Numberwang. But rather than simply choosing four gate outputs, I ran several Stackcables so that each strike input on the Natural Gates were each derived from three Numberwang outputs. This filled in space much better. The notes are still sparse, but they’re triggered at a much better pace using three gates each rather than just one. These notes fill out chords in interesting ways. They’re very short, but combined with delay and reverb, those colors hang around long enough to create intrigue in the overall sound without being intrusive.
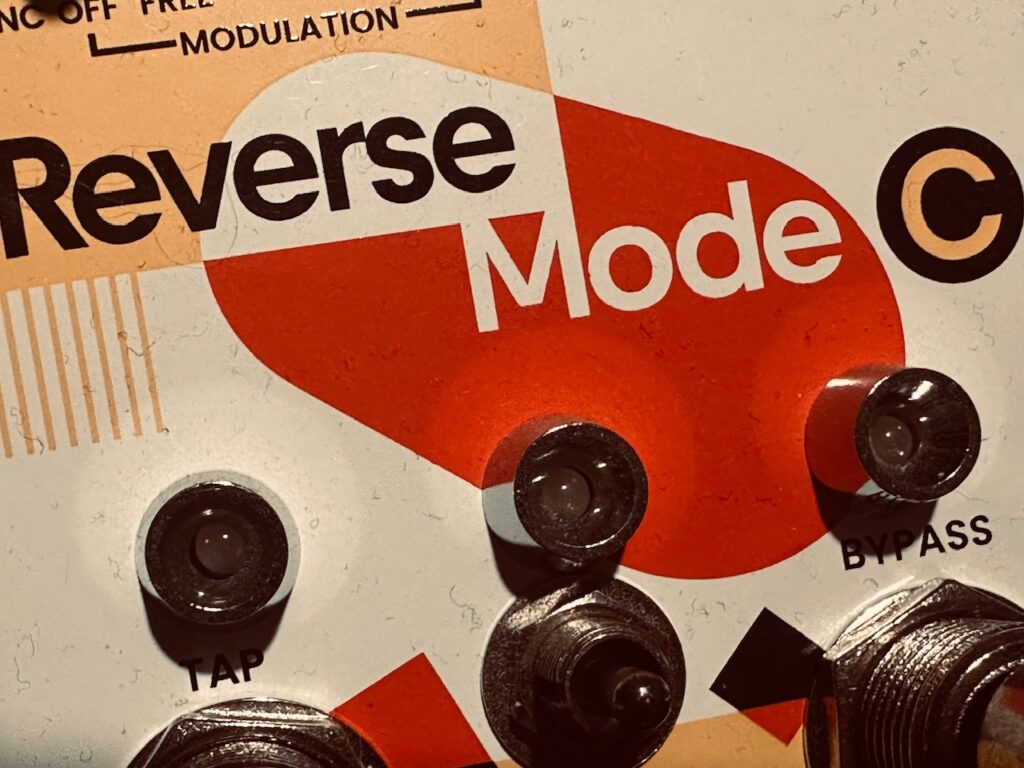
These notes were sent to what is becoming one of my favorite delays, the Chase Bliss Audio Reverse Mode C, a re-imagining of one of the modes on the legendary Empress Effects Superdelay. Although it certainly does standard stereo delay stuff, it excels at being a quirky sort of delay, able to output normal delays, reverse delays, and octave up reverse delays, by themselves, or in a mix. Mixing delays creates a beautiful sound space of echoes bouncing all around the stereo field, at different speeds and octaves, which is an incredible aural treat. I haven’t yet learned to properly modulate the Reverse Mode C, but that’s a function of not having a firm grasp on midi. As I figure that out, things ought to get very interesting, with different sorts of delays fading in and out in very creative ways.
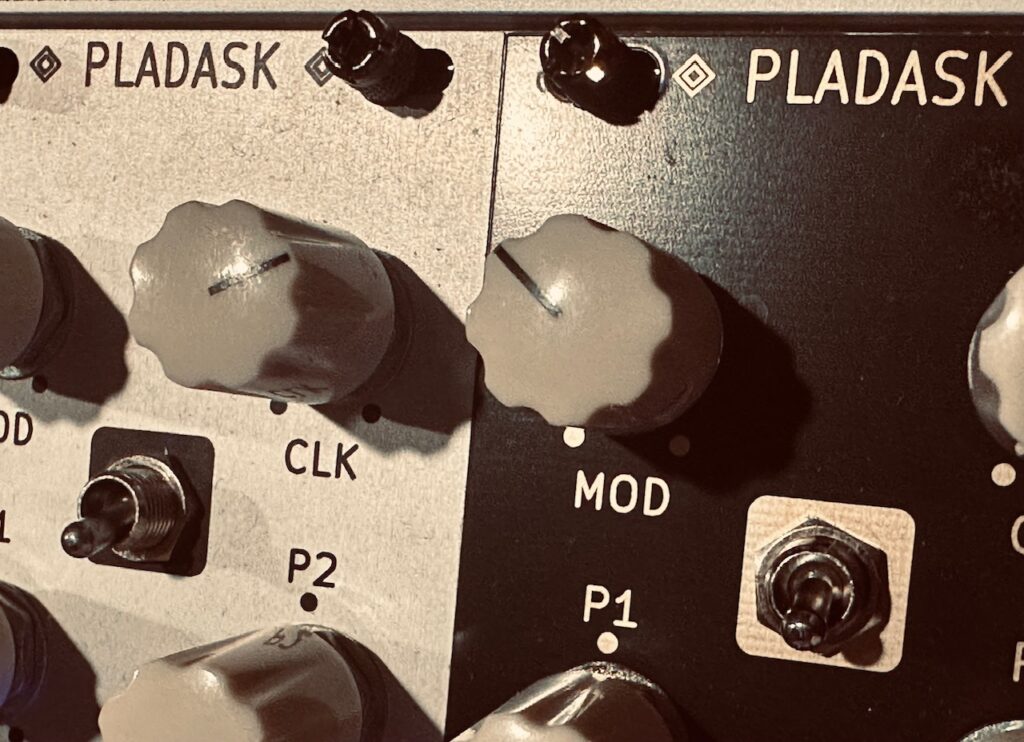
The last synthesized voice in this patch is the Good and Evil Dradds as an effects send, sending both the chords and ornamental color notes for some granular action. The Dradd(s) outputs went to separate EF-X2 tape echoes with different settings. Ever since getting a second Dradd, I’ve been infatuated by what I can do with them, and this patch may be the best result yet. Both were set to Tape mode with similar P2, but different P1 knob positions, with the P1 parameter on both being modulated by an attenuated version of the Average output on Swell Physics. The Dradds, in some ways, steal the show. They create all sorts of movement in the stereo field and fill the space between chords and color notes in ways that keep the piece from becoming still. They’re the wake left after a large swell passes by. The bio-luminescence after a crashing wave.
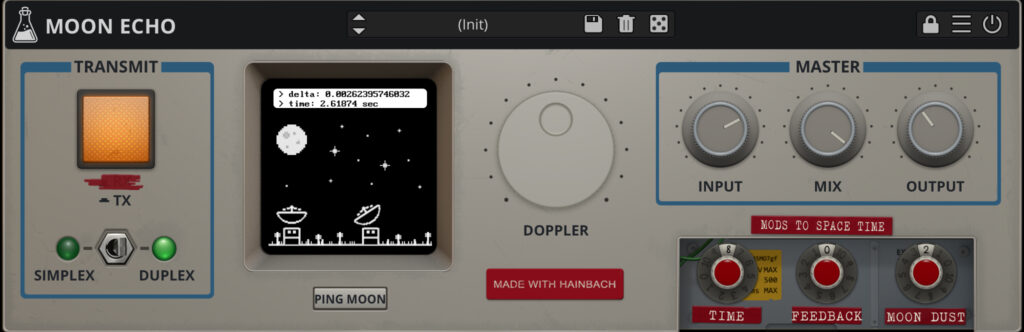
The spoken voice is a set of three samples that were triggered in Koala on the iPad. Triggers emanated from the gate outputs on Swell Physics combined in the new Nonlinearcircuits Gator, sent to the Joranalogue Step 8 and then the Befaco CV Thing and converted to midi notes that were sent to trigger Koala samples on the iPad. It took me a while to figure this one out, though it worked exactly how I envisioned. Gates from Swell Physics were combined in Gator, which triggered Step 8. Each of the first three steps sent its individual gate output to a different CV Thing input. This ensured that the three samples were always triggered in the correct order. The samples themselves were then sent to a new collaborative delay plugin, Moon Echo, by AudioThing and Hainbach.. Moon Echo is a modeled simulation of bouncing sound off the moon, and has a very distinct character. The delay was set to fully wet, and has a delay of about 2.5sec, though that changes depending on the day. The moon is not at a fixed distance from the earth, and the plugin reflects that. By “pinging” the moon upon startup, you will get the current distance to the moon, and a new delay time down to five decimal points (1/100,000 of a second). Fucking cool.
One thing I did differently with this patch paid off high dividends, and will absolutely become a staple in my recordings. I’ve been patching for a few years, but am still an absolute novice at standard studio stuff. Mixing, EQ, compression, and everything else in that sphere evades me. I’ve used some very basic EQ in the past, but really only on the final output, which, as I’ve discovered has several drawbacks. This patch was the first I’ve ever recorded using EQ, the highly regarded Toneboosters TB Equalizer 4, on individual channels as they were being recorded. The chords, ornamentals, and reverb send received EQ that greatly improved the sound quality, even if it could still be better. I did, however, neglect to put EQ on the Dradds, which proved to be a mistake, as there is a very occasional pitch that pierces through in what can’t be far from dog whistle frequencies. It’s not eardrum busting, but I can hear it, and it annoys me. I didn’t catch that behavior when recording, and never EQ’d it out. That said, it was also the first time I’ve recorded a modular patch in separate multi-tracks, including the chords, ornamentals, Dradds, spoken voice, reverb return, and the mixed stereo signal (presented here). I can go back and make changes or additions should that be something I want to do, or send the parts to someone else for mixing and mastering should I ever choose to release it.
Overall I’m very pleased with this patch. It was originally composed in a different key and completely different chord progression, and for a special group of online friends. The chord progression I used in this recording wasn’t composed, as such. At least not by me. I asked ChatGPT for a “sad progression, yet with a sense of hope.”5 I asked for it to be more sad, and it changed key from Amin to Dmin, and ended in a non-diatonic chord (DMaj), which I found a wonderful “choice.” Then, as a means to test the Pianist, I asked for several chord extensions and inversions, and ChatGPT complied, giving us what we have in the recording.
Improvised and recorded in 1 take on iPad in AUM via the Expert Sleepers ES-9.
I studied music performance in college, and have a decent grasp on music theory. The last 30 years, however, have pared that knowledge down to basics. I’m certainly no expert, but I can read chord charts and identify chord notes, even if I have to think for a second. ↩︎
The Humble Audio Quad Operator I purchased did not have the latest firmware update, and the internal VCAs all bled badly. I was unable to install the latest firmware with a modern Mac. I was fortunate to have an older one available to me that I was able to use. ↩︎
There are no fewer than seven modulation points in the patch that are all modulated by an attenuated version of the Average output from Swell Physics. ↩︎
This was literally the first time I’ve ever considered purposefully using AI for anything. ↩︎
I recently sat down with a goal: identify modules in my synth that are underutilized, and make a plan to integrate them into my patches. Like all musicians, synthesists can fall into patterns. We use the same techniques and too often travel similar routes. Though my repetition of techniques of late is somewhat purposeful as I learn new gear, its’s still repetition, and it’s nice to walk on untrodden ground every once in a while.
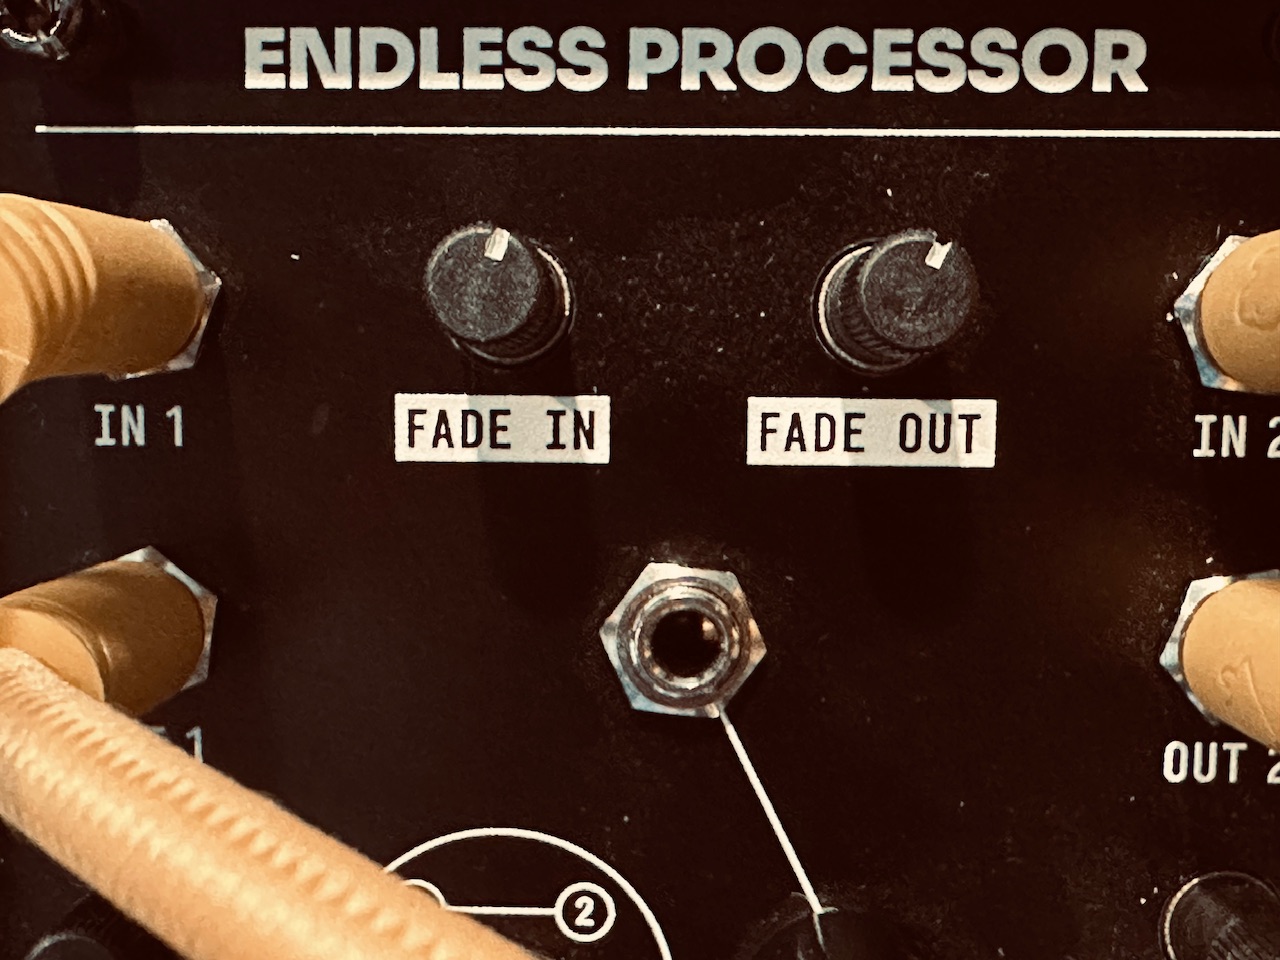
While I was looking through my folder of manuals, I quickly identified a module that I’ve only used once, and over a year ago: the Blukač Instruments Endless Processor.1 On paper this sort of module seems a natural partner for the kinds of sounds I use most, but for some reason I’ve tended to reach by it and patch something else like the Rossum Electro-Music Panharmonium or Qu-Bit Electronix Aurora. In a bid for some nonlinearity in my practice, I decided that the Endless Processor would be the first of those unused modules to put through its paces.
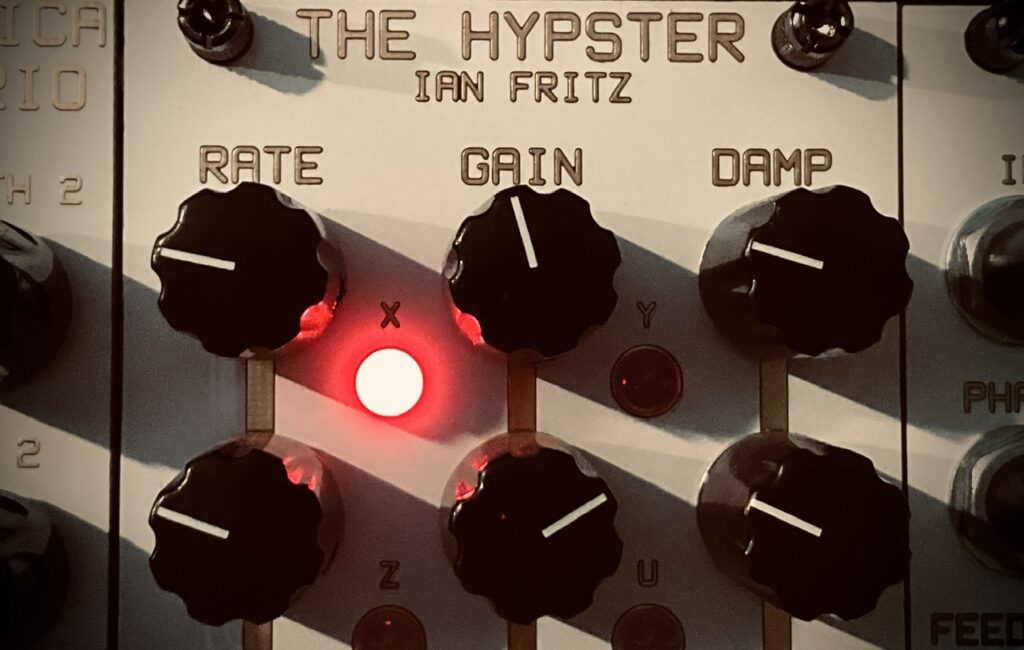
This patch uses chaos to create a sequence. The starting point is The Hypster by Nonlinearcircuits. I use The Hypster in a lot of patches for a lot of different purposes. I use it for “normal” modulation, the beginning of a chain to make clocks, pitch CV, and maybe more. It’s definitely one of my favorite modules overall, and a top two or three modulator that I’ve used. The Hypster serves many purposes; sometimes more than one in a given patch. In this patch it would serve all three of those functions, plus a bit of self-modulation to keep it from settling into something resembling a pattern.
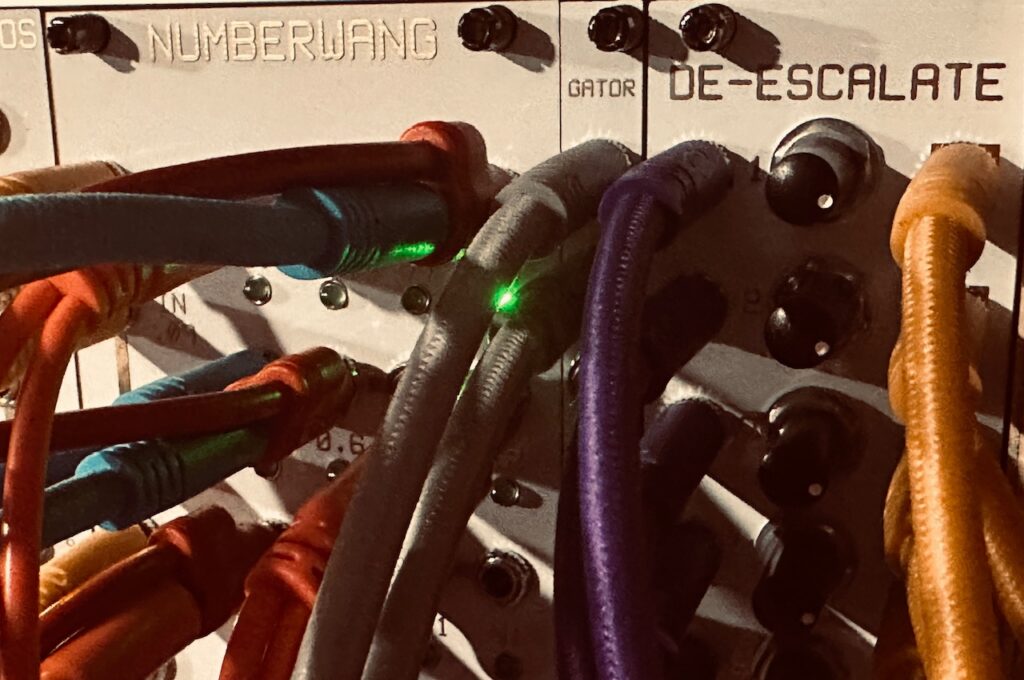
Four outputs from The Hypster (X, Z, -Y, -U) were patched to another Nonlinearcircuits module, Numberwang, for some good old fashioned gate extraction. The last time I used Numberwang, I wanted a steady-ish rhythm. Not perfectly-on-the-grid steady, but something close, even if it had the propensity to drift (which was a big part of the point), which is why I didn’t modulate The Hypster in that patch. But this time I didn’t want steady. I wanted gates that can’t easily be tied time, which required a meandering source. Chaos can meander a bit, but it can also become regular in that chaotic kind of way. I didn’t want the regular part this time, so modulation of at least one parameter was crucial. Once I started to ping my oscillators with gates from Numberwang and found a frequency on The Hypster that provided a satisfying cadence, I set out to modulate both the Damp and Gain settings. Adding gain adds both voltage and nonlinearity to the feedback loop. More gain is higher output levels and more meandering. Damping suppresses those things in interesting ways. Modulating both brought revealed the chaotic nature of the signal, specifically through the pitch CV, but also in the gate pattern from Numberwang.
This wasn’t the first time I’ve used a chaos signal an a source for pitch CV or gates. But it was the first time I’ve used chaos as a source for pitch and gates while I performatively modulated it so that I would have more control over its range, or the way it meanders. Too much gain and you have pitches more fit for dogs than humans) Too much damping, and you have pitches without enough variation to keep the note sequence interesting, and gates that quickly turn into patterns (even if they do drift a bit). To modulate gain, I used The Hypster’s next door neighbor in my case, Frisson. I also used the -Z output to self-modulate Damping. Although both the Gain and Damping CV inputs both have attenuators, I patched both signals to an attenuator to fine tune the level of modulation The Hypster was receiving. Even very small turns of either attenuator knob revealed very interesting results that would be difficult to achieve with one-pass attenuation at the CV input. Slightly different gate patterns; slightly different notes in the pitch sequence. All very interesting and necessary in order to keep any part of the sequence from becoming dry or repetitive for too long.
I’ve used chaos as a pitch CV source frequently, but this time was a little different. Normally I use one source signal for each oscillator in the patch. But this time I decided to use just one chaos signal as the source for all four oscillators, clocked by Numberwang separately in four separate channels of Quantermain. I controlled the range of pitch primarily through an attenuator, the Nonlinearcircuits De-Escalate.2 This allowed for small changes in pitch choices. One thing I would likely do differently would be to minimize very low pitches by using some offset to the signal before attenuation, especially as I opened up the attenuator. Higher pitches also means lower pitches at the bottom end without some offset, and some of the pitches on the low end are just a little too low for my liking. I imagine some are even inaudible.
The pitch sequence (in D Minor) was sent from Quantermain to the four wavetable oscillators of the Synthesis Technology E370, with all four oscillators tuned to the same pitch, even if I couldn’t tell you what that pitch is. Each wavetable was lightly modulated by the Frisson, with each oscillator detuned slightly by hand. This constant variation in timbre created a wide variety of sounds. Each note just a little different than the last time it was struck. The oscillator outputs were patched to a pair of Rabid Elephant Natural Gate LPGs for pinging, using the same four Numberwang outputs that selected pitch for each channel.
The result is a dance of orbs in some fantastical forest, or drops of water falling to make music, like something akin to a fast moving Fall on the Monome Norns. It’s a beautiful generative sequence, even if this version of the patch used some human assistance. Using a VCA to control levels of the pitch and modulation signals with a very slow modulator would be the key to make it fully generative. In fact, I’ll put that in my patch book to use in the future!
In this patch I used a very simple stereo algorithm: the first Natural Gate outputs are the left channel, and the second Natural Gate outputs are the left channel. Although this decision created a wide stereo space, four separate events happening independently, two in each ear, can become a little distracting and separated, even if it also heightened interest. I think I might have been better served to send these outputs to a panning mixer for mixdown to place them a little more carefully in the stereo field, though I won’t go so far as to say that change should be recorded in ink. There is no sense of a unified space until these completely independent left and right channels hit the stereo reverb.
This effect was exacerbated by the dual mono delays used in the patch, a pair of Echofix EF-X2 tape echoes. Each was set to augment the original’s clarity, holding on to timbre as long as it could until atrophy took hold. Each delay was also set to a different delay time and tape head playback/feedback configuration which created very different echo patterns, heightening the very different sequence patterns in each ear.
But I made a terrible mistake. Throughout much of the recording you can hear some clipping in the left channel. While I investigated I made sure levels were good going into the audio interface. Not only were they not too hot, I’d have liked for them to be even louder. At first I thought it might be some artifact in the wavetable being modulated. But why only that wavetable? I then thought I might have set an envelope a little hot before going to Natural Gate, but that wasn’t it either. Then I heard it. A clue. The clipping wasn’t on the note generation itself, but only occasionally on the very first repeat of only particular notes. It doesn’t happen all of the time. As I was recording i investigated my gainstaging. I discovered that my levels going into the left channel delay were quite hot, and that’s what was causing the clipping; the inbuilt analog limiter that was occasionally being hit very hard and distorting. At least I think that’s what it was. Toward the end of the recording I adjusted the input level to the left delay which seemed to mostly sort the issue.
I also used The Dradds in this patch, although in a way I had never used them before, with the Grain algorithm. I had sort-of tried this mode before, but never really investigated it with the manual until this patch. Like when I actually RTFM while using The Dradds in the Tape algorithm, I was immensely happy with the result. Understanding your instrument is key. As synthesists we can happy accident our way into nice sounds regularly. But you can’t really compose with the hope that your knob twists will land you where you want to go. Just as strumming away on a guitar, or pressing piano keys doesn’t create something musical, you can’t really get music from a modular until you know which knobs to turn and when/how much to turn them. For this patch I chose to scan each buffer using a chaos signal from Frisson. This was nice movement, but the scarcity of notes feeding The Dradds meant that sometimes there was nothing in the short buffer to scan, or so little that it wasn’t scanned while it was in the buffer. This served to keep the Dradds from becoming too busy and overtaking the patch, but I would have liked more from The Dradds at many points.
The last effect used (besides reverb on the entire output) is the aforementioned Endless Processor. I hadn’t used this module much before. Not because I don’t think it would add a beautiful dimension to my patching, but because of unknown reasons that had me patching other FFT-like modules instead. The Endless Processor is a very simple module that does just one thing: it analyzes the frequency and level information of incoming audio, and endlessly sustains an average of that audio until you clear the layer. You can clear layers, or replace them with new audio, but ultimately the Endless Processor is a very simple instrument. It’s perfect for drones or making chords. It’s perfect for creating air in your patch, or filling space and creating texture. You can even use this module for stabbing techno chords.
But simple doesn’t mean easy. Capturing the exact sound you want, particularly at lower Memory times, can be challenging. You don’t always get the capture you hoped for (something that happened during this recording), and sometimes you get a capture that sounds downright bad. Today was my first day with it, so I think I can forgive myself for getting “meh” results in my first recording with it. I can only discern one capture, though I was pretty sure I did at least four of them on layers one and two. My initial goal was to have both channels of the Endless Processor float back and forth in the stereo field at different rates, but with only one sound being audible it’s pretty awkward, especially with as loud as it is. Clearly, I need practice.
Overall I really enjoyed creating this patch. Chaos is always fun to use in whatever capacity I use it. The Natural Gates shines again. The Echofix tape delays, brilliant. The Dradds doing Dradd-y things. My hope is to really work with the Endless Processor, as I can absolutely see just what a boon it could be in my practice.
I actually identified a whole lot of modules that have been underused, and am making a plan to use them, or sell them. ↩︎
As much as I like the De-Escalate, it would be a much easier tool to use were the jacks to one side and the knob on the other. Input-Knob-Output is a horribly patching orientation for minimizing spaghetti. ↩︎
Although I’m not fully clear on what might make a module beastly, what I am clear on is that the Synthesis Technology E370 Quad Morphing VCO is a beast. One might call a module beastly because of the sound it makes. Others might be termed a beast because of its sheer size. But then sometimes there are a few Eurorack modules that strive for something grandiose; so technically complex that to have it function at all is a major coup in engineering. It’s these sorts of tools that have the capacity to change the dynamic of one’s rack. To change how we go about playing our synthesizers. Not many modules fall into this category, and those that do tend to be bulky and expensive. I’ve only had this experience with a small handful of modules. The Synthesis Technology E370 is one of those modules.
I tend mostly to live in ambient-world when patching my synthesizer. In some ways it’s an extension of the mental state patching places me in. When I patch, I get lost; completely immersed in the algorithm. Not the shitty-type algorithm like those on social media, but that state of constantly thinking my way through the patch step-by-step. Sometimes that thought is speculative (I wonder what will happen if….), while other times I’m thinking through a problem (or set of problems) that are keeping me from achieving some goal within the patch (How the fuck do I do X?). Modular synthesis is a puzzle. It’s a technical exercise far exceeding putting the right notes in place, and one that rewards deep thought about how to approach the next step. The puzzle is what initially attracted me to modular. It’s like playing Myst, only with the real life reward of beautiful music for solving the puzzle correctly.
This quest for ambient has landed me with several oscillator banks in a search for the perfect cloud of notes. A few minutes that might have a chance to reflect the state I’m in while making the patch. I’ve used several of these in my practice. The Humble Audio Quad Operator, RYK Algo, Frap Tools CUNSA, dual Frap Tools Falistris, 4ms Spherical Wavetable Navigator, and 4ms Spectral Multimode Resonator can all be used as oscillator banks, and I’ve used them all in that capacity. But as nice as those tools are, none come to level the E370 strives to achieve. A full 4 oscillator wavetable oscillator with just about every bell and whistle one could desire to customize your sound. Oh, and each oscillator can be eight oscillators, either stacked and detuned, or with chords. That’s a total of 32 oscillators swarming around. That’s quite the tool.
Although this post is not an attempt to write a comprehensive review of the E370, it’s only my first patch with it, and after only a couple of not-terribly-thorough glances at the manual,1 I do want to note that it’s immediately apparent that the E370 is one of those transformative modules. The kind that will affect how I patch the modular in the future. Despite experiencing a couple of frustrations during this first patch,2 it’s clear that the E370 is ultra-powerful, able to deliver a wide assortment of sounds and timbres. The interface is beautiful, well laid out, and at 54hp definitely large enough to easily use it. Despite having a deep menu system, navigating is relatively simple and changing parameters is no problem. Where the issue lies is in understanding what each parameter within the menu system is and what it does, and that will come with practice. What’s the difference between MorphXY and MorphZ? What is Phase Interpolation? But those are different problems to be understood and solved with practice, not obstacles that need a workaround or compromise. This module is deep, yet despite not being quite as easy to navigate as something like the Doboz T12, it’s not difficult by any definition of the word. It’s quite easy to get going in a hurry.
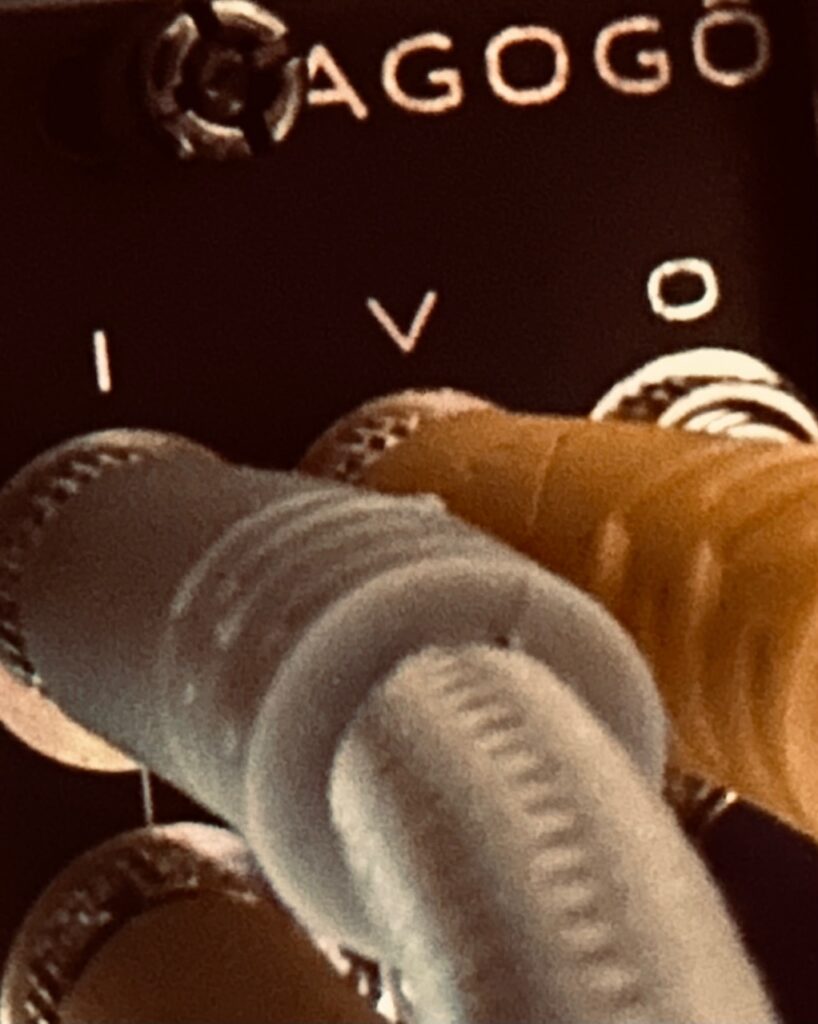
This patch is a combination of several patches I’ve done recently. The Addac508 Swell Physics is the heart of the patch that controls almost everything, from the levels of each oscillator, to panning, to wavetable modulation, and more, even if not directly. Oscillator levels are controlled by Swell Physics indirectly via the Nonlinearcircuits Let’s Splosh, using the very excellent Jolin Labs Agogo LPG/mixer extraordinaire. Each oscillator output is patched to inputs 1, 3, 5, and 7 of the Agogo, with white noise patched to inputs 2, 4, 6, and 8. Four CV outputs from Let’s Splosh modulate the levels of each oscillator and its noise pairing in CV inputs 1, 3, 5, and 7, with the mixed signals being taken from outputs 2, 4, 6, and 8. This sort of usage really highlights the Agogo’s proverbial girth. With all inputs and outputs cascading, it’s a mixing powerhouse, with the ability to create all manner of different submixes to suit any patch. This patch made four separate outputs, each with one oscillator mixed with white noise that then went to the ST Modular Sum Mix & Pan for a mix down to stereo. Each of those signals was individually panned in the stereo field by outputs 1-4 of Swell Physics, with the L/R output of Mix & Pan patched to the matrix mixer. Swell physics also modulates each oscillator’s wavetable.
Another part of the patch I’ve used recently, and repeated here, is panning between delays in order to get contrasting patterns or textures and keep the sound progressing. I first learned this patch while watching a DivKid video about the stereo strip, even if I’ve adapted it to be able to pan a fully stereo signal between delays using chained Intellijel Amps, rather than sending them a mono signal to be stereo-ized by the delays. Although I don’t use the Stereo Strip for that specific purpose in this patch, I do use it to EQ the audio before going to the delays.
The first delay I used is the Venus Instruments Veno-Echo. It’s a staple in my synth, and might be the most versatile delay in Eurorack. I often use it in patches like this because it has reverse delay that can be triggered, and that leads to interesting textures that are able to contrast with whatever other delay I decide to use. It’s fully controllable per side, and highly modulate-able. I added some sample reduction (it does that too) for some slight crunch which really brings out the wavetable nature of the E370. Add in probability gated triggers to turn reverse on and off per side, and the first delay is set.
The second delay I used was a pair of Echofix EF-X2 tape delays. With this delay I added some drive using the preamp(s), and for the first time with the tape delays, used CV to control the Speed, creating a beautiful tremolo that sang almost like a voice in the feedback, particularly once run through the octave up reverb in the Walrus Audio Slöer. I hadn’t set out to CV control the tape delays, but I was reminded by the CV input sitting on the control panel and decided to give it a go.3 I’m glad I did. For me one of the highlights of the patch is this vibrato and how it interacts with the feedback of the delays. I spent a good chunk of time while playing the patch riding the feedback knobs, never allowing it to gather too much accumulated sound and run away, but at times enough so that it doesn’t really go away, even when the tape delays aren’t receiving any input. It’s a halo of entropy sitting atop everything, singing. It’s a time when a delay is more than just an echo, but an instrument unto itself, becoming its own voice.
These delays generally take the lead in the full mix. There is certainly dry signal present in the mix, but it ended up taking a supporting role in the patch, being about a 80/20 mix in favor of the wet delays, and that dry signal was to keep some kind of coherent shape to the patch. Without that wee bit of dry, it felt like it was falling apart. A loose blob.
Another highlight in this patch is The Dradds. I’ve had a Dradd since not too long after its release. I’ve long been a fan of Pladask Elektrisk. I’ve had all, or almost all, of his pedals at one point or another. Although all of them were unique, none were stereo, and I’m a guy who (irrationally) believes all of his time effects, like delay and reverb, should be in stereo. Despite also being mono, as soon as I learned of Dradd I knew I would give it a chance. After several plays, I was frustratingly underwhelmed. Not that it didn’t sound great (it sounded awesome), but that it too wasn’t stereo. I know There Are Ways, but I’d rather just have stereo effects and not worry about it. They can always be patched in mono if need be. As I was on the verge of selling it I saw a video by Matt Lowery featuring dual Dradds. Gratuitous as it may be, I was quickly convinced on the merits of two Dradds and rushed to the Pladask Elektrisk website, elated to see that they had them in stock, and purchased a second one, the first’s evil twin.
The Dradd, despite its innate ability to stumble into happy accidents with virtually every knob twist, is a module that confused me. I’d kept it for so long because of how easy it is to find sweet spots. Flick a switch, turn a couple of knobs, maybe add in some modulation (or not), throw in some delay and/or reverb, and something beautiful happens. But I never used it with an intention that requires understanding. It’s one thing to turn a couple knobs until something pretty comes out. It’s another thing entirely to understand the controls, and intentionally use them to create the sound you want, or meaningfully transition into something different. Having used Dradd several times I was becoming frustrated that I couldn’t play it. It was an exercise in happy accidents. I hadn’t run into any sort of problems that kept me from decent enough results so there’d been no rush to the manual, but I was at a point where I wanted more than luck determining the output. Having run into this realization, I finally decided to really dig into the manual to finally understand what the module is doing with all these these knob twists. And the outcome is the first time I’ve been truly happy with the results. Dradd had certainly put a smile on my face before, but the sense of creating a sound with intention rather than happing upon it is far more satisfying. I’m a long way from Dradd mastery, but the first step is often the most intimidating, and that’s now done. From here it’s about ingraining my understanding of the instrument by practice, which will surely lead to an even greater understanding.
This patch also put the Jolin Agogo to use in a capacity far more involved than as a simple LPG, instead using it as a complex mixer for eight signals (four oscillators and four sources of white noise). The Agogo is my favorite kind of mixing VCA/LPG. It does a special trick that most don’t: every input, both audio and CV, as well as every output cascades to the next channel if unplugged, making the creation of complex submixes, both mono and stereo, a simple task. If you’re not using all eight channels, you can add saturation simply by moving down a couple of outputs. The Agogo is also chainable, making a 16, 24, etc. channel LPG/mixer with almost endless possibilities. The mixing flexibility it offers is truly incredible. It’s possible to mix entire patches with the Agogo, and the slight filtering it does in the odd channels brings just the right amount of vactrol-controlled goodness to any mix. It does have a drawback, however. Being that it’s vactrol-based, any slow moving CV like LFOs (or simulated ocean waves) must reach a minimum voltage level before the vactrol can start to open. Like all vactrols, and sometimes me, it’s a little slow. You are, however, treated with beautiful decays when there are sudden voltage drops (or indeed pings), provided by eight vactrols on the PBC.
The Oto Boum also made a first appearance in this recording. I’ve never really been a huge fan of using compression. Not because I didn’t think it was good for producing music, but mostly because I don’t really understand it all that well, and most compressors are decidedly not happy accident machines like Dradd. I never had the patience to mess with it, especially when the differences and improvements you’re listening to are often very subtle. But, as with Dradd, I became frustrated at not using the heralded Boum much at all, much less in the capacity for which it was designed: an end of chain compressor.
In this exercise, the manual was no help, even if it is quite good. I needed real guidance. Basically, something that could be a crutch and tell me exactly what to do. Compression is a debated topic in ambient music. You want everything to be heard, but since dynamics play such a pivotal role in ambient music it’s paramount that you maintain a high dynamic range. Having turned to YouTube for some direction, I found a video with the perfect title: “INCREDIBLE OTO Boum – Dawless Mastering Chain part #3.” Although the video is dedicated to mastering live club music, virtually the entire video is on compression and how to apply it using the Boum as an end of chain effect. Using the approximate knob positions and general guidelines in the video as a starting point I finally decided it was time. After some careful (read: very conservative) knob turns and A/B listening, the Boum worked a treat. Although the differences are admittedly small, there is more obvious clarity and sharpness across the soundstage with compression than without.
Although the Oto Boum is also a distortion, I decided to use the ever-beautiful Bizarre Jezabel Mimosa so that I could isolate it to the main voice and not the entire mix. Plus, although I’m sure the Boum is a wonderful distortion, the Mimosa is the most beautiful I’ve heard outside of high dollar tube amps.
This patch was a lot of fun to make, but it’s not perfect. The Dradds are a bit forward in the mix, and get a little busy in spots. Some more care with the settings and in the mixer ought to clean that up. I’m also not convinced that using Let’s Splosh as an intermediary for Swell Physics was executed as well as it could have been. I tried using different outputs, but to call those efforts half-assed would be a disservice to genuine half-assed efforts. I’m also not sure about the result of panning the individual signals in the Sum Mix & Pan with Swell Physics. Although the waves are spread, they’re still close enough to each other to keep too much of the audio to one side of the stereo field or the other at a given time. Inverting one of more of those signals would probably help balance out the soundstage.