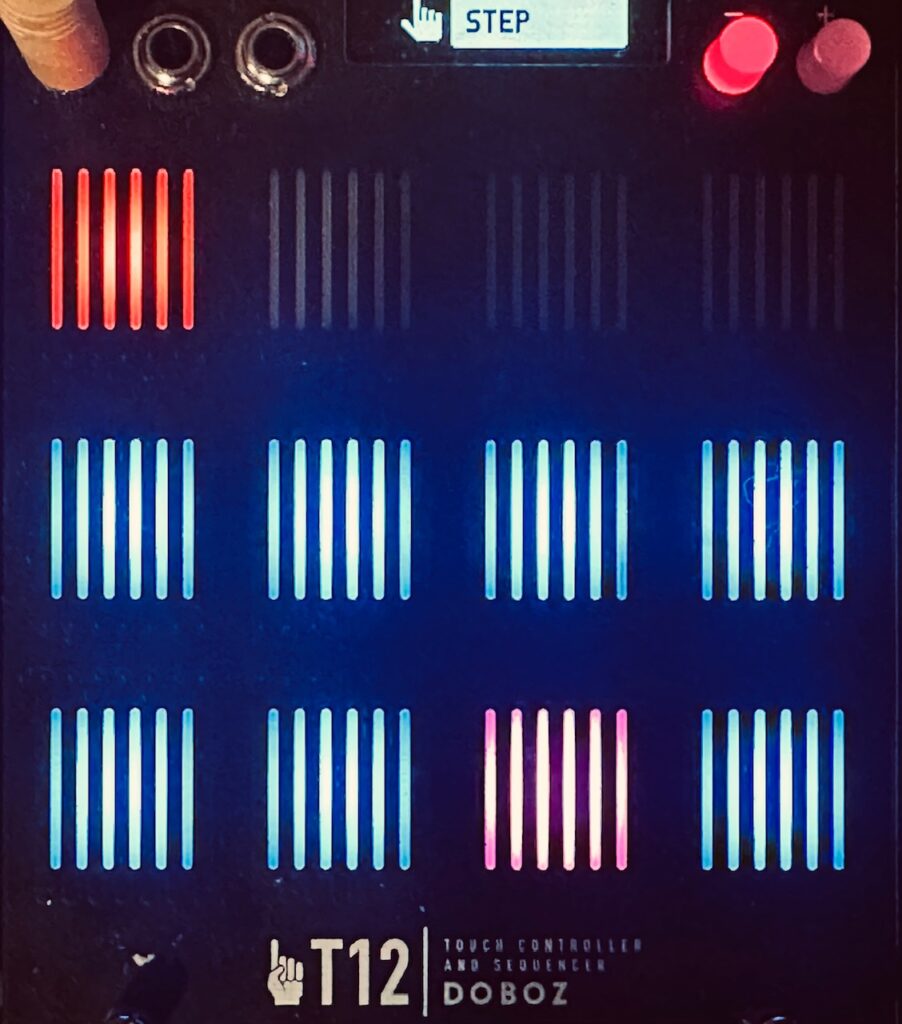
During one Jamuary patch, I had the pleasure of using the Alexandernaut Fugue Machine Midi sequencer extraordinaire. I enjoyed it so much that I sought a MIDI > CV converter so that I could bring that particular brand of magic into my synth. Sequencing is easily the most challenging part of eurorack for me. I’m quickly learning that, at least in the immediate term, “battleship” sequencers and me don’t work well together. The options are oftentimes overwhelming and programming them can be a constant exercise in frustration. When you’re trying to play a polyphonic patch, these frustrations compound as the patch gets more and more complex. Of the large sequencers I’ve used René v2 is easily my favorite. I find it to be the most intuitive sequencer I’ve used. The sequencer in the Doboz T12 is also easy to catch on, and the Verbos Voltage Multistage is ultra-simple. But I’ve done nothing but get my teeth kicked in by some of my larger sequencers. Frap Tools USTA, Oxi One, and 4ms Catalyst Sequencer in particular. Perhaps it’s the lack of effort with learning them, or that I simply quit on them too quickly, but nothing kills a moment like manual digging in the midst of a patch. Fugue Machine, even if it’s walled in its own very small box, is but one of many tools that make sequencing much less of a chore, and can help spark the creative drive to explore more advanced sequencing. Fortunately, there are good ways of leveraging MIDI tools in Eurorack.
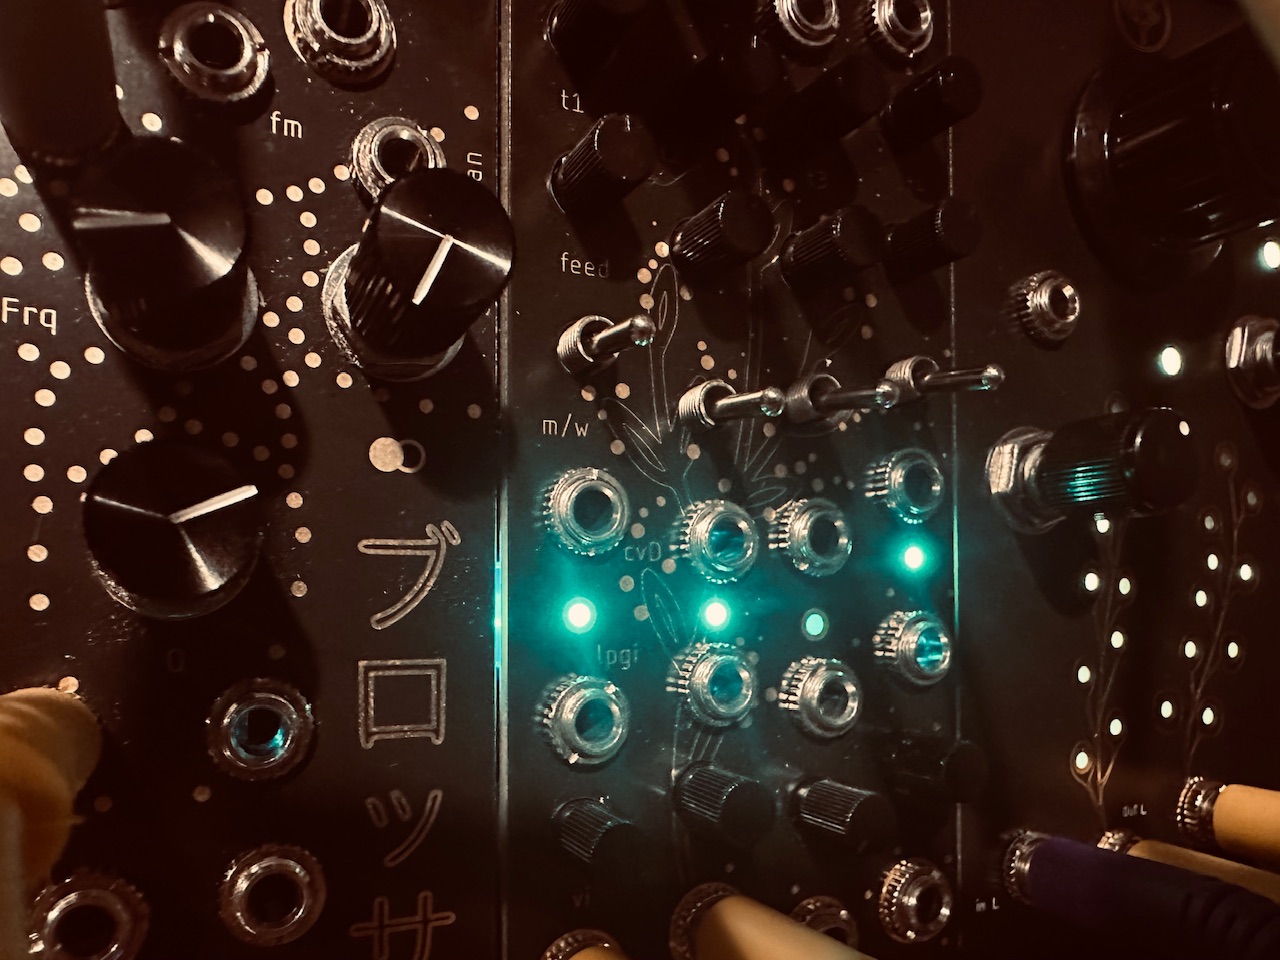
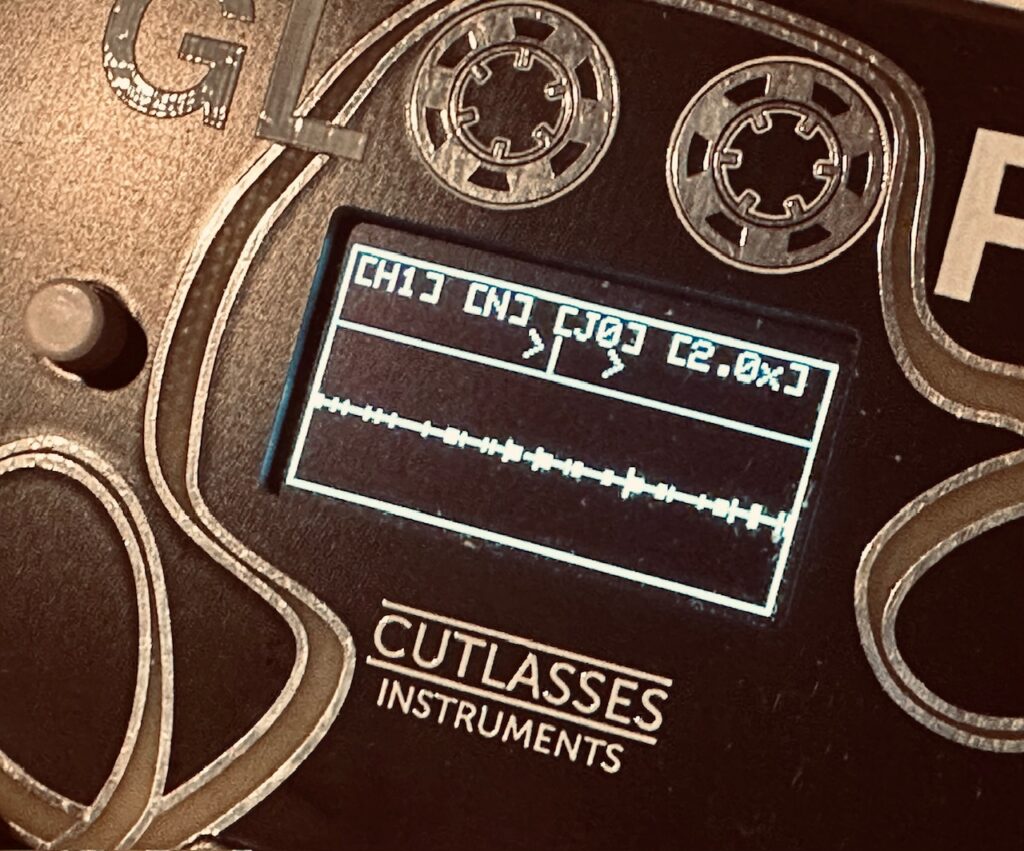
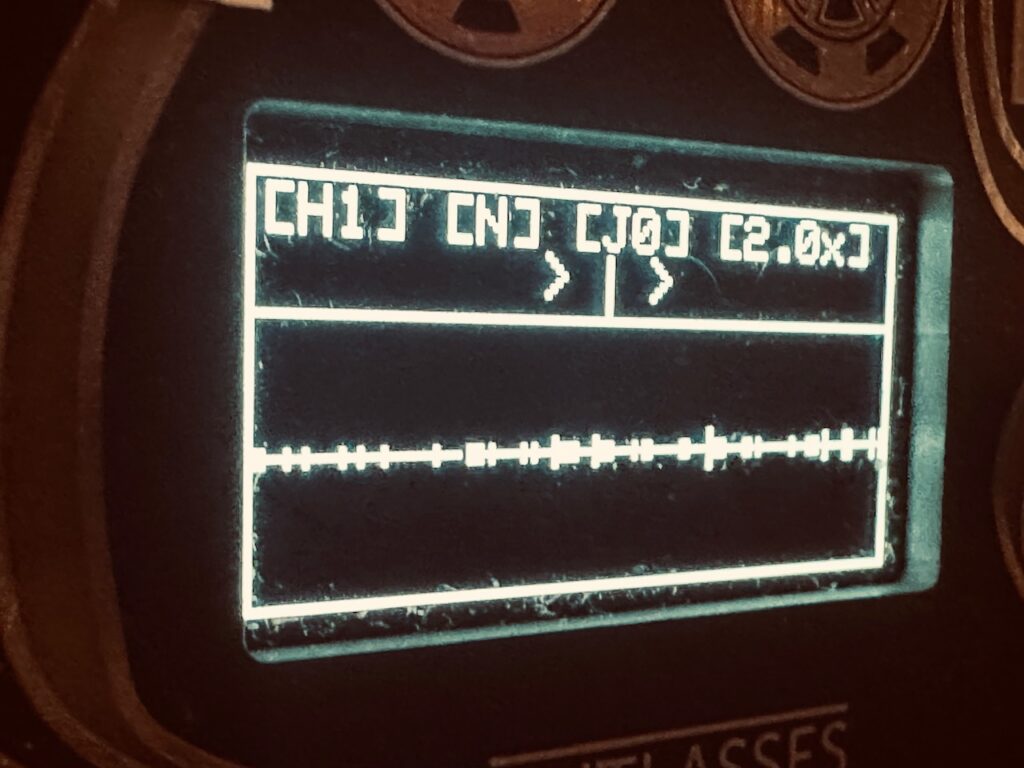
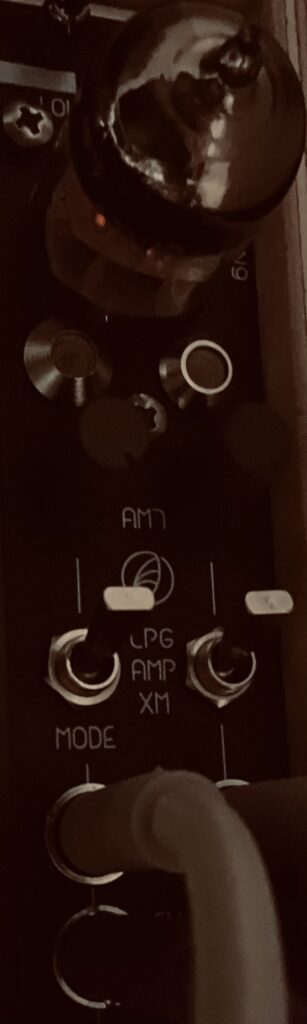
I searched for a couple of weeks for my ideal MIDI > CV converter. My main consideration was for sequencing polyphonic patches, so it needed to have at least four channels of pitch CV, gates, and velocity. There are several options. One of the more compelling options is the Der Mann Mitt Der Maschine DROID. It’s a CV generating and processing powerhouse that can do almost anything that can be done with CV, including MIDI > CV conversion. I even have a DROID, and it has a killer feature set. If you can program it. It turns out that I can program DROID. It’s not terribly hard, even if I still do it by hand rather than using the GUI tool to create patches. But DROID would take more space, and would only be useful in this capacity, needing all eight CV outputs for pitch and velocity CV. So I kept searching, and finally settled on the relatively new Befaco MIDI Thing V2. I already have and use the Befaco CV Thing CV > MIDI converter and find it good at its job, even if the screen is not fit for middle-aged eyes. It’s only 6hp, and can sit right next to the CV Thing.
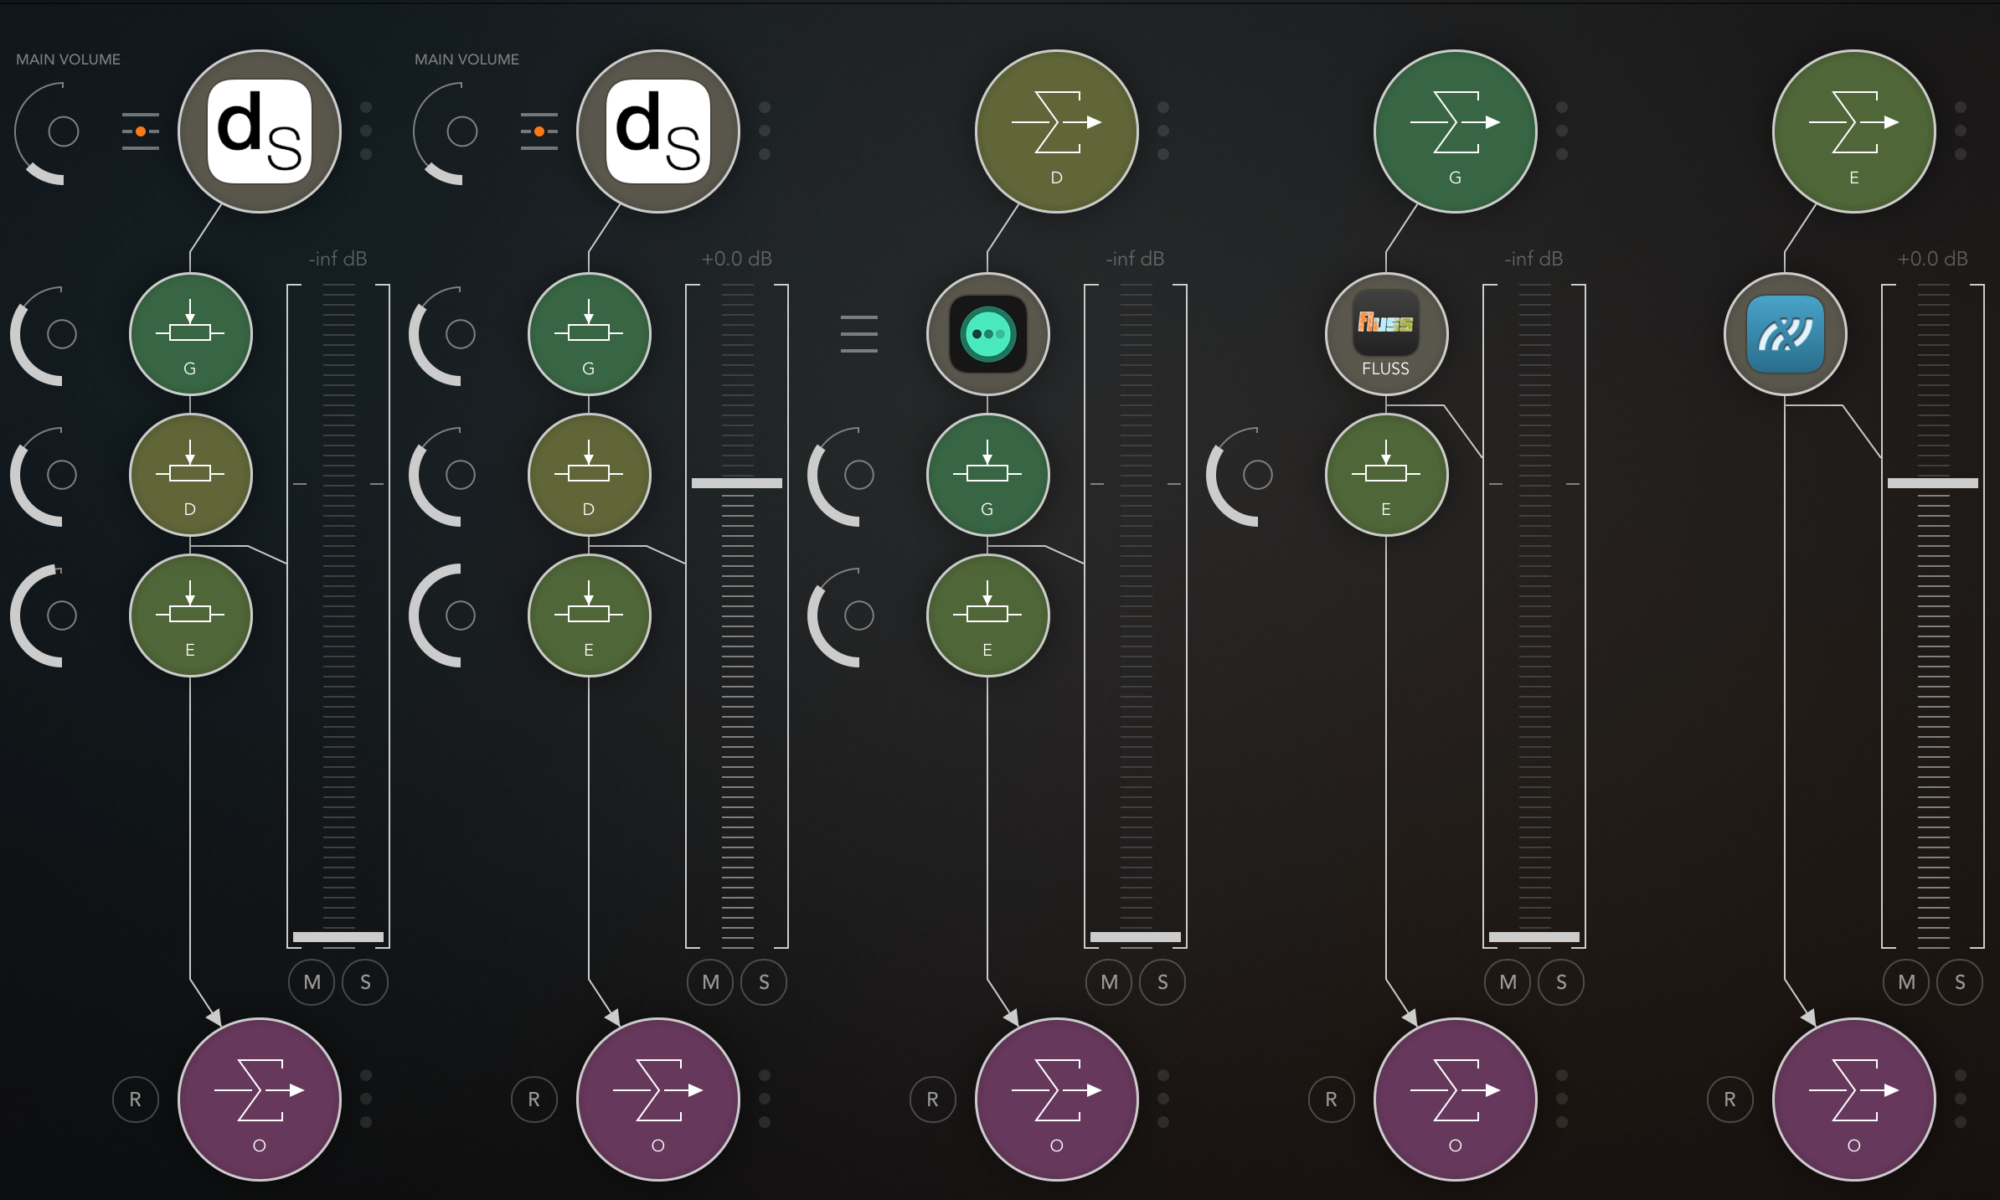
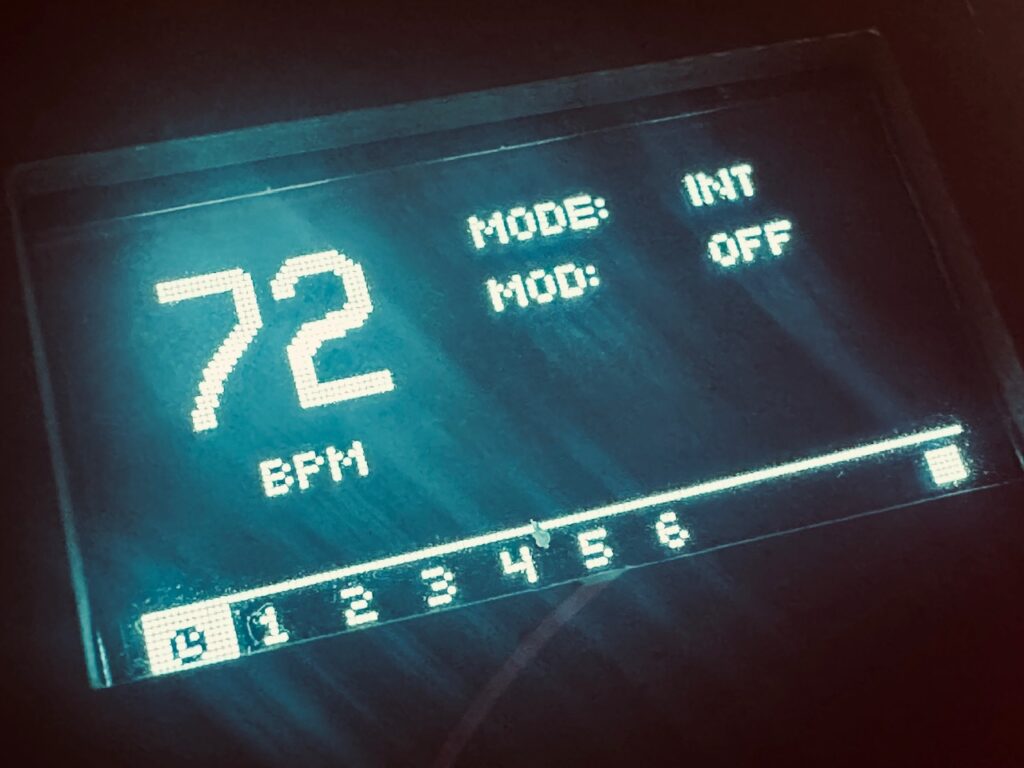
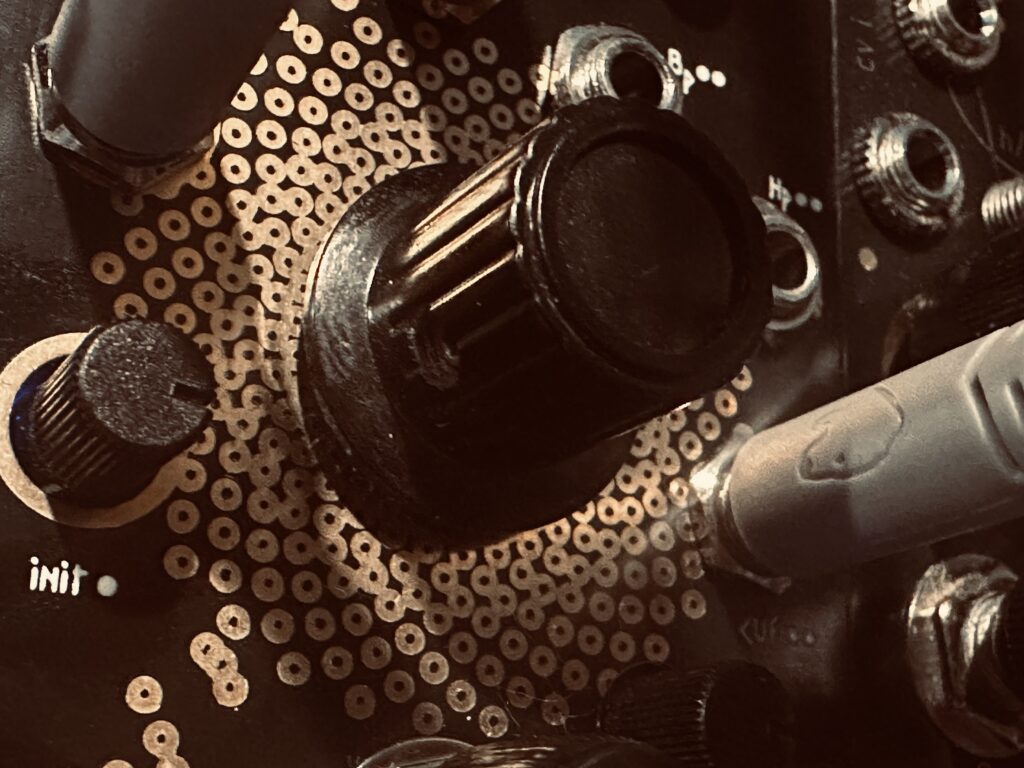
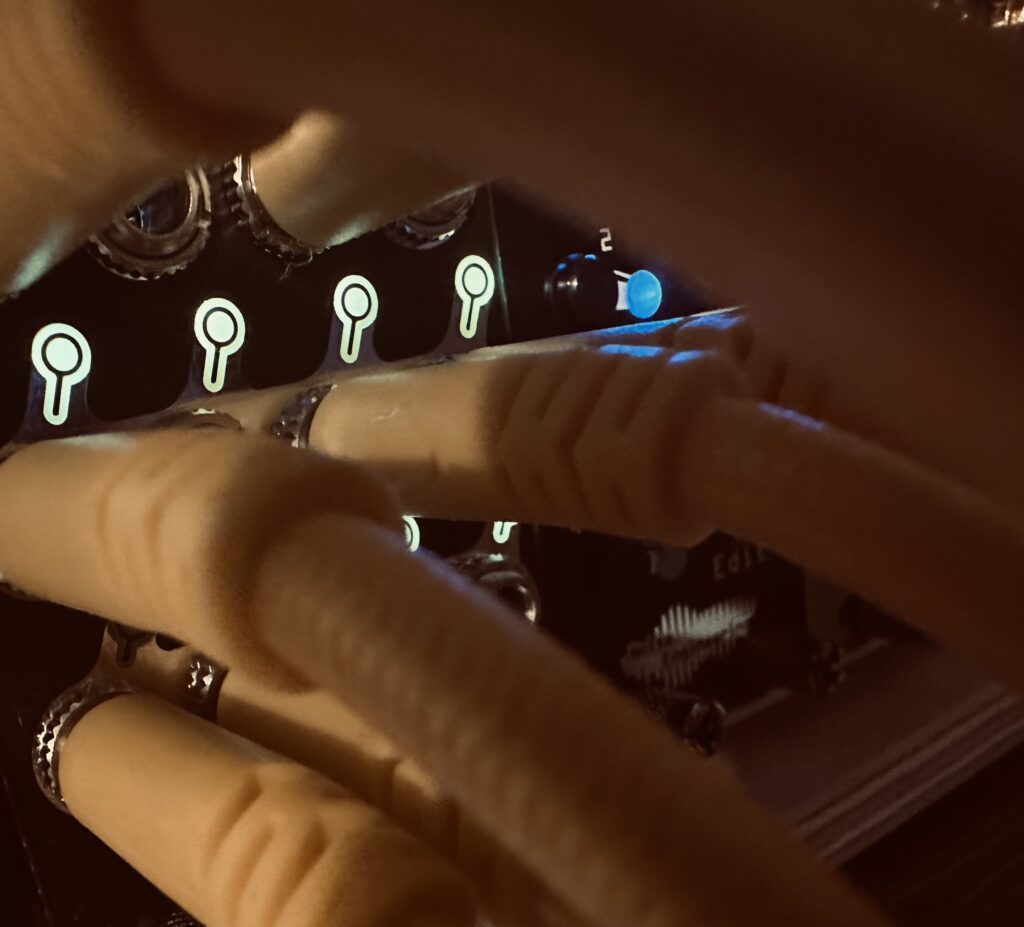
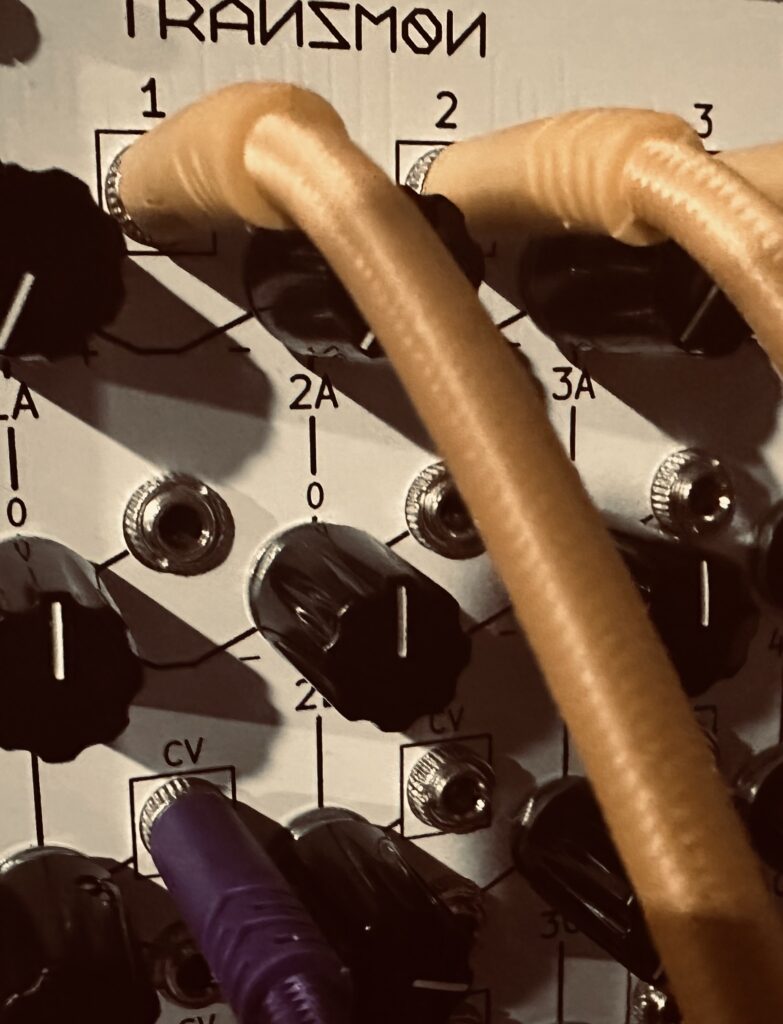
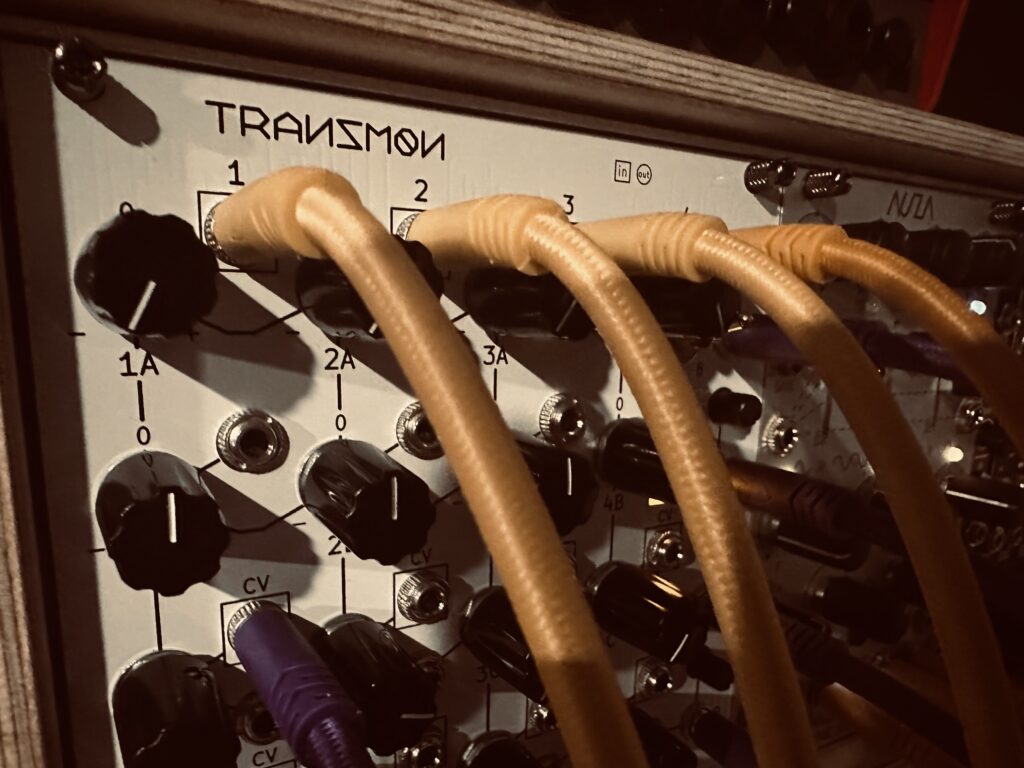
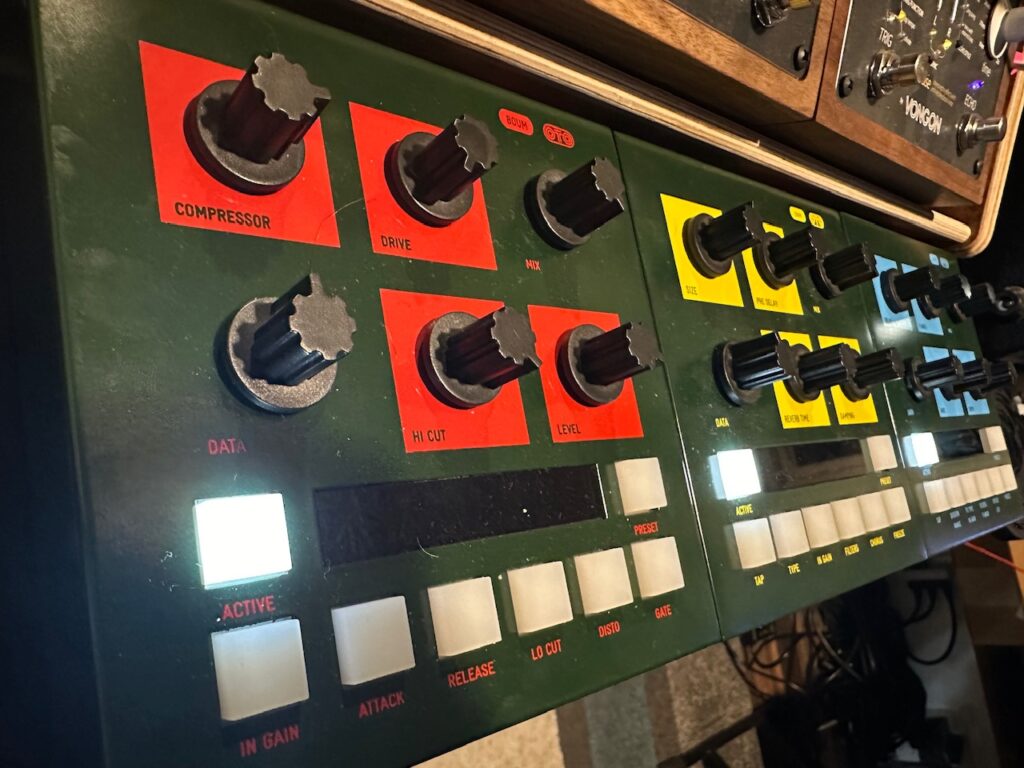
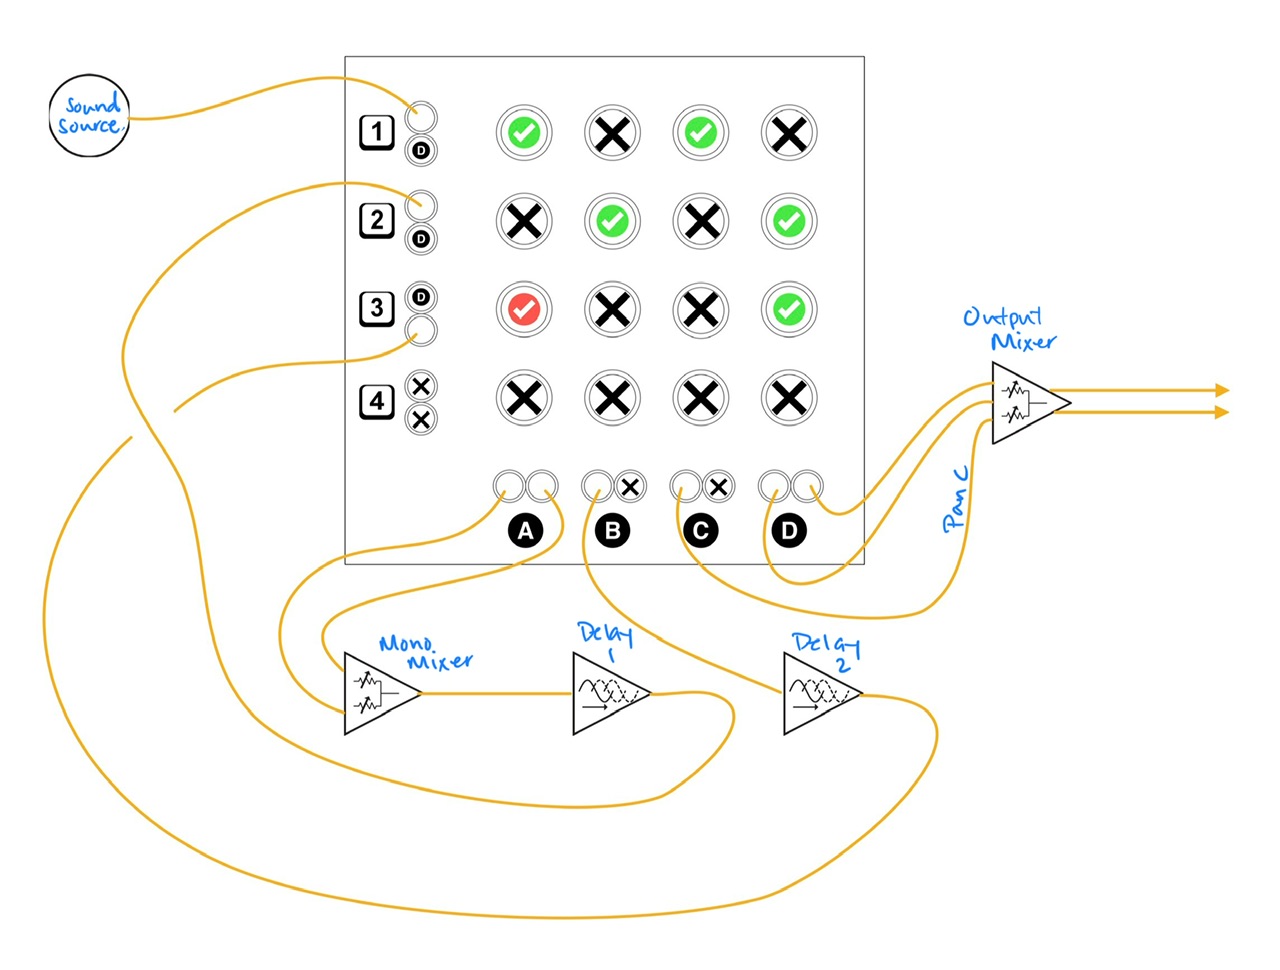
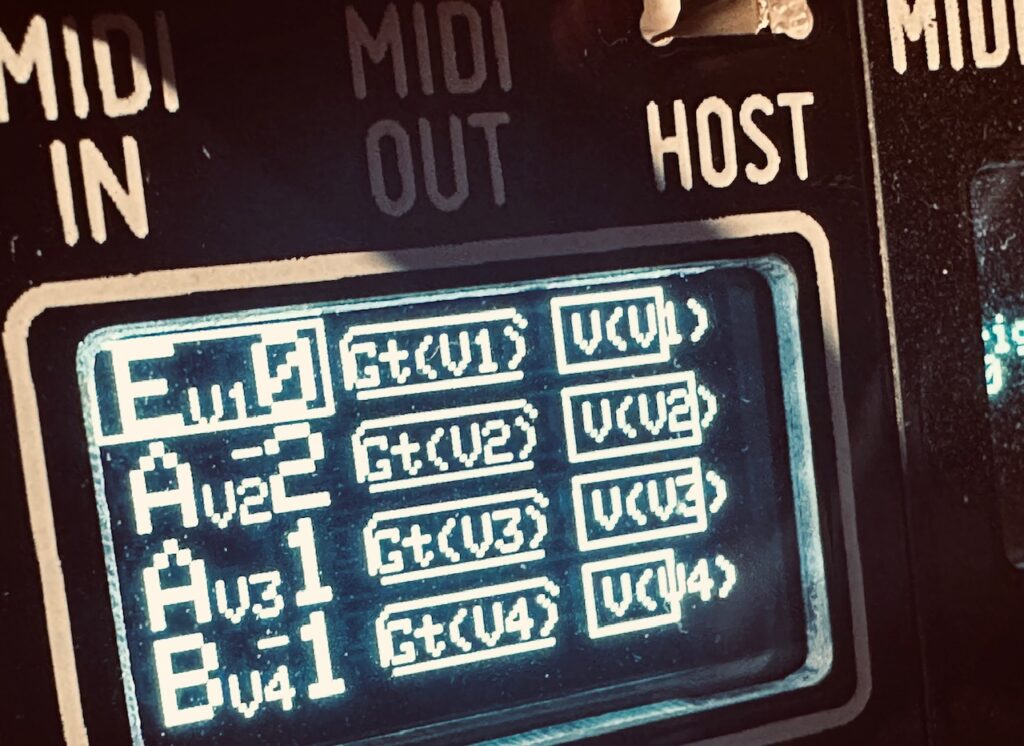
One of the MIDI Thing’s features is that it has 12 outputs. Exactly enough for four voices worth of outputs, and what’s more is that the exact configuration for my initial intentions with MIDI > CV conversion is already saved as a preset, or Pre-Def in Befaco-speak, for quick and easy input and output configuration. I simply set the MIDI Thing to “Predef 2: Multi Timbric” in the Global Menu and it automatically set the incoming MIDI channels to 1-4 and preconfigured the outputs. Pretty slick. Since I was already in for a lot of patching, I opted to forego using the velocity outputs. That wasn’t a step I was terribly interested in today. I wanted pitch CV and gates to trigger envelopes, and by golly that’s what I got after spending less than one minute in the MIDI Thing configuration screen.1
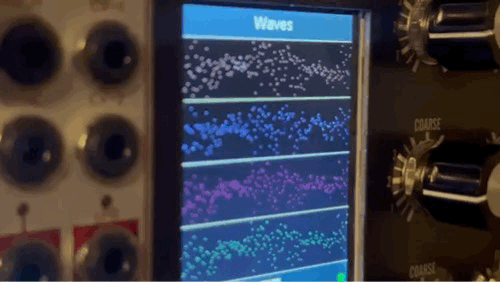
Once I had my MIDI routed in the AUM MIDI Matrix, and properly set MIDI ”Predef-ed” in the MIDI Thing, I fired up Fugue Machine. Since I was testing the functionality of the MIDI Thing and how that would work with a modular system, I wasn’t overly worried with an elaborate, or even original, sequence, and just used one of the included presets. Although I had played with the sequence length and transposition while running through the patch before recording it (which was all supremely cool), I simply forgot when I improvised the recording. I was more preoccupied with timing each channel, the levels of each oscillator, and crossfading the ending. As a result, this recording is a repetitive sequence. It doesn’t repeat exactly because of the modulation, but there’s no variation in anything other than oscillator timbre.
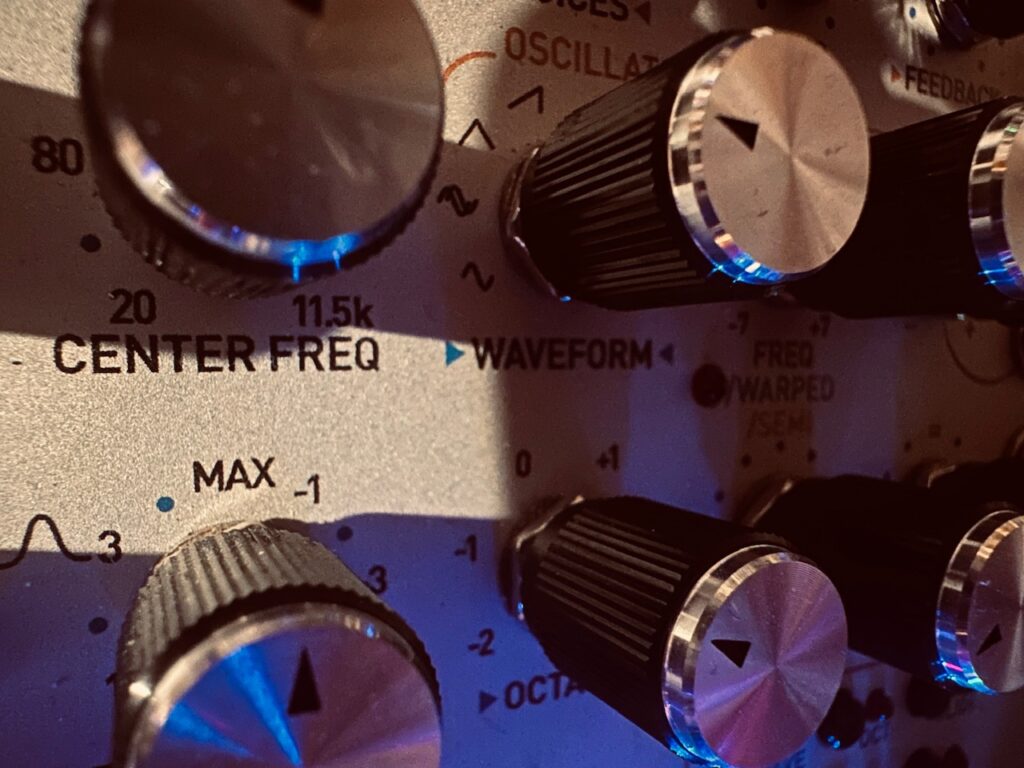
For oscillators I chose the always excellent Synthesis Technology E370, with a User-Loaded Wavetable titled NOV that was left from a previous owner. Thanks, dude. It’s pretty outstanding. Tuning each oscillator to unison (in Morph X/Y mode), I ran each of the pitch outputs from the MIDI Thing to the v/oct inputs. I followed that up by using the eight outputs of the Nonlinearcircuits Frisson to modulate both the X and Y parameters of each wavetable for all four oscillators. This constant timbre changing caused by the modulation also causes dramatic volume changes as waves morph in and out of more and less prominent waveforms in the table. I initially wanted something glitchy, and turned Glitch on HIGH with Interpolation Off for each of the four channels, and while it was cool, it didn’t fit at all in with the overall tenor of the sequence itself. The tonality is too “positive”, being in the key of A Lydian, and the sequence too upbeat. I suspect it would work fantastically on slower, more drone-ish material.
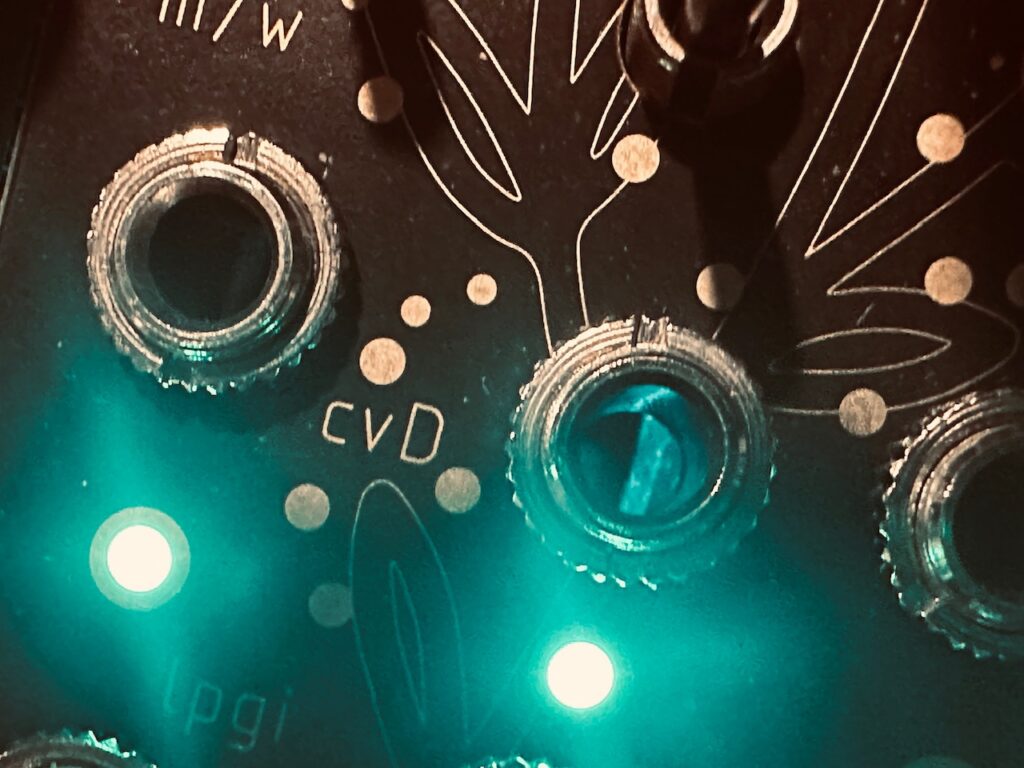
After I routed the pitch CV and modulation, I ran the gates to two Frap Tools Falistris for some enveloping. In addition to being enveloped at the Control inputs, three of the four gate outputs were also multed to the Hit input on one of two Rabid Elephant Natural Gates to provide some beautiful pinging of these ever-changing tones coming from the E370. All four channels were processed through Natural Gate, but only three were pinged. The bass note was only enveloped. In this process I made a grievous oversight. While Falistri is a perfectly good tool for this job, particularly the pluckier notes, more defined shaping with a ADSR would have really served the slower voices well. It so happens that I have perhaps the most advanced ADSR generator in Eurorack, but I didn’t even think to use it, and when I did, I was way too deep in the patch to re-patch and reconfigure the envelopes, so I let it go.

To be honest, I was expecting hurdles to cross, but I was surprised when it all just worked. CV did what it’s supposed to do. Gates did what they were supposed to do. Everything was perfectly in tune and on time.
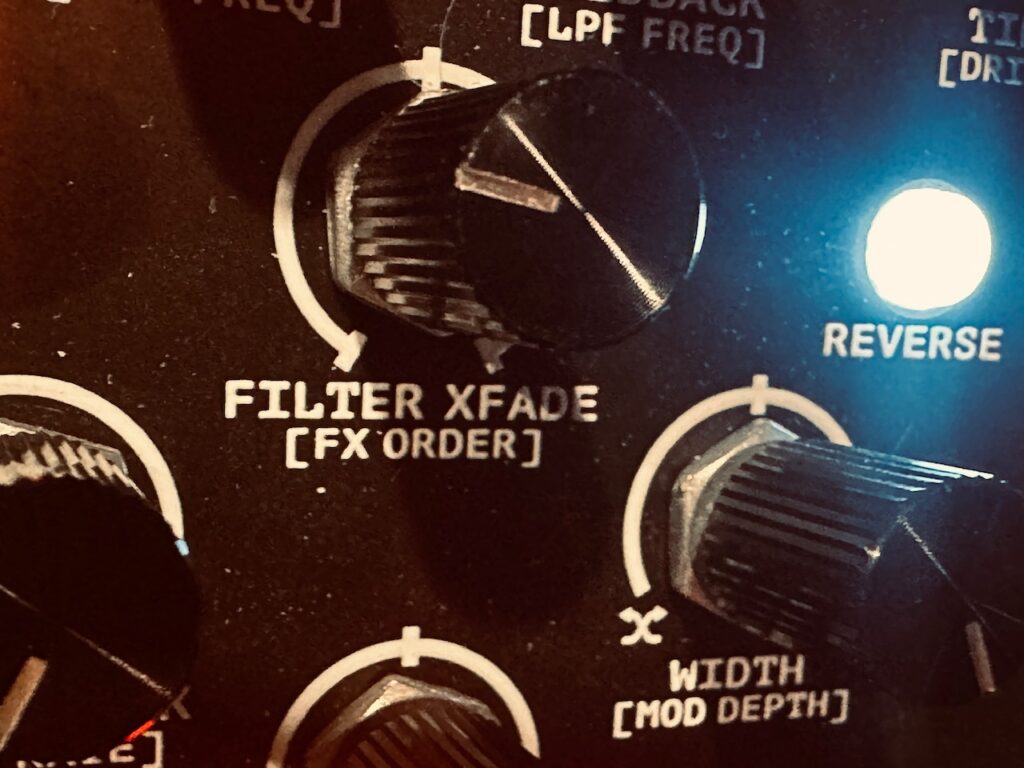
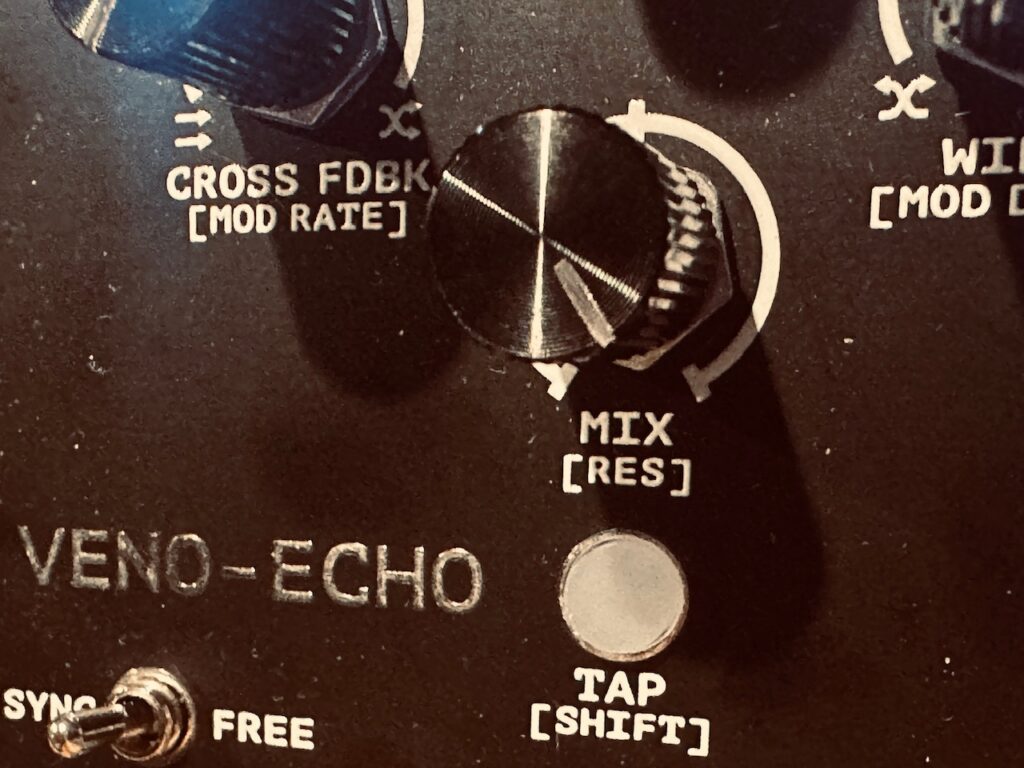
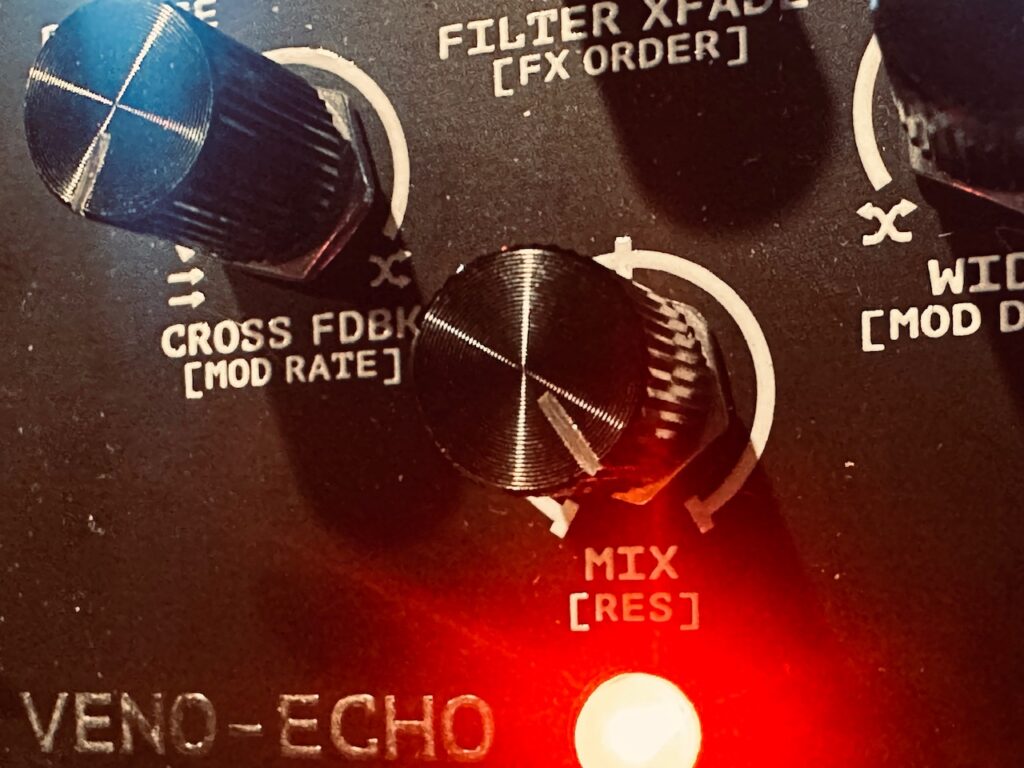
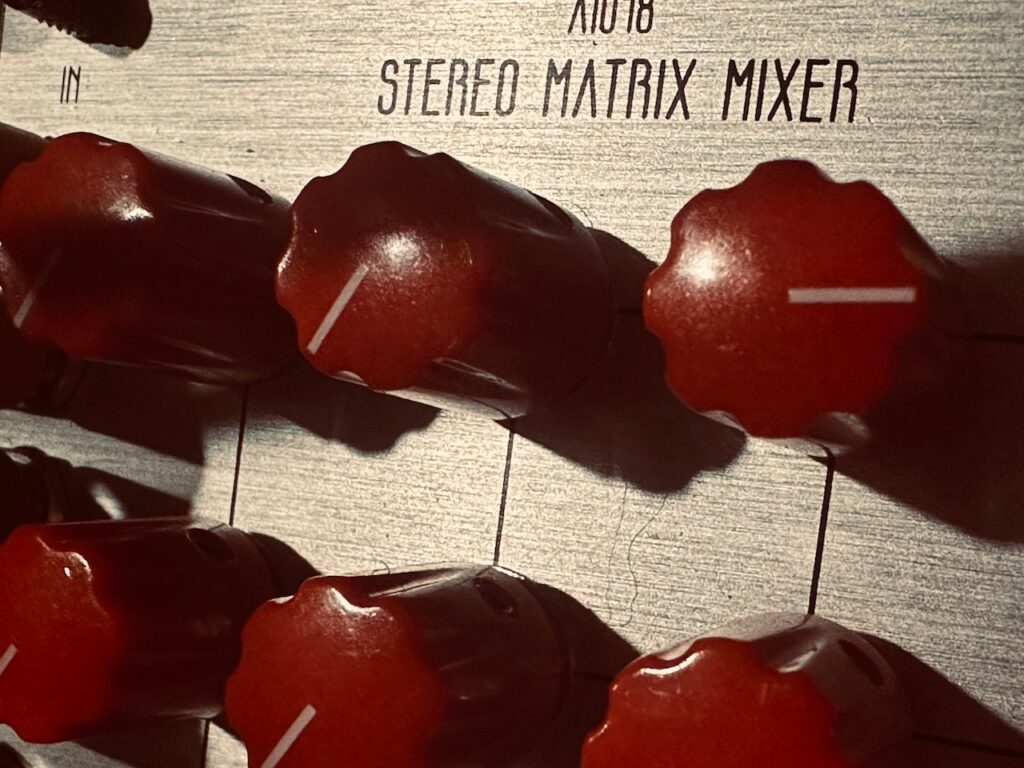
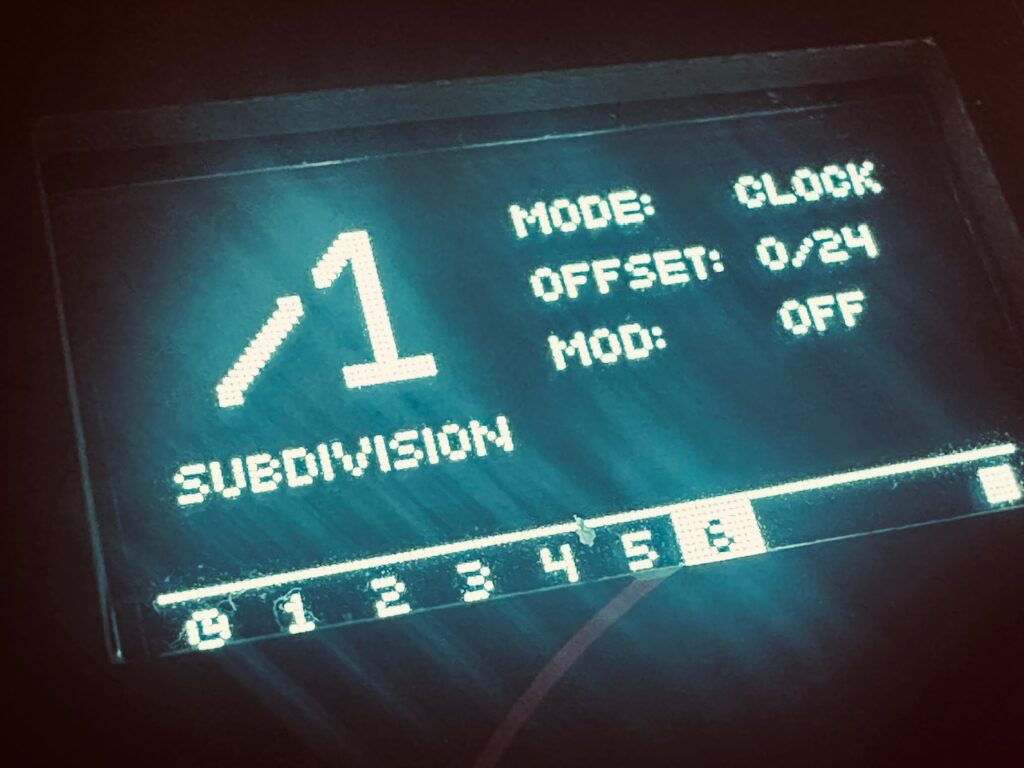
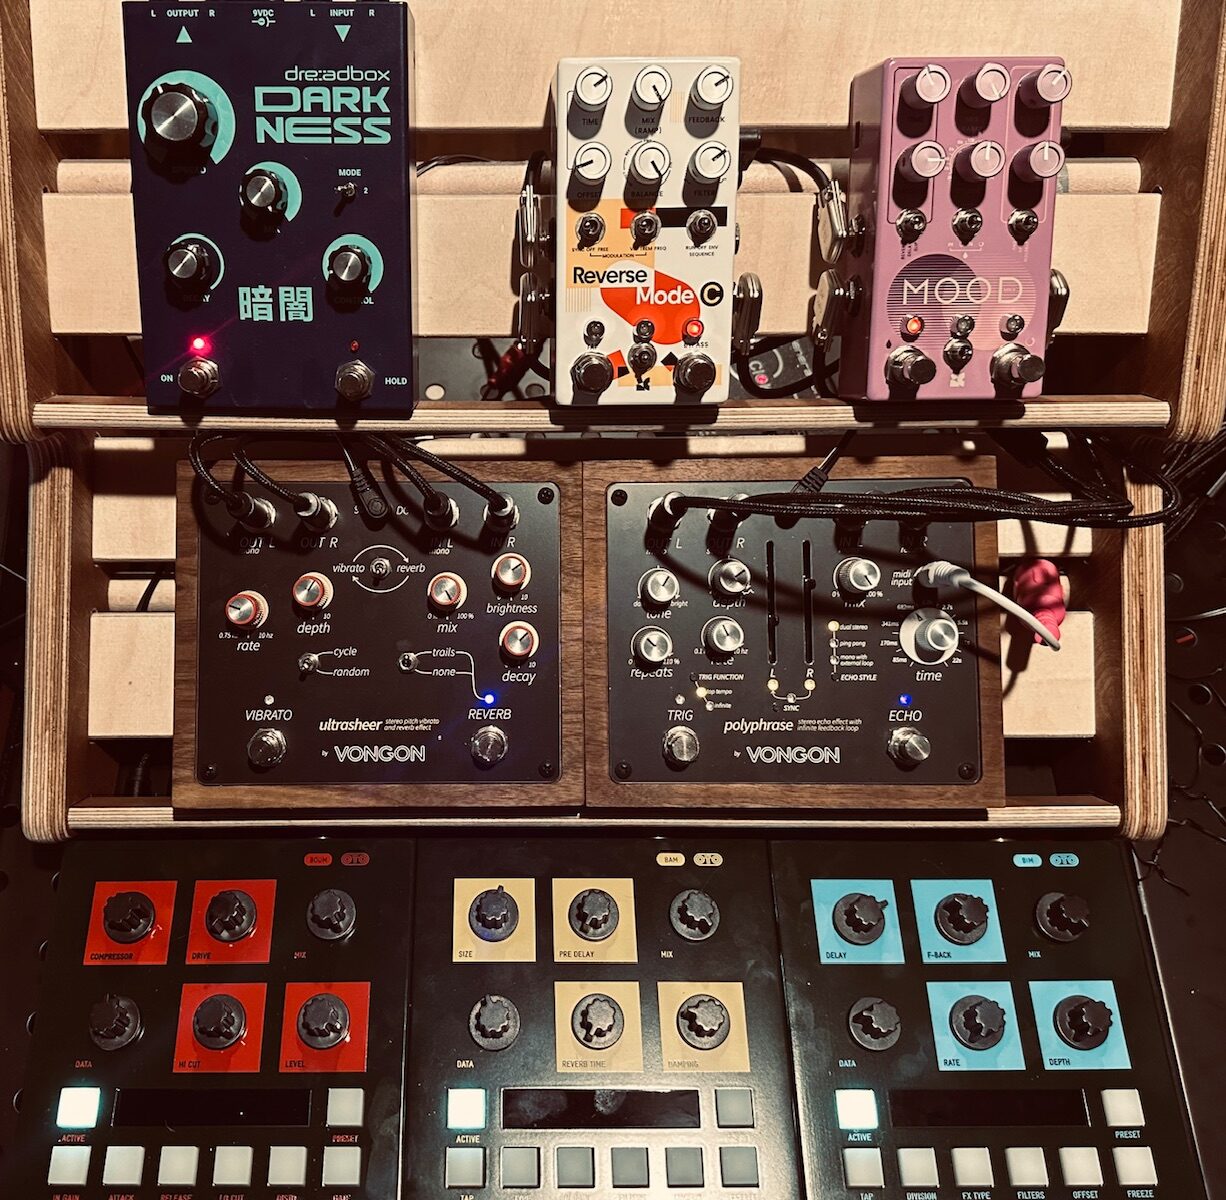
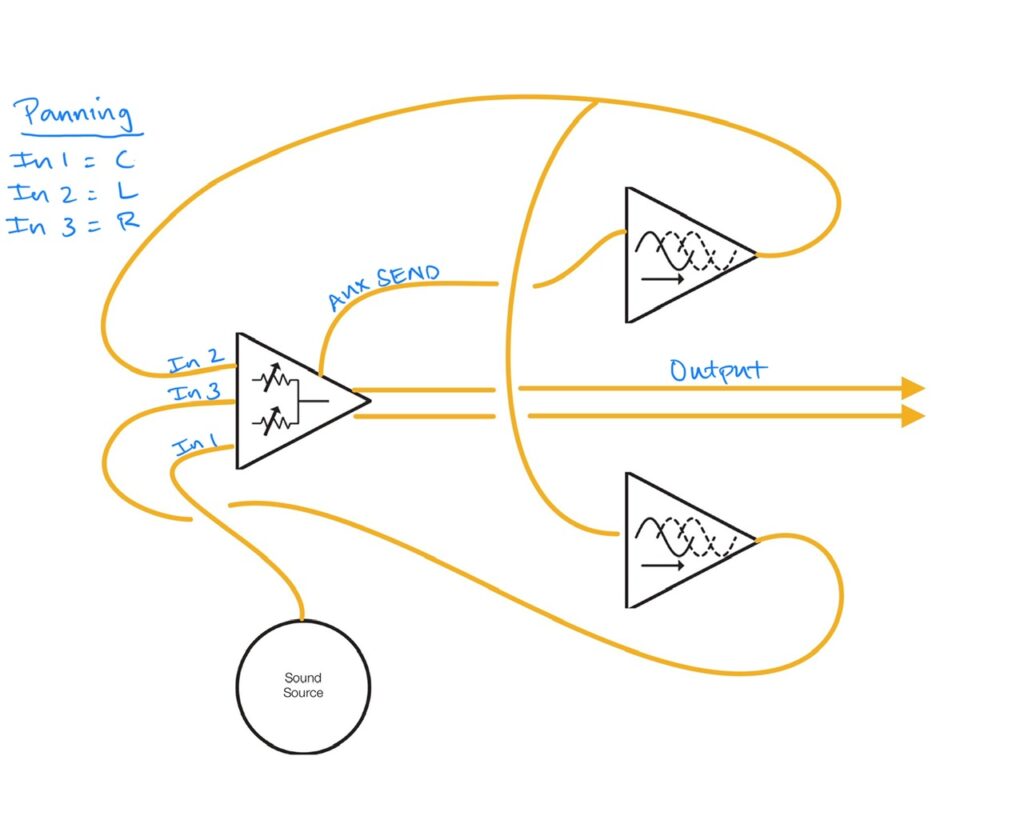
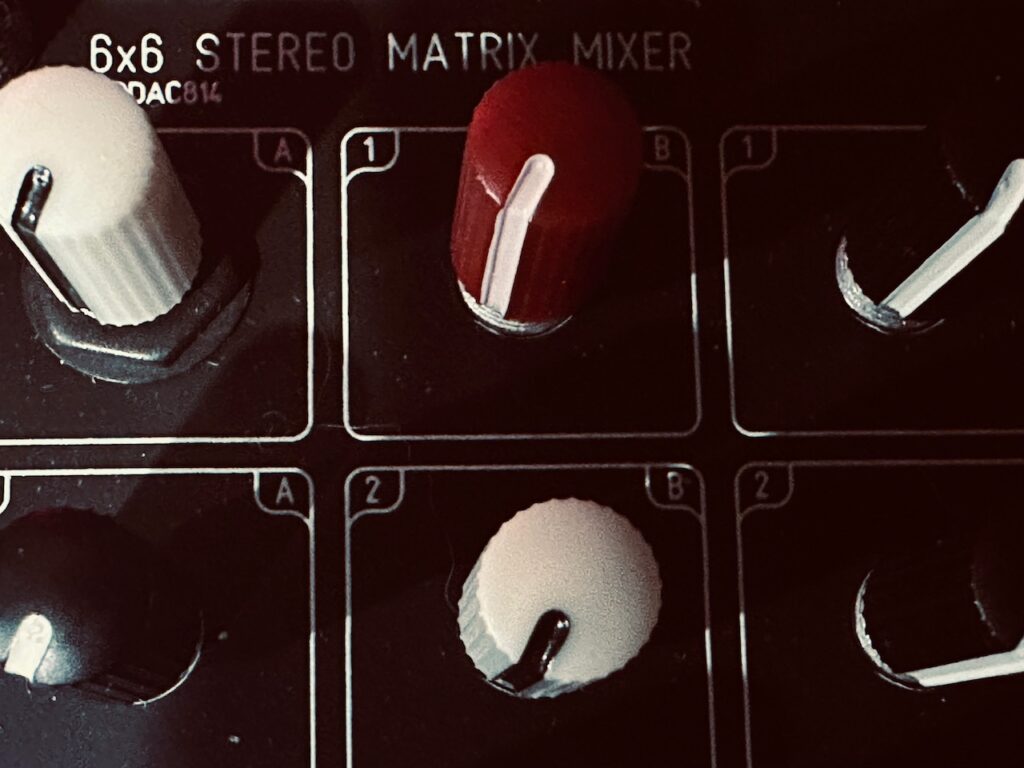
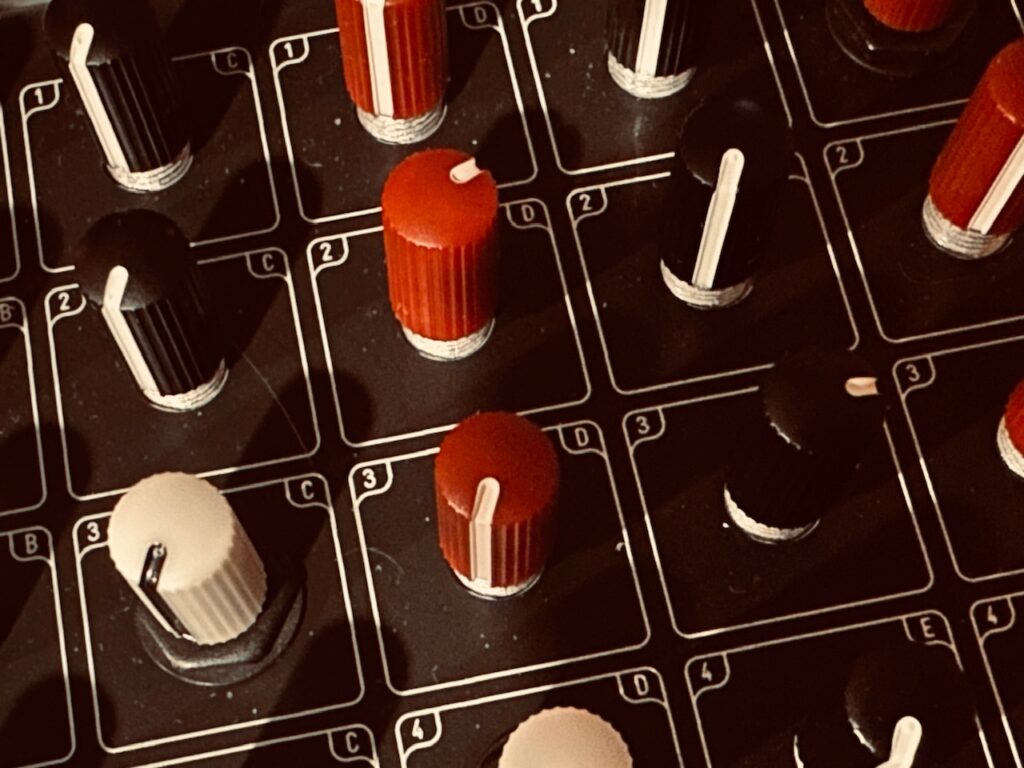
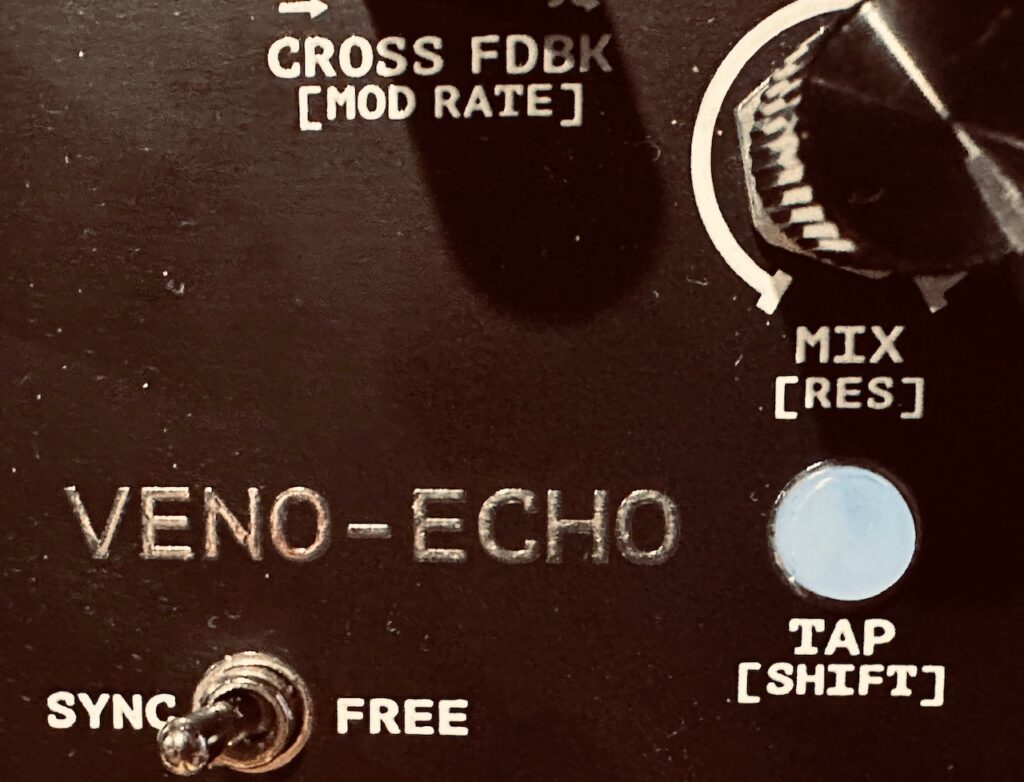
Once the notes were created in their respective Natural Gate, all four outputs went to the ST Modular Sum Mix & Pan. While three of the four channels were panned to mono, the fastest moving and highest pitched voice was being slowly panned in the stereo field. The stereo output was then routed to the Addac814 6×6 Stereo Matrix Mixer, and sent to the Venus Instruments Veno-Echo. To ensure a solid clock for the delay, I used the now-defunct (or at least unavailable in the United States according to the App Store – which would seem weird) CoVariant Clock AUv3 plugin, which converted the MIDI clock in AUM to CV and sent it out an ES-9 output as an analog clock. I’ve never really sought to use a MIDI clock as the master clock outside of the iPad. I’ve certainly never used it as the master clock in a Eurorack patch. But this clock was flawless, likely to due CV being generated directly at the source, minimizing switches and pass-thru cabling or USB MIDI jitter. Hopefully CoVariant remains a working plugin in iOS for a while to come as there are currently no other direct MIDI > CV clock converters on the iPad. Veno-Echo was set at x2 on both sides with similar feedback just shy of noon. I also added a smidge of drive in order to enhance the sample reduction I put in the feedback loop. Veno-Echo, with its cross-feedback and width parameter, really can create an enormous stereo field
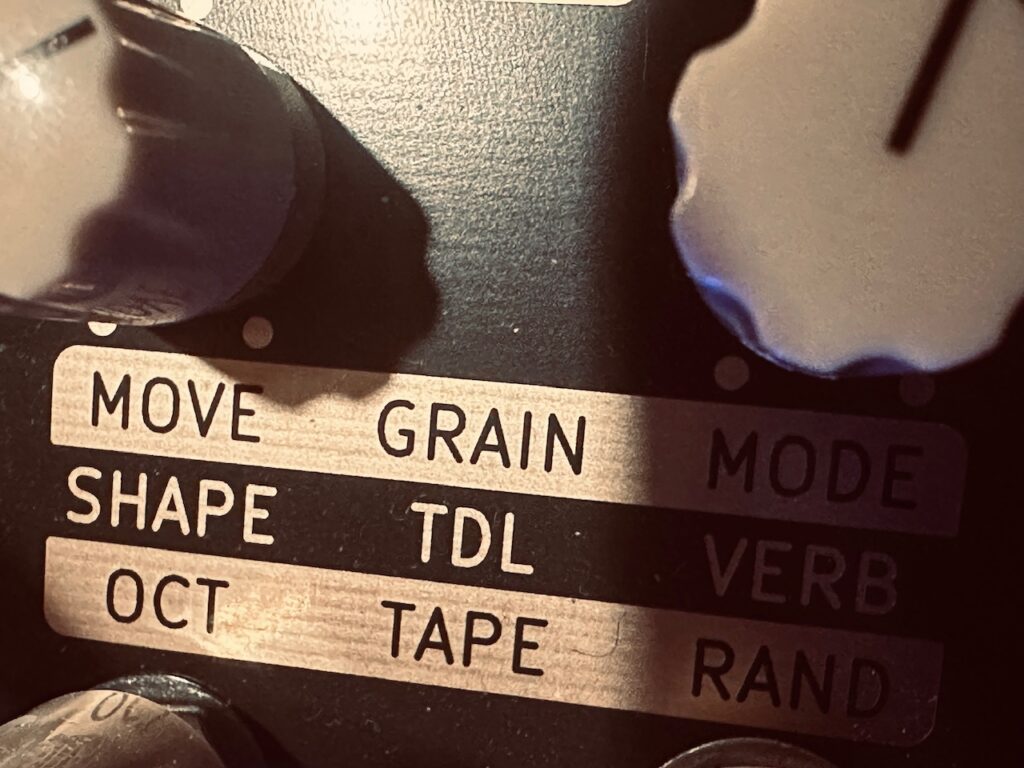
And so can the Dradd(s). It’s no secret I’m absolutely smitten by dual Dradd(s). Despite this infatuation, my first instinct was to patch in Beads, but Beads just didn’t really have what I was looking for today. At least I couldn’t find it. But the Dradd(s) did. In fact, I had to decide between two modes which both had something very cool to offer. I ultimately chose the Tape mode because the octave up was too much to resist. I slowly started to fade out the oscillators once the Dradd(s) were at full volume, and allowed its magic to guide the rest of the recording, fading out in a glorious wash of the Rain algorithm on the Walrus Audio Slöer.

Modules Used:
Befaco MIDI Thing V2
Synthesis Technology E370
Frap Tools Falistri
Frap Tools Sapel
Rabid Elephant Natural Gate
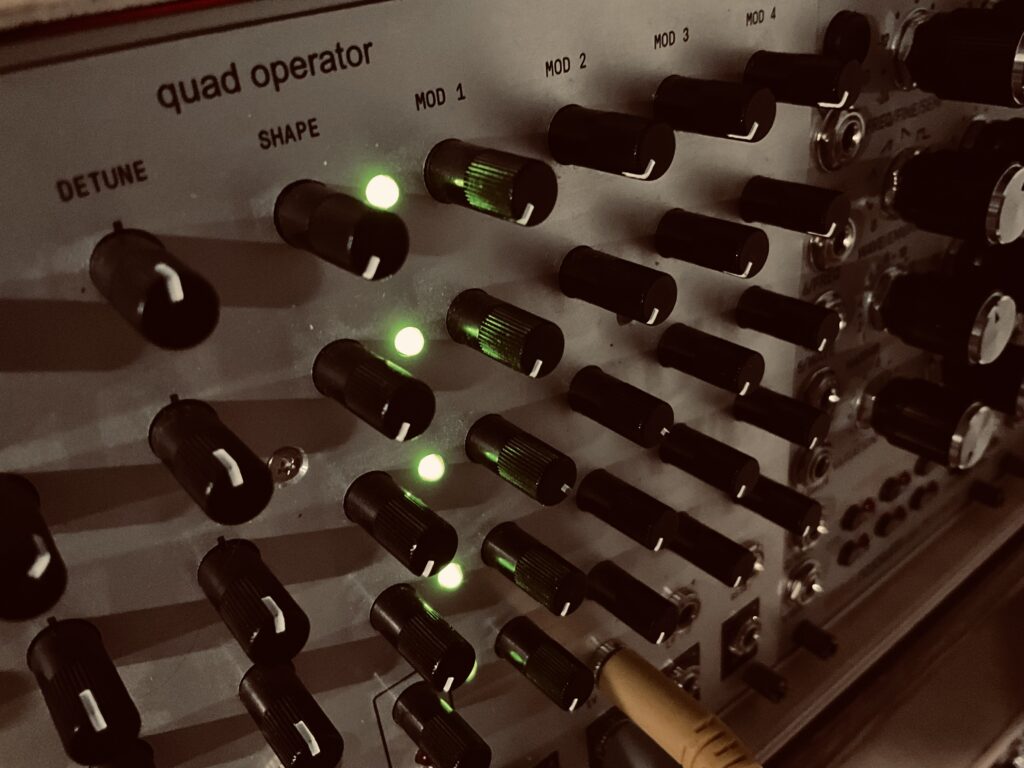
Nonlinearcircuits Frisson
ST Modular Sum Mix & Pan
ST Modular SVCA
Addac Systems Addac814 6×6 Stereo Matrix Mixer
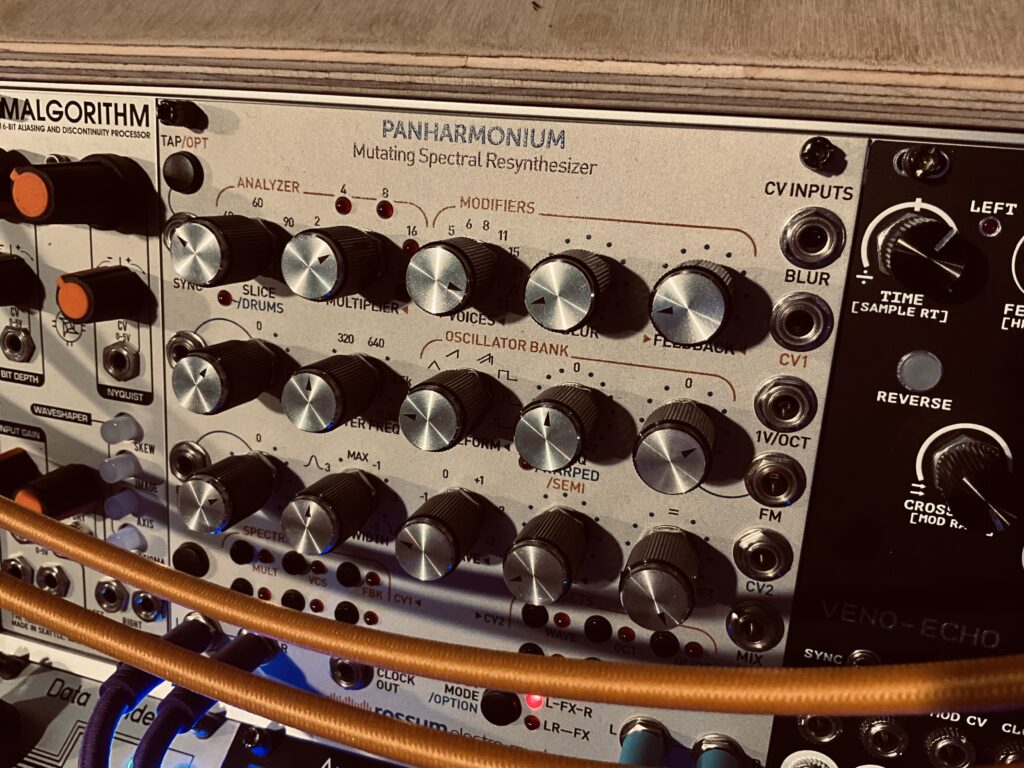
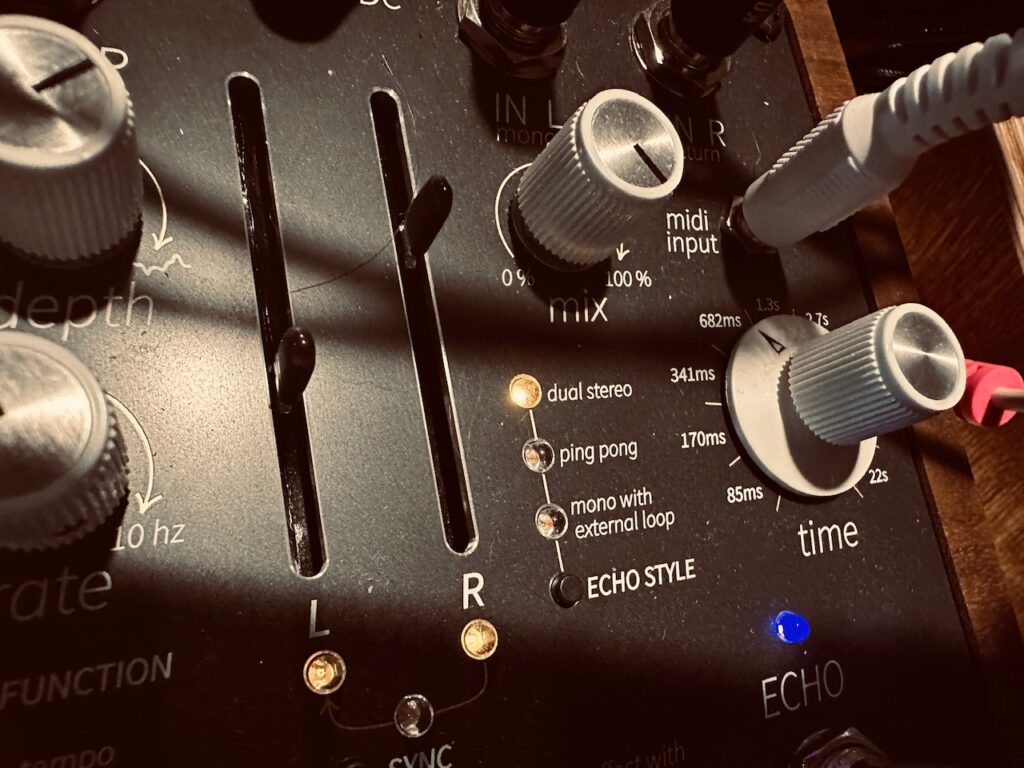
Venus Instruments Veno-Echo
Pladask Elektrisk Dradd(s)
Knob Farm Ferry
Outboard Gear Used:
Walrus Audio Slöer
Plugins Used:
Alexandernaut Fugue Machine
CoVariant by Alan Clifton
- It should be noted that the MIDI Thing also produced velocity CV, I just didn’t use it. ↩︎